One of the smallest rooms in our house, the walk-through laundry room, turned into our most extensive remodeling project so far. I shared the small laundry room makeover plans about 3 months ago and some days it felt like much longer.
It was worth all the work and delays!
The main reason we started this makeover was to improve the function of the room. When the house was built, we had the option for a small countertop next to the washer OR a laundry sink.
I asked for the plumbing to be installed in case we decided we eventually wanted a sink, but at the time I thought the countertop area would be more functional for us.
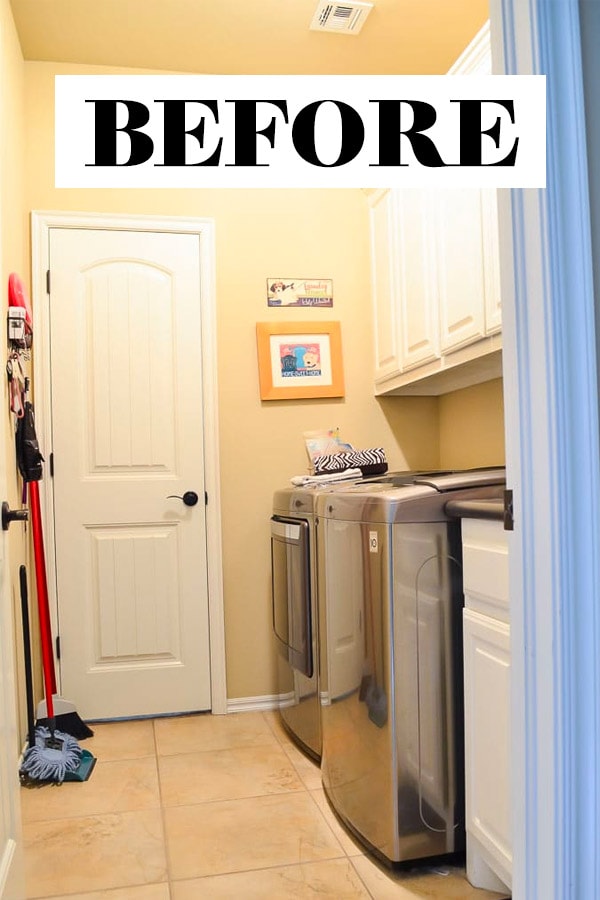
Here’s what the room looked like right after we moved in.
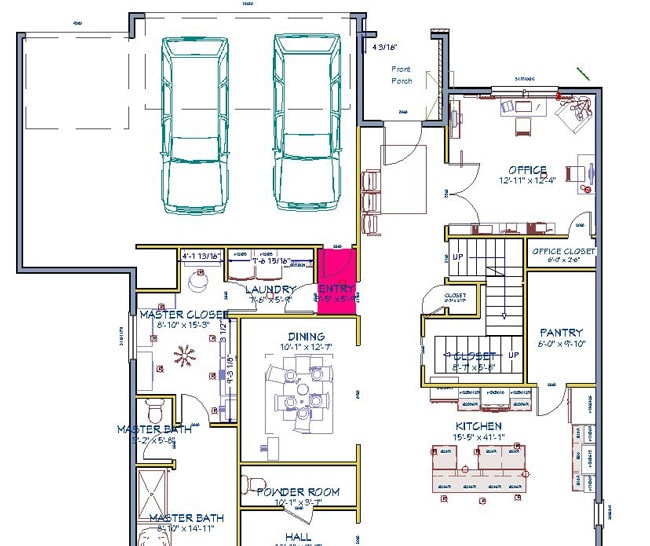
As a reminder, the small space is tucked between the master closet and the tiny entryway that leads to both the garage and main entry hall of the house. It’s more of a hallway with doors than it is a “room”.
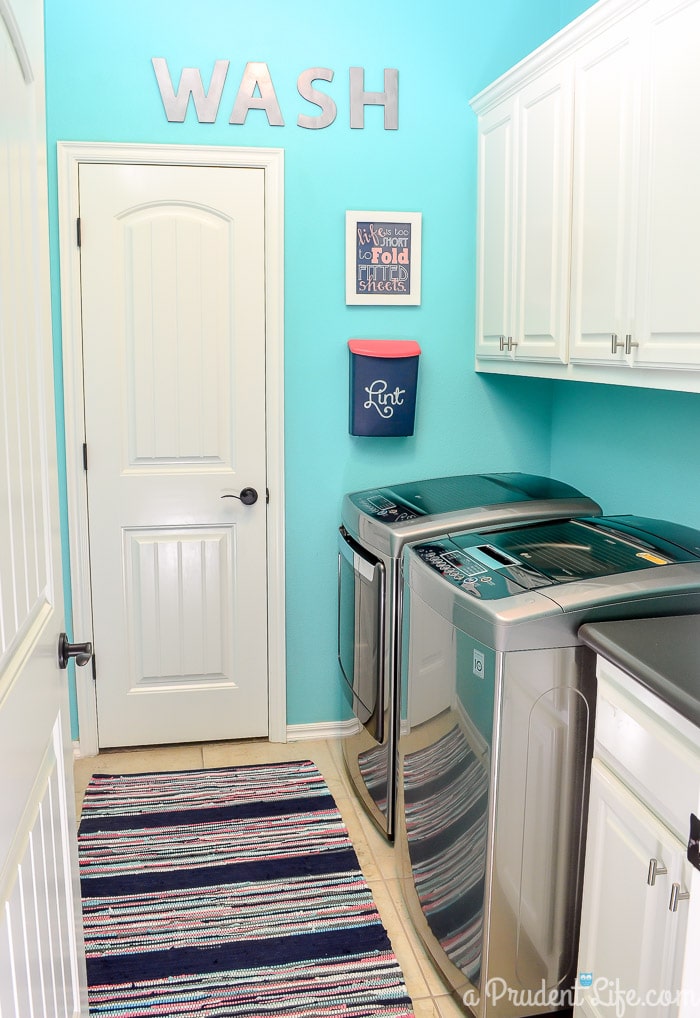
In 2014, I did a quick $86 laundry room makeover to give the room some more personality.
Since then, I realized more and more how handy a sink would be for everything from hand washing clothes to cleaning up after messy projects.
The laundry room was also working it’s way up my priority list for a style makeover. As we’ve updated the rest of the downstairs, the laundry room began looking like a totally different house.
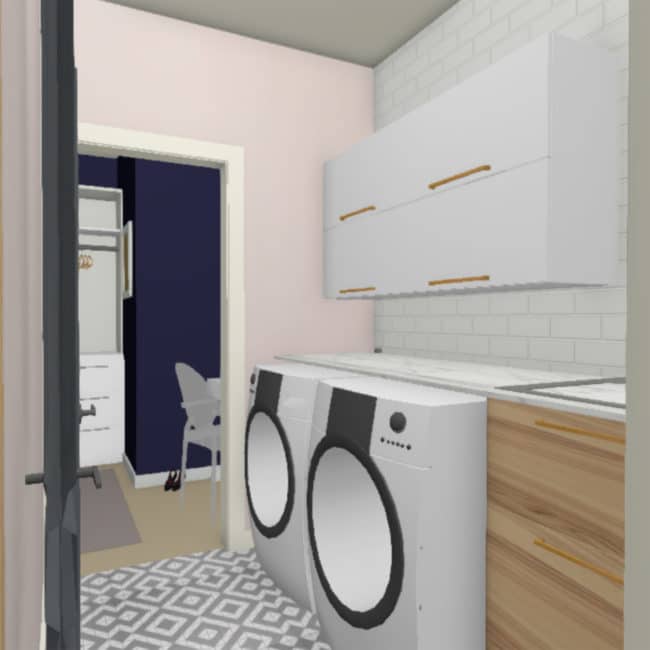
This spring, I started brainstorming solutions to all our functional challenges in the room and drawing out what our dream space would look like. I filled out my Polished Habitat Design Method Worksheets for the room, and then came up with the rendering below.
The first thing we had to decide was whether we wanted to switch to a front-loading washer. That decision had a ripple effect on the whole room because it allowed me to add a new BIG countertop over the machines, and then I could replace the old small counter area with a sink.
The prior $86 laundry room update was intended to just spruce up the room while we focused on other areas of the house. This year, we were finally ready to create my dream space…or as close as I could get within the limited footprint of a hallway posing as a laundry room.
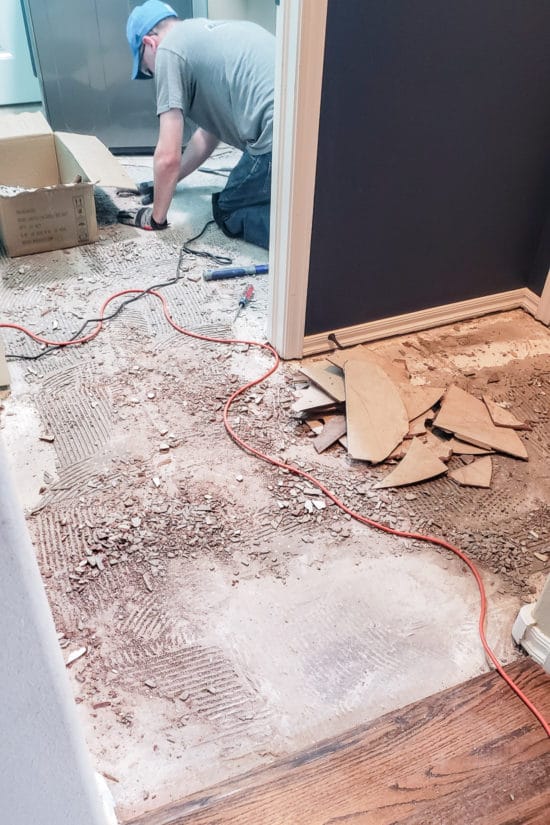
We had to demo the room down to the foundation and drywall. To save money toward the materials I wanted, we did all the work on the room ourselves, except for the countertop install.
We also paid for everything out of pocket, except the sink and faucet provided by Blanco and the cabinet pulls provided by Atlas Hardware. More on those later!
Corey was a trooper busting up all the old builder-grade tile.
Doing the work ourselves meant saving lots of money, but also required lots of problem-solving along the way.
What could go wrong often did, with crazy hiccups like realizing the drawer under the sink wouldn’t open after we installed door trim. I think that the cabinet was installed and removed at least three different times.
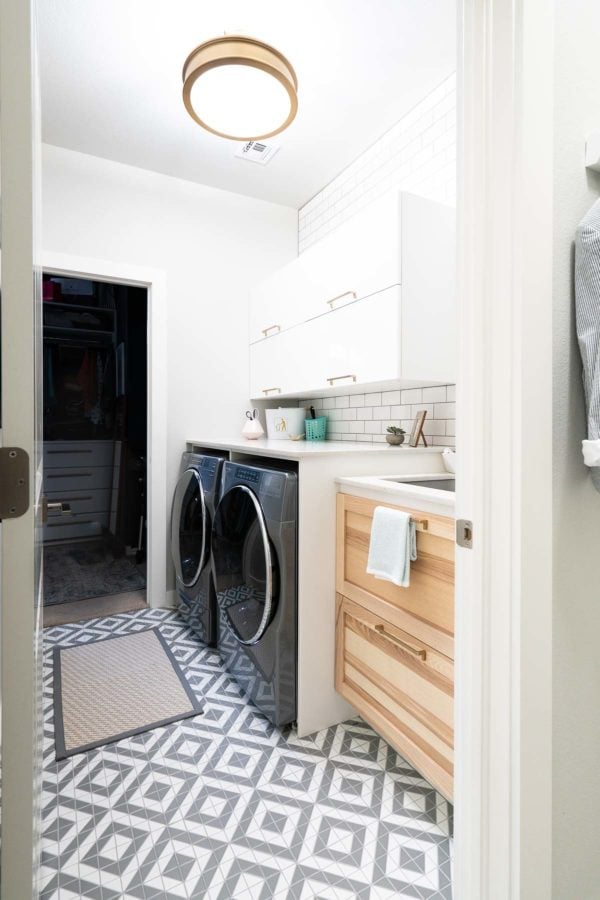
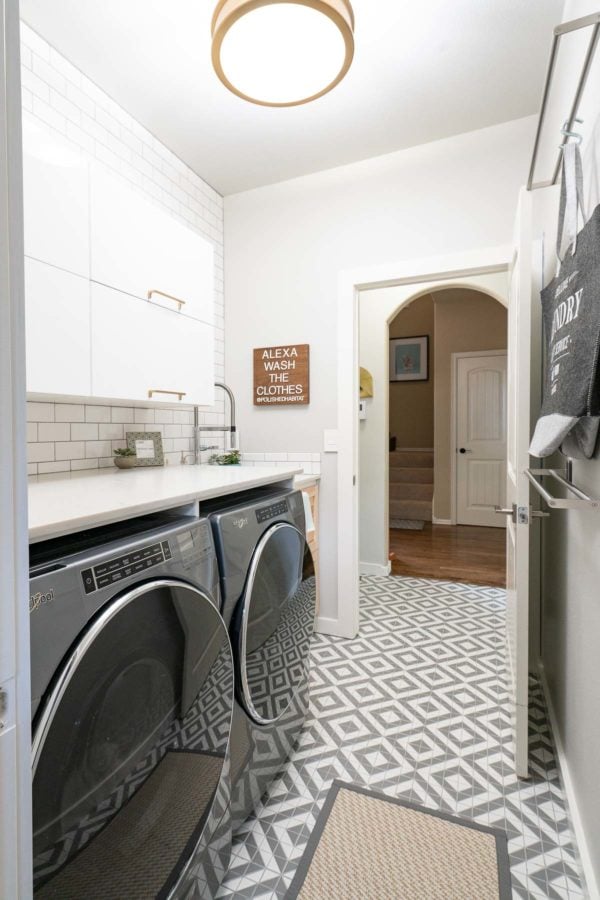
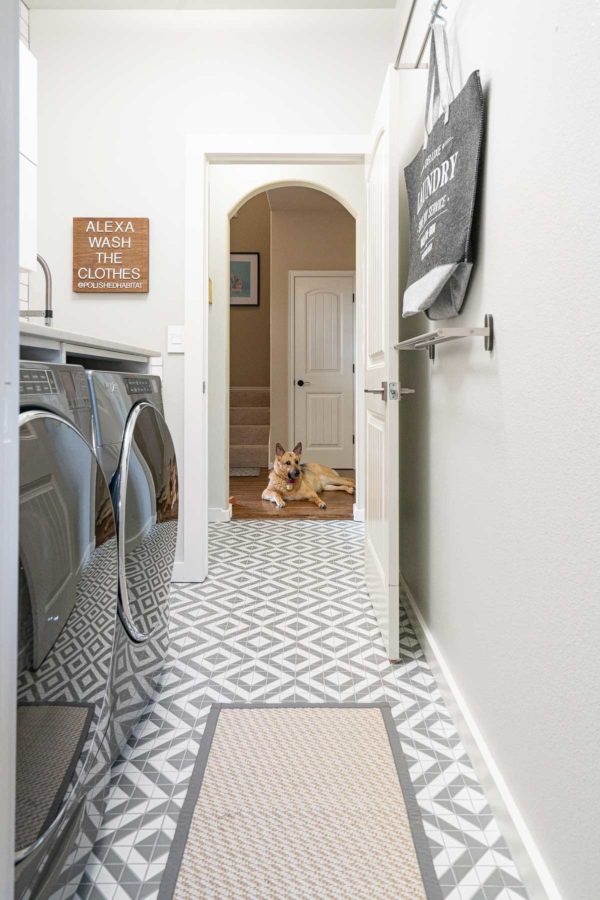
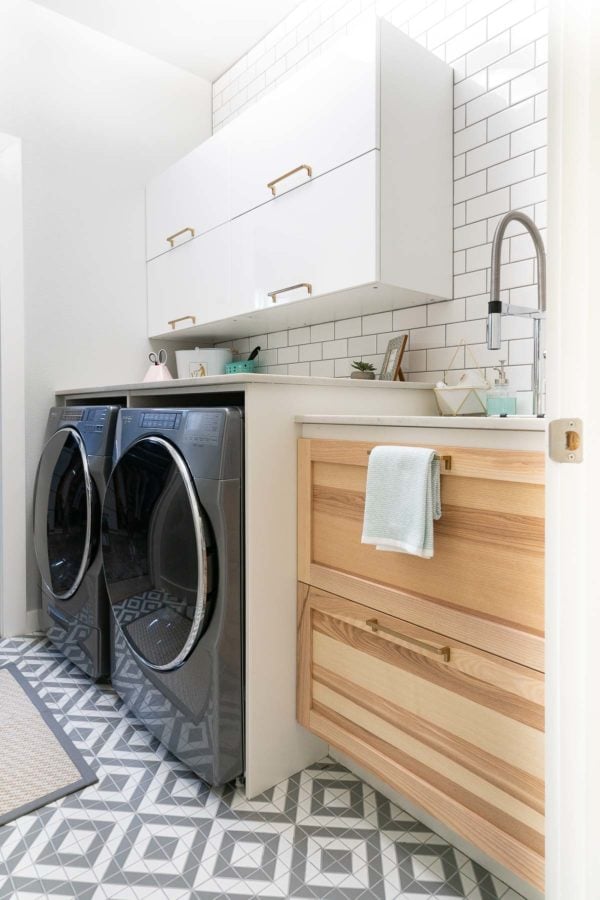
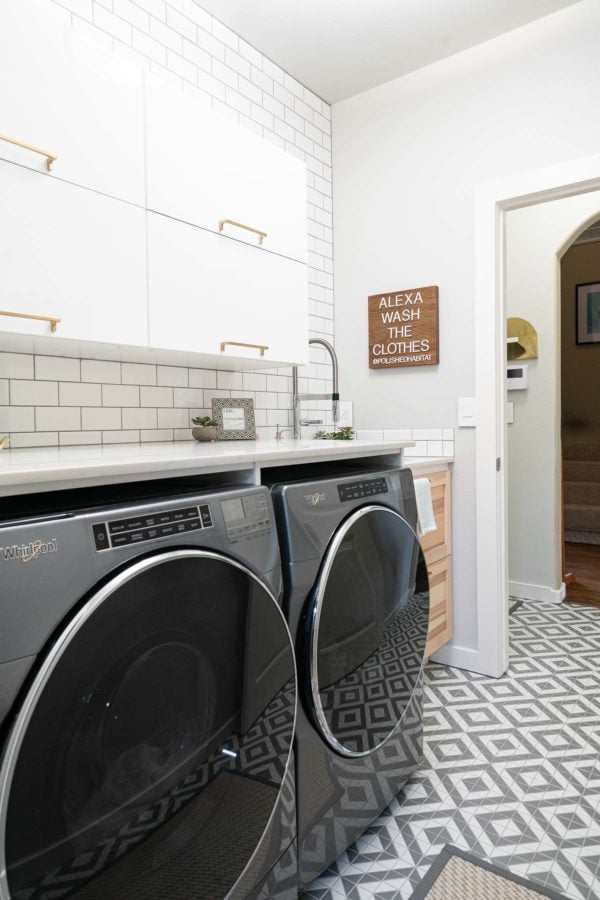
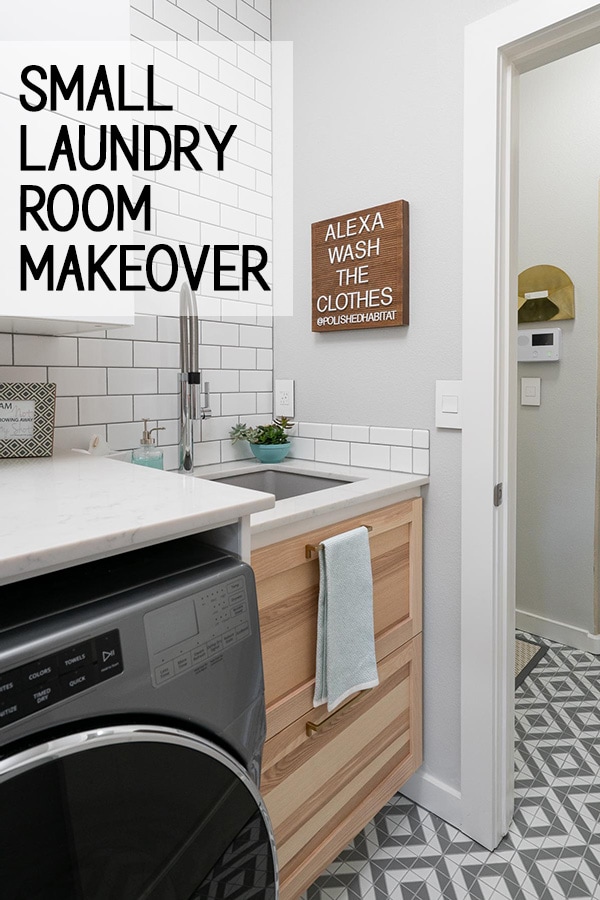
Despite the process being anything but smooth, I am in love with the space we created! Here it is from the same angle as the before photos.
I know this isn’t the definition of “favorite”, but I feel like EVERY single thing in the room is my favorite!
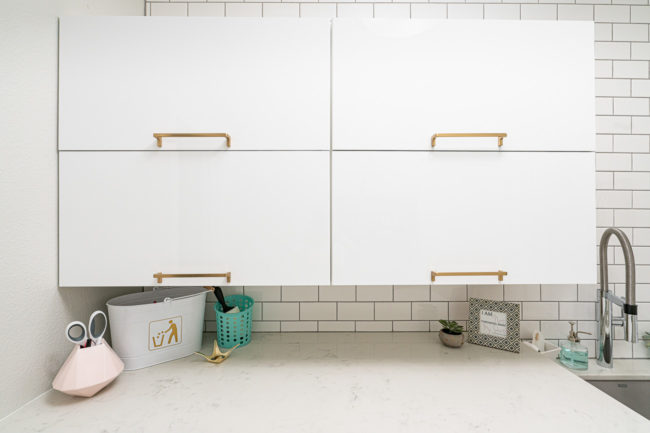
I’ve envisioned a full wall of subway tile in this space for years, and I love it as much as I hoped. It provides a huge impact for a relatively small cost – under $100 including the white tile, adhesive, grout, and spacers!
If you have a tight budget, white subway tile is the perfect mix of classic and affordable.
Other than the white subway tile wall, the flooring tile was my first big design decision. I’ve been obsessing over patterned tile floors for months, and when I found this one, I had to have it.
Well, actually, I searched and searched hoping to find a less expensive option that I loved, but I kept coming back to this one.
Looking around the house, I have 3 different rugs AND a picture frame with the same geometric pattern. I’ve purchased them over a timeframe of several years, so I took that as a good sign.
Stylistically, I knew I wanted to replace the upper cabinets, but had a hard time rationalizing that cost until I realized we could use the old uppers in the garage for storage. Win-win!
Because we were tiling the wall, it was a bit of a now or never scenario with the cabinet replacement and I’m SO glad I went for the new ones.
I could never reach anything on the upper shelf of the old cabinets, and could barely reach the 2nd shelf. Now I can reach everything!
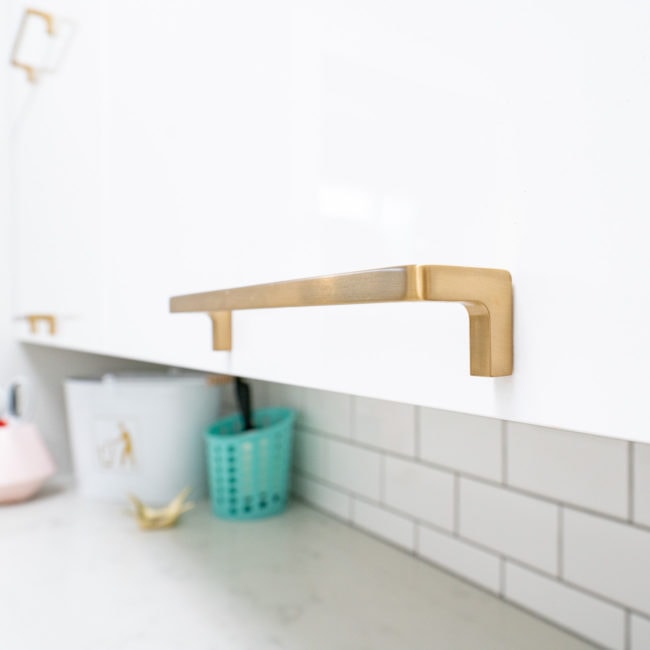
It’s hard to tell in the photos, but in real life, they’re a gorgeous glossy white. The new cabinets are from IKEA, but we gave them a high-end modern look with these gorgeous pulls from my new friends Atlas Hardware.
The pulls are the perfect finishing touches and add a ton of character to the plain cabinets. Sometimes the little things make a huge difference in a small laundry area.
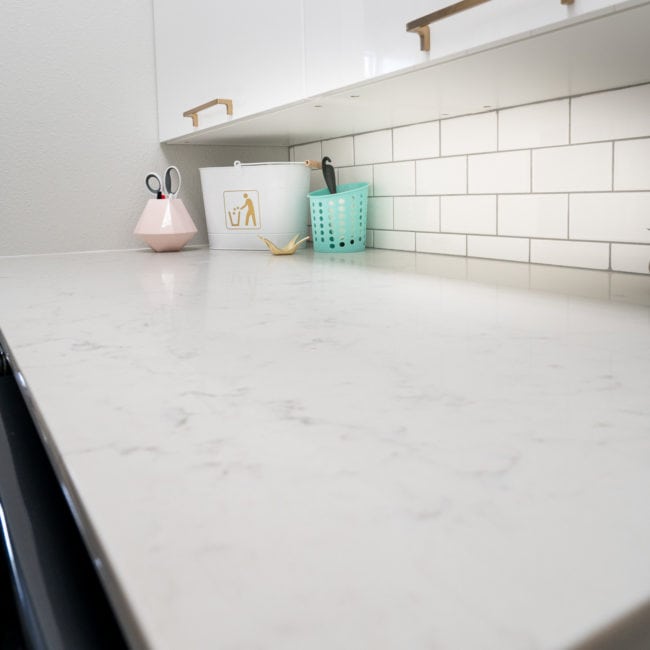
We bought the countertop locally, saving money by looking through the remnants they had available from other jobs since we didn’t need a full slab. It’s a Cosmos brand Quartz called Venato Extra.
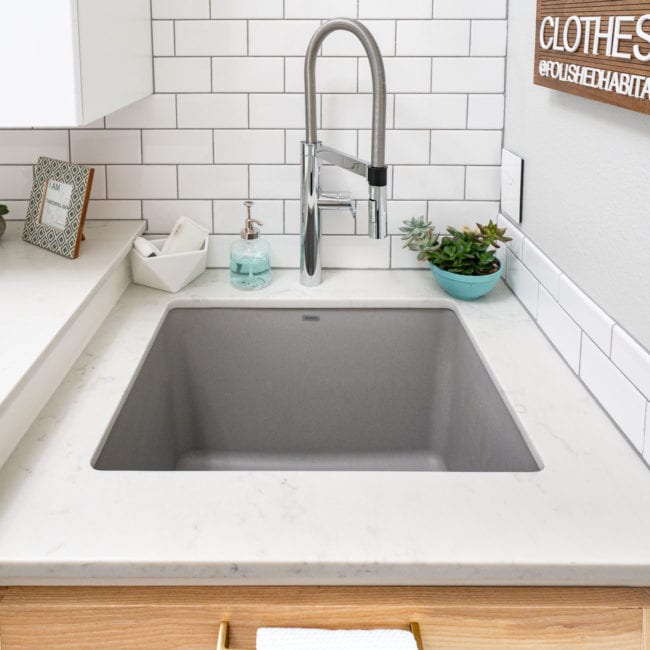
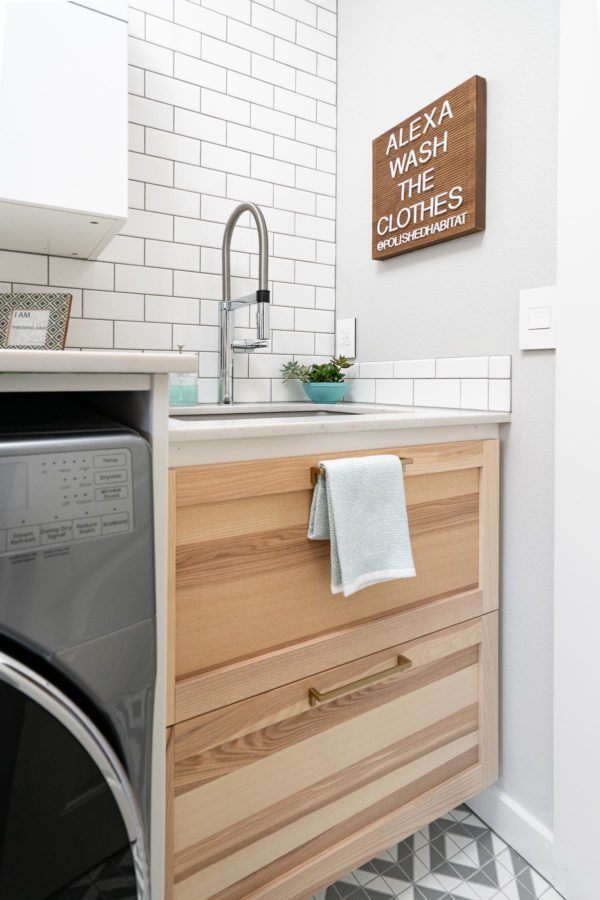
The veining in the countertop is a perfect match to the reason we started this whole makeover – our new laundry room sink!
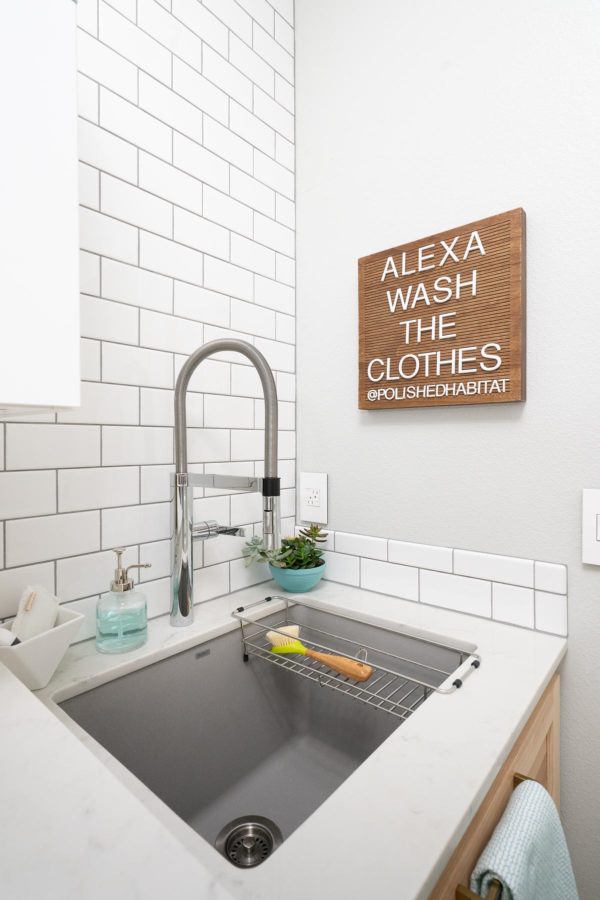
The sink is the BLANCO LIVEN Laundry Sink in Concrete Gray. It’s also the stuff my dreams are made of!
The patented surface is both stain and scratch-resistant, which is perfect since I’m a mess.
I chuckled to myself when one of the countertop installers started going on and on about how well I did selecting the BLANCO brand when he was mounting the sink to the countertop for us. They install many different sinks and he said hands down the BLANCO sinks look great longer than the other brands.
He had NO IDEA I was partnering with BLANCO, or even that I was a blogger, so it made me feel good to have the extra validation from an independent source!
When I use the optional sink basket, you can tell how awesomely deep the LIVEN sink is. I’ve never been so excited to hand wash clothes!
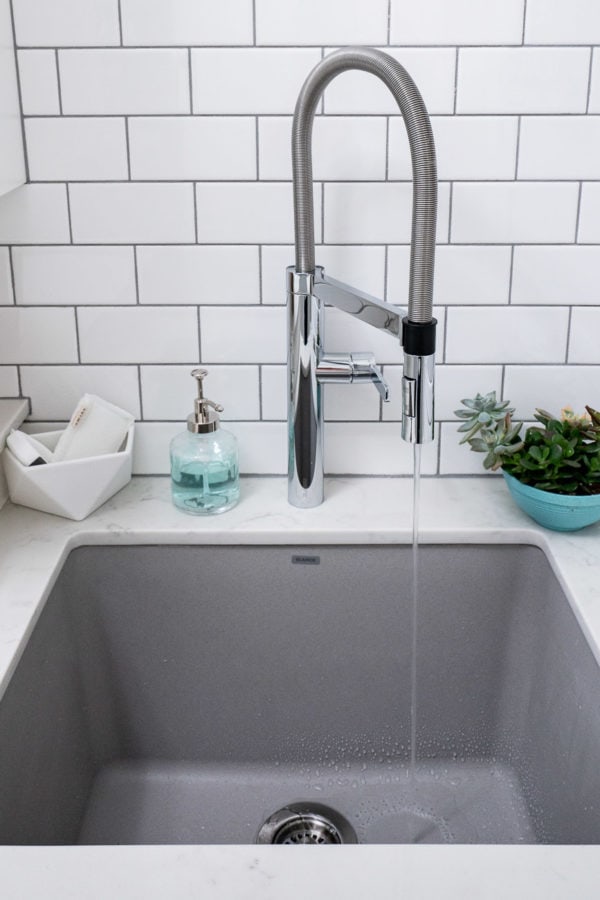
The gorgeous CULINA Semi-Pro faucet is also made by BLANCO, and right out of the box I was impressed by how sturdy and heavy it was compared to other faucets we have installed.
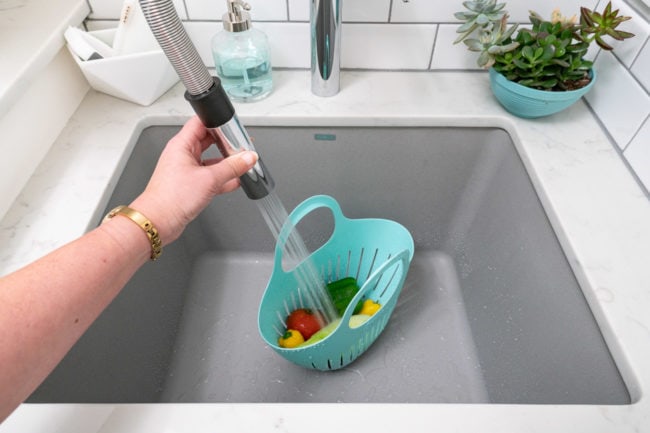
The spray nozzle is easy to use with a simple toggle to switch between the normal water flow and a more powerful spray.
I also really like that the entire faucet will swivel sideways flat against the wall if we ever need to put anything tall in the sink…It’s too bad Gus is so big now! This would be a dream set up for bathing a smaller dog.
Because most of the room was going to be bright white and grays, I knew I’d need some warmth for balance. Finding the beautiful wood cabinet doors at IKEA was a great budget-friendly solution. Paired with the same Atlas Hardware pulls, they look completely custom!
While it looks like two drawers, the whole thing pulls out for what is supposed to be recycling, but we’re using the bins for dog food! I’ll show you inside next week in the organizing post.
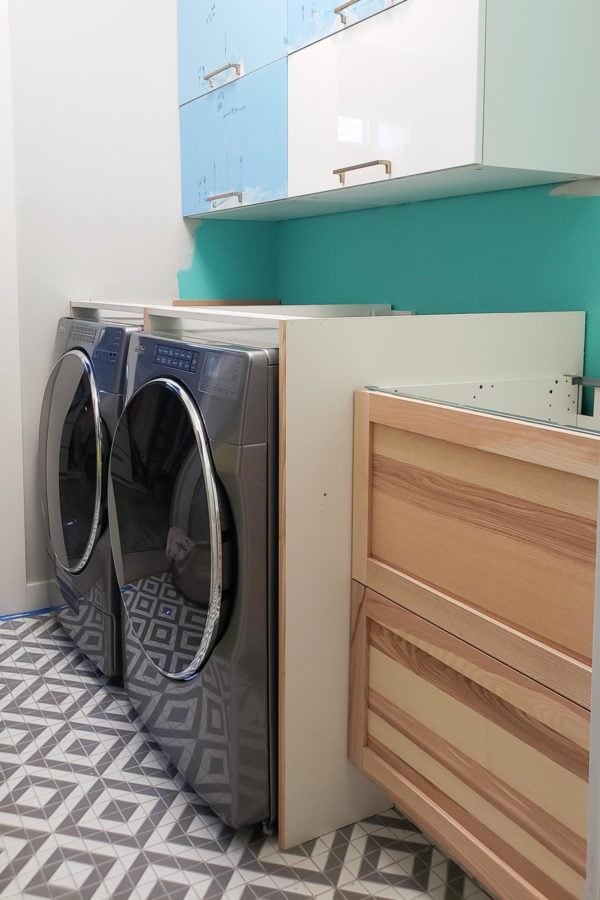
The photo above is a good look at the frame we built out of MDF to support the new countertop and create a little house for the washer and dryer.
It’s just three pieces of MDF that we had cut to size at the hardware store, with 1 x 3’s across the front and back and some pine screen molding to finish off the front edges. Here’s a picture from right before the countertops were installed.
We debated whether it was worth it to put the solid piece between the washer and dryer, and now I’m so glad we did.
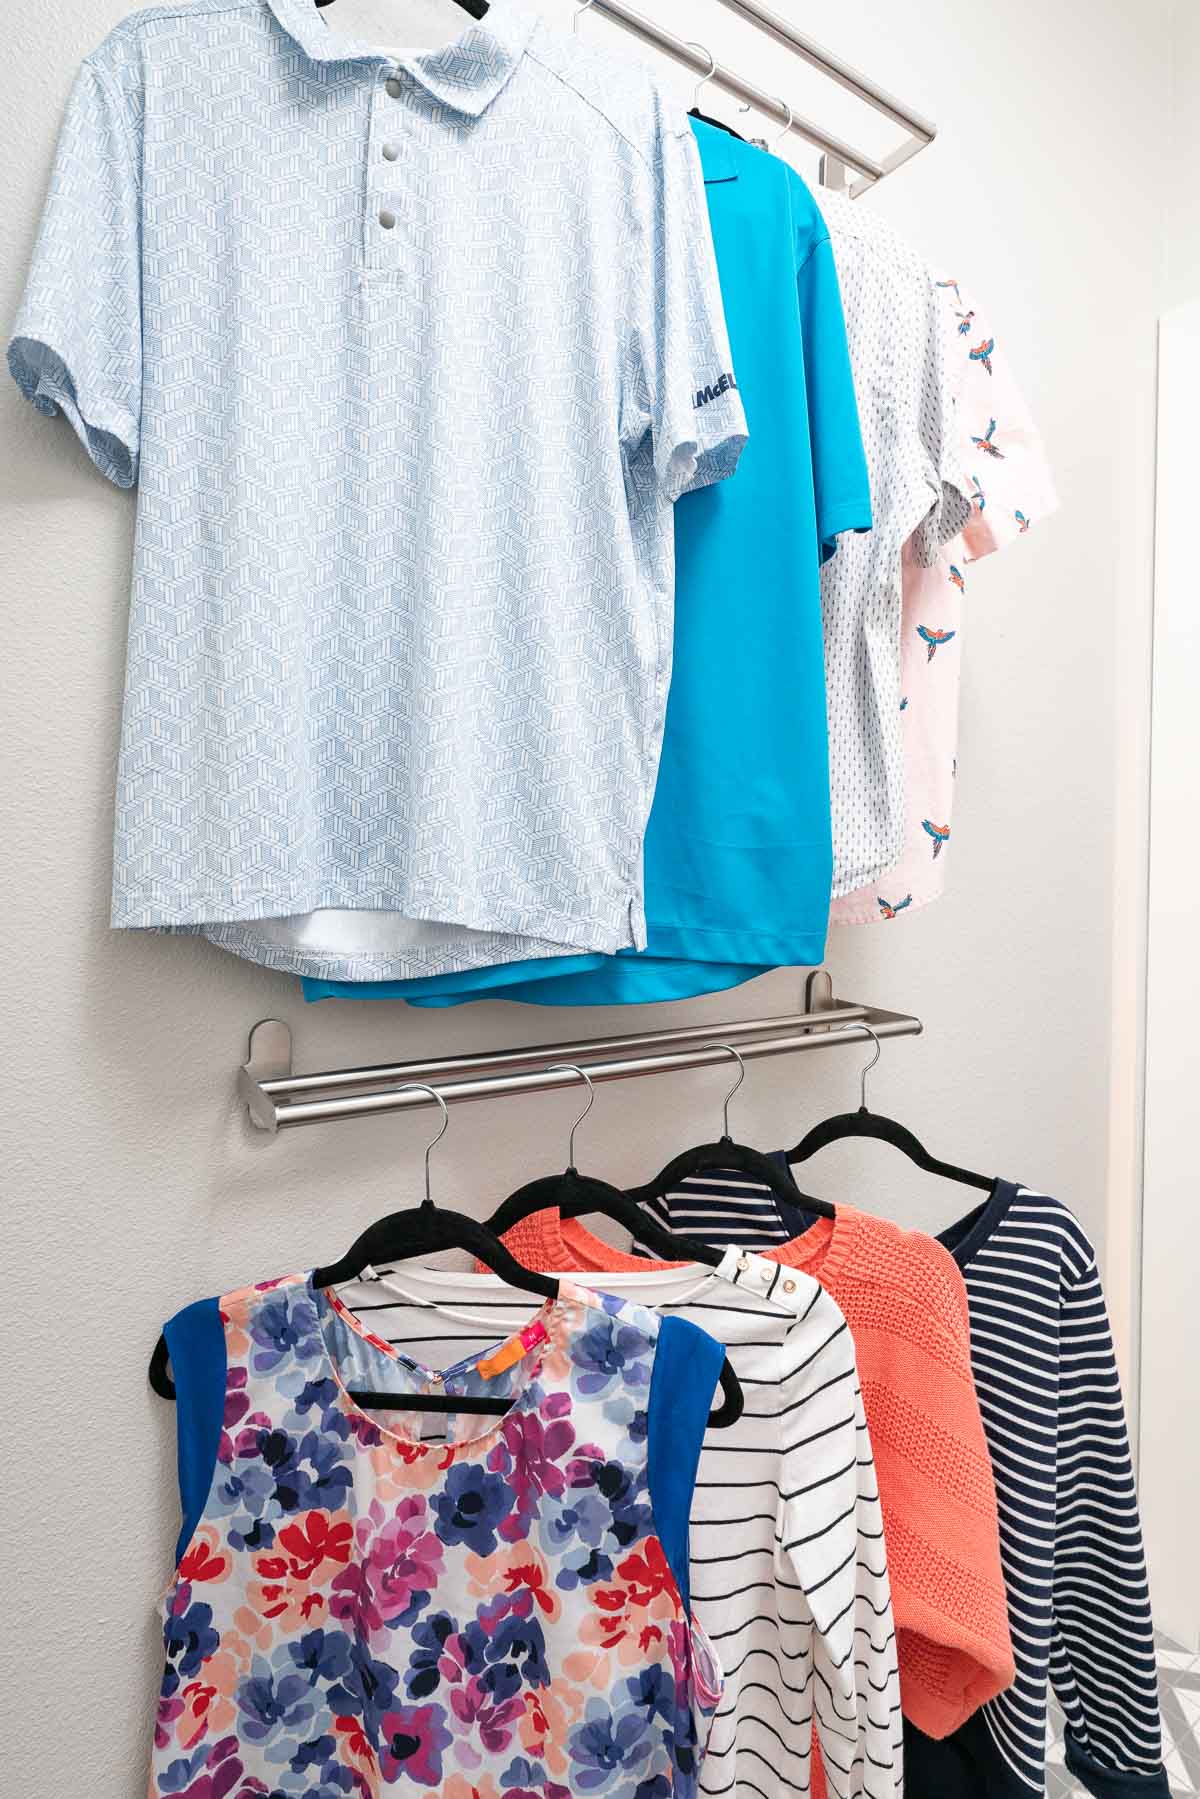
I think the most genius idea I had was also one of the most affordable. I was stressed about removing the old hanging space for clothing coming out of the dryer. It was previously over the cabinet that now holds the sink, so it had to go.
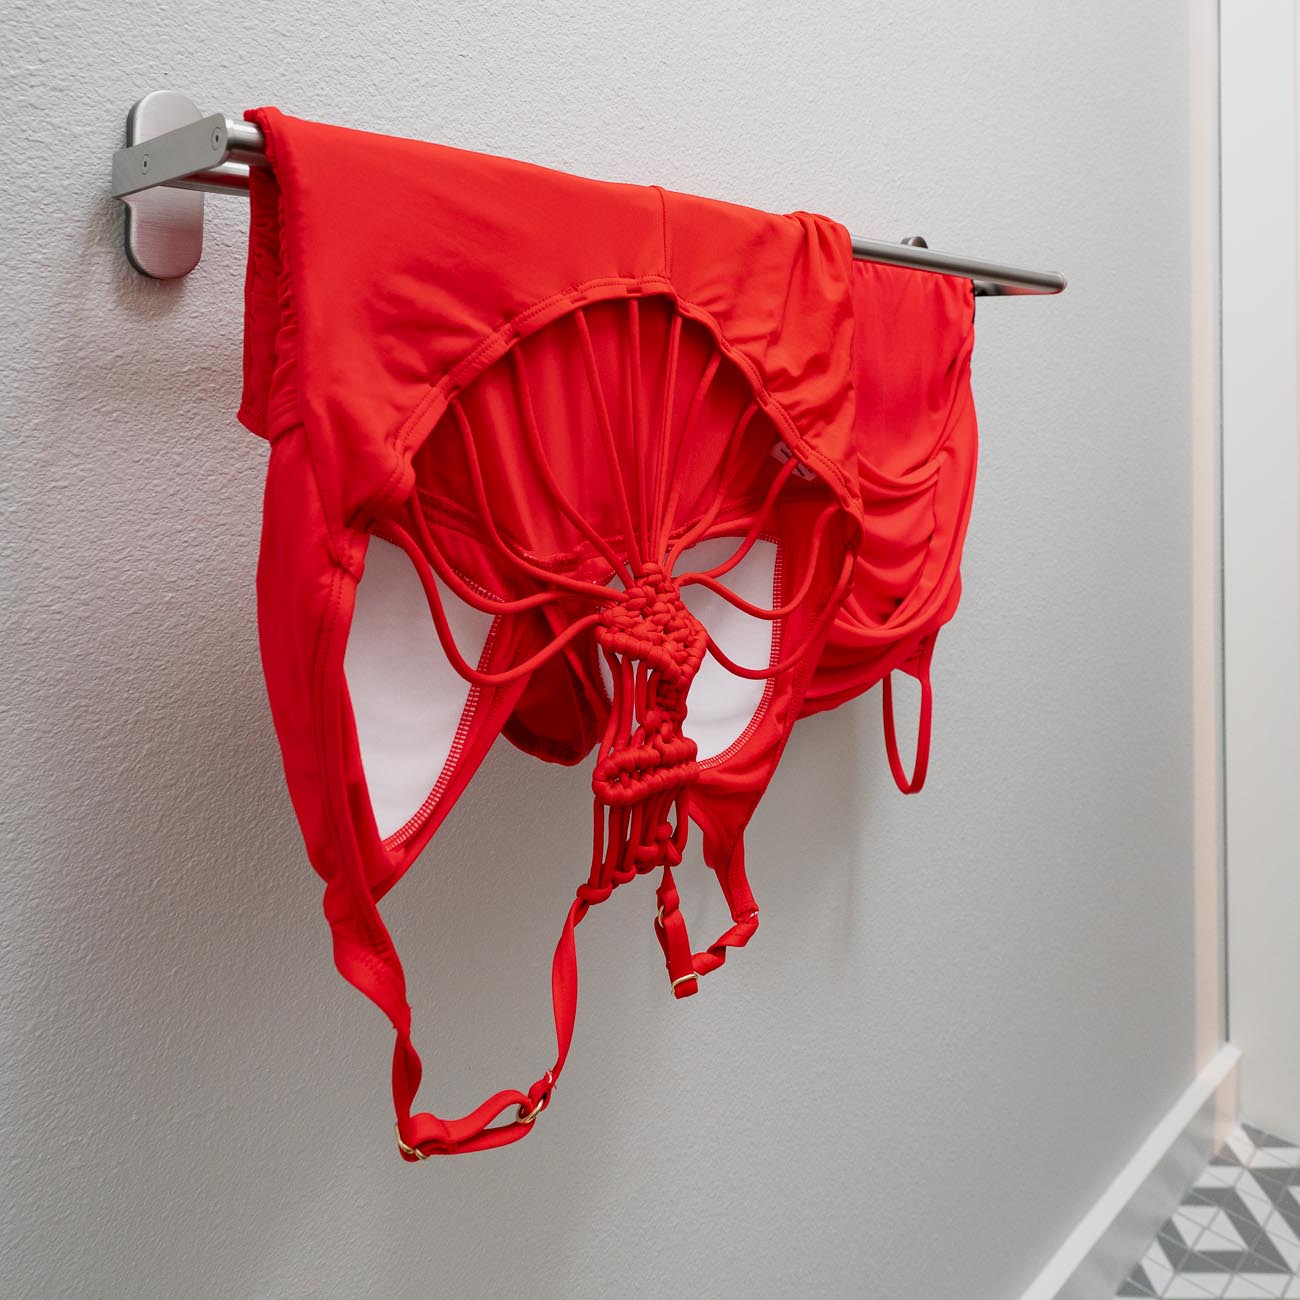
Instead of going with a traditional closet rod (because we had nowhere to put one in this small room), I found the perfect solution – a double towel rod! Since we installed two, we can separate our clothes as they come from the dryer and it makes it even quicker to put them away in the closet when we’re done.
It’s also a great drying rack!
In addition to the tile, we lightened up the navy walls and swapped out the molding to the simple flat style we used in the laundry room.
Now the two rooms flow together really well!
Whew! So that’s all the construction and style choices for this DIY laundry room makeover! While it wasn’t our lowest budget makeover, the smaller space made it affordable to splurge on things like the exact tile we wanted and we have no regrets!
Here’s a handy list linking to everything I could think of, but feel free to ask if you spotted something I didn’t mention.
Source List
BLANCO Sink
BLANCO Faucet
Atlas Hardware Cabinet Hardware
Countertops: Cosmos Venato Extra Quartz installed by Countertop Solutions
Light Fixture – Home Depot
Floor Tile – Home Depot
Wall Tile – Home Depot
Floor Grout – Silver
Wall Grout – Delorean Gray
Upper Cabinet Door Style
Lower Cabinet Door Style
Gray Paint Color: Repose Gray, Lightened to 50%
White Paint Color: BM White Dove (matched into Sherwin Williams)
Double Towel Bar
Soap Dispenser
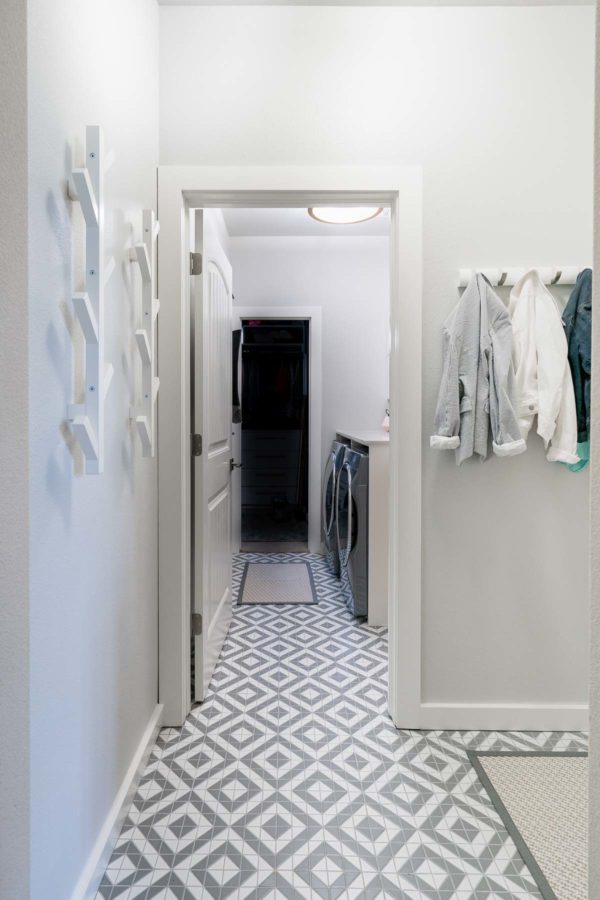
Branch Wall Coat Racks
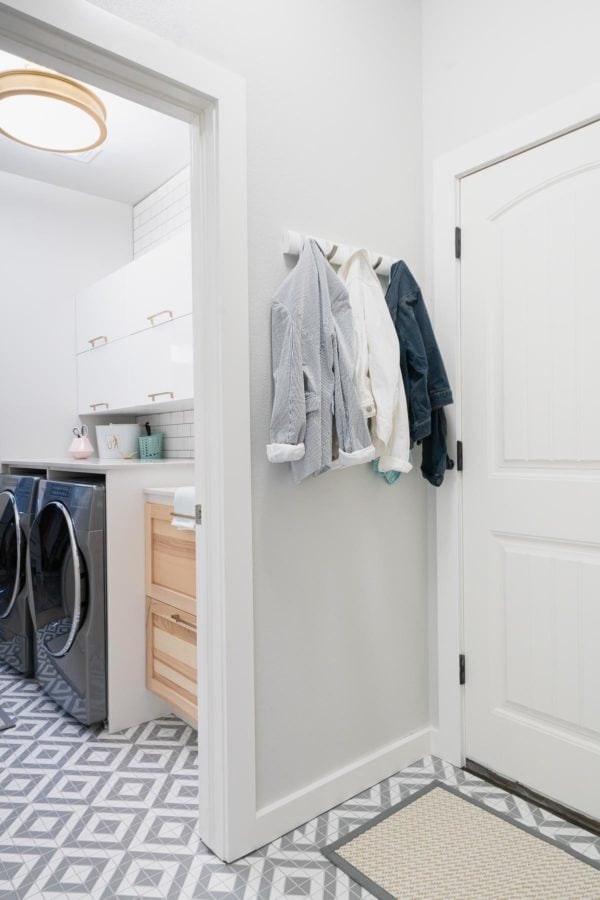
Flip Hook Coat Rack
Rugs
Wood Letterboard
Next week, we’ll dig into the nitty-gritty organizing details, including what’s inside each cabinet, how they are organized, and what the room looks like when we’re doing laundry.
I had a few new ideas that are making the process easier and I can’t wait to share them!
UPDATE: SEE THE LAUNDRY ROOM ORGANIZING POST NOW!
Also, for those asking about laundry baskets for dirty clothes and ironing boards, we keep the laundry basket in our bathroom closet and I’m excellent at avoiding the iron. I’m a huge fan of both Wrinkle Releaser spray and the steamer. In case of a clothing emergency, we have an iron & board upstairs.
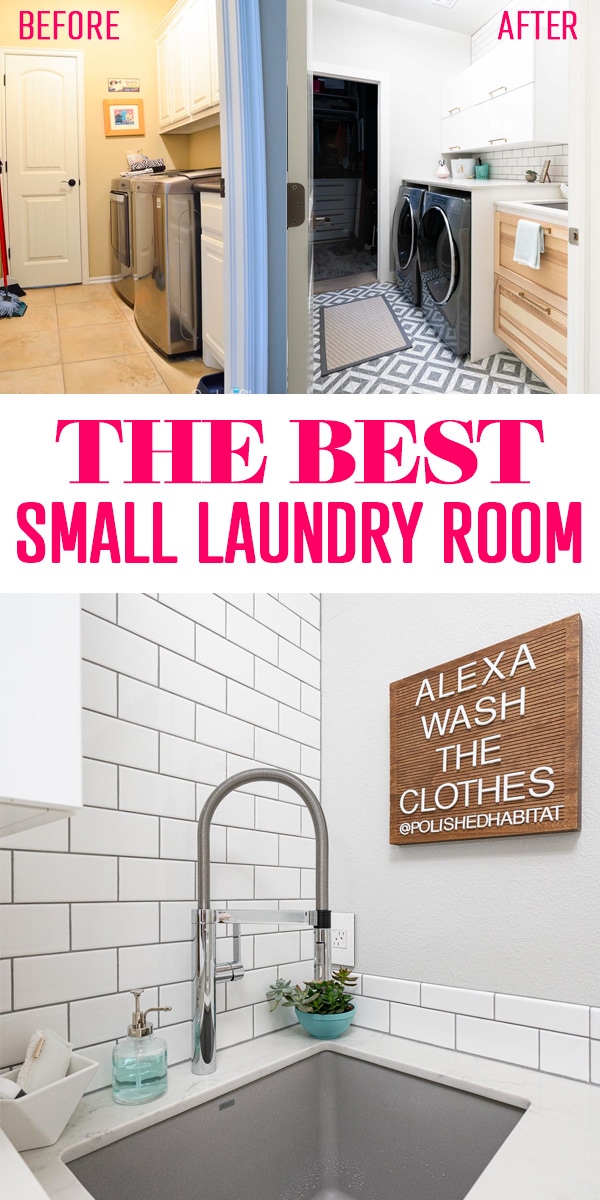
Here’s a final look at the before and after. It’s like a different house in the best way. Now we just need the rest of the house finished to match!


Marty says
Wow, this is gorgeous. You did an amazing job.
Melissa George says
Thank you Marty! It was a ton of work and hiccups along the way but I love how it turned out!
Gill Shanahan says
As always- style and functionality coming together in a beautiful way. Good job you two.
Sue says
Lovely makeover but Gus is the real star!
Melissa George says
That is so true!
RW says
Looks fantastic! Love the tile and sink and pulls…
[BTDT, I would add some plastic feet to your MDF cabinet, as a water overflow is going to happen.]
Kareen Turner says
Looks great. Front loaders are popular as they do allow bench space ontop. Where does family put dirty washing?
Melissa George says
Thanks! Our hampers for dirty clothes are in the bathroom closet.
Joycegina says
What a beautiful new laundry room! So bright and attractive! Love that floor! We have a BLANCO sink in our kitchen and I just love it! It is 8 months old and still looks like new. Not a scratch on it despite all the use. So easy to clean and dries quickly too. Such a quality product!
Melissa George says
Yay! I’m glad you’re still loving your sink!
Lacey says
The difference is amazing. I kinda want to hang out in there…
Melissa George says
Thank you so much! Me too 🙂
Alicia says
What a beautiful space! I would love to wash laundry in there. 🙂 Not sure I could choose a favorite part, either. Just curious: Were you able to temporarily install your washer and dryer somewhere else during the renovation? We are in the middle of a kitchen remodel that is taking much longer than originally intended, and we’re having to use a laundromat since the only space we have for a washing machine is in the kitchen. As you said, all the work will be worth it in the end!
Melissa George says
Oh, that is tough! We weren’t able to install them anywhere else, but we kept them installed as long as possible and got them hooked back up as soon as possible. It was a pain to work around them, but worth it to have them. I think it was only like 7-10 days without either the old or new ones connected. We were able to get by only washing 2 loads at my mom’s during that time. And by “at my mom’s”, I mean she was amazing and picked up the hamper when she picked up my nephew from our house and then had most of it done when we went over to her house for a family dinner that night.
I don’t know if this is an option in your area, but I was shocked once when my neighbor said she dropped her laundry off somewhere in the morning and then picked it all up on her way home. It was a full-service laundry mat and way cheaper than doing that at the dry cleaners. I don’t remember the specifics, but it was way less cost-wise than I expected. It might be worth it so save your time sitting and waiting?
Best of luck with the rest of the kitchen!
Scarlett says
I love the new laundry room! I did a little reorganizing in mine a while back. Trying to figure out how to get rid of the trash can to help declutter the space and I saw in your first picture that you had a lint box hanging on the wall. Where did you get it? or do you have any other suggestions? I have a small countertop with a sink and I am trying to keep things off of the countertop.
Melissa George says
Hi Scarlett, It was a DIY project I did: https://www.polishedhabitat.com/laundry-lint-bin/ I’ve also seen this on on Amazon that hangs on a cabinet door and is intriguing: https://amzn.to/33isUBa . Hope one of those will work for you!
Rachael @ This is our Bliss says
Stunning as always, Melissa!! We’re wrapping up our laundry room project now and it’s one that has been dragging on…for…years ha!! Love what you did 🙂
Melissa George says
Thanks so much! I can’t wait to see your final room!
Cindy says
So beautiful! I can’t wait until I can redo by laundry room. I love the gray and white.
Melissa George says
Thank you Cindy!
GML says
Which white IKEA cabinets? I don’t see them listed. LOVING your blog so much! I learn something new every day 🙂
Melissa George says
Ah, thank you so much! The upper cabinets are the Sektion boxes with the Ringhault gloss white doors.
Karie Babbitt says
Looks amazing and fun! 🙂
Maureen says
Love! But I’m dying to know where is drain for washer. I just had washer box installed and it’s visible bc plumber said it has to sit a certain height from ground. It’s about 6 inches above top of washer
Melissa George says
Oh man, ours definitely isn’t that high unless this washer/dryer set is just taller? The countertop sits RIGHT above the drain box, and the counters are about 2″ above the machines.
J says
what kind of cabinet is the one for the sink?
Melissa George says
Hi – It’s the IKEA SEKITON Base cabinet – sink & recycling with TORHAMN style front.