Fixing the scratches in our wood floors turned out to be way easier than I expected. Now it’s part of our spring cleaning routine.
I think it was the same week that we moved into this house that the brand new hardwood floors suffered their first big scratch. Someone innocently slid a dining room chair that we hadn’t put felt pads on yet, and we said goodbye to the perfect floors.
Over the past few years, we’ve acquired plenty more scratches and I started counted down the days until it was time to have the wood floors refinished.
Then, I had an idea for a quick fix and after a little trial and error testing, it worked even better than I hoped with NO sanding required!
I’ll show you my new favorite trick, and then tell you what DIDN’T work for me.
Materials for Scratch Repair:
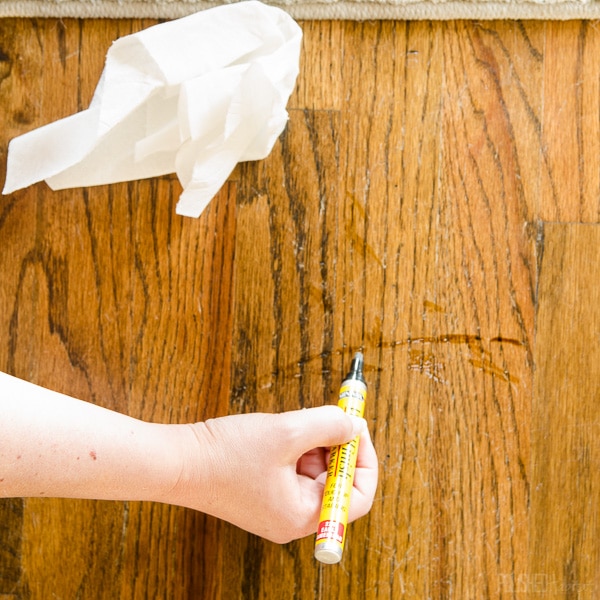
1 Minwax stain marker to match the dark grain of your wood
1 Minwax stain marker to match the lighter parts of your wood
Paper towel or clean cloth
(PS: This is NOT sponsored, just what I found to work. I would NOT recommend buying those markers on Amazon. I was going to link to them for you, but the prices were 3 times higher than in-store and they didn’t have very many colors.)
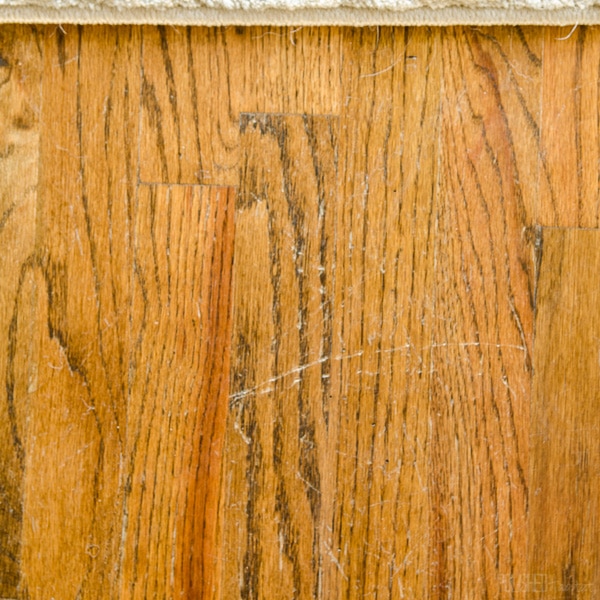
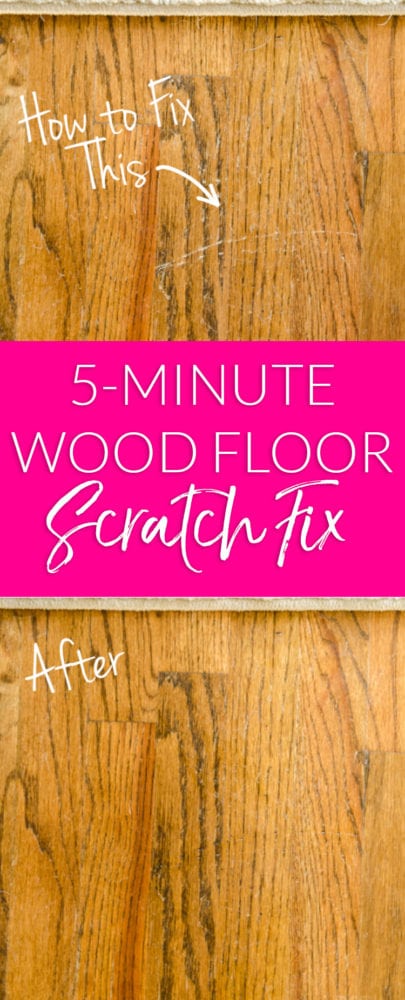
Here’s what one scratched area looked like before:
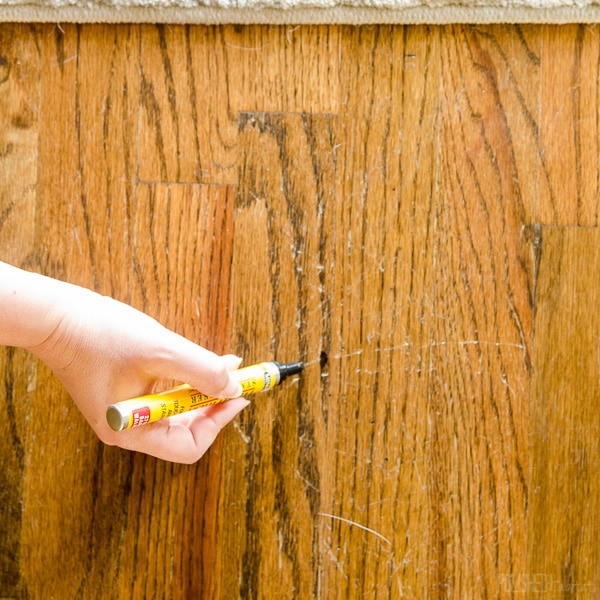
Step 2: Quickly wipe away any excess stain.
Step 3: Use the lighter marker to go over the whole scratch. You can go right over the areas you already used the dark marker on.
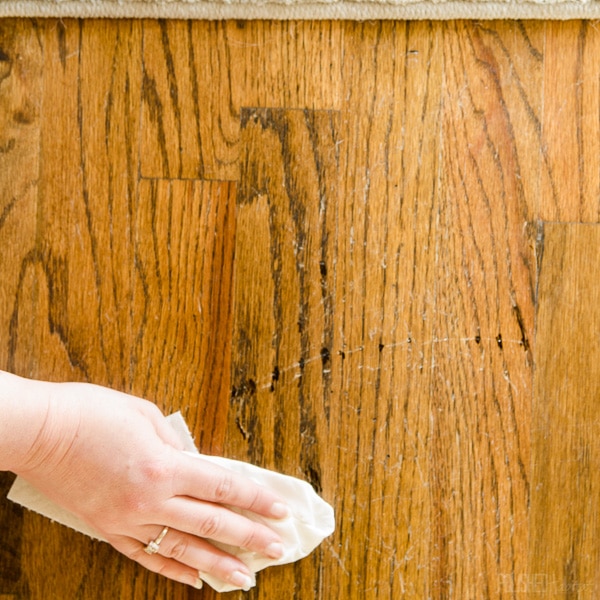
Step 4: Quickly wipe away excess stain.
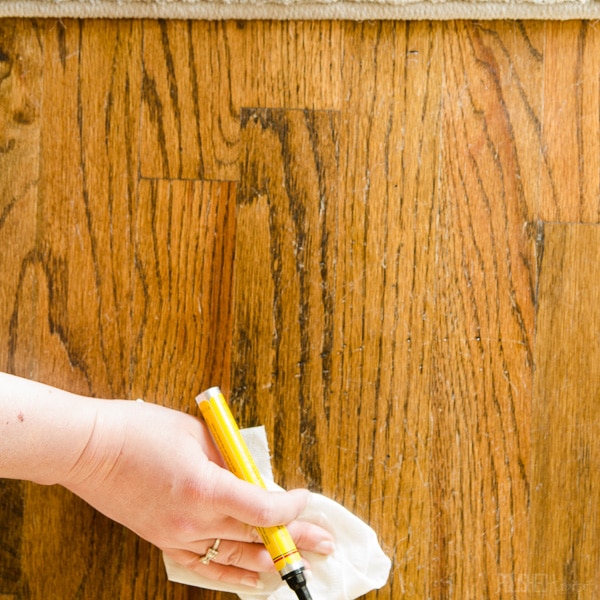
IMPORTANT: Test out the markers for the color match in a hidden area before tackling any prominent scratches. I don’t want you to make the floors worse than they started! When in doubt, start lighter because you can also go darker.
What Didn’t Work:
I first tried a Minwax Blend-Fil pencil, but I wasn’t a fan. It’s waxy, which I thought would be great to even out the scratches, but it filled the scratch with a solid color and didn’t look natural to me. I also tried it on a piece of wood furniture, but the consistency was still strange.
Then, I tried just a single color marker. It looked better than the before photos, and the scratches weren’t AS noticeable from a distance, but you could definitely still see them. Adding in the 2nd color made a huge difference!
Two markers was the winning formula! Here’s one more look at the before & after.
Not bad for about one minute of work, right?
For more fast decorating & organizing ideas, check out the rest of the Fast Fix Friday series.
Fast Fix #1: Faux ‘Planting’ Tips
Fast Fix #2: Quick Garage Organizing Hacks
Fast Fix #3: $2, 2 Minute Kitchen Art
Fast Fix #4: Bathroom Organization in Minutes


Sarah says
Great idea to use two different colors!
I’m a big fan of Old English for cleaning up scratches on furniture and I bet it would really help as a final step in your process too! Maybe even a first step as well because it would really get into those little baby scratches that probably aren’t worth filling in with the pen. Then it would give it a nice cohesive finish. Just a suggestion!
Thanks for your tip, I’m going to try it out at home.
Melissa George says
Thank You! I think trying the Old English first and then going back with the pens in bigger spots is brilliant!
Alex Sutton says
This is amazing and super easy! I’ve been so worried I was going to have to do a huge hardwood repair project in order to get several scratches taken care of. I didn’t even know that MinWax had markers that I could use for smaller issues! This will be great especially since I don’t have the budget for a huge overhaul project to fix them up! Thanks for sharing!