Happy Guest Post Day! Katie from Addicted 2 DIY is here to share the oh so summery placemats she made on the cheap. If you don’t already follow Katie, pop over to her blog and check it out. I love it! She builds the most beautiful wood furniture in between delicious food and fabulous craft posts.
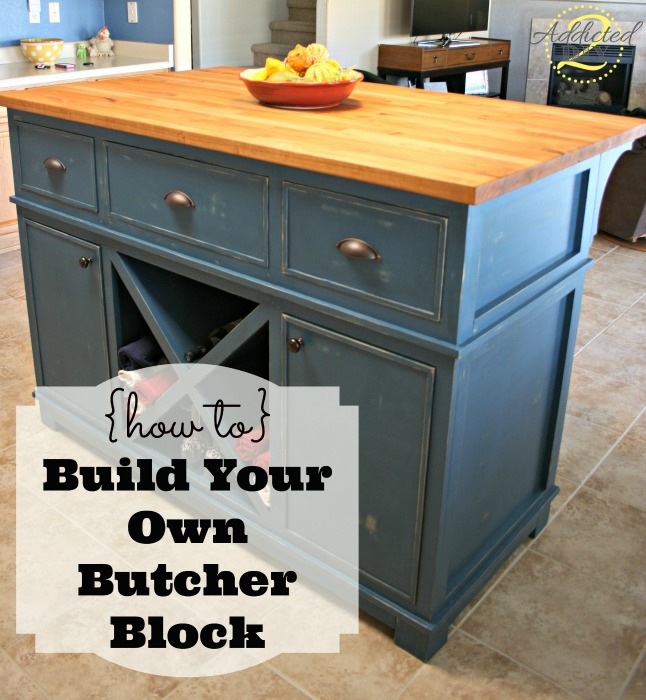
Check out this island & counter top she built. Incredible!!!
Katie & I are pretty sure we were separated at birth. Pretty much every day we add to the list of bizarre things we have in common. Right down to our younger brothers being married to girls from the same place, with the same name! Every time I tell my husband one of our new in-common discoveries, he swears I’m making it all up!
One of the first things we knew we had in common was a love of frugal projects, so I was thrilled when Katie agreed to guest post on A Prudent Life. Here she is with some DIY placemats!
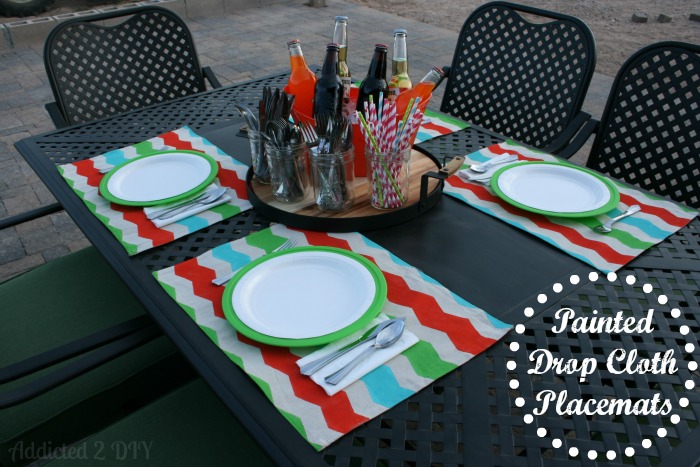
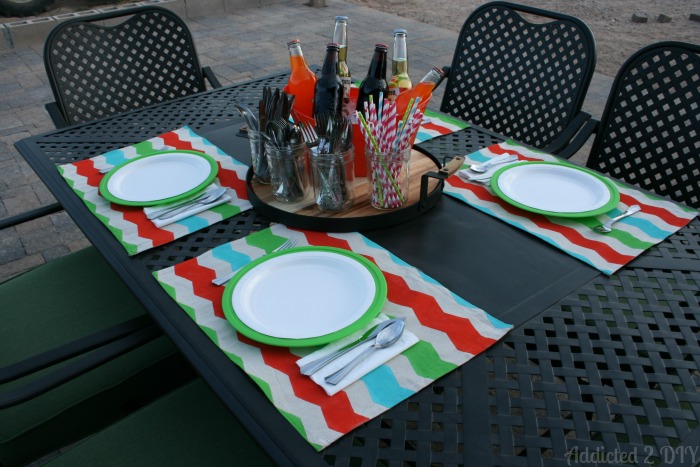
Hey everyone! I’m Katie and I blog over at Addicted 2 DIY. I’m thrilled to be over here today guest posting for my blogging BFF, Melissa! Today, I’m sharing how I made these fun and colorful placemats out of a simple drop cloth. We’re in the midst of our marathon landscaping project and one of those projects is a 1,200 square foot patio extension. I know, it’s huge! We live on an acre though, so it fits in with our massive backyard. Last weekend, we found this amazing deal on an outdoor dining set from Home Depot. We weren’t exactly ready to start adding furniture, but the deal was too good to pass up! I decided I wanted to make some pretty placemats to put on it for when we eat outside (or al fresco if you want to get fancy). These add a great pop of color, but they also make cleanup so much easier for me. I swear my boys get almost as much on the table as they do in their stomachs!
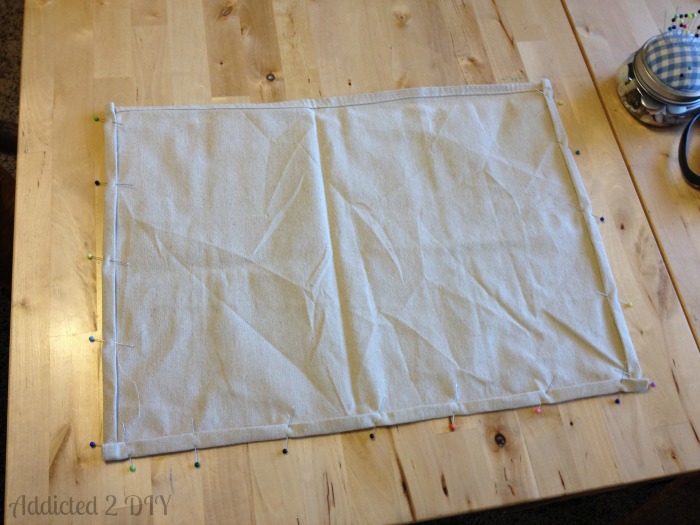
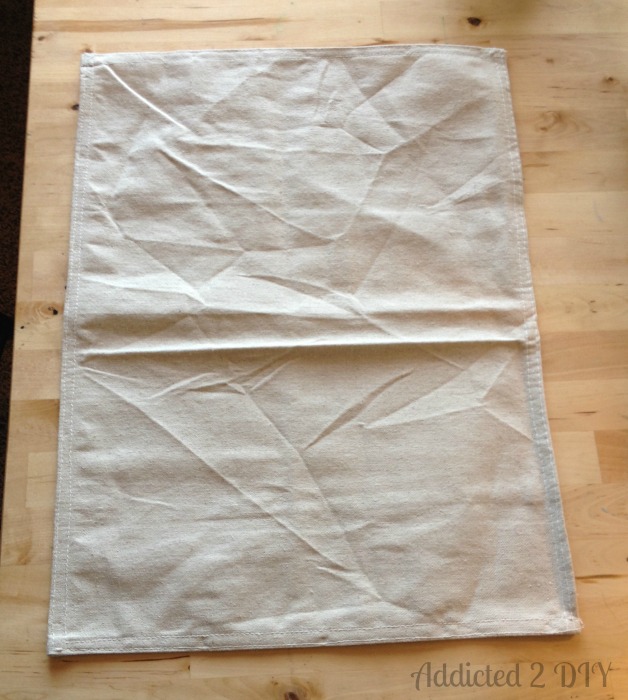
To get started, I cut four 17×21 inch rectangles out of a drop cloth that I purchased from Home Depot. I had looked up the standard sizes for placemats and 16×20 inches was a common size. I cut them slightly bigger to allow for the seam allowance around each side. I folded the edges twice to completely cover the raw edge and then sewed two rows of stitches all of the way around. On some parts, I was lucky enough to keep the original sewn edge, so it was a little less work for me. Less work is always good.
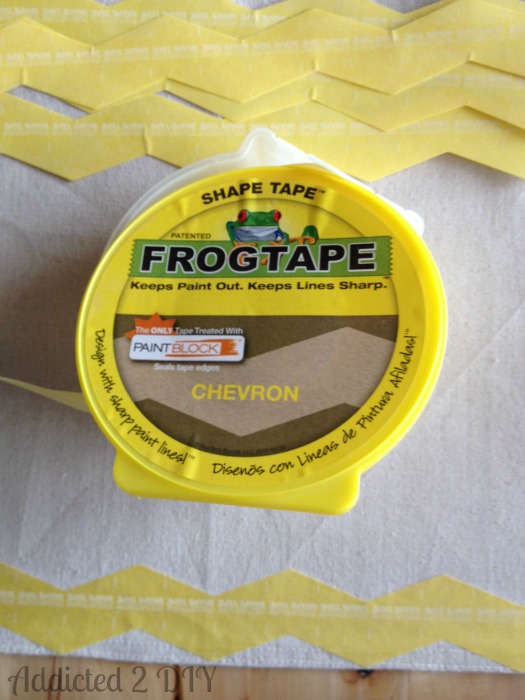
I had some leftover chevron Frog Tape Shape Tape and decided it would be perfect for this project. There wasn’t any real science to how I placed the tape. I just sort of eyeballed it and then stuck it down.
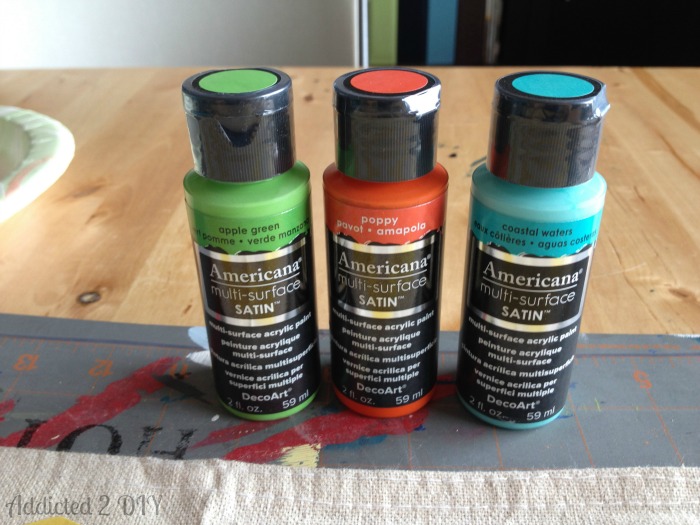
I bought some fun colors of Americana multi-surface paint at Michael’s. I love this paint and these colors felt so summery to me. I’ve used this paint before on these DIY Painted Kitchen Towels and it worked great! I’ve washed and dried these towels a few times now and the paint holds up perfectly.
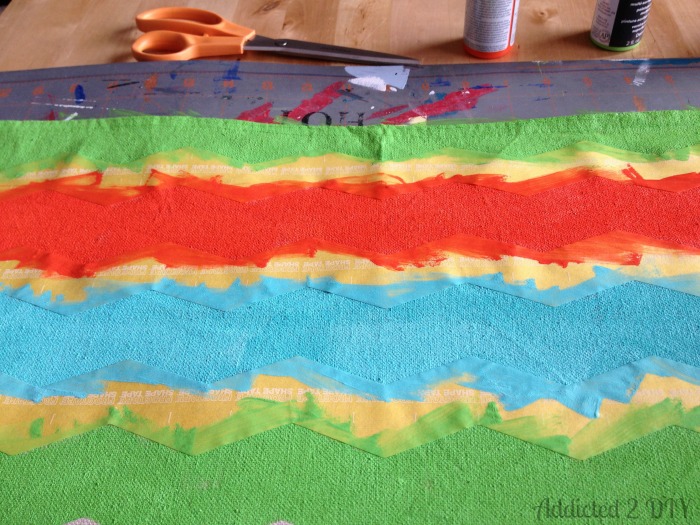
I placed a large quilting mat underneath my placemats to protect my table from any paint bleeding through and then got to work painting my stripes. As soon as I was done painting, I peeled up the tape. It worked really well on the fabric and gave me nice, crisp lines.
I let the paint dry and then repeated the above steps three more times. It was all really easy and pretty quick.
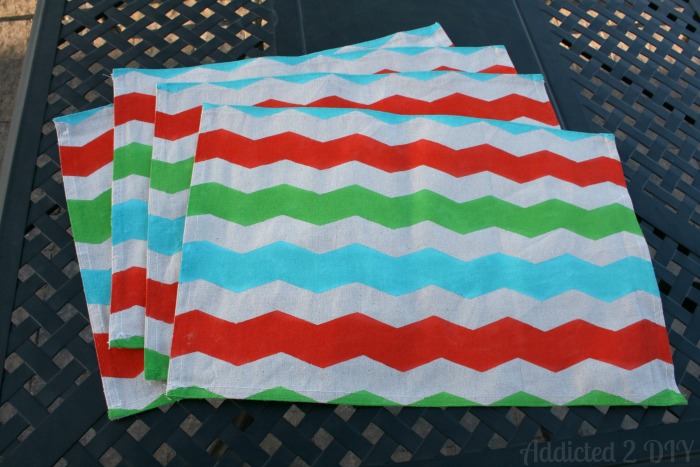
I’m loving how these look on our new table! After waiting so long to finally be able to put in landscaping, I am so happy to finally add some nice decor to the back yard. I happened to find some great paper plate holders and a beverage bucket at the dollar store and they match perfectly with the paint colors I chose. This entire project was super easy and can be finished up in no time at all. If you can sew a straight line, you can easily make these placemats. If the thought of sewing makes you want to head for the hills, you can leave that step out! Just cut the rectangles and have a raw edge on all sides. Simple as that!
I actually bought a pretty big drop cloth for this project and I’m planning to use the rest to make some fun outdoor pillows and maybe some more placemats for inside the house. Have you made any drop cloth projects? I seriously love how versatile and affordable it is.
I also want to give a big thanks to Melissa for letting me guest post on her beautiful blog. I love having a friend in the blogging community that I have so much in common with and I can’t wait to meet her in real life in July!
Now, I hate to say I told you so, but isn’t Katie awesome? She is a great friend on top of being super talented and I’m so glad we found each other out in cyberspace! I literally skipped with joy when I read she was going to be able to join me at the Haven conference in July.
Here is one more project from her blog that you need to check out!
Katie @ Addicted 2 DIY
Twitter / Google+ / Instagram / Pinterest / Facebook
Post Linked Up At: Hit Me With Your Best Shot, Frugal Crafty Home, Link It or Lump It


Amanda Michelle says
So cute! There are just too many fun things you can do with a drop cloth. I love this idea and the colors are so pretty! 🙂
Tess S. says
This Is great!!! I can’t wait to try this out! I have made drop cloth pillows already but never thought of this. Genius!!!!
Trisha D. says
I have some ‘squiggly’ frog tape left over from Haven last year that would make for the PERFECT project- it’ll be a tough decision weather to make placemats or napkins though! Thanks for inspiring Katie, love the colors you chose!!
Meredith says
Love this tutorial and can’t wait to make some to liven things up for summer!
T'onna Peters (Navy Wifey Peters) says
I love those placemats! Great color scheme!
Kelly says
um what?!?!?! They make chevron paint tape. This is amazing! Love all 3 of the projects you created.
Carrie This Home says
I don’t know what I like better–the chevron or the cute bright colors! Love the fact that this project is so easy!