We made it! Five crazy weeks from the time we began, our blood, sweat, and tears have culminated into an absolutely dreamy glam organized master closet.
I thought my first One Room Challenge was tough when I transformed our pantry. Then the garage was even more challenging this spring.
Clearly, my pattern is to just keep pushing us to the limit, because the closet project felt way worse than the garage. Thank goodness the end result was 100% worth the struggle.
I think I may start sleeping and working in the closet. That’s normal, right?
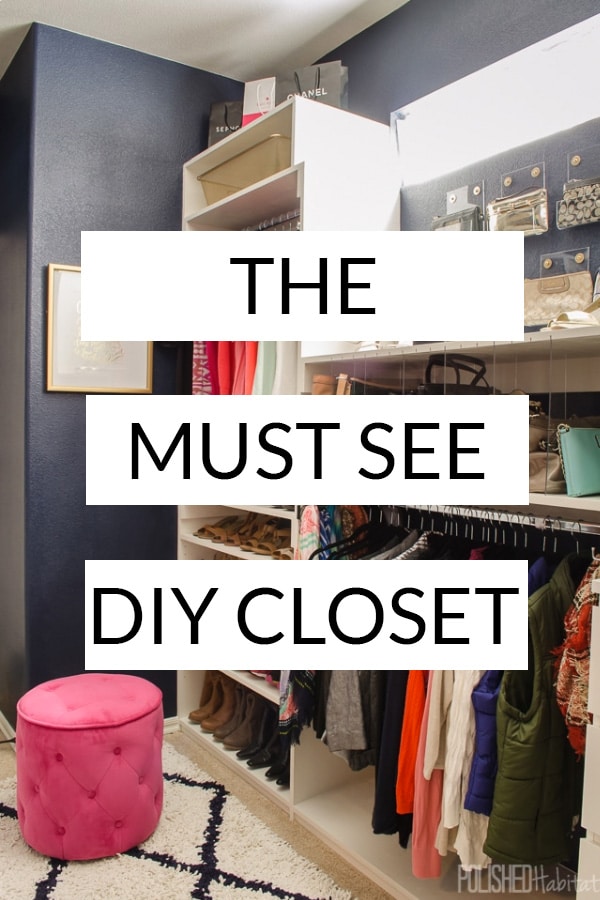
Today’s post is going to be all about the photos, but you can find the full source list here.
If you are wondering what I’m talking about, we gutted the master closet down to the drywall 5 weeks ago as part of the One Room Challenge. Yes, I’m crazy. Luckily there were over 150 other crazies like me, also beating their heads against walls wondering why we decide to do this challenge twice a year. You can follow my progress starting in the week one post, and check out the rest of the rooms at the host blog, Calling it Home.
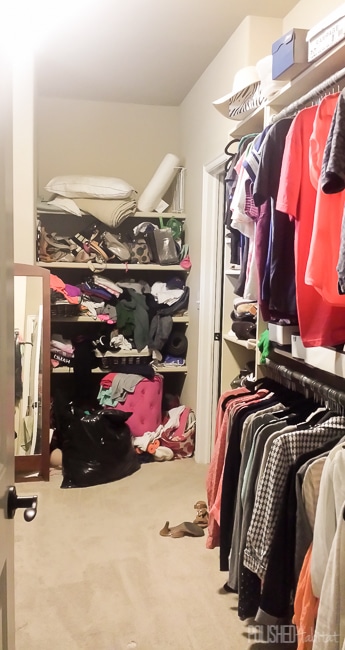
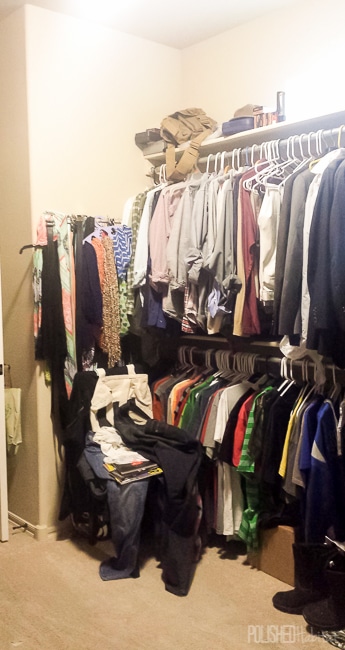
Let’s remember where we started – with a beige on beige on beige dysfunctional closet.
DIY Master Closet Before & After
I came up with a grand design plan, with no idea if we actually had the skills to implement it. There are some bloggers with KILLER building skills, but I’m not one of them. While my husband is willing to help (and I couldn’t have done it without him), he’s not a master woodworker either.
Lucky for us, hard work can overcome lack of skills. You might cry, but the following pictures are proof that persistence wins.
Are you ready?
It’s good.
I’m kinda in awe that it’s mine.
I’d pretty much love you forever if you took a second to pin your favorite pictures as you go. Really. Forever.
Oh, you want to SEE the pictures? Here we go!
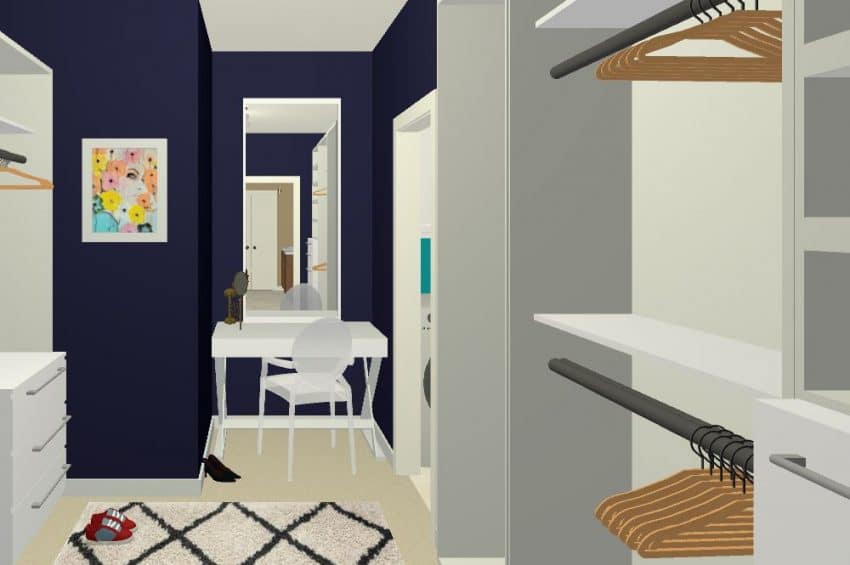
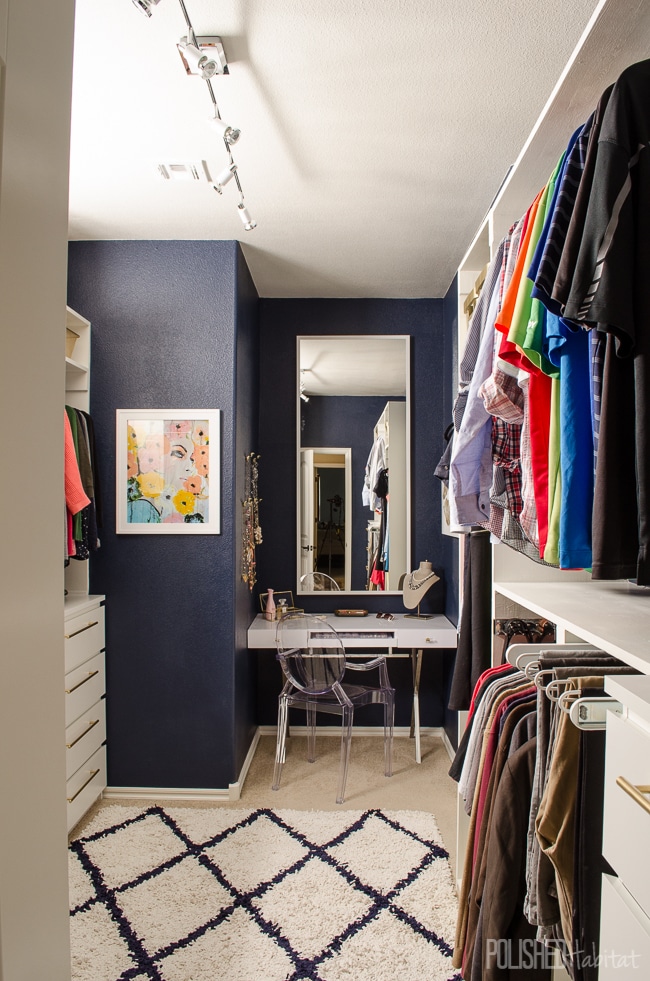
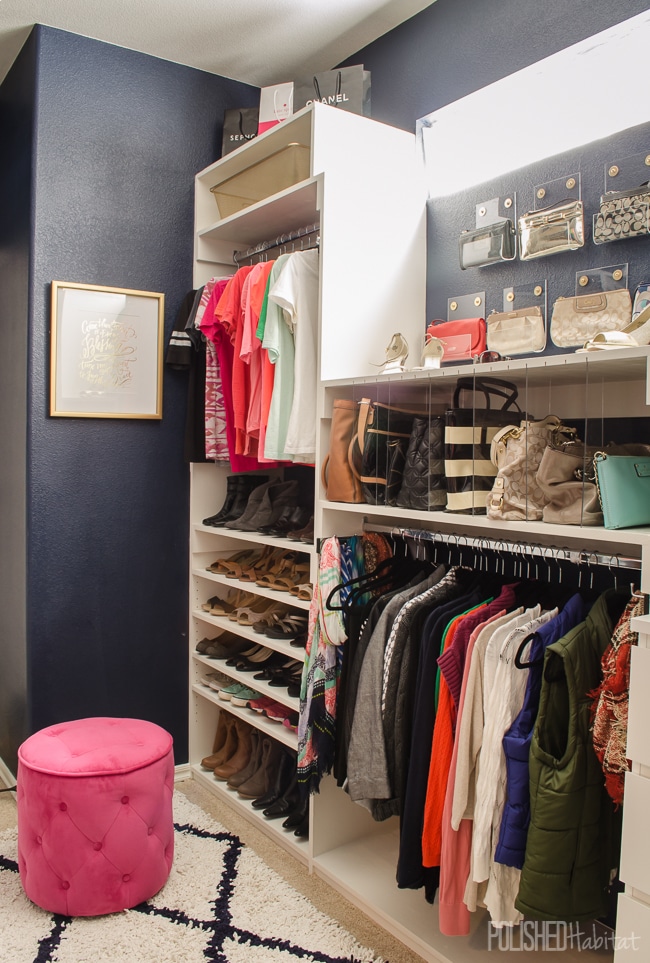
Pretty dang close to my mock up, right???
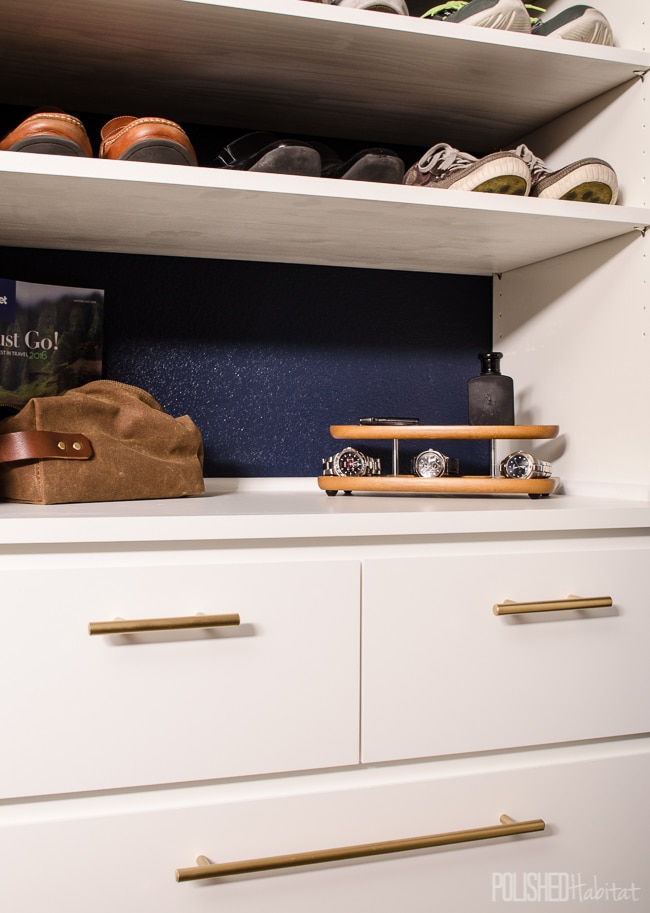
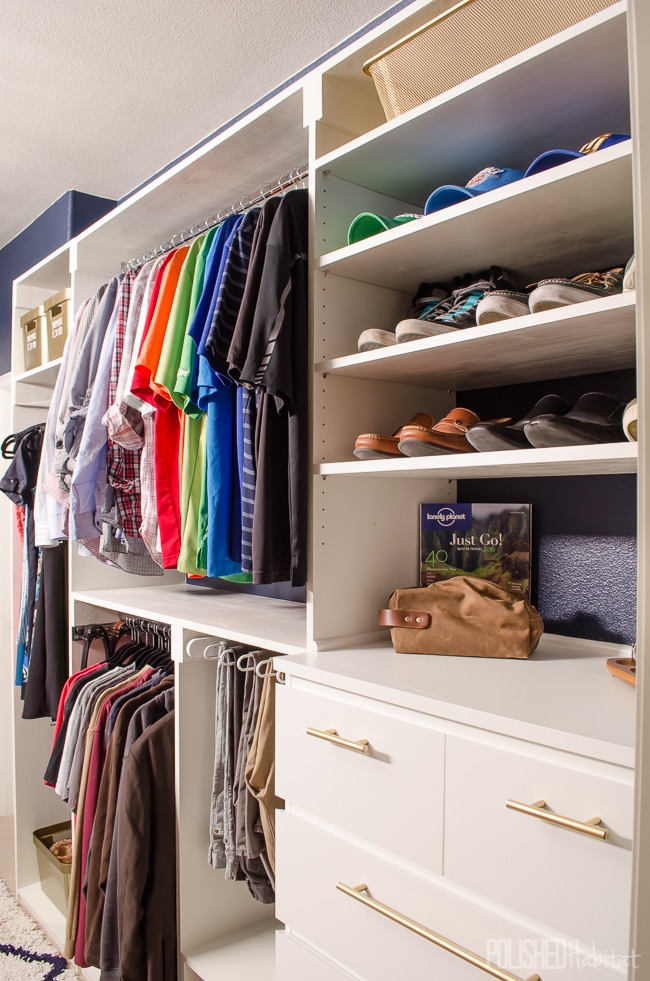
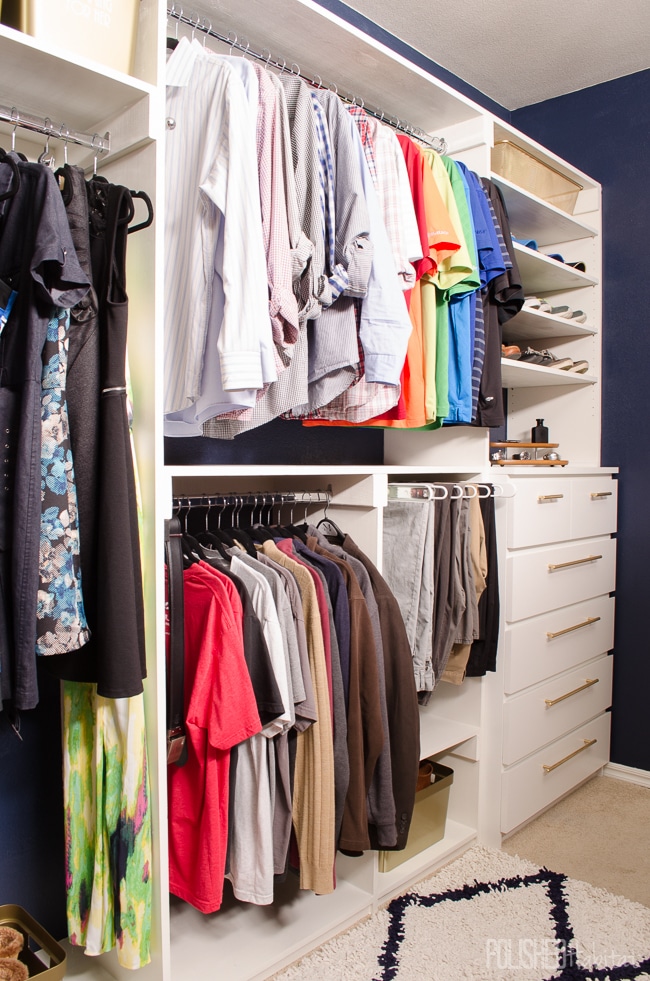
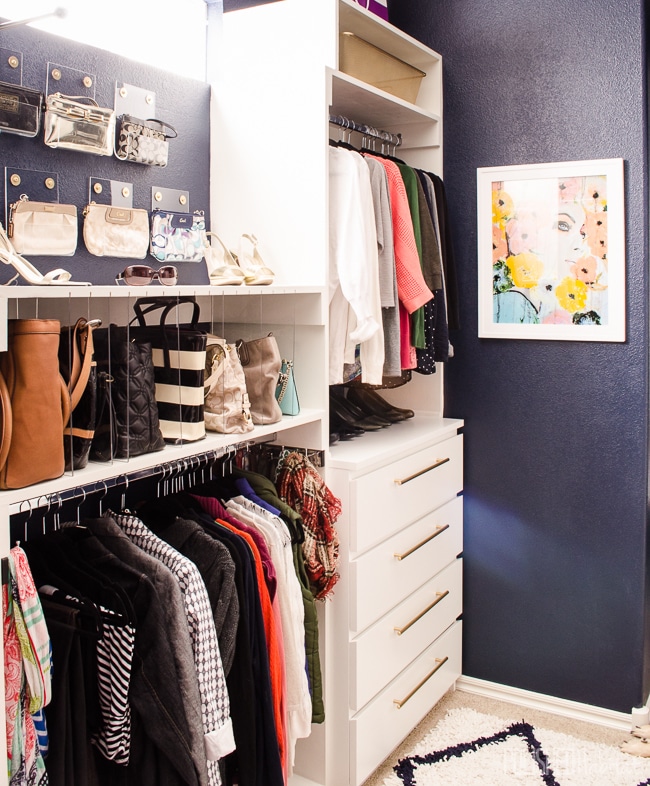
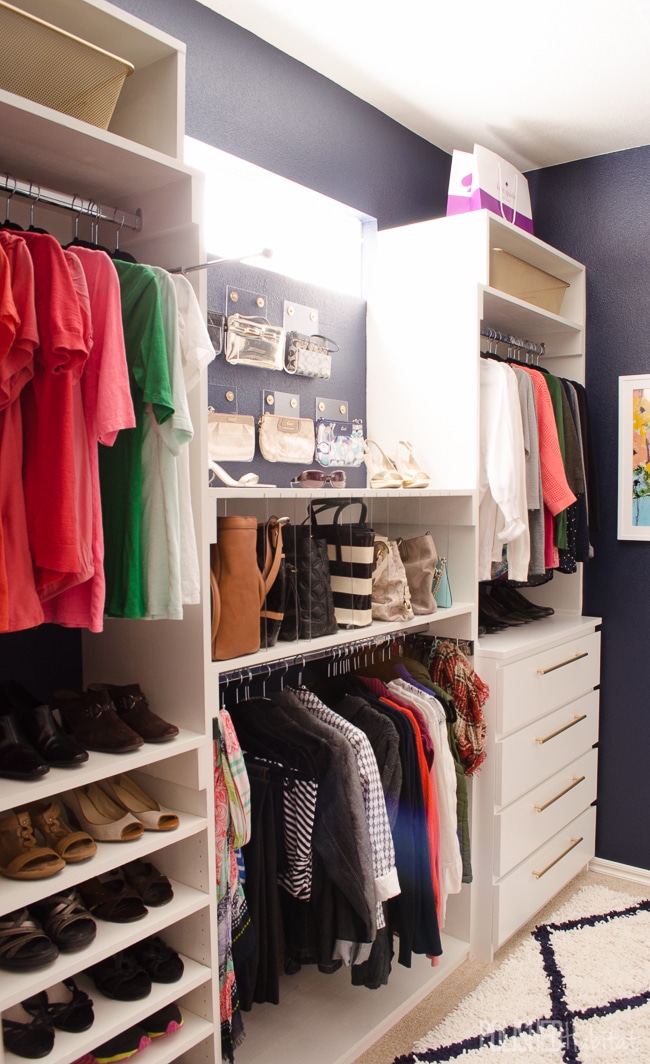
Let’s take a closer look at HIS side. We used an Ikea MALM dresser, added glam hardware, and attached the shelving right to the dresser to create the built-in look without having to build drawers ourselves.
The shoe shelves are all adjustable, and we left space to create a bit of a staging area for him. The wooden tiered stand is a family heirloom from my grandparents. I love having something old among all the new!
ORGANIZING TIP:
I also have a post on how to organize dresser drawers!
Next to the dresser, he has lots of hanging space, including a pull out pants rack. So fancy.
As you can see, I also got a little bit of his side for my dresses. Luckily he’s good at sharing.
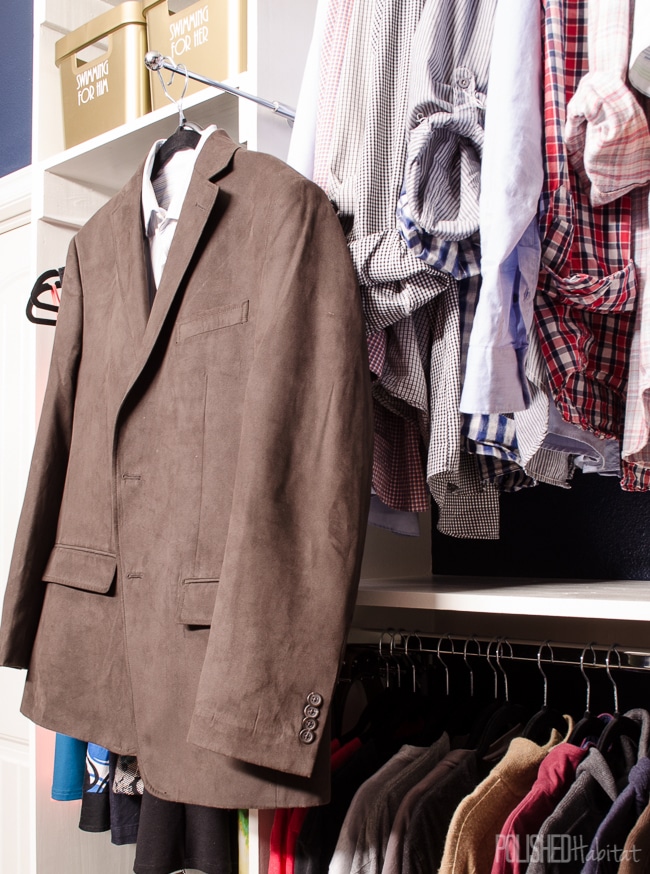
One of my favorite new features is the pull out valet rod. I’ve never been so excited to think about packing!
But enough about him, 95% of you are more excited about the glam goodies on my side, right?
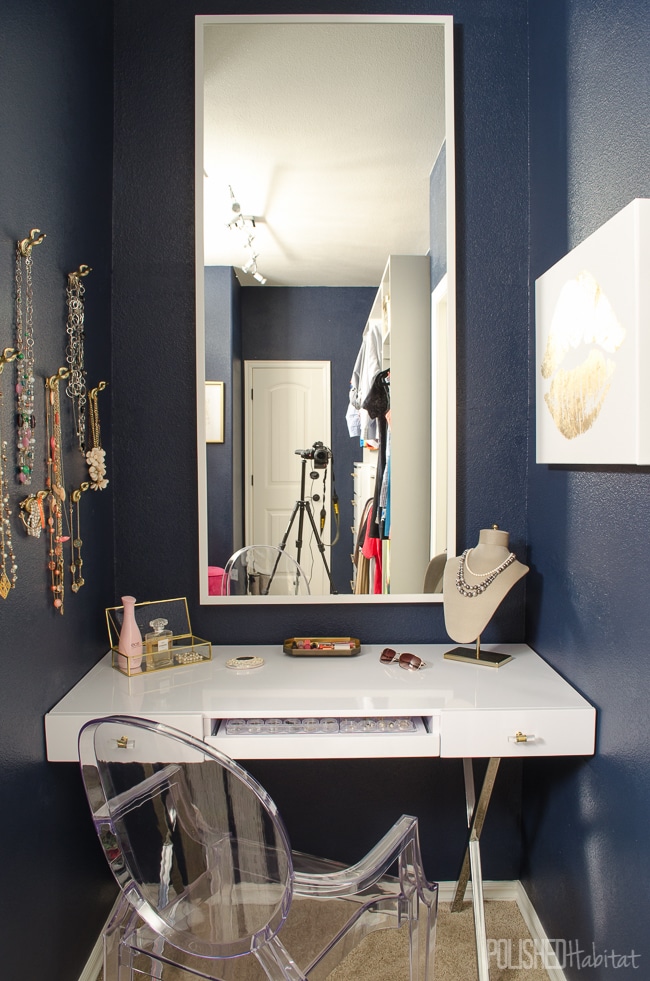
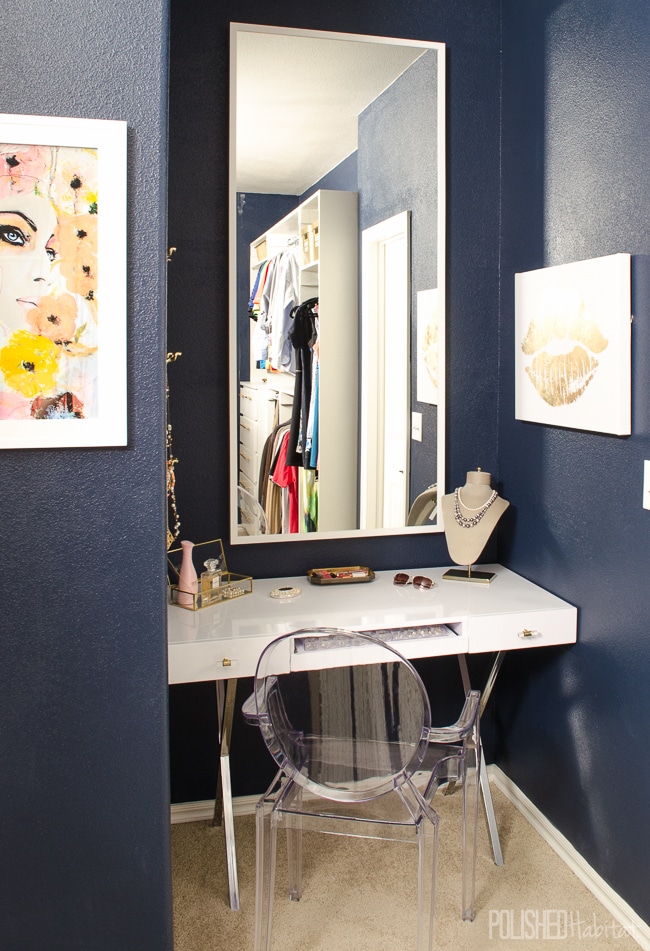
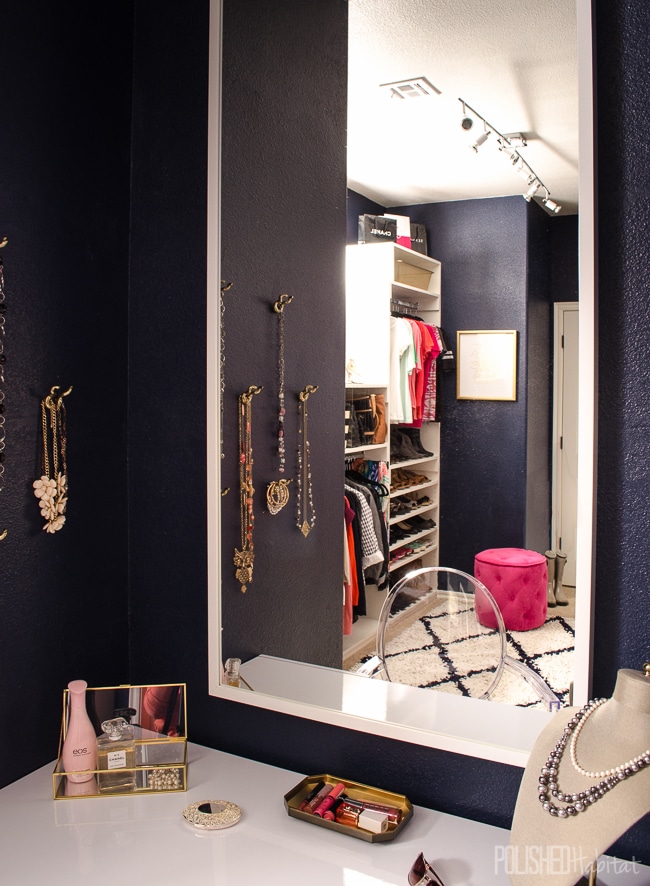
The former abyss of disorganized, too-deep shelving is gone and now I’ve got a dream vanity area!
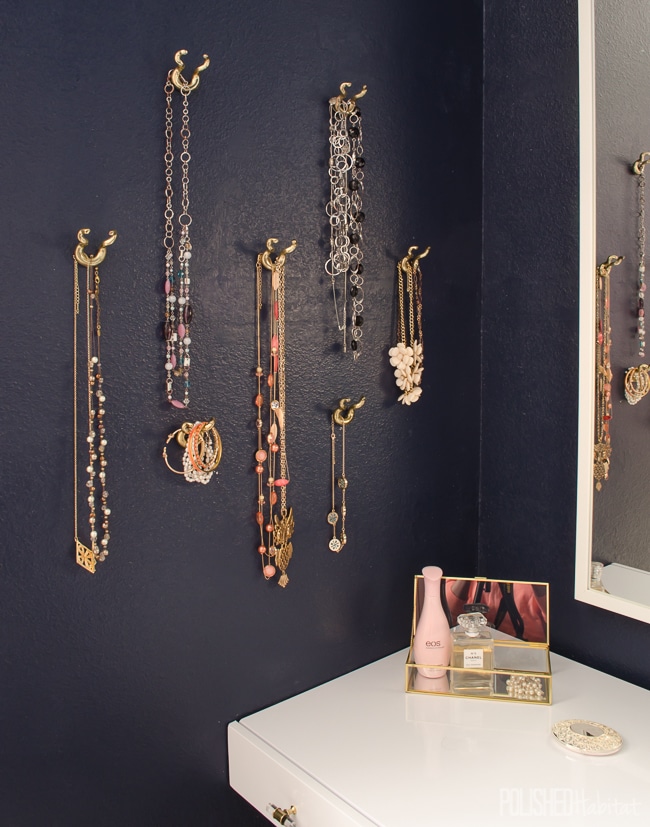
Last week I mentioned not knowing how I was going to hang the necklaces on the wall, and I had nightmares of ending up with pushpins because I was out of time. But sometimes you get lucky.
I found some amazing gold ram horn drawer pulls at Hobby Lobby and knew they’d be perfect the moment I spotted them. I threw those suckers in the cart before someone else could swoop in and steal them from me.
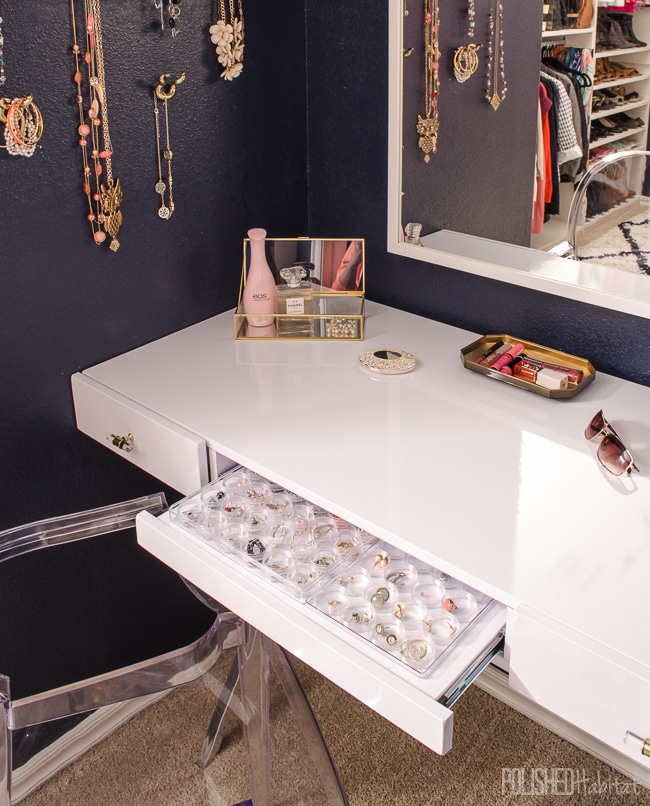
I also found some clear bead organizers that turn what is supposed to be a keyboard tray into ideal earring organization. Have I said “dreamy” lately? Please don’t pinch me, I don’t wanna wake up.
I’m not sure I ever thought I’d have art in the closet. But I love it!
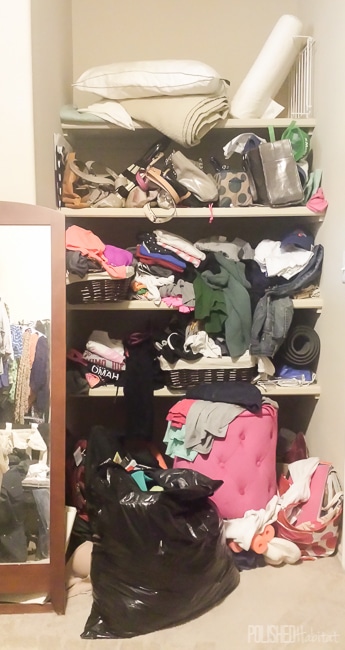
Let’s check out another SCARY before of what used to be his side and is now mine.
And now from the same angle…I have no words. I could spend an hour just scrolling back and forth between this before and after.
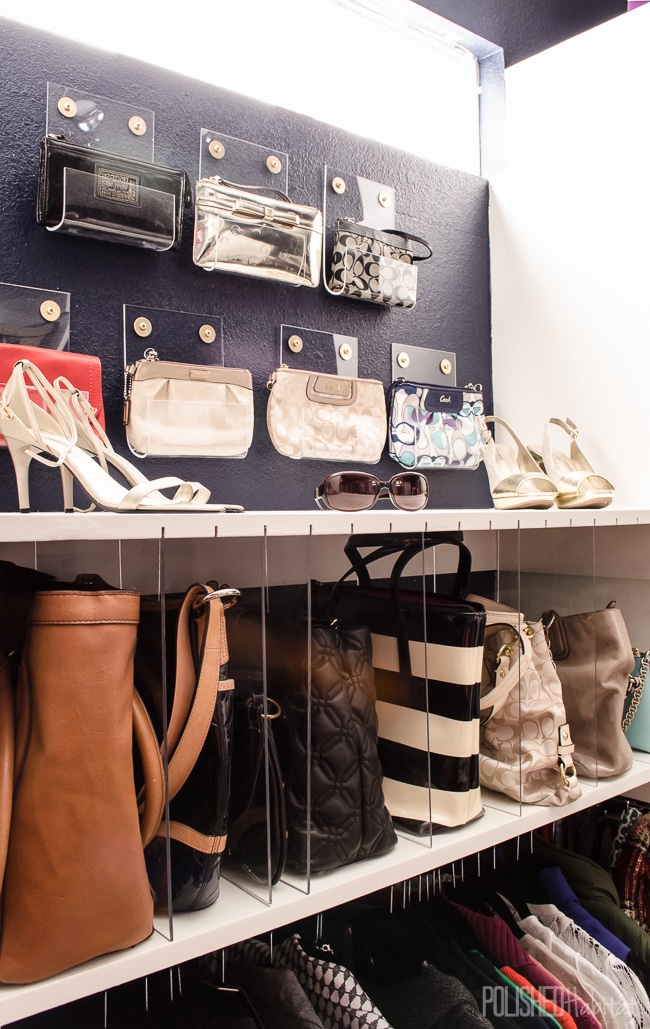
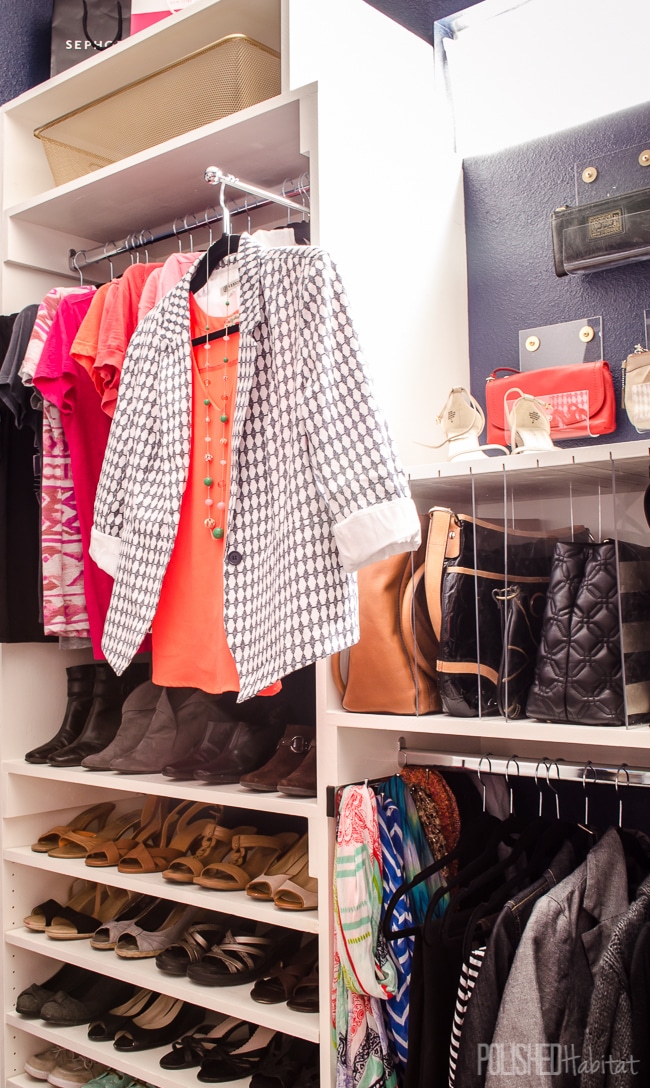
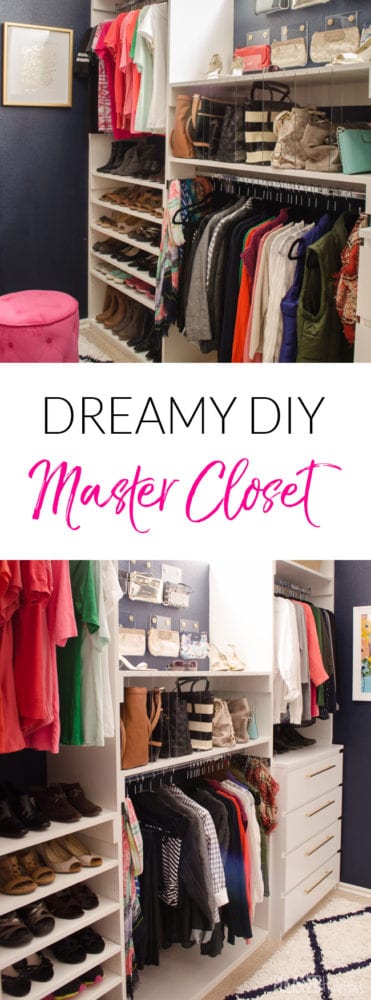
This was our first time working with acrylic, and while the end result was well worth it, I can’t say it is our favorite medium to work with. I’m over that now though, because hello beautiful purse storage! Here’s a link to the tutorial.
Purses are absolutely art to me, and I love that my little collection can be on display.
The REAL reason behind the clutch storage was that the window used to be obstructed by shelving. It made me crazy and one of my prime design challenges was figuring out how to maximize storage without putting a shelf directly below the window, which blocks the light. I had no idea my functional dilemma would turn into the best part of the room.
Um, did you notice the dog paw photo bomb? Maddie’s a big fan of the closet too. Photography fail.
I’ve got a pull-out valet rod on my side too. It’s like playing dress-up without having to dress up.
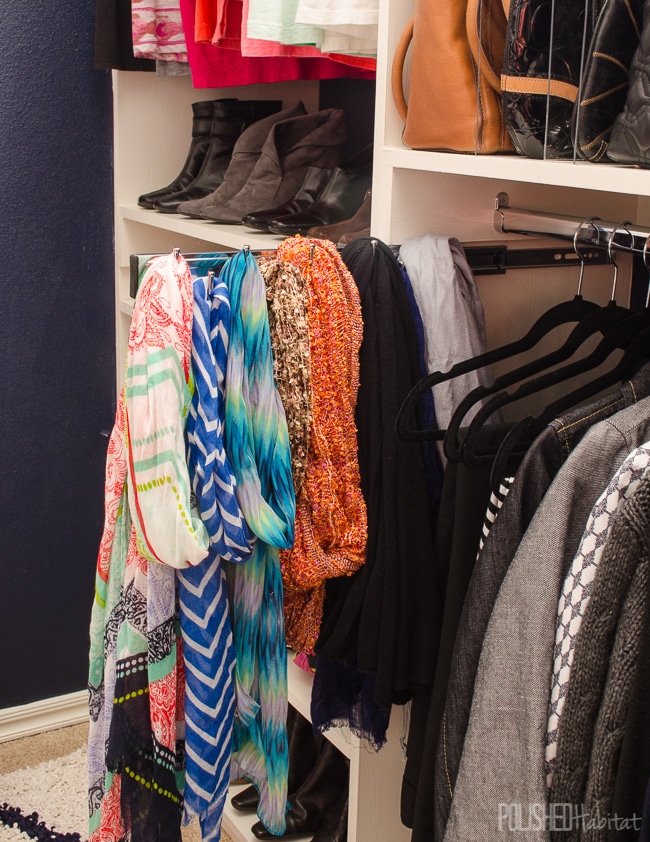
The scarves also got some pull-out organizing action.
I saved my favorite photo for last. Let’s remember what I used to see in this spot. Notice how sad the purses are. For obvious reasons, I was agitated every time I went in the closet.
The vanity with the reflection of the rest of the closet makes me SO DANG HAPPY. No more agitation. Just bliss.
My biggest hope is that these before and afters show someone that they can turn their cluttered mess into something that gives them life instead of sucking the energy from them.
In January 2019, I finally got around to organizing the clothes drawers in the closet! What a world of difference that has made. Be sure to check it out next!
If you have questions about any of the products or colors I used, or want to read more about how we saved BIG MONEY in closet, your next step is this post with the source list.
See the whole closet makeover week by week:
Week #1: Skeletons In My Closet
Week #2: There’s No Going Back Now
Week #3: Road Trips and Close Calls
Week #4: Adventures in Closet Building
Week #5: The Final Countdown
Week #6: It’s Done – The Final Reveal!!!
Follow Up: Source List & Money Saving Tips


marcie says
Wow!!! I love the navy and so glamorous. This must make mornings so much better!!
Kristie says
Hi Melissa! I found you over at the Remodelista link party. You had me at glam! I adore everything about this makeover! I especially love all of the purse storage and the acrylic clutch storage is genius! The paint color is gorgeous too! I know you put soooooo much work into this and it really paid off. Good job, lady! xo
Melissa George says
Yeah! Thanks for clicking over Kristie, so glad you enjoyed it! I love some functional glam 🙂
Smitha says
Omg omg this is so gorgeous. I m so tempted to gut my closet and start fresh ?. Anyway i was wondering what you use to create the mock up. It is spot on. Great job !!!
Melissa George says
Do it!!! I use Home Designer by Chief Architect. There is a definite learning curve, but it’s pretty powerful. Here’s my affiliate link for it on Amazon: http://amzn.to/1SpL8Eo
Brynne@TheGatheredHome says
This is so amazing, Melissa! You rock!!! I can’t wait for the tutorial on those acrylic clutch holders! And I’m so inspired that you did all the building yourselves! Woohoo!
Amy says
Melissa to say your closet is fabulous would be an understatement. Amazing job, all of the details are so perfect!
Alexis says
It is all so, so, so good, Melissa! I am SO jealous! Super love the acrylic details, so they were totally worth the trouble they gave you. Can’t wait for the clutch storage tute!
Carol @ CAD INTERIORS says
I could live in your closet!!! Love the transformation. Congratulations on creating such a beautiful space!
Melissa George says
Thank you Carol! Give me a fuzzy blanket and I’d never leave the closet.
Sarah @ 702 Park Project says
This is seriously fabulous! I’m a sucker for glam! When can you come do my closet?! 😉
Melissa George says
I’d design it any day! You’d just have to find a contractor to build it. My husband is quite relieved to be done with that part 🙂
Whitney Shortt says
Whoa. You guys did an incredible job! I love the valet hangers. What a great idea! Would you mind if I asked what program you use for your mock up?
Melissa George says
Thank you Whitney! I use Home Designer by Chief Architect. There is a definite learning curve, but it’s pretty powerful. Here’s my affiliate link for it on Amazon: http://amzn.to/1SpL8Eo
Whitney Shortt says
Thank you so much for sharing!
Jenny @ Refresh Living says
Holy moly – what an AMAZING closet!! You really pulled out all the stops on this one, and it shows! What a peaceful place to start your day. Absolutely gorgeous!
Vanessa@ Decor Happy says
Wow Melissa! I hope you left space in the closet for your crowns – Mr. & Mrs. DIY. This is fabulous and I’m so jealous of your huge space. Everything is gorgeous and I just love the acrylic dividers and clutch holders. Kudos!!
Melissa George says
Ha – thanks Vanessa. I’m sure I could work in some crown storage if I had to 🙂
Nicki says
Great job! I love your bold choice of color, and I am so jealous! I have tiny closets and it sucks!
Melissa George says
Thanks Nicki! I would totally build out pretty storage like this in the bedroom – who needs a closet. 🙂
Sarah Vogel says
Melissa, there are no words…..I believe the thousands of comments from your fans above have said it all. It is incredible.
Looking forward to seeing the “how-to” posts coming up…your husband has got to be one-in-a-million and deserves not only some TLC for helping you, but a huge shout-out in the DIY community. You make a formidible team!!! Now, go and enjoy some “together time” and relax!! And expect the shelter magazines to come knocking on your door very soon!!
(p.s. You do know that you can never move now??!!)
Melissa George says
So sweet as always, Sarah! And the thought did cross my mind that we could never move. Luckily we’ve got some great neighbors here 🙂
Delia says
I simply love your closet! All your spaces seem to turn out beautifully. Great job :-).
Corinna - A Designer At Home says
Ohmygoodnessgracious. THAT is a closet. I have a dark 3×3 foot hole in the wall but I dream of adding onto our home. This closet is on the top of my wish list! Pinned 🙂
Melissa George says
Ha – Thanks Corinna! I bet you’ll come up with something fabulous for your closet!
Evelyn B says
Well, you have accomplished much with this make-over!!!! What a beautiful space. I really liked what you did with the purses under the window and the acrylic dividers for the purses – you can actually see each one and what all you have – looks great. The earring pull-out drawer is fascinating! What a clever person you are! You’ve done a remarkable job with this make-over and I can’t believe how much more relaxing and inviting you have made the closet. Yes, you must sleep in it for at least one night to get the benefit of all that you and your husband has done. Just think how wonderful it will be each morning as you go into your closet!! I’m so happy for you and what you’ve accomplished and how wonderful it will be for both of you every single day! Great job!!
Mary says
This turned out amazing! I am loving the navy walls, and how organized everything looks. Where did you get your rug?
Melissa George says
Thank you Mary – I’m doing a full source post later this week, but here’s a link to the rug on Amazon (affiliate link). We’re loving it! http://amzn.to/1QqNCVu
Linda - Calling it Home says
Melissa, this is amazing. I can not believe you built this. You need to get a contractor’s license and charge serious $$ for consulting. Way to go. I hope it is still all tidy and neat. Great job.
Melissa George says
Thanks Linda! It’s still perfect and I’m working on the consulting. ☺
Emily Ray says
Wow!! It looks amazing. Functional and fabulous! You’ve inspired me to tackled my master closet, though I wish I had as much square footage as you.
Melissa George says
Thanks Emily! This floorplan was picked in large part for the big closet, and living in a state with affordable real estate also helped!
Vel says
I’m so jealous Melissa, your closet is a dream especially the purse storage which I need badly!!!! Enjoy !
Melissa George says
Thank you Vel! I’ve needed that purse storage for years!