I’ve got another great inexpensive organizing project for you today. My mom is super neat & her house is always very clean. Except for one area that was driving her crazy! The built-in desk in her kitchen had gotten out of control after a busy year. Then it started eating important things – like her camera and documents they needed for taxes.
Last week, she mentioned that she was completely fed up and was going to organize everything. Like any blogging daughter would, I told her to resist her urge to clean it right then and wait until I could come take photos! She kindly agreed, even though it’s SO hard to leave stuff alone once you are ready to attack it.
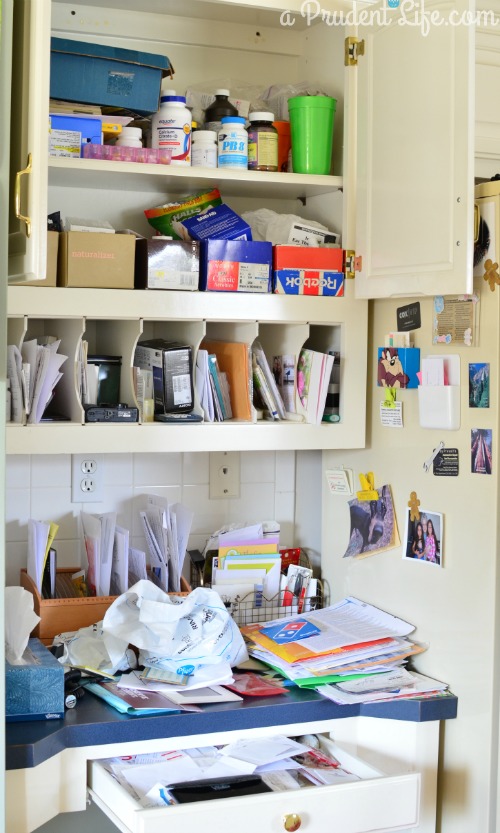
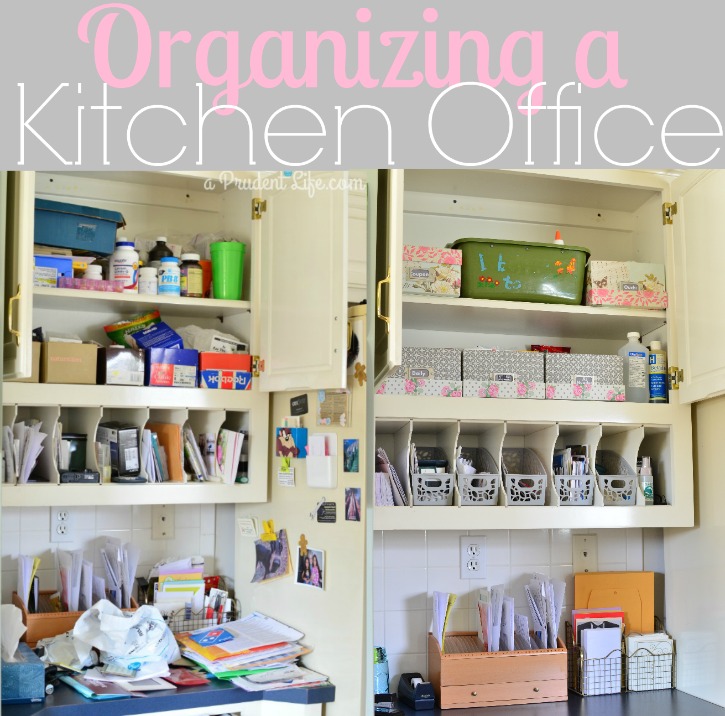
Here’s the before picture. The wooden bill paying station was working well, but other paperwork was co-mingled. Most of the built-in divided sorting station slots didn’t have specific jobs.
This space has several different functions, so we talked through what should be stored elsewhere and what needed to have a designated place in this area.
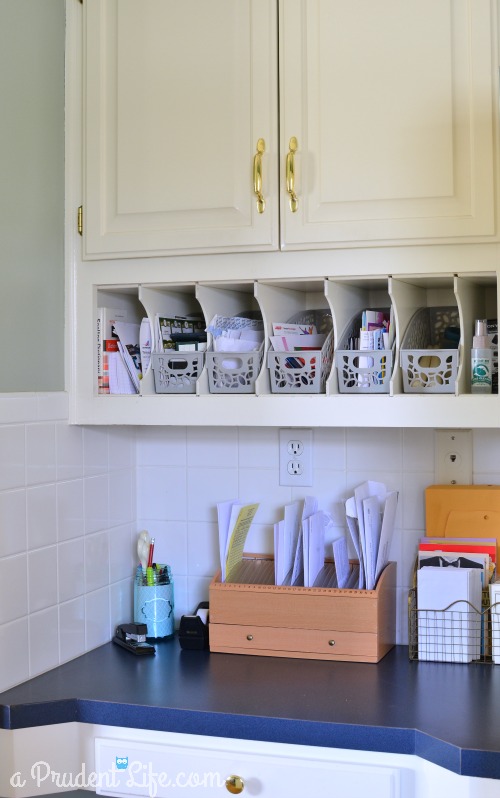
I thought we were going to have to buy some storage bins, however, I was able to work with what we already had! For the in cabinet section, mom had photo boxes from Michael’s that we picked up during the awesome sale around Christmas. For the open slots, I brought over some of the Dollar Spot magazine bins I’ve been stocking up on when I find them. The only item purchased was a pack of drawer organizers from Target!
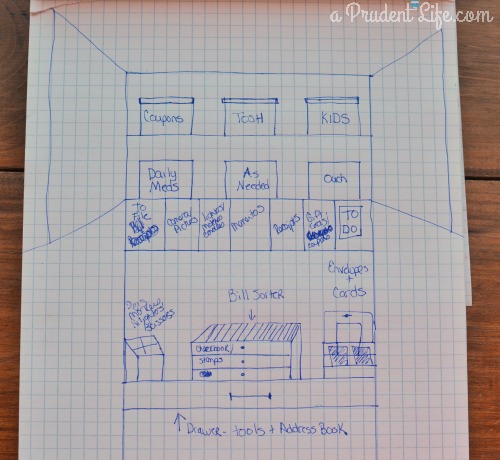
I wanted to make sure everything had a proper home, so I drafted out a tentative layout before we dug in. Don’t laugh at my complete inability to draw with appropriate perspective 🙂 I know my strengths and they do not include singing or drawing!
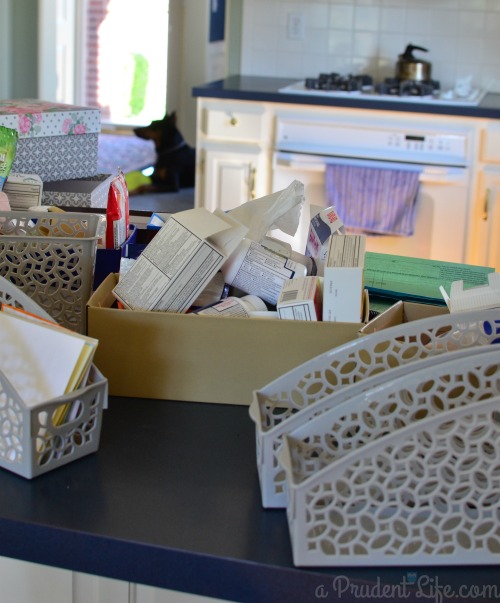
Here’s the mid-project chaos and a cameo by mom’s doberman Tosh in the background.
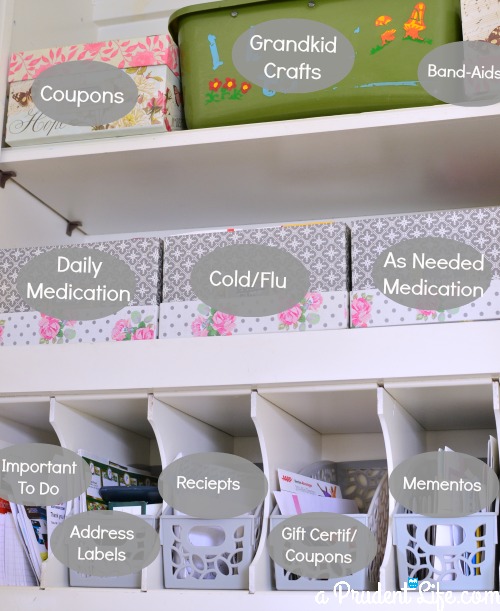
In addition to the medication, the upper cabinet was also dedicated to kids crafting supplies and the grocery/drug store coupons. Once we got those items sorted away, we could focus on the desktop. Loose papers were sorted into categories and we found that most could be filed away as no action was needed. If something needed to be done with the paper, it went into the designated “Important/To Do” slot. Here’s how we designated the rest of the openings.
The coupons that go in the gift certificate spot are for specific retail stores (hello Kohl’s 30% off!) versus the grocery coupons in the photo box.
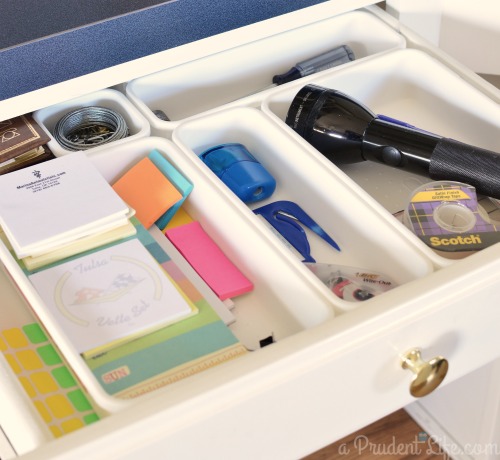
Most of the papers in the drawer were actually phone #/address sheets that had been saved over the last several years. All of them went into a file folder to be sorted and added to one address book. That left plenty of room for small tools and office supplies in the drawer.
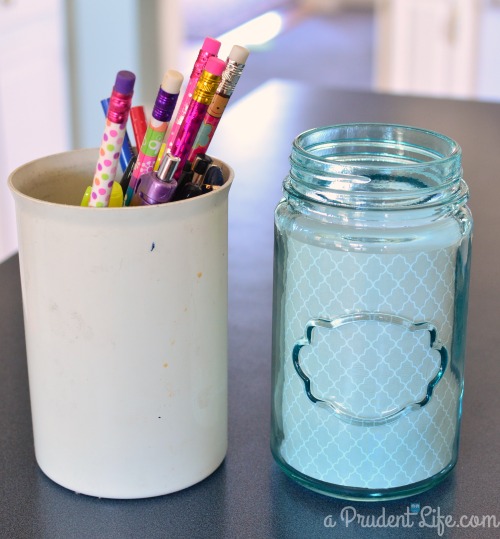
We also replaced the old pencil cup with a Dollar Spot mason jar lined with craft paper. Isn’t it cute?
We kept the bill sorter because it was working well. The other desktop sorter became the designated location for envelopes, blank greeting cards, and thank you cards.
I love that we barely spent any money and only a couple hours to take this area from one that was overwhelming to a place that can help keep the house running efficiently. Mom stays busy and I hope having this space as neat as the rest of the house will be a great relief!
Here’s one last look at the before & after!


Jodie says
Holy moly would you like to come to my house and organize my desk with me? This space looks fab! Great job as always : ) I saw some of those bins yesterday and thought of you!
melissa@polishedhabitat.com says
Thanks Jodie – I would LOVE to come organize with you! We`d have a blast, unless you hated me for making you get rid of stuff 🙂 I’m not normally a minimalist, but mid organzing project I can be ruthless!
Carmody says
Wowza! I am so impressed with your organization skills. I have a desk that resembles the “before” image. I really should make a plan and tackle it’s weaknesses. Thanks for motivating me.
melissa@polishedhabitat.com says
Thanks for the nice compliment Carmody! I still have spaces resembling the before picture too, but I finally figured out if I just tackle them one at a time, it’s totally doable!
Katie @ Addicted 2 DIY says
You ladies did a fantastic job! I can totally relate to an area unintentionally getting out of control. You did such a great job of organizing it and making it a functional space again!
Amanda Michelle says
That looks so good. I love seeing organized spaces with the “before” shot. So impressive. I wish we had a kitchen desk – maybe the next house! lol
Allison Rust says
Great makeover! Those bins fit just perfectly. Looks gorgeous and functional. I’ve got ‘office’ areas at work, in my studio, and two areas in my kitchen. I need to condense!
Shelly- minettesmaze.blogspot.com/ says
Great job! I organize my area but it just never seems to stay that way. I love when people show the before and after photo. I’m pinning this to our DIY Sunday Showcase talent board! Thanks for sharing with us!!
Shelly
minettesmaze.blogspot.com
Selene Galindo says
Wow! What a great difference!! You sure are making good use of the space!
Sacha says
That is absolutely amazing. If only I had my own place that i could build and rearrange some stuff like the “after” picture. I have a lot of craft supplies and right now they are in bins, but it would be nice to be able to organize them better. I would love to be able to do what you did for your desk. Thanks for the amazing ideas and please keep them coming 🙂
melissa@polishedhabitat.com says
Thanks Sacha! I have plenty of spaces that are currently a mess and need to be organized, so I will definitely keep the ideas coming 🙂
Nancy Rector says
I SO love a good before and after. Ü Excellent job. Thank you for sharing!
Nancy