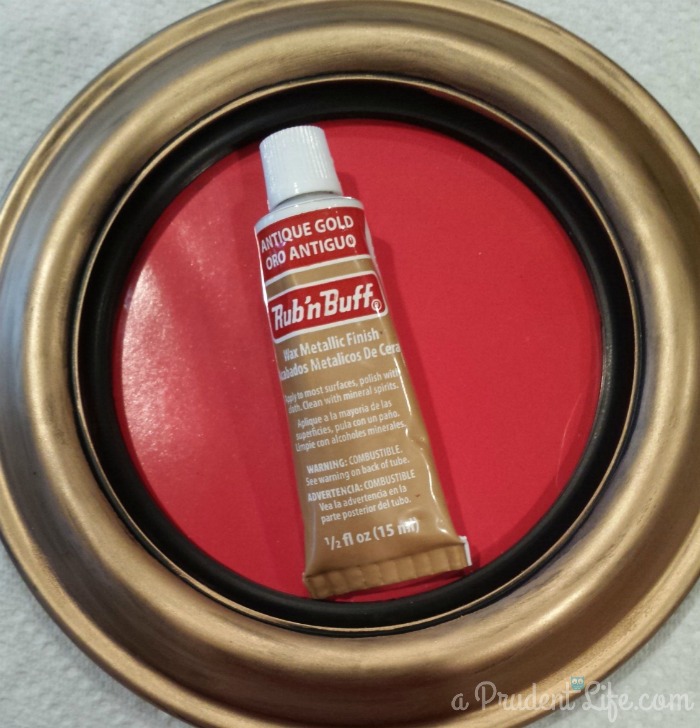
If you follow along on Instagram, you might have seen the sweet Rub ‘n Buff collection I received for Christmas. Rub ‘n Buff is a wax metallic finish that you can use to make just about anything fabulous. My first project was turning a small cheap black frame into a golden masterpiece. In like 30 seconds. Amazing.
Here is a snapshot I took with my phone. Pretty impressive for a plastic frame!
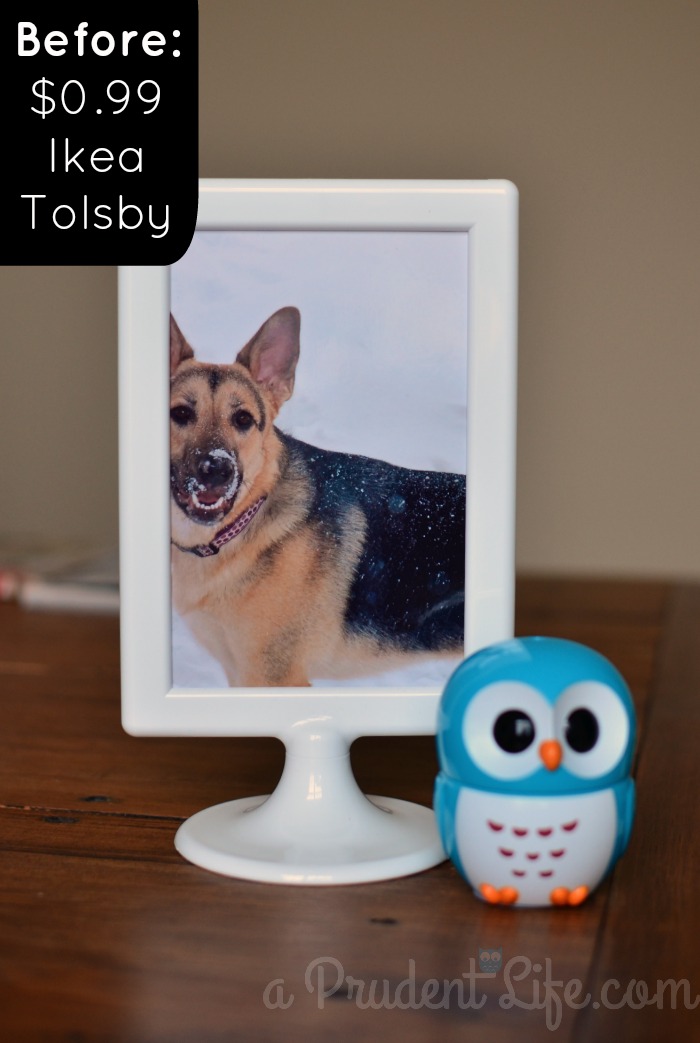
Since that worked so well, I wanted to see how it would handle a very glossy white surface with no prep. I’ve heard it works better on black/dark surfaces, but I was in the mood for an experiment. My test subject was a white Ikea Tolsby frame. They are $0.99, so I wasn’t too concerned about messing it up.
Here is what I started with:
My plan was to do a black & gold combo – super easy since the frame unscrews into two pieces. I didn’t even have to tape anything off!
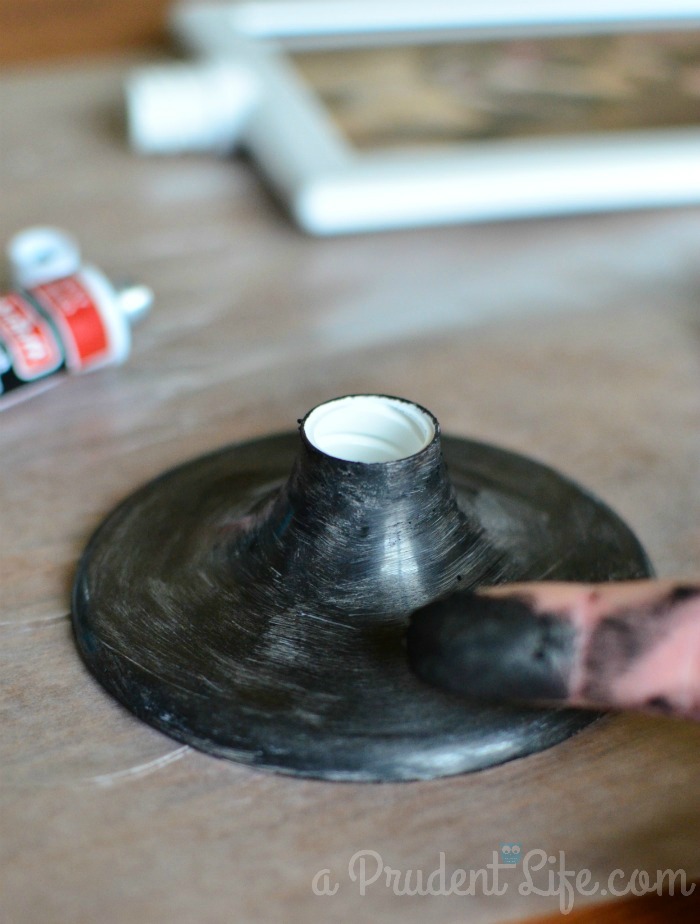
My internet research told me that the easiest way to apply Rub ‘n Buff is with your finger. It wasn’t so scary with the gold – gold fingers are cool, right? But who wants a nasty black finger?!? Yet, this was an experiment, and aren’t all experiments a little risky?
Here’s what the base looked like after one thin coat. I ran straight to the sink and did a little happy dance when the wax washed right off with normal hand soap. My black (called Ebony) wax seemed a tiny bit chunky. I’m not sure if it is always a different texture, or if I just got a funky tube. It was problematic because the little solid chunks would wipe wax off as I was trying to apply it. More on that later.
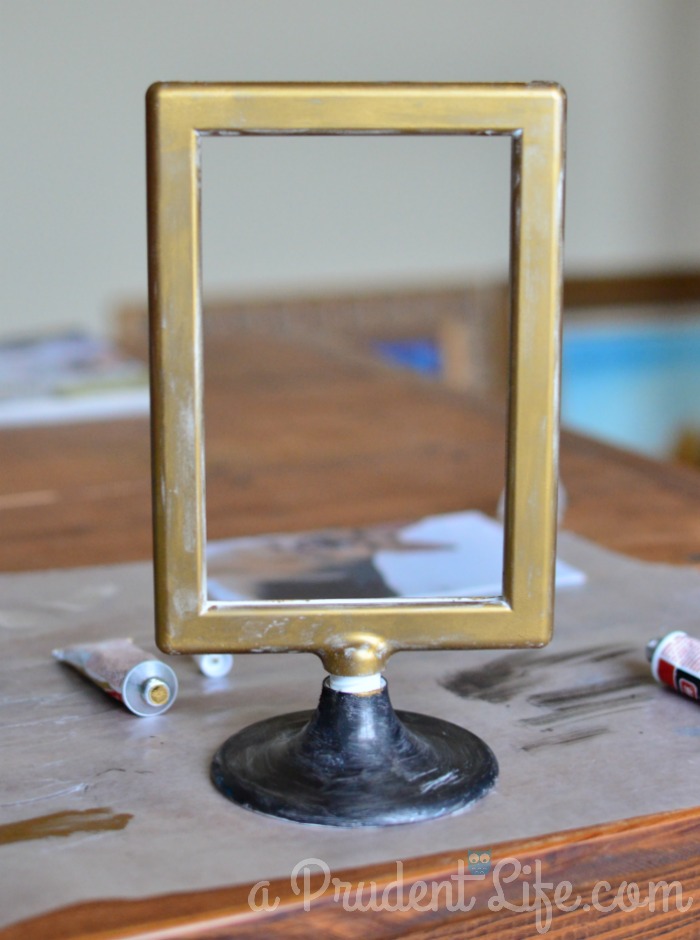
And here are both pieces of the frame with one thin layer of wax. Be sure to wash your hands well between color changes.
Next, I added a second layer of each color, which was perfect for the gold portion of the frame. The black was a little more problematic because of the tiny particles. Instead of waiting and applying more layers, I decided to touch up the base with a black satin craft paint. It worked! I think if I had primed or sanded the base first, the black wax would have been fine. The glossy white finish was just a little too much for it.
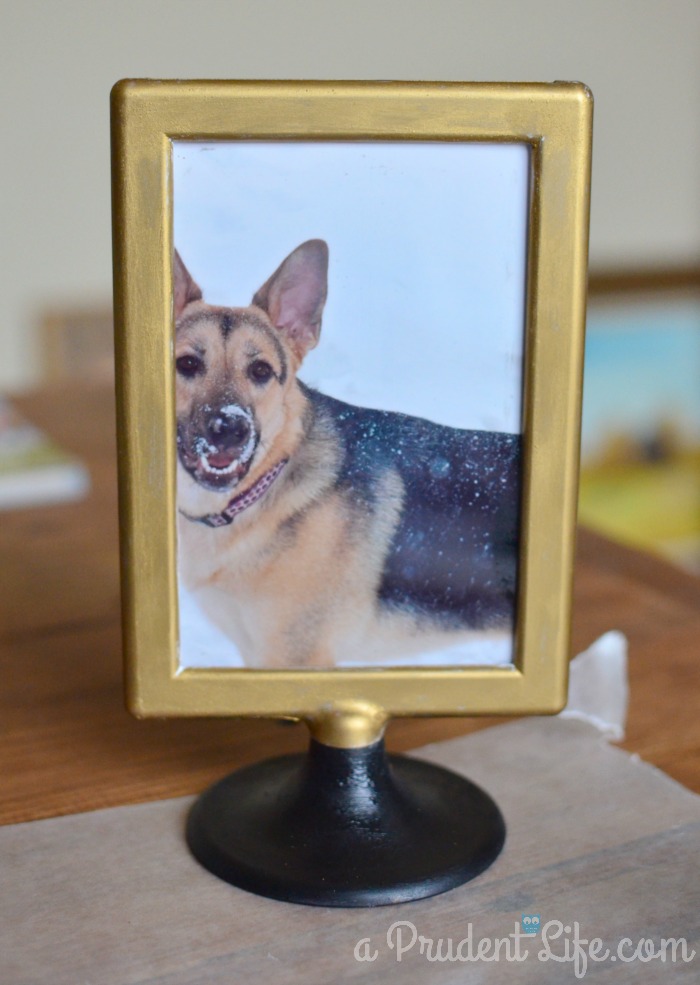
And here is the finished product!
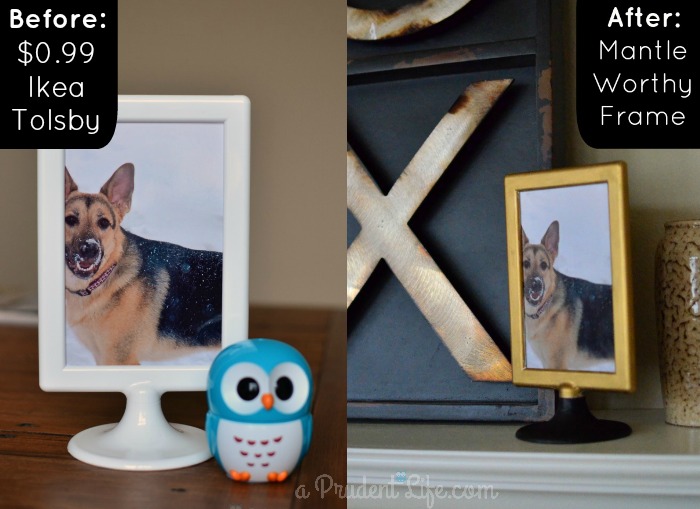
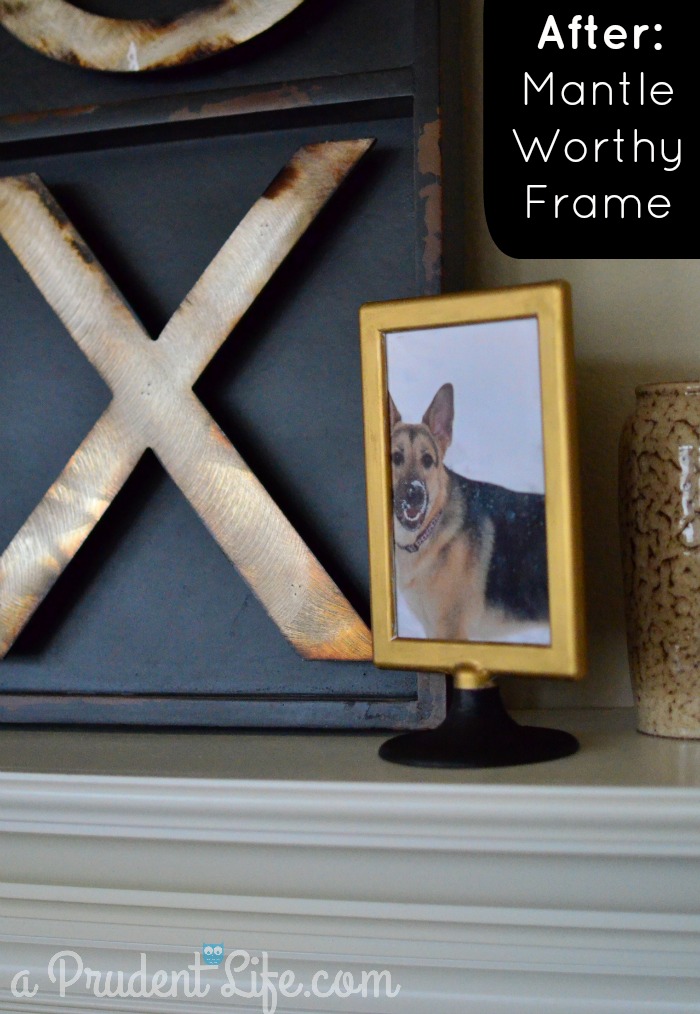
Now my $0.99 frame is worthy of being displayed on our mantle. I love it when experiments have happy endings!
Here is one last before & after. What do you think?
Post Linked to: Serenity Now, Best of the Weekend, Tatertots & Jello, VMG206, Do Tell Tuesday, Hit Me With Your Best Shot, Ginger Snap Crafts


Bonnie @ Our Secondhand House says
Maddie is so cute. I remember seeing this photo on instagram. I love how easily you transformed the ikea frame. It looks fabulous!
melissa@polishedhabitat.com says
Thanks Bonnie!
Kelly Boettcher says
Hmmm .. I have some rub n buff that has never been opened, does it transfer later? I think I even have a frame like that!
melissa@polishedhabitat.com says
I’ve heard that it lasts pretty much forever, but mine is still new so I can’t say for sure. If you had any plastic disposable silver wear, you could try a little on that to check it so you don’t mess up your frame. A tiny bit goes a long way. Also, I wore some cheap latex gloves since I was using so much of it in my closet project. I think it worked just as well as applying it with my finger. Good luck and send me a pic if you decide to try it out!
Shelly says
That frame turned out really nice i haven’t hear of the rub and buff before but I’m thinking I could put some to use. Great tutorial, thanks for sharing.
melissa@polishedhabitat.com says
I think my name is becoming synonymous Rub n Buff. After you’ve used it once, you want to use it on everything in the house!