
For the past two years, my office has been holding onto a big secret. Back then, we updated it during a 5-week design challenge. It looked AMAZING. All the design choices considered function and storage, which people oohed and ahhed over…
…but the time crunch meant I never put a good organizing system in place for that storage.
Like everything else in life, a haphazard approach only works on a temporary basis. Pretty soon, small bad choices start building into an unbelievable mess, and you’re left overwhelmed. My solution for a while was to ignore the office entirely. With a laptop, it’s pretty easy to work from other spots around our house.
Most of the time it wasn’t a mess in the actual office stressing me out. It was the feeling that everything behind a closed door or drawer was chaos. Who wants to hang out with those bad vibes?
The turning point for me knowing I HAD to tackle the mess was that our awesome paper decluttering process was falling apart when it came to papers we needed to keep longer-term. The first few steps worked brilliantly, but piles were starting to form again instead of being filed.
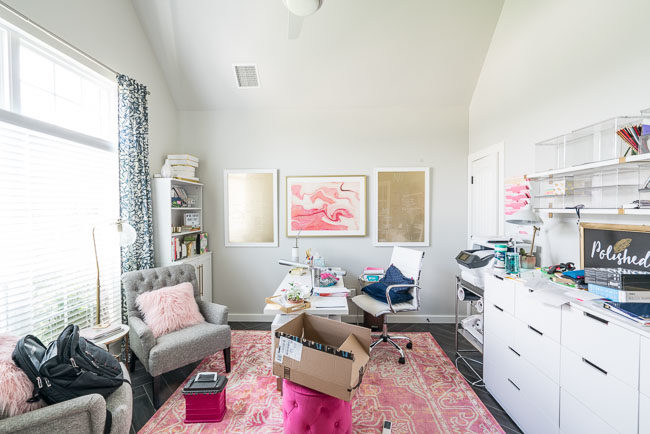
On top of that, a busy summer left the rest of the office in need of love as well, so I vowed to take a week and whip things into shape!
Here’s the real-life status of my office last week.
Things got MUCH scarier behind the closet door. We risked an avalanche if we wanted to add or remove anything.
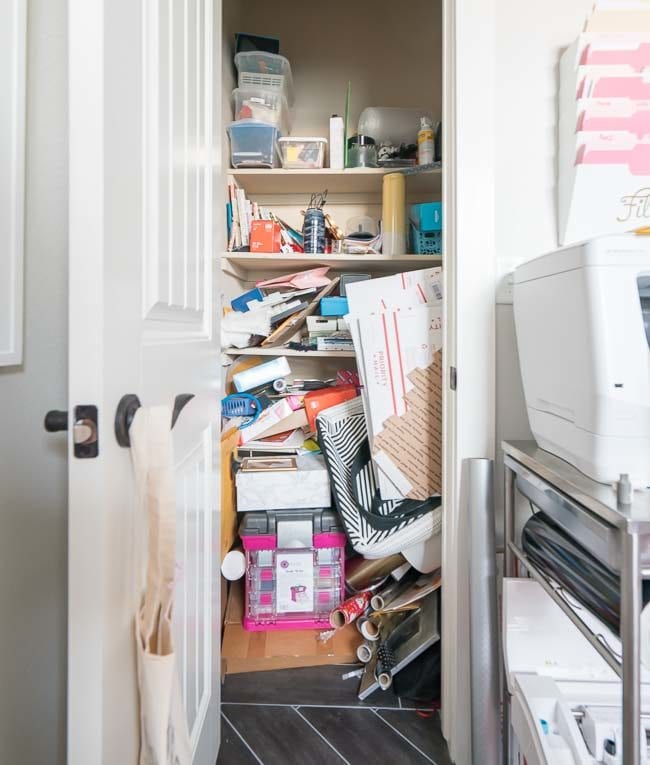
I was pretty intimidated by the idea of cleaning out this space, and I’ve heard from some of you that you feel overwhelmed with some of your areas as well. I’m going to share the process and tips specific to my office organization, but you can apply the same principles to any room!
Office Organizing Step #1: Pause To Determine Exactly What Isn’t Working
I already mentioned our filing system problem, and it’s pretty apparent that the closet served no functional purpose. I knew the big-picture issues, but to be the most successful, you’ve got to go full Dr. Phil and ask “How’s That Working For You?” about everything.
For me, I decided that the clear bins I started using on the office shelves at Christmas weren’t ideal the rest of the year. It’s just not that pretty to look at piles of tape or tape measures.
Another annoying problem was that supplies like pens, Sharpies, Post-it notes, glue, etc. were all spread out into MANY spots with no designated home. I desperately wanted a consistent system. Life’s too hard to spend time annoyed that you can’t find a Sharpie!
And what the heck do you do with little mementos, like sweet thank you notes or special birthday cards? Ours end up floating around the house!
Specific to paper clutter, it became clear I needed a quick drop off spot for both personal and business receipts. I also needed to designate what kind of items should be stored in our wall files and what could be tucked away in a file cabinet.
Office Organizing Step #2: Clear It Out
This part is vital but scary. The best way to start any organizing process is to remove EVERYTHING from the space you’re working on. We spent an evening moving all that closet clutter to our entryway so we could start with a blank slate.
You can start organizing a bit during this process by making sure you have dedicated areas for:
- Trash
- Items to Sell/Donate
- Items For Other Spaces
- Items That Actually Belong Here
For the things you’ll be putting back into your space, go ahead and place them in groups as you go. For example, we had art supplies, binders, computer bags and many other categories spread out in our entryway. It’s important to be okay that you’re going to make a BIGGER mess before anything starts getting better.
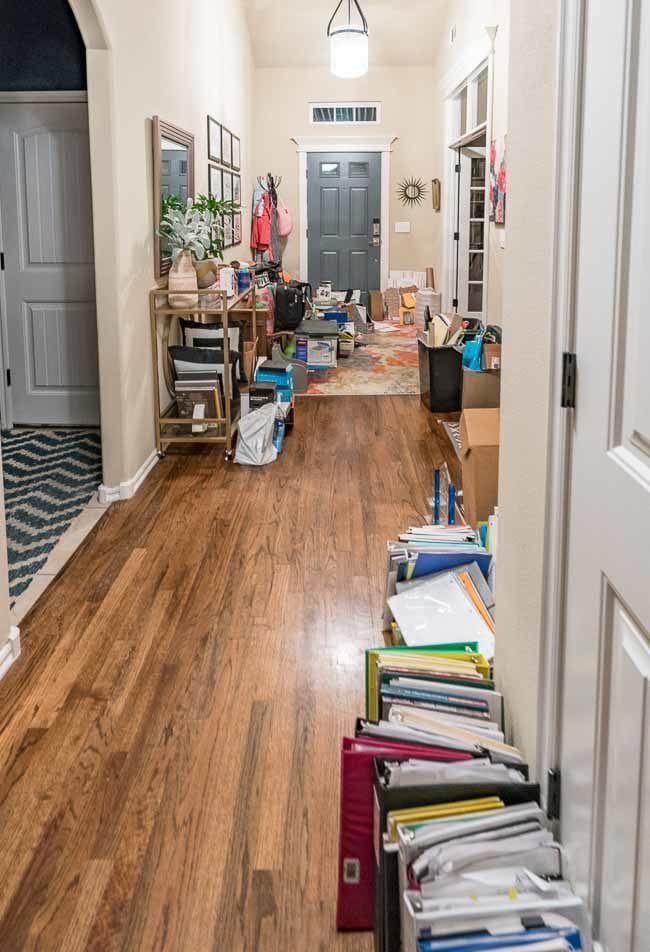
Office Organizing Step #3: Continue Sorting & Measure
Although we found a fair amount of trash and items to for a garage sale in step 2, I knew there was more we could get rid of before putting anything back in the closet.
It wasn’t a fun process, but we flipped through every binder and notebook to determine if we really needed the contents. We also went through the “keep” pile and divided it into smaller categories. For the initial clear-out, all office supplies went together. For this phase, it was time to group everything like it would be stored so we could see what sizes of containers we would need.
On that note, everything came out of any organizing bins. We had an area of the dining room designated for the empty containers. The great news about my big mess was that I didn’t have to buy one new bin. I was able to dig through what we had and find suitable solutions for everything.
If you’re not in that boat, this is a good place to pause and measure all your shelves and drawers and start shopping for containers to corral the items you have sorted.
Office Organizing Step #4: Putting Everything Back Together
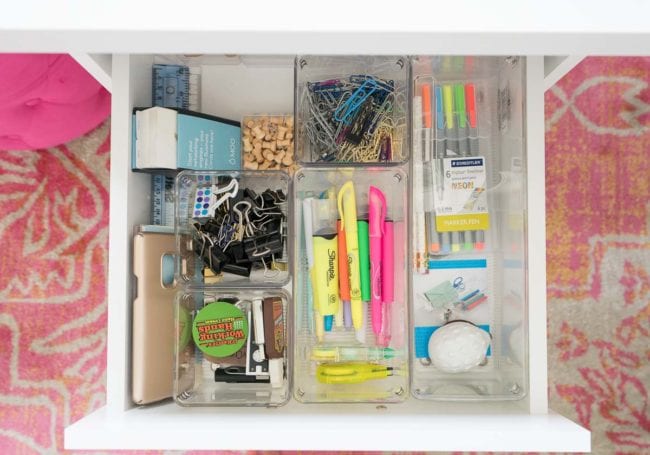
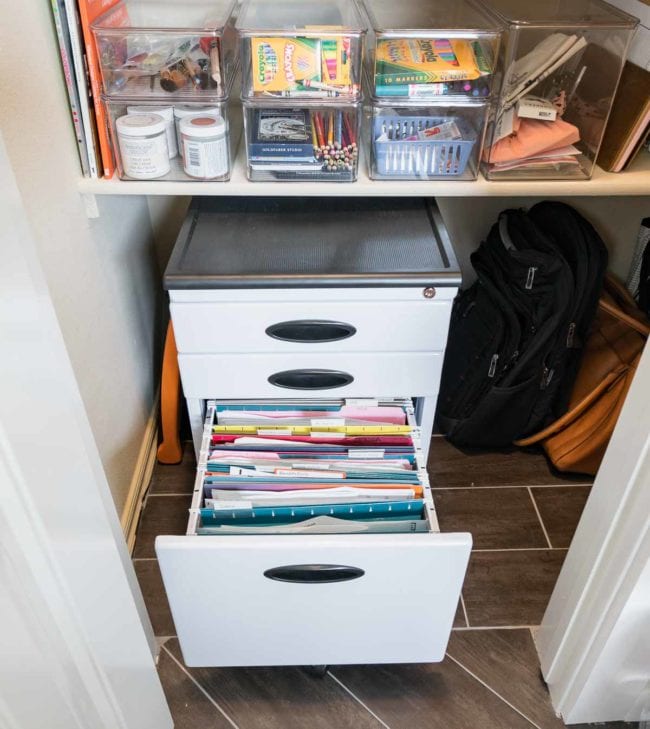
When I was confident we had purged everything that shouldn’t come back into the office, the fun part began! I started with my desk drawers to get some of the small, loose items out of the entryway. The desk drawers are deep, and I had some clear deep bins in various sizes on hand from an old project that were perfect.
The bottom drawer might be my favorite. I found a ridiculous variety of sticky notes and flags during the clean out. Having them all in one, easy to access spot, feels amazing. For this drawer, I used several different inexpensive bins from around the house. I think they all came from the Dollar Spot at Target.
The items subdividing the gray bin are all lids from other containers, which a great way to stretch the budget!
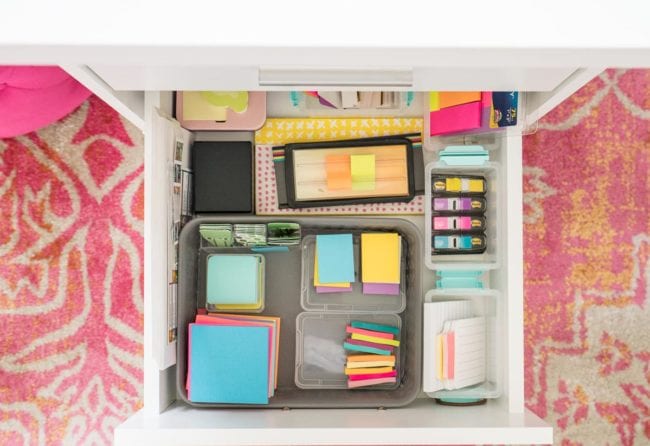
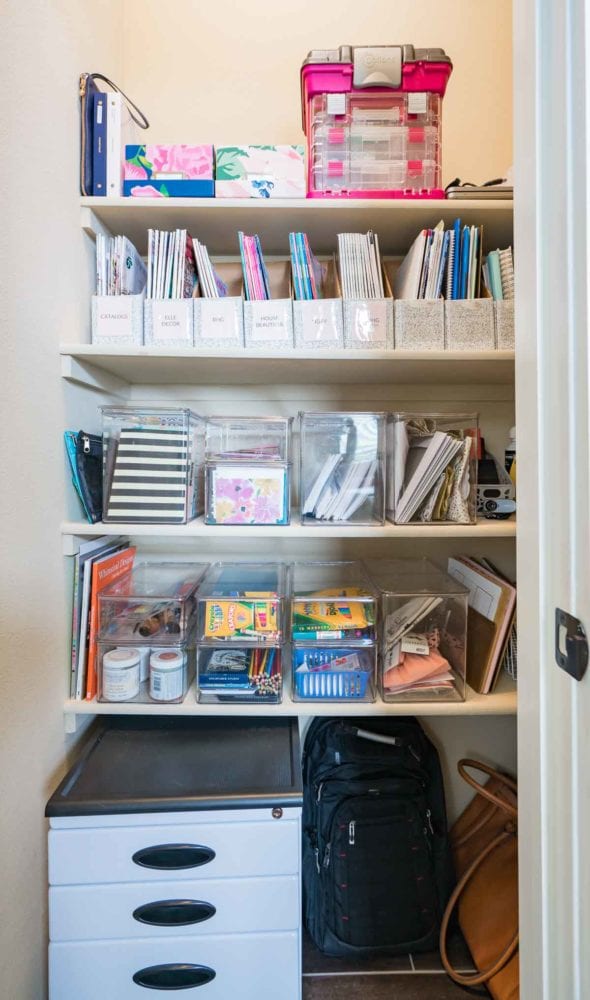
Once those containers were in place, I was able to fill in the rest of the space around them. Before I knew it, I had a dreamy closet situation!
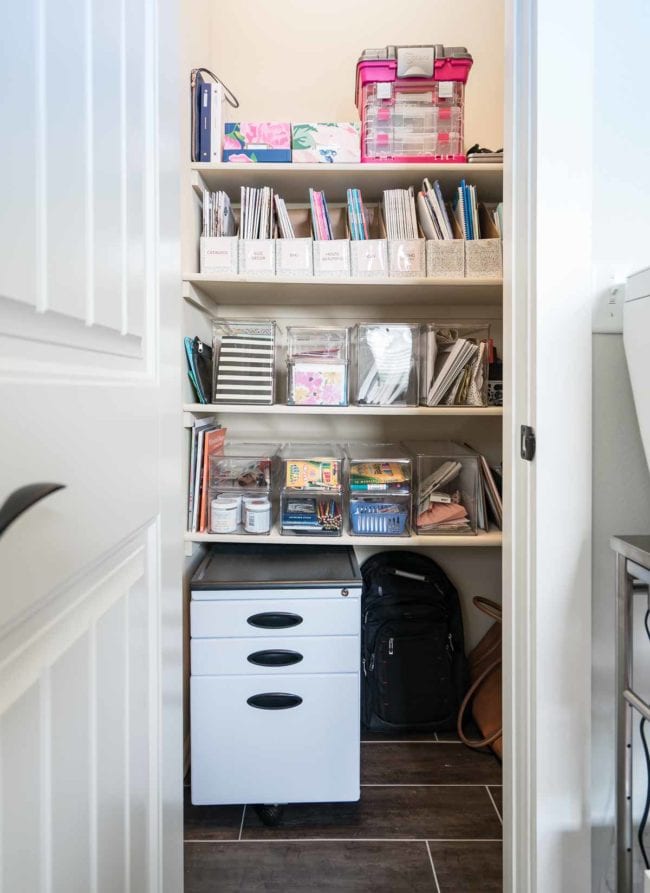
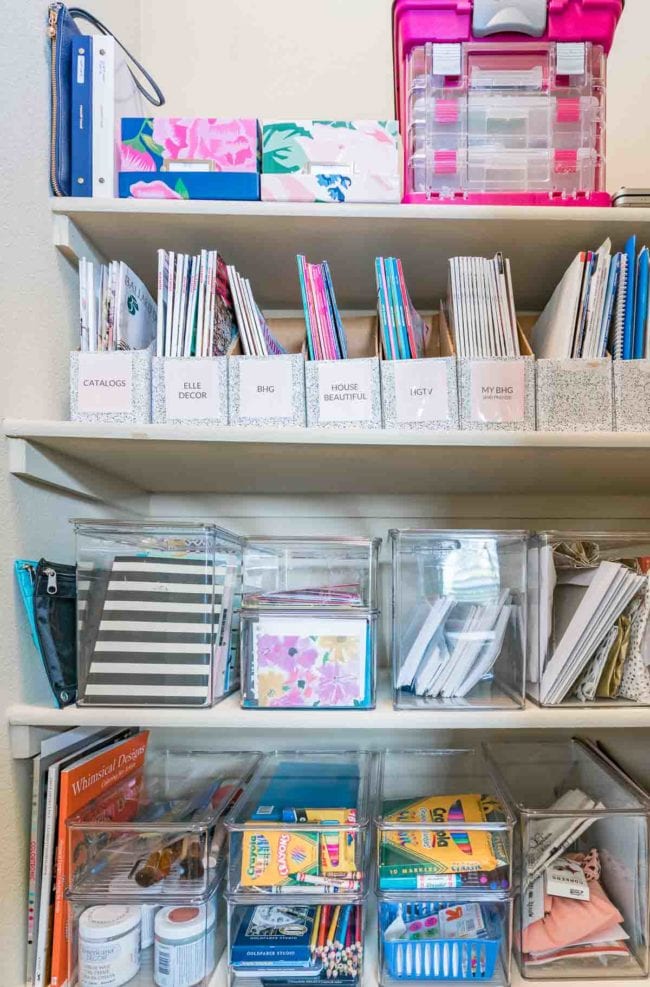
Remember when I mentioned mementos/cards I want to keep? The photo boxes on the top shelf are PERFECT for this! I made a HIS and a HERS box and left the lid off the top to make it easy to drop things in. So simple, but so helpful!
Next to the photo boxes on the top shelf, I have a craft organizer that I’m using to hold all my letterboard letters. Previously, they were mixed together in one open container, but now they are sorted by letter and size.
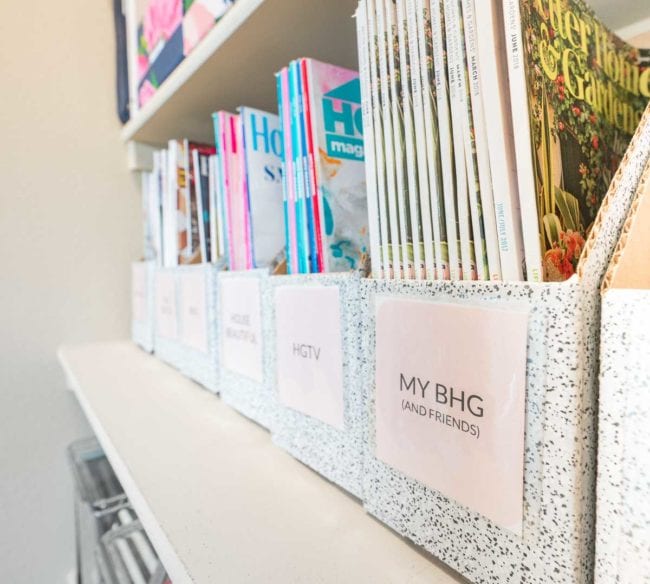
The next shelf down has all the magazines, including my extra copies of the Better Homes & Gardens I was in this year and the issues my friends have been in. Since May, my issues have been in a pile on one of our barstools because I didn’t know what to do with them. This is much better!
The 3rd and 4th shelves are full of the awesome clear bins I mentioned. I have separate containers for:
Blank Small Notebooks
Thank You Cards
Unused Greeting Cards (extra birthday, get well, sympathy, etc)
Planner/Small Binder Refill Pages
Tissue Paper/Small Gift Boxes
Paintbrushes
Paint
Crayons
Colored Pencils
Markers
Labels (including garage sale stickers, which I could NEVER find when I needed them before)
Small Craft Projects
The space between the bins and the wall also came in handy for coloring books – which I collected from 3 different places around the office.
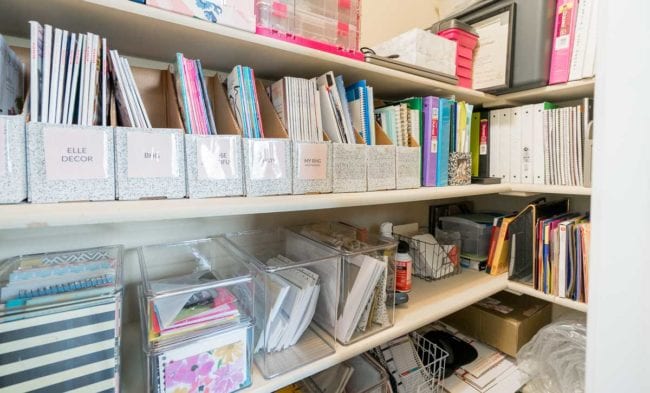
It’s a strange closet and hard to get pictures of the rest, but anything used less frequently went inside around the corner.
The biggest takeaway from that area is that a file sorter was our saving grace for all the random 8.5 x 11 items we owned – things like resumè paper, Avery labels, and sheet protectors had always been in a flat stacked pile. Now they’re standing up on their side. We can easily find what we need without digging.
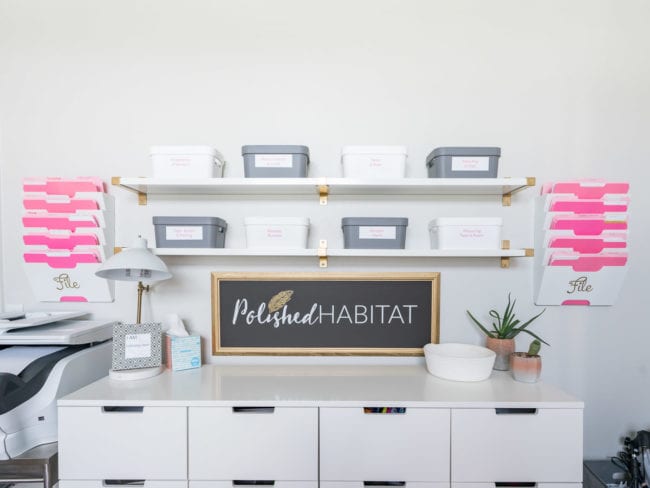
The top row bins are:
Headphones & Small Speakers
Power Cords & Inverter
Twine & Rope
Extra Pins & Clips
The bottom row is for more frequently accessed items:
Tape – Scotch & Packing
Receipts: Business
Receipts: Personal
Measuring Tapes & Rulers
It’s SO exciting to have an easy place to stash receipts until they get entered into accounting software and can be filed.
The drawers in this area weren’t immune to my organizing either! Now, I smile instead of frown each time I open them.
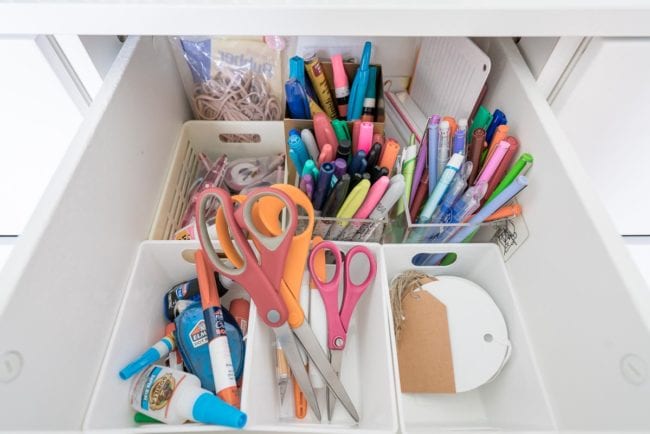
I found three different rectangle pencils cups around the office and used them to separate paint pens, Sharpies, and regular pens.
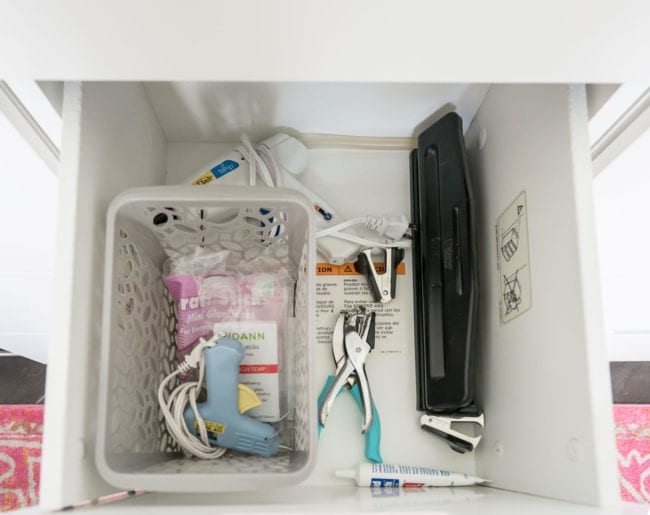
Hole punches and hot glue guns aren’t exactly used together, but there was enough room in the drawer for both. I didn’t have ideal containers for the drawer, but I still know exactly where to go if I need either item.
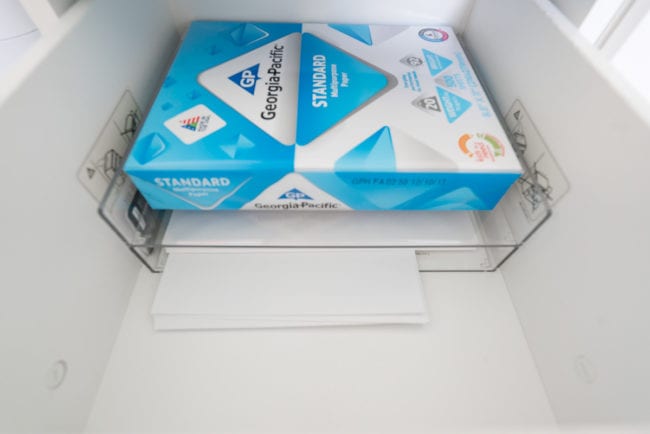
In the drawer next to the printer, I used a paper tray to hold extra regular paper, heavyweight paper, and shipping labels. The heavyweight paper and shipping labels are both in the bottom tray, but one is turned 90 degrees to keep them separate. When I have extra ink cartridges on hand, they also go in this drawer.
Whew! That was quite the long post and quite the lengthy process. I did all the organization over 7 days, a few hours at a time.
It was all worth it to see this without the stress of knowing the closet was ready to collapse.
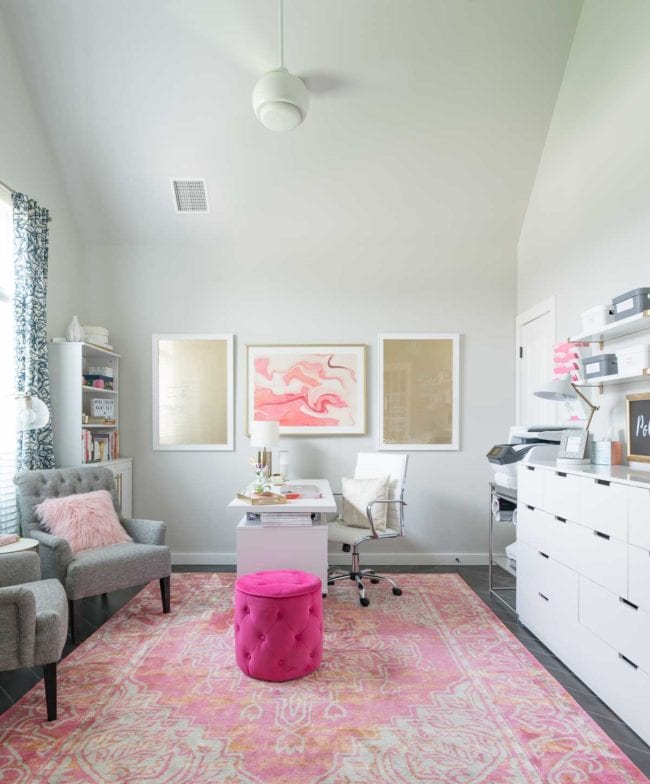
The paper clutter post is updated with the details of our filing system now that we’ve got it under control. Make sure you check that out next!
For those of you looking for the pink rug, you can find it here and my desk is this one.
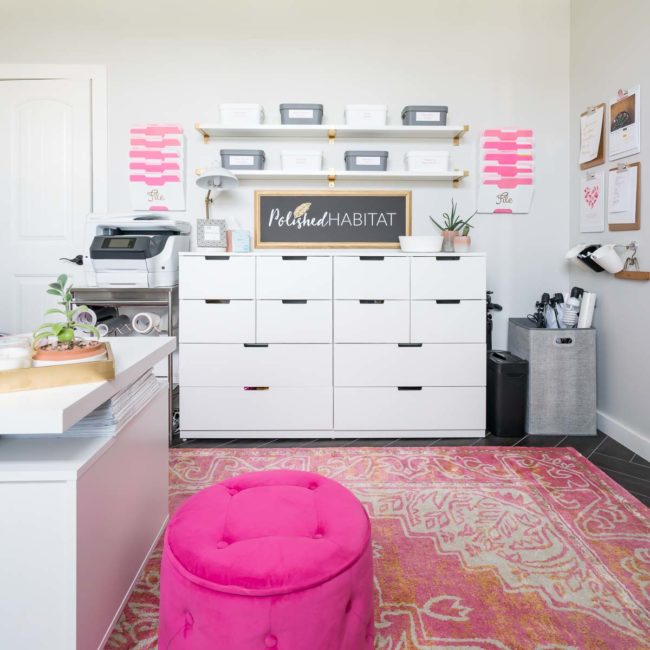
The desk is almost a laminate surface that isn’t the highest quality, however I still LOVE it. The drawers are all perfect and I love the shelves between the top and drawers. Even with all the storage, it doesn’t look heavy in the room because of the legs.
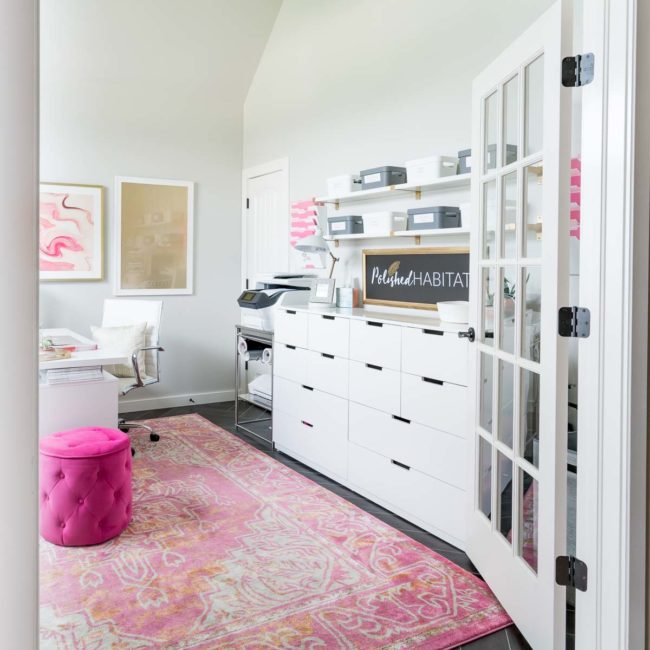
The wall shelves, large drawer unit, printer stand, wall files and bookcases all came from IKEA.
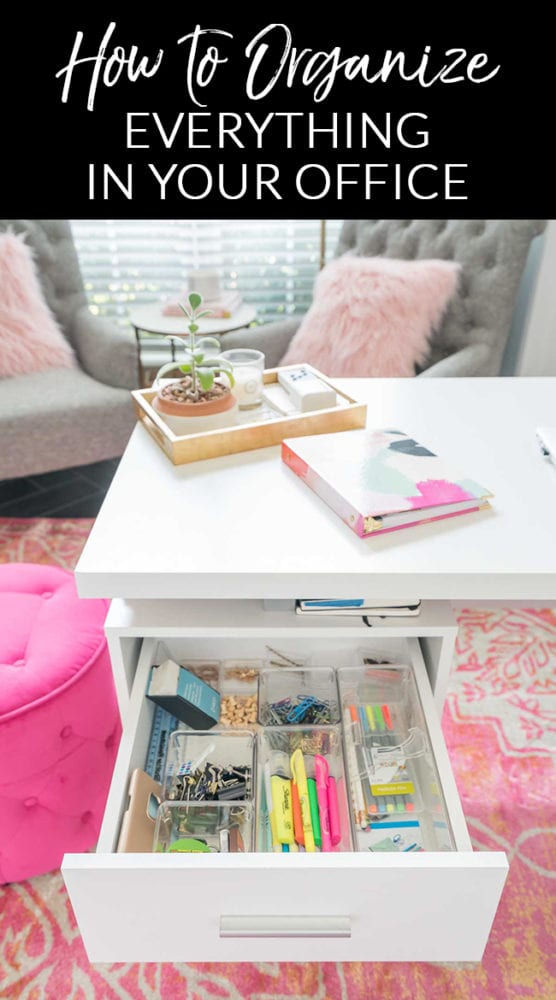
Don’t forget to pin the image below so you’ll remember these tips later!


Melissa says
LOVE IT!
Feeling inspired to tackle a closet (whose door barely closes) this weekend myself
Melissa George says
Yay! Do it!!! It’s really shocking how much stuff behind closed doors can still affect how you feel in a space. It’s even okay if you curse me a little during that horrible part where you’ve made huge mess and desperately want to quit. 🙂 As long as you push through and keep going!
Vivian Tanis says
So lovely. I love your choice of colors.
Melissa George says
Thanks, Vivian!
Robyne says
Bravo Melissa ! I love the results, and breaking the project down into smaller stages really does make the whole thing seem less ominous. The ‘ reassembling the room ‘ part is actually fun once you get past the breaking down/sorting portion.
Melissa George says
Thank you, Robyne! There were totally parts of the process where I was overwhelmed, but as you said, figuring out what small part I could tackle next over and over again kept me moving!
Lidia says
That’s it, I’m going headlong into my clutter! I love everything about this!!
Melissa George says
You can do it!!!
Marsha says
HELLOHELLO…ONE thing I enjoyed seeing was the MESS YOU had to start WITH…Happy that even YOU can have stuffed closet…makes me realize it is not just ME.. LOVE LOVE ALL OF YOUR website..Have a GREAT weekend…
Melissa George says
I’m so glad you find that inspiring! It always makes me cringe sharing the before photos, but I do it for exactly the reason you mention. If I can get my naturally messy self organized I know others can too!
Laurie says
Love this article. Gives me hope and incentive to clean up my mess!
Can’t wait for your updated paper decluttering suggestions!!
Melissa George says
I’m not gonna lie, the process isn’t the most fun and you’ll probably want to quit at some point, but it has been SO worth it. It’s amazing how much junk in a closet can weigh you down!
Kim Mayo says
Melissa, I’m inspired to tackle my awful “office” armoire! I really need the space to function and right now, it’s just a nightmare. I love your office décor. It’s pretty and not cluttered; just the space to let your creativity flow! Thanks for sharing another fantastic tip.
Melissa George says
Yes! Do it this weekend while you’re motivated if you can fit it in! Thanks so much for reading!
Dana says
Where oh where did you find your rug? CRUSHING !!!
Thanks for your insight on getting organized !!!
Melissa George says
You’re so welcome, Dana! And it’s seriously the best rug ever. I was literally just sitting here wondering if I should add a source list to that post including the rug and desk! You can find the rug here: http://rstyle.me/n/crtqzwb5wxf It looks WAY better in person (and in my photos, I think) than the stock images.
Angela says
I think the biggest problem to being organised 24/7/365 is that these days we all have too much stuff. Not saying we should all be minimalist but who needs so much of everything that it ends up in piles on cupboards and floors etc? The problem is unless we really get rid of a lot of stuff we end up having to keep organizing and tidying every few months or even every year. The fact so many of us have garages, lofts, toy rooms or offices etc all full of things we really don’t really need just makes life harder. I have to say the best thing I ever did was move from a big house to a small apartment for forcing me to get rid of most extra things I hung onto. My life is so much easier now and less stressful and I never really have to reorganize anything as when I buy something new now I get rid of something old. My closets have been neat and organised since I moved in eight years ago! When I had a house I tended to have to sort the closets every few months, letting go makes less work x
Melissa George says
I mostly agree! I’m an advocate of things you don’t need leaving the house and it’s always one of the first steps in my organizing process. In this case, we came up with many things to sell, and just as many things to throw away (old electronic boxes being the top mess in that area). As you mentioned, there’s no point in organizing things you won’t ever use! That said, I also think our individual personalities drive the different levels of stress we feel with the number of objects and/or space around us. While cluttered unorganized spaces like the before closet make me crazy, I’d feel equally uncomfortable if I didn’t have a small stockpile of supplies. It’s a bit like packing for a trip. Some people feel WAY less stressed by packing everything in a carry-on. I feel VERY stressed if I have to try and pack everything in a carry-on. I’m lucky if I can get everything in a checked bag, big purse AND carry-on. But having options, even I won’t wear every outfit or shoe, makes me happy. I don’t think either approach is right or wrong as long as everyone figures out what works for them – and does it in an organized way with a system to keep things organized long-term. Have a great weekend!
Susan says
So gorgeous (and organized)!! I love repurposing lids and product packaging to organize with. It saves money and saves items from the landfill (or recycling bin).
Melissa George says
Yes! I love that it’s dual purpose and so many of the lids are perfect for drawers!
Maryann says
Beautiful! It’s hard for me to work when my space is a mess. I have to re-organize at least every
six months. I’m a busy gal.
Melissa George says
Thank you! And I agree! I get way more done when I’m organized.
Felicia says
Nice!! My first thought was that , it’s Melissa George’s closet, how bad could it be? Then I was like, It looks like mine!!!! Then I had hope!! Thank you for being so vulnerable & sharing. I aspire to organize & decorate as you do, so sharing your clutter made me believe that I can do it too!
Melissa George says
Ah, thank you so much! I’m so grateful airing my messy space inspired others as I hoped it would!
S. Granda says
Hi. Could you provide the size or dimensions of your office space/ room? Thank you
Melissa George says
Hi – I don’t have the exact measurements with me, but it’s around 12 x 12.
Jessica A Johnson says
I love this! I’m tackling my office now. It’s a disaster and since I work from home I need it in shape. I love that white dresser or cabinet with drawers. Where did you find it?
Melissa George says
Sorry I missed your comment earlier! It’s a dresser from IKEA – the NORDLI: https://www.ikea.com/us/en/catalog/products/S69239513/