This is a sponsored conversation written by me on behalf of Cricut. The opinions and text are all mine.
It’s hard to believe that Halloween is almost here again! Each year, we’ve had more trick-or-treaters as our neighborhood has filled in with homes. Last year, I was slowing them down trying to hand out candy from our traditional plastic pumpkin container.
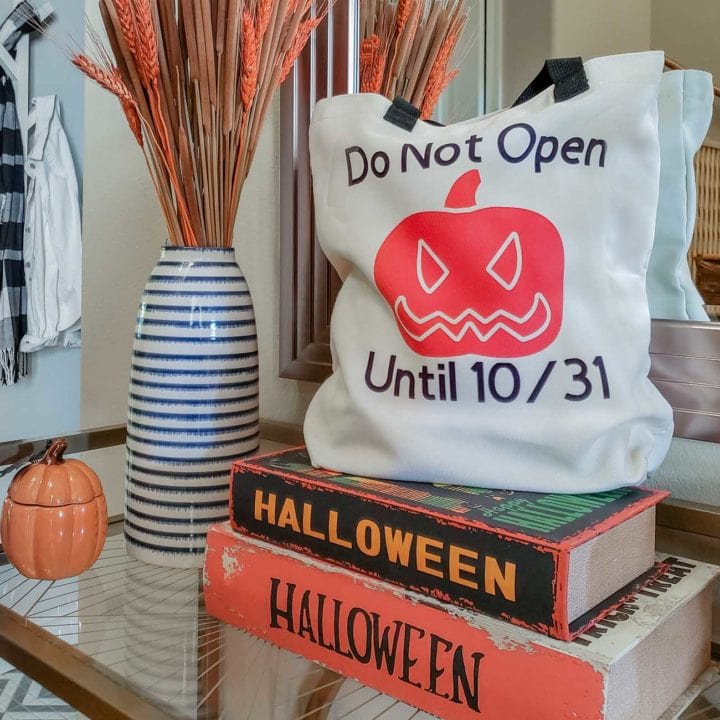
I decided it would be easier to hand goodies out from tote bags this year. PLUS, the tote bags will fold flat for storage the 364 day a year we aren’t using them, as opposed to the bulky pumpkin.
This project would also be great as a trick-or-treat bag for collecting candy!
The last several years we’ve participated in the Teal Pumpkin project, which just means we have some non-food treats available for kiddos with allergies. We have a teal pumpkin on the porch letting families know we both candy and non-candy goodies.
To keep the two items separate, I’m making TWO cute new totes in partnership with Cricut using their new Infusible Ink material. If you’re not yet a Cricut owner, you could do a similar project with the same tote bags using stencils and fabric paint.
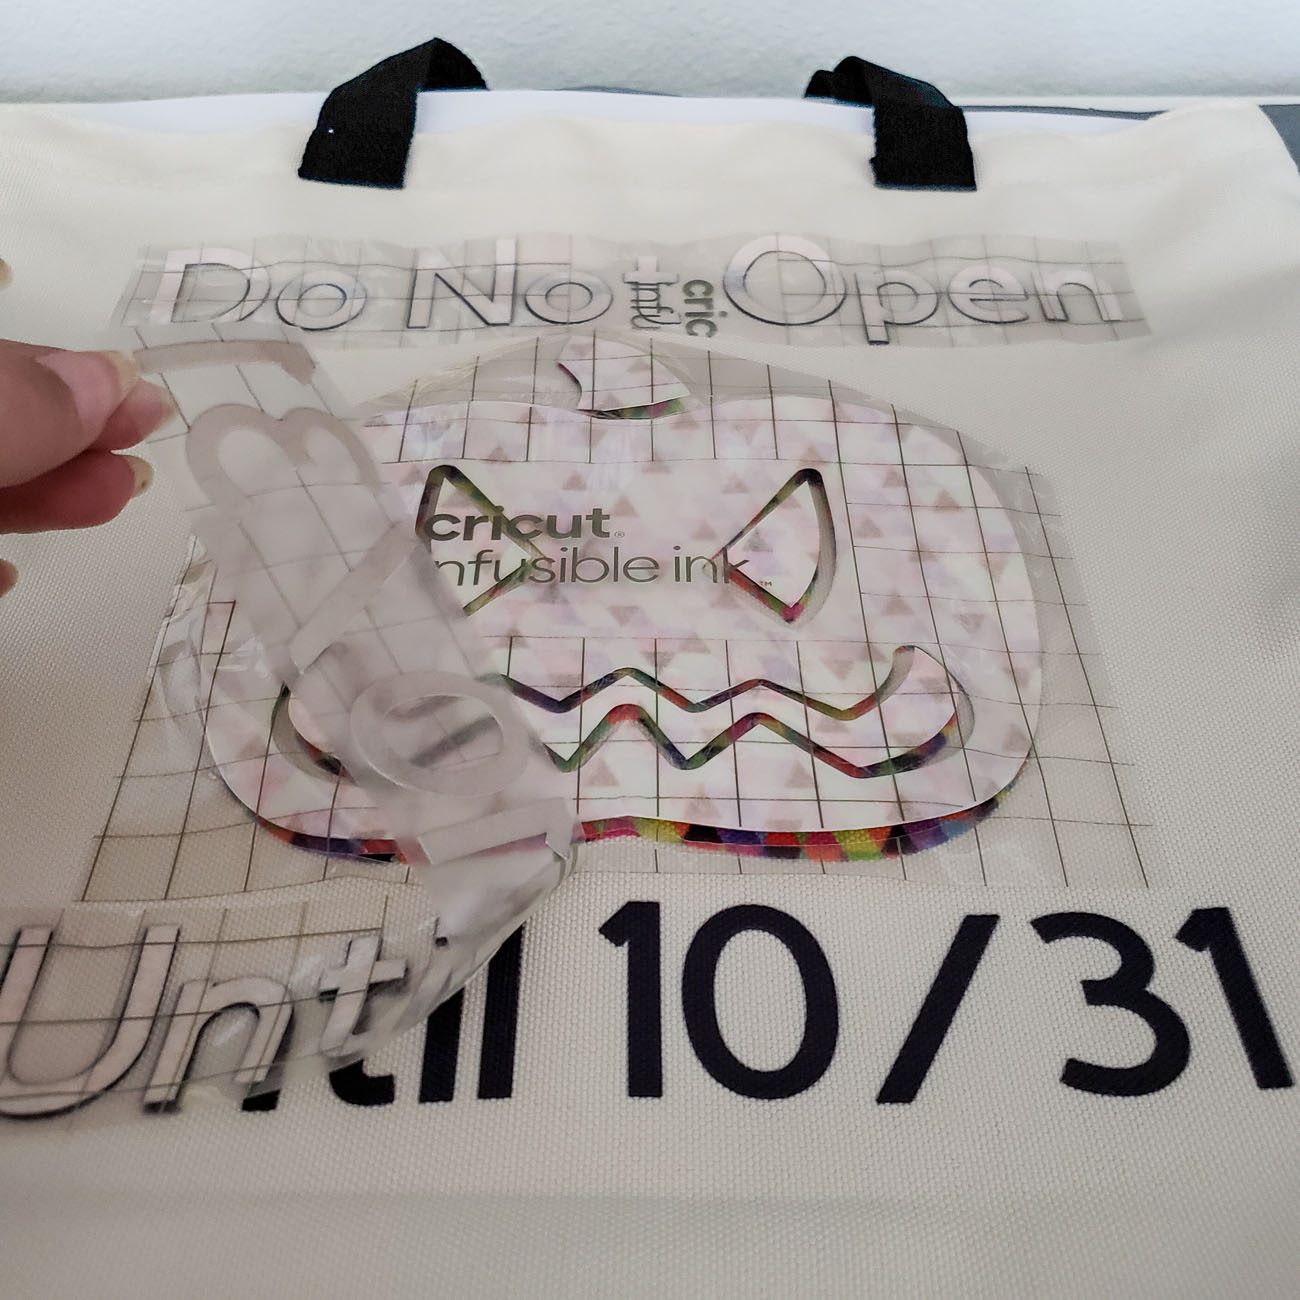
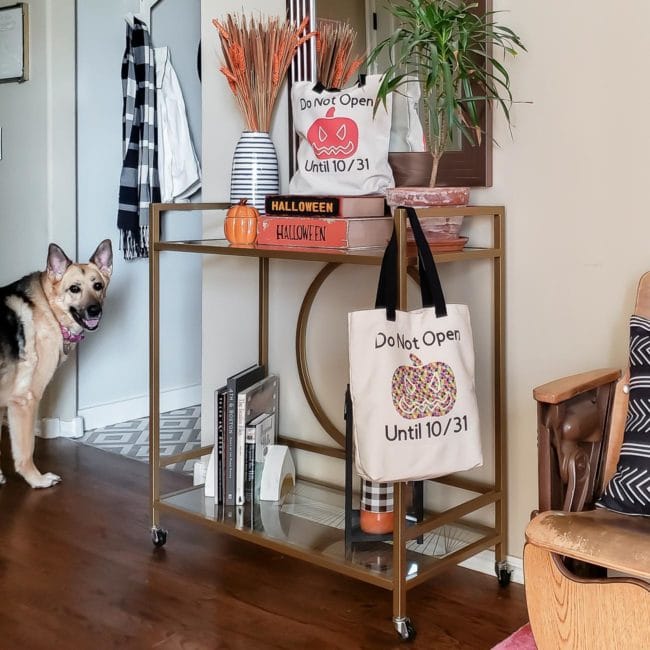
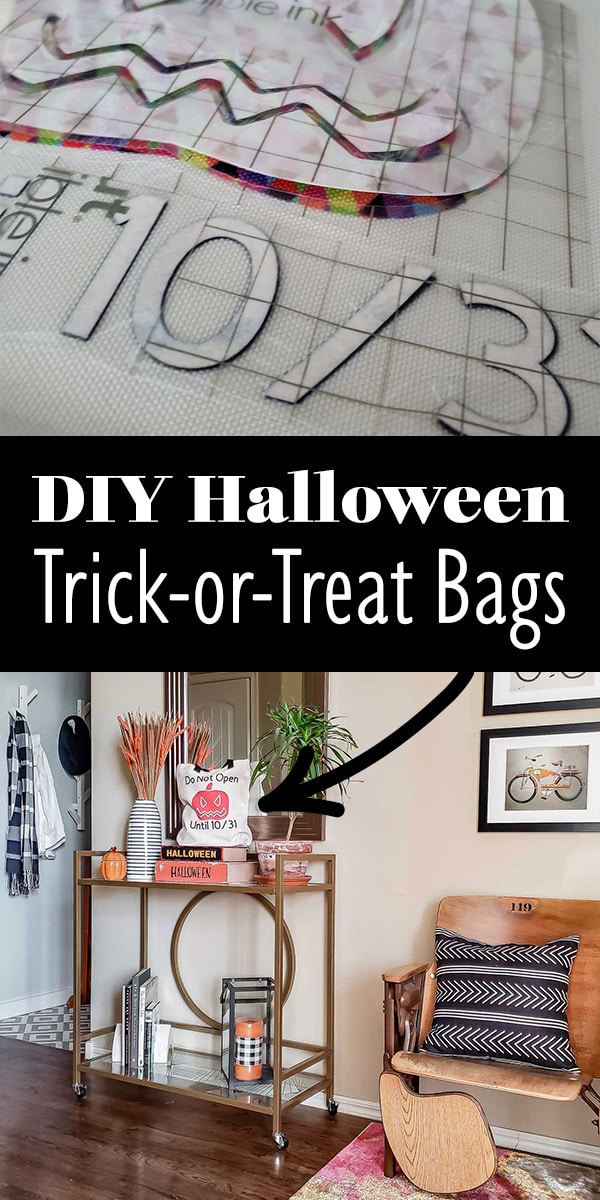
For the design, I debated how to distinguish the bags because I didn’t want to say anything like Candy and Not Candy to make it seem like one was negative. I ended up landing on “Do Not Open Until 10/31” with different colored pumpkins in the middle!
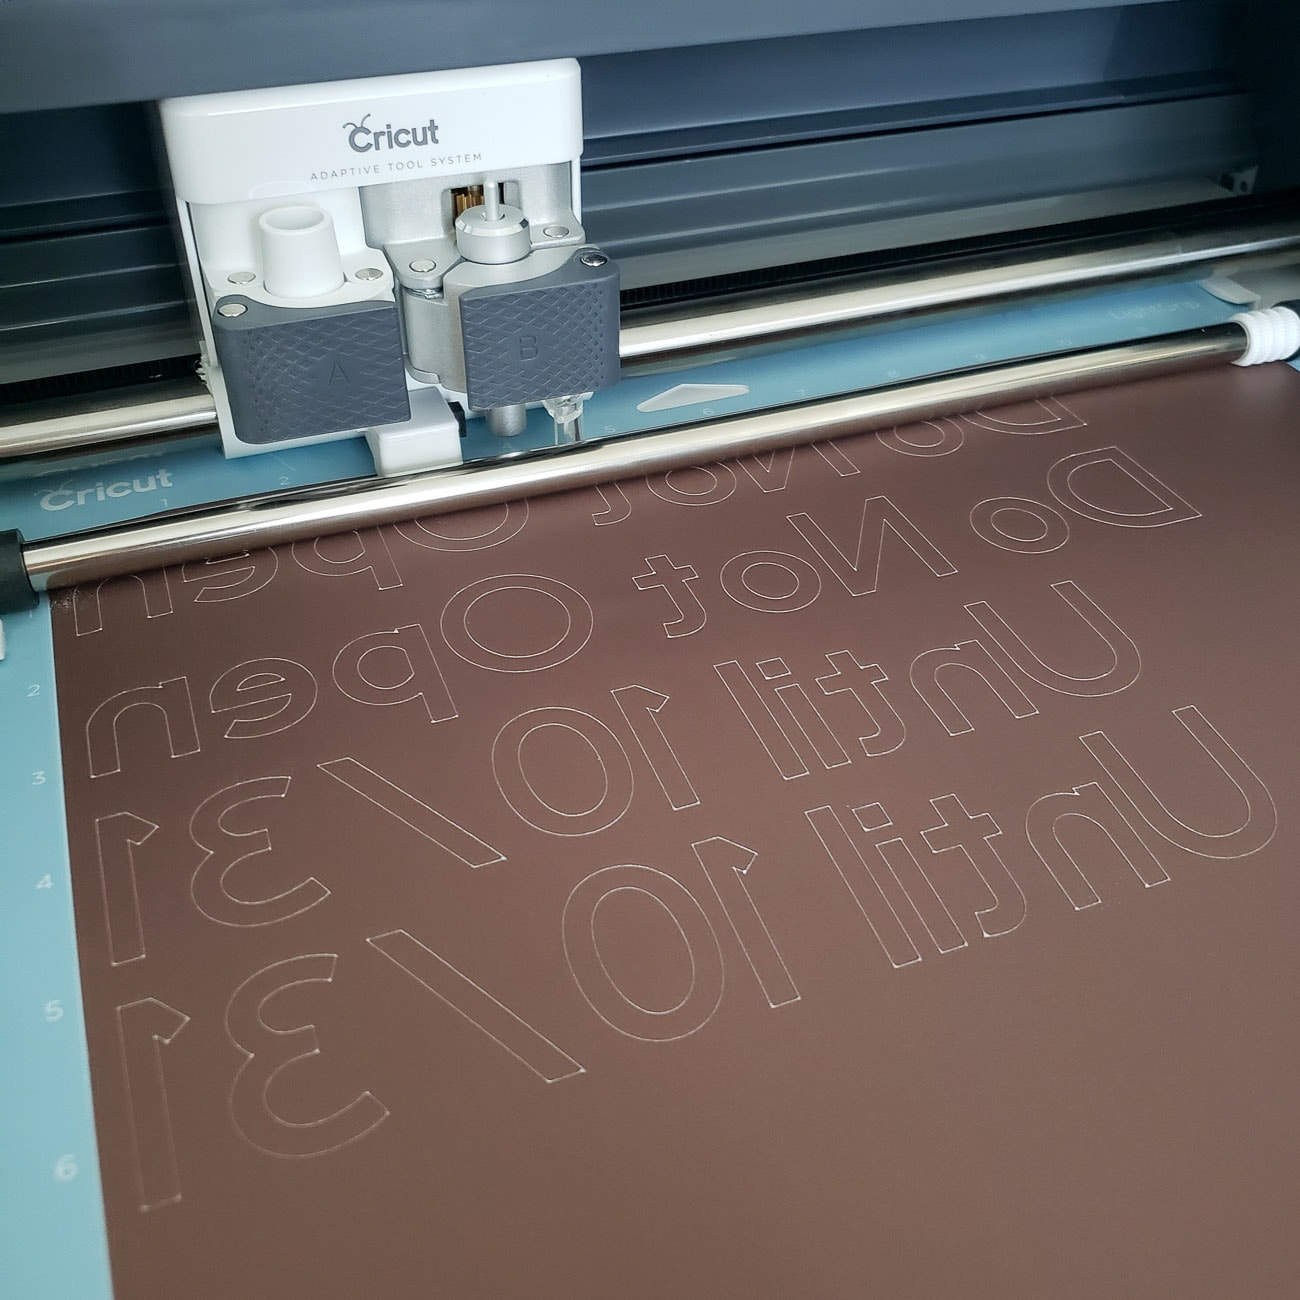
I used the Triangle Brights set of Infusible Ink Transfer Sheets because it comes with one bold orange sheet and one colorful geometric pattern. I also used black for the text. As you’ll see, the material doesn’t look black when you cut it, but when you transfer it, it’s perfect!
Here’s how to use Infusible Ink:
Halloween Treat Bags
Materials
- Cricut Infusible Ink Transfer Sheets
- Cricut Tote Bag
- 1 Sheet White Cardstock
Tools
- Cricut Maker or Air 2
- Cricut Easy Press 2
- Lint Roller
- Heat Safe Mat
Instructions
How To Cut Infusible Ink Transfer Sheets
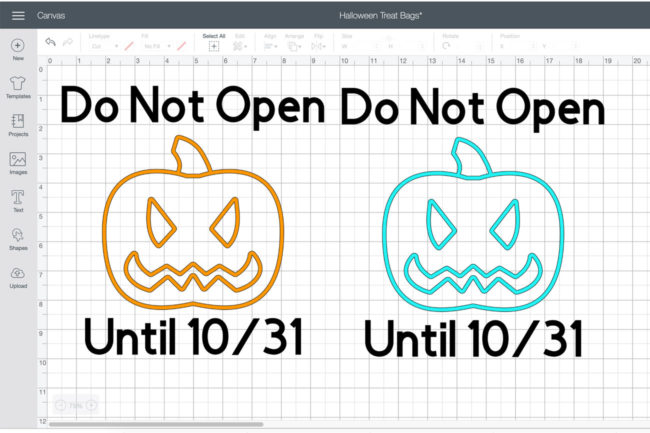
- Open the graphic I created here and then click Make It to open it in Design Space!
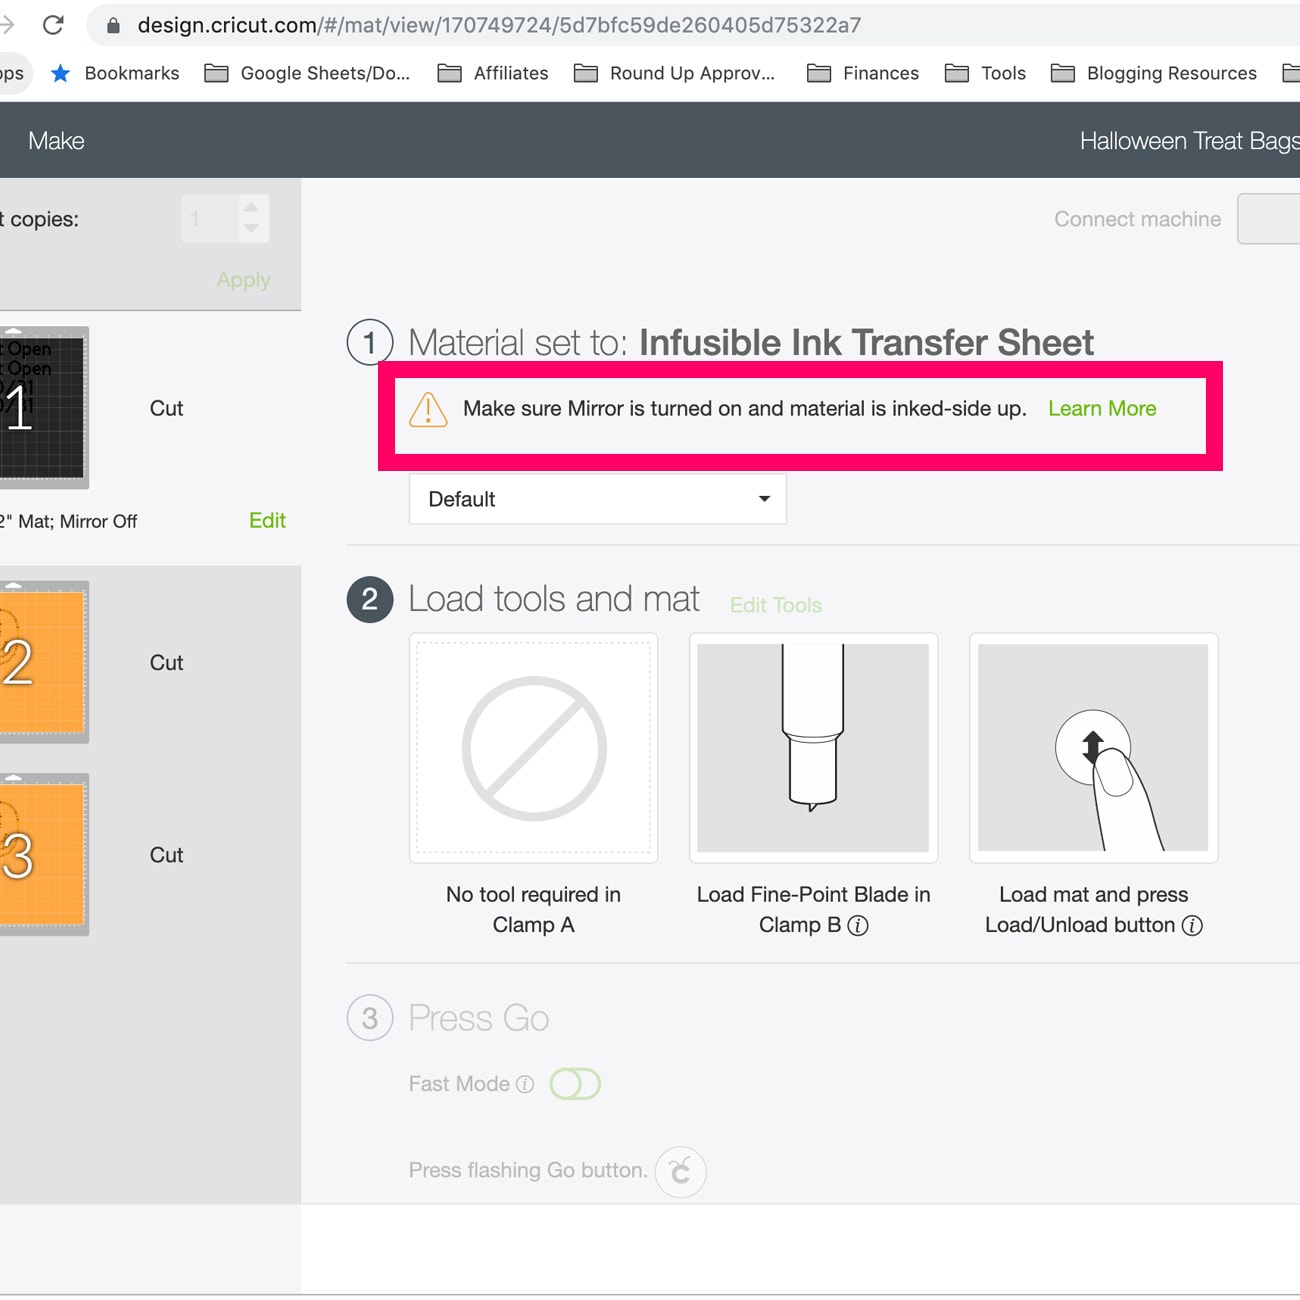
- Be sure to mirror the images before cutting any time you're working with Infusible Ink.
- Place your Infusible Ink Transfer Sheet with the colored/patterned side UP on your mat and then cut following the directions in Design Space.
How To Weed Infusible Ink Transfer Sheets
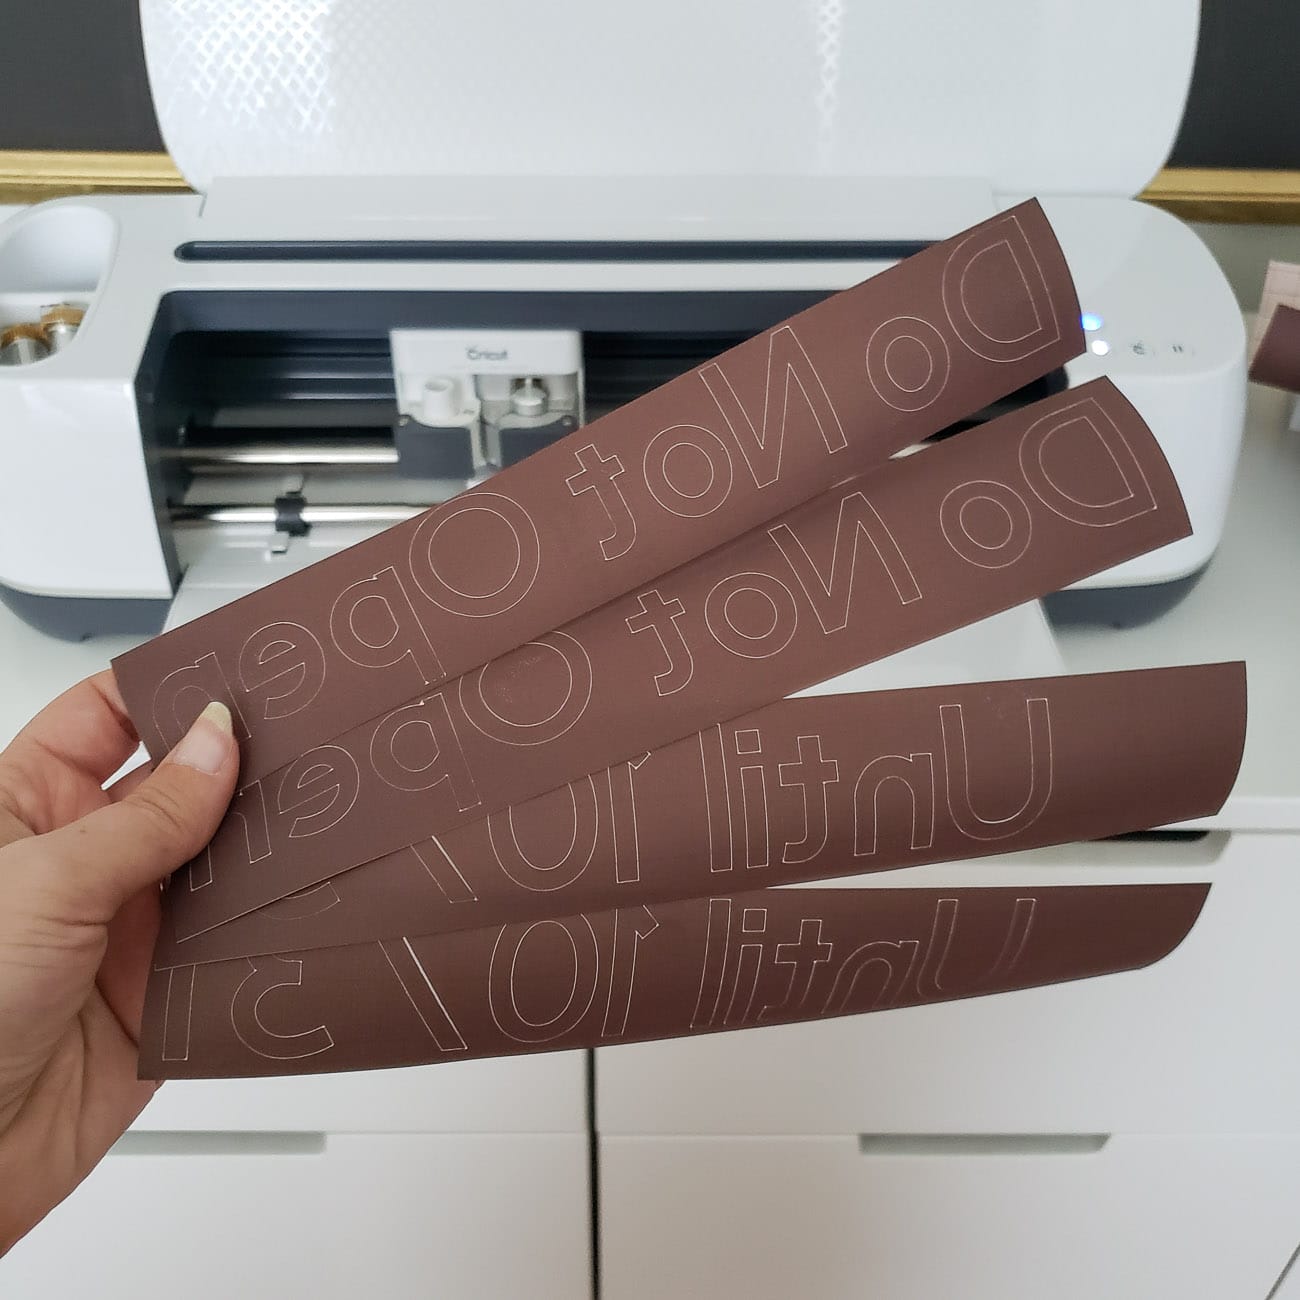
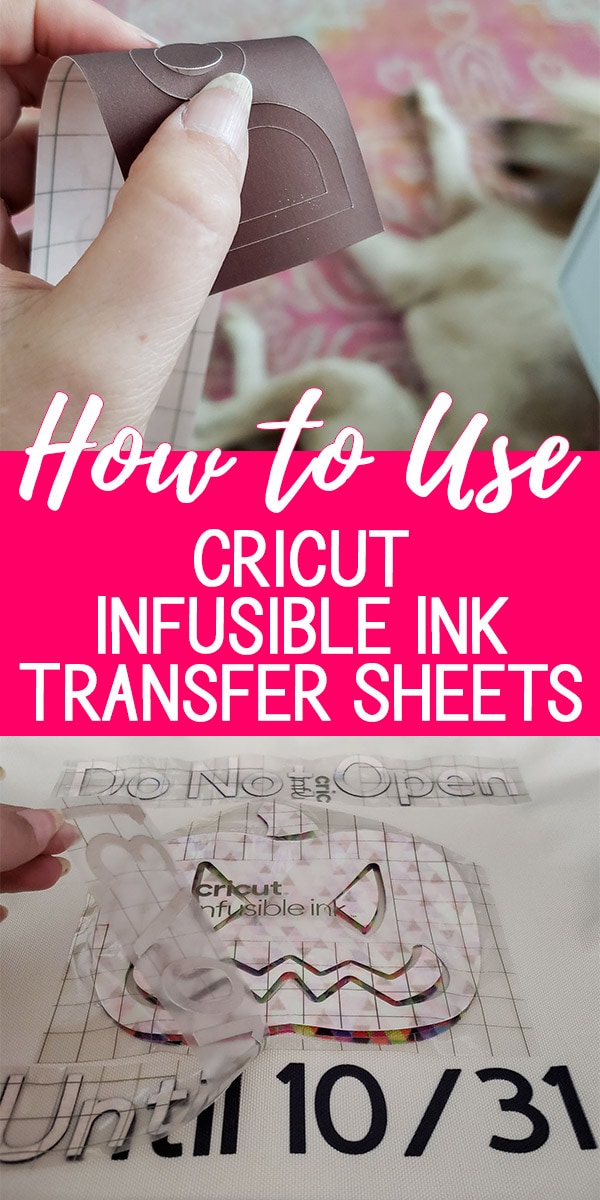
- Remove your Transfer Sheet from your mat and cut each line of text into their own section as seen below.
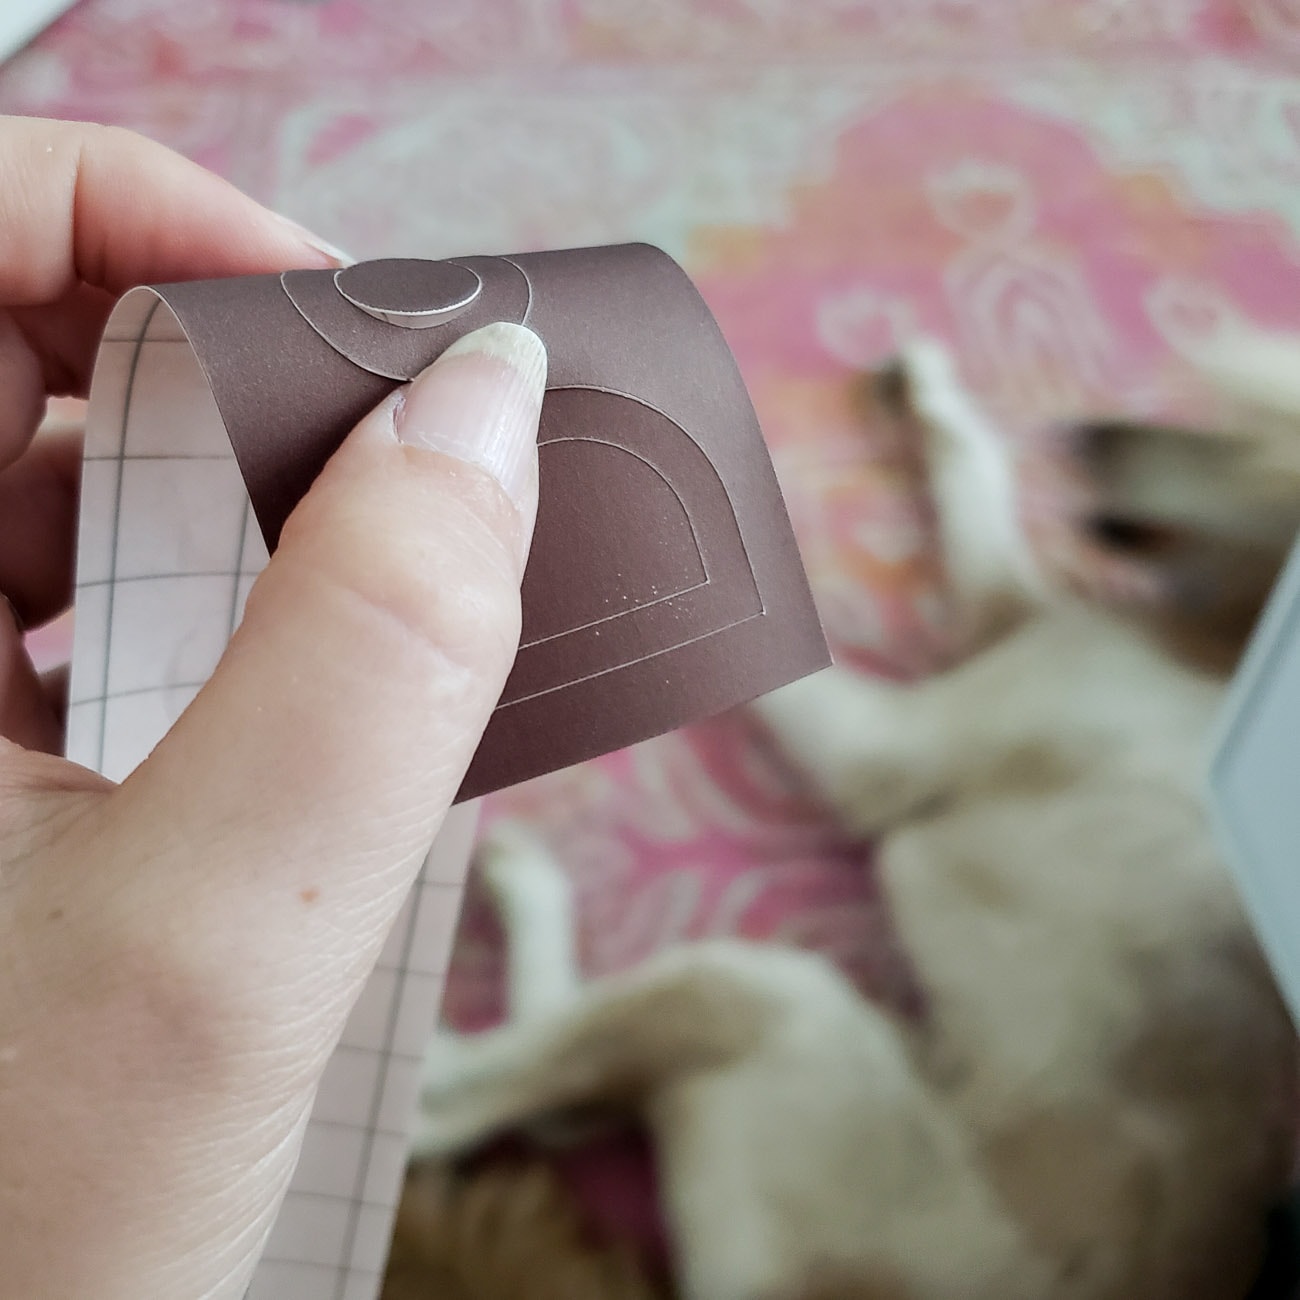
- Gently roll it to loosen the paper from the backing.
- Weed anything you don't want to transfer, so you'll be left with the letters attached to a clear piece of plastic.
How To Apply Infusible Ink Transfer Sheets to Tote Bags
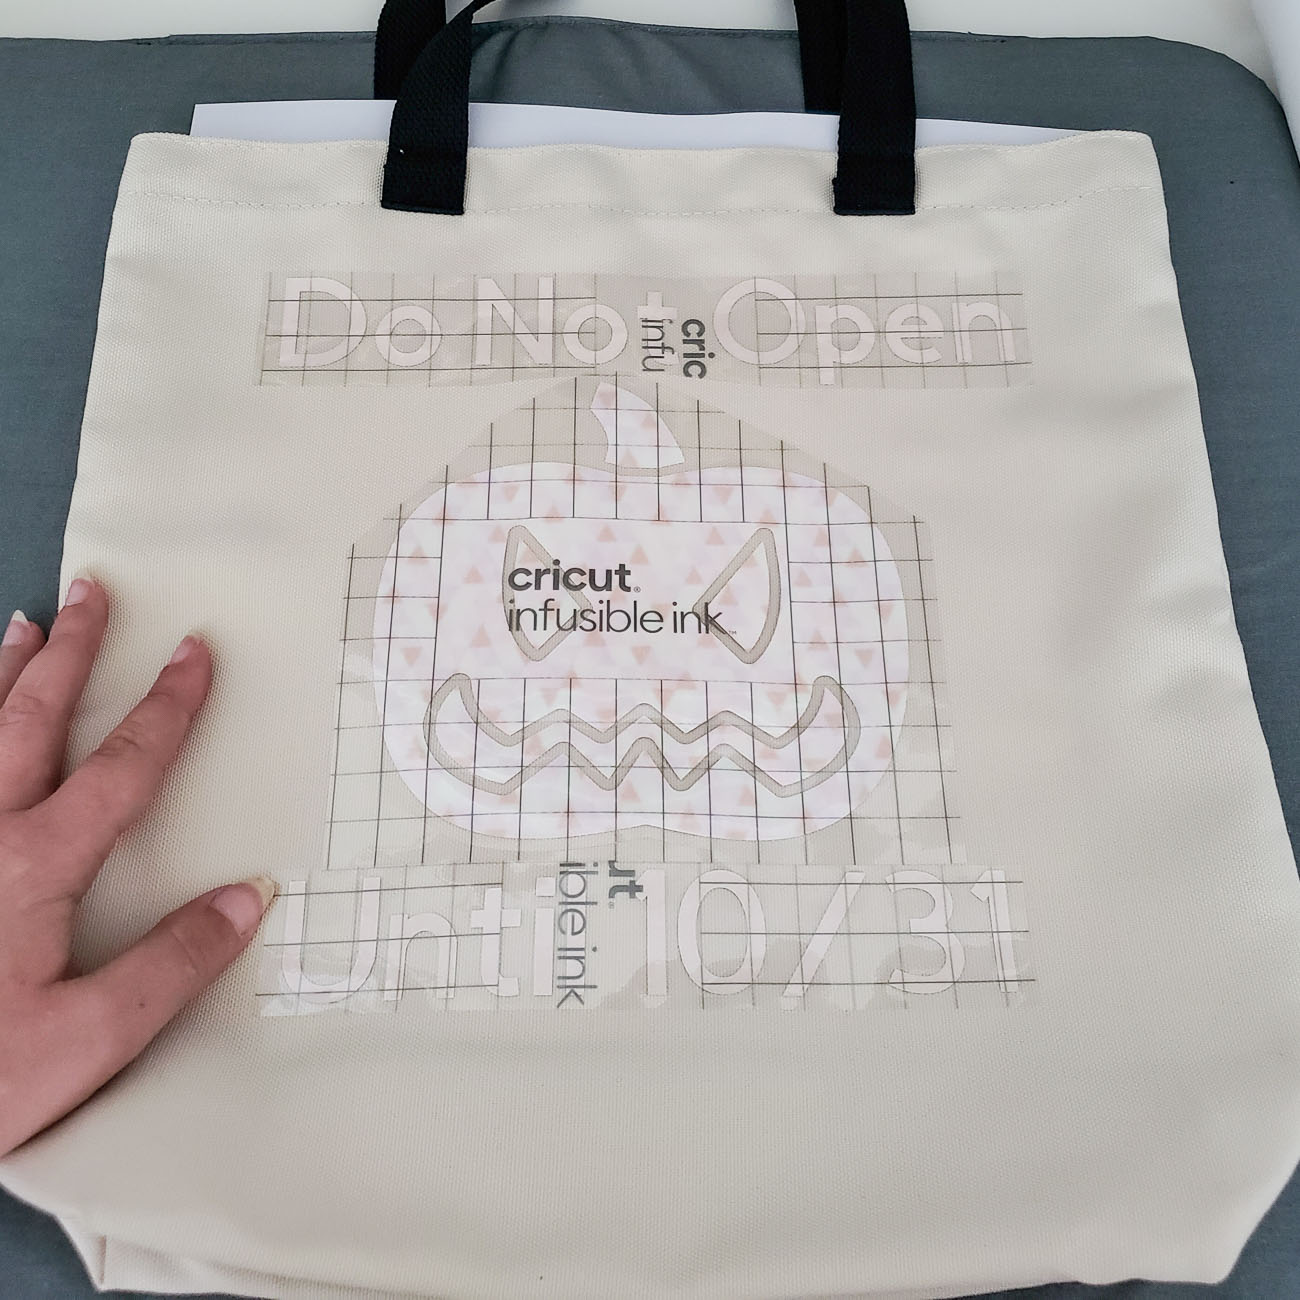
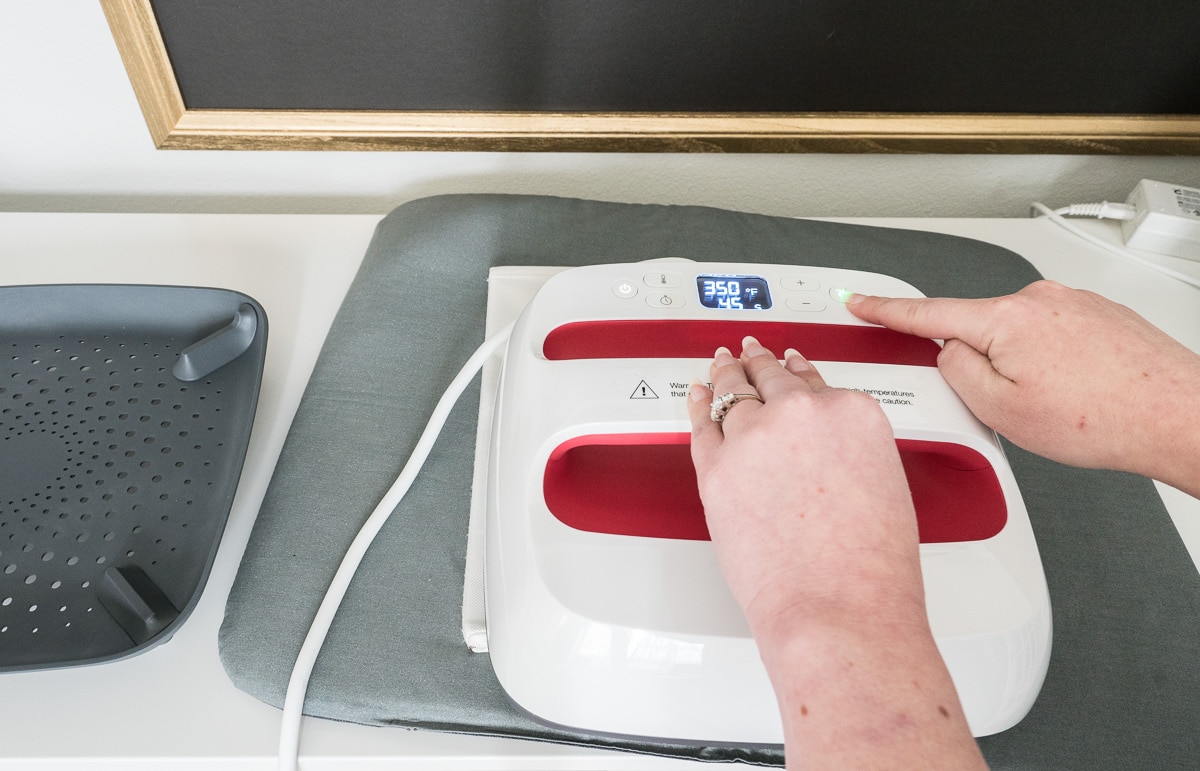
- Preheat your Easy Press 2 to 380 degrees. While it is preheating, place a piece of cardstock inside your tote bag to protect the back of your bag. Place the bag on a heat safe mat.
- Use a fresh lint roller to clean your bag as any particles can prevent the ink from transferring.
- Cover your bag with one of the pieces of butcher paper that came with your Transfer Sheets.
- Use the heat press on the butcher paper-covered tote bag for 20 seconds to prep the surface and then let everything cool.
- Now it's time to layout your design!
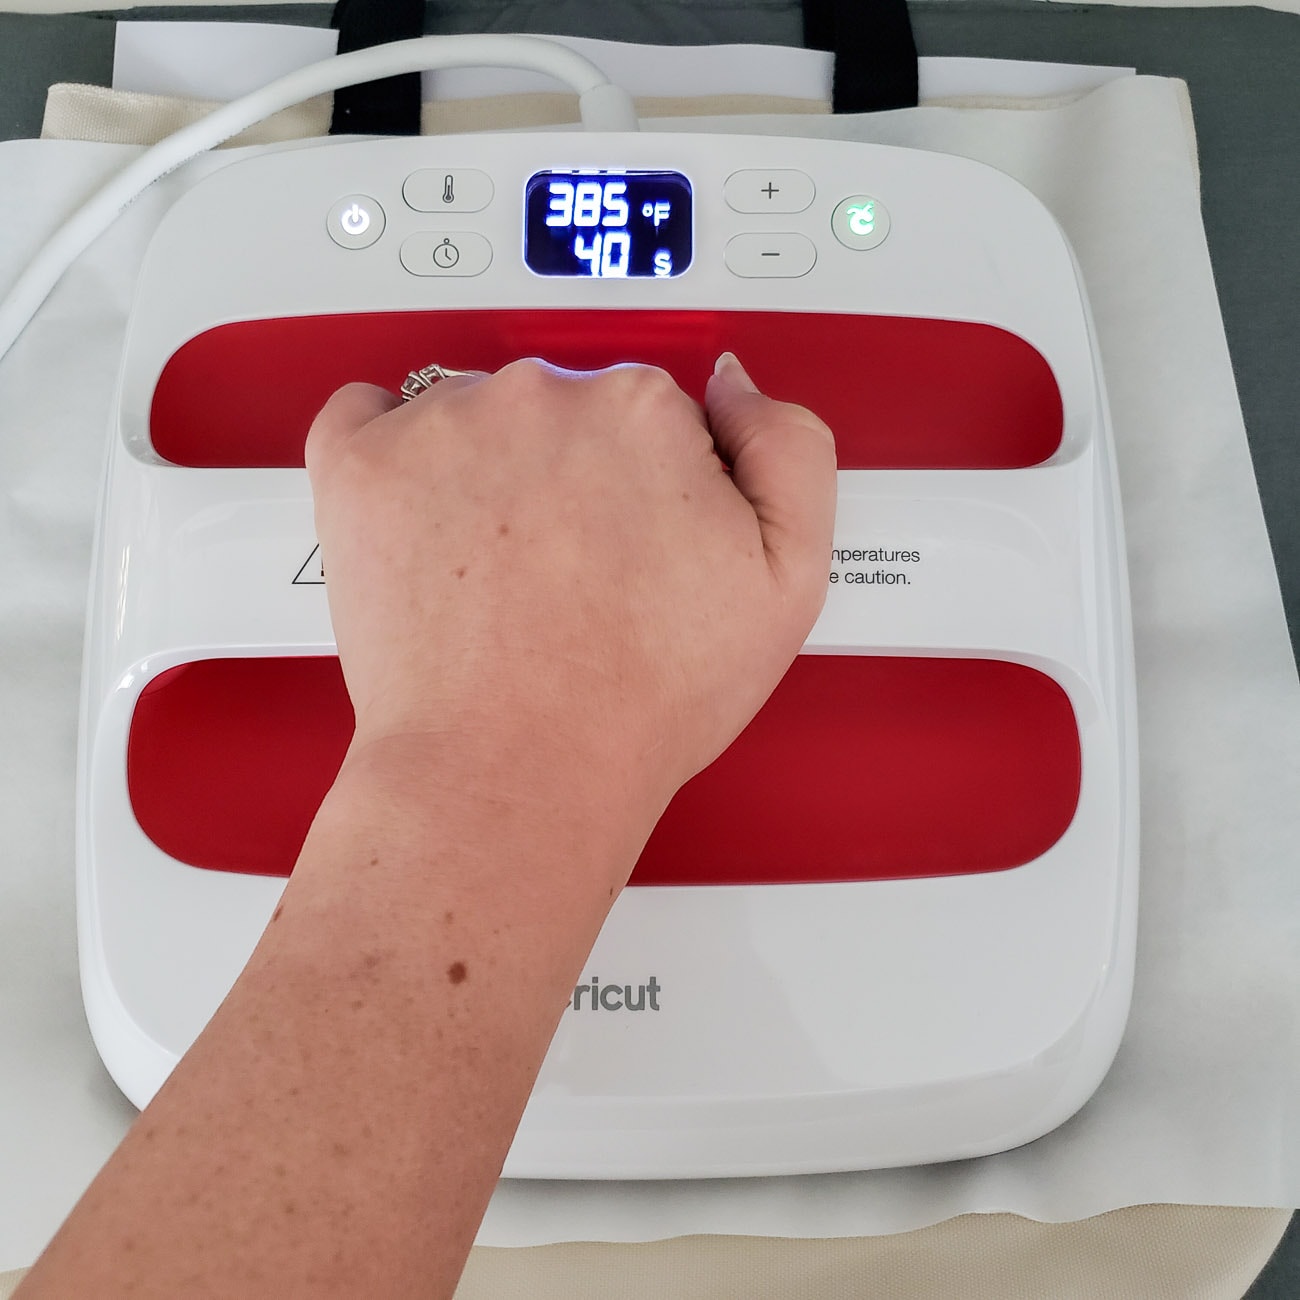
- With your design in place, cover it with the butcher paper and then apply heat for 40 seconds with even pressure. Be sure your Easy Press 2 covers the whole design.
- DO NOT MOVE the butcher paper or transfer sheets until they are cool. I recommend walking away because it's SO TEMPTING to peek!
- When everything is cool, simply peel to reveal the design!
Notes
- The Infusible Ink Material will look dull and faded when you remove it from the packaging. Don't worry, once you've transferred it, it will be bright!
- Don't use the butcher paper for more than one project.
- For more help with Infusible Ink Tote Bags, check out this tutorial from Cricut.
Recommended Products
As an Amazon Associate and member of other affiliate programs, I may earn a referral fee from qualifying purchases.
The hardest part of this project was being patient and letting the transfer cool before I could peek under the butcher paper to see how it turned out! Luckily Maddie and I both approve of the final product. They look so great!
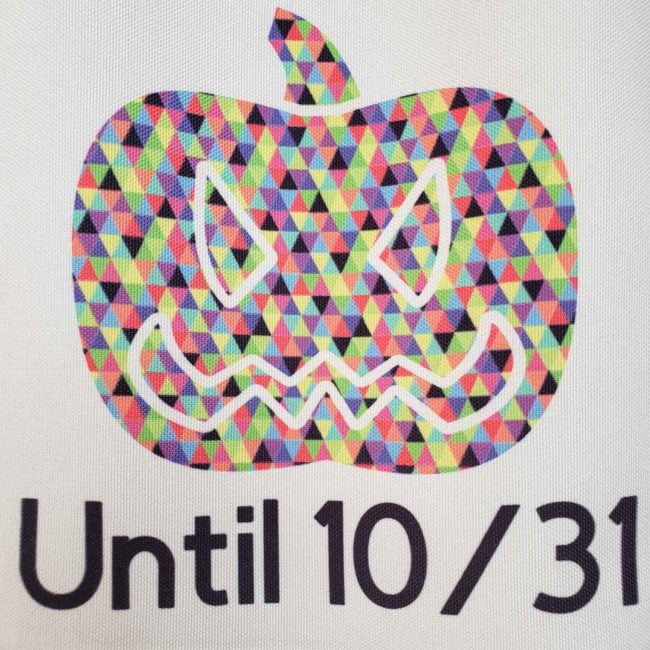
I’m blown away that the ink really gets into the fabric instead of just sitting on top of it like Heat Transfer Vinyl. Although HTV is still perfect for labeling fabric cubes that aren’t polyester.
You can still see the weave of the tote bag in the close-up below.
Like every other Cricut project I’ve tried, this was a lot faster and easier than I expected! Have you tried the Infusible Ink yet?



Leave a Reply