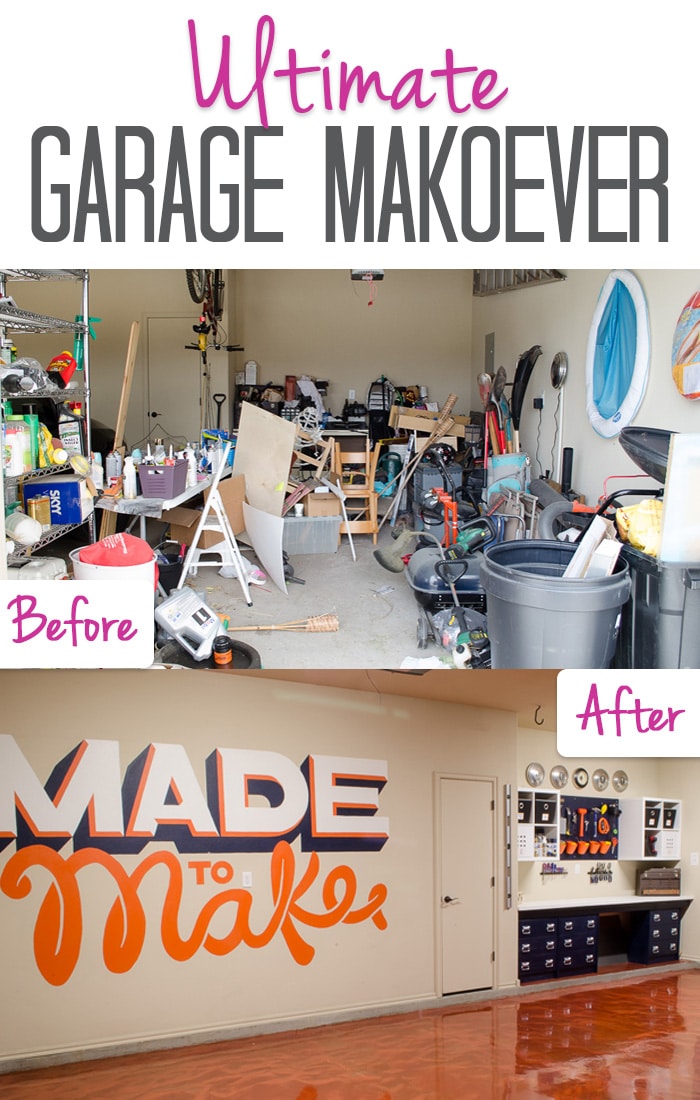
Over the last five weeks, we have completely transformed our 3 car garage from a hoarders dream to an inspiring and functional space.
We battled crazy travel schedules, way too much rain, and an incessant army of June bugs. Don’t they know it is only May??? If I hadn’t been committed to finishing this space as part of the One Room Challenge, I would have quit. Many times. Thank goodness for public accountability!
What a joy to have a huge flat work space for smaller diy projects and a big open space near the tools to bring larger ideas to life! Thank goodness for IKEA workbench hack keeping the space on budget.
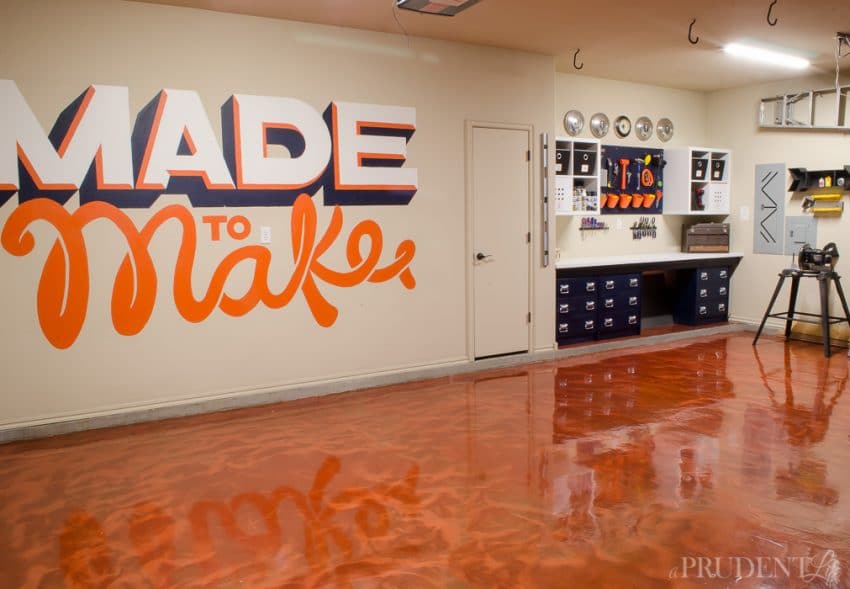
Throw in new lighting, easy access to power tools, and organized supplies and it really is a dream. There are no words for the copper floor coating or the wall art my husband came up with. When the neighbors want art for their nursery based on your GARAGE, you know you’ve done something right.
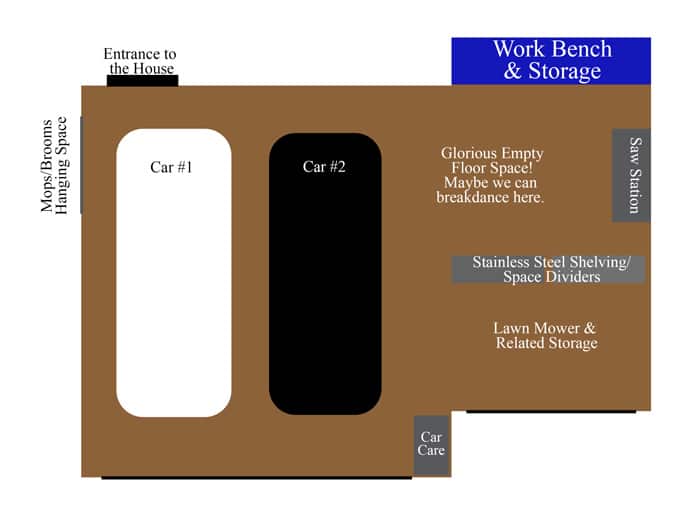
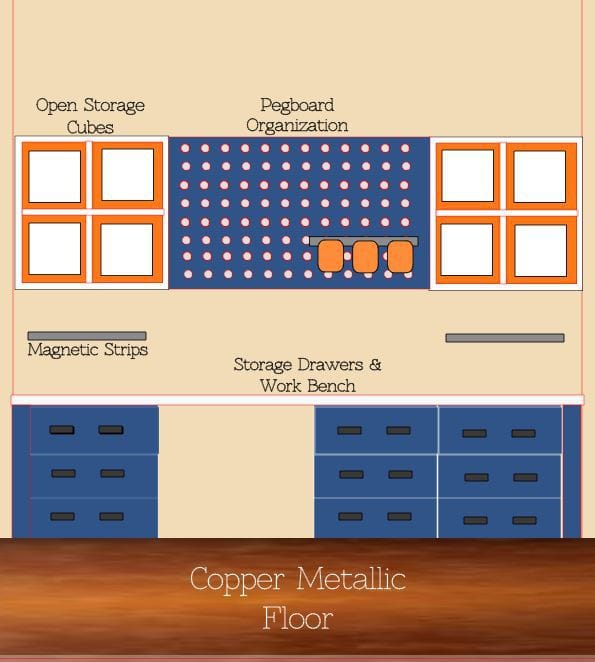
As a reminder, here was my floor plan from week 1.
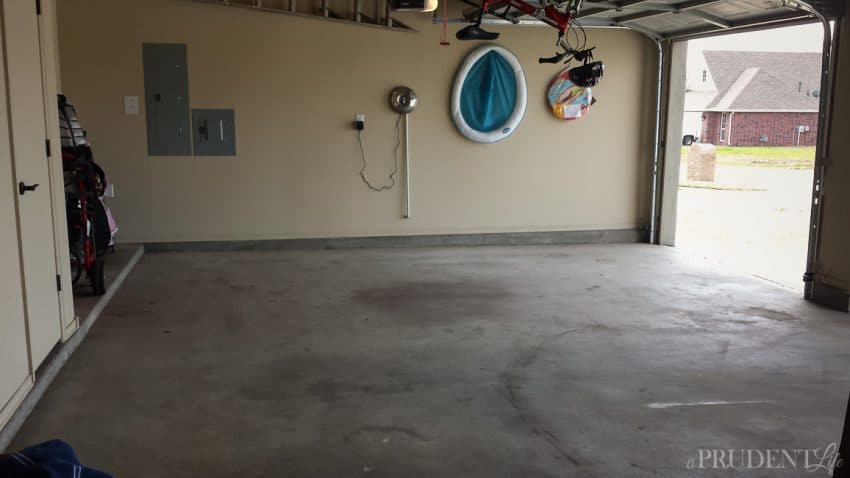
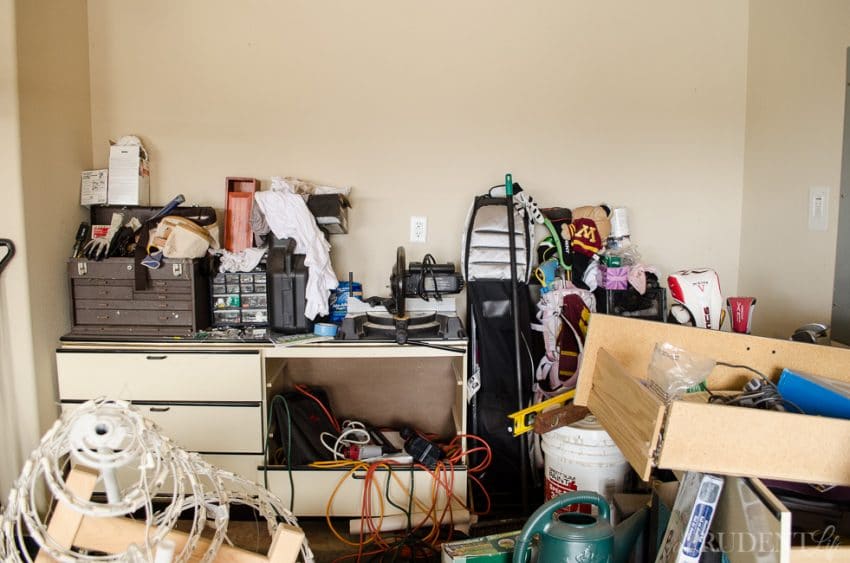
Before:
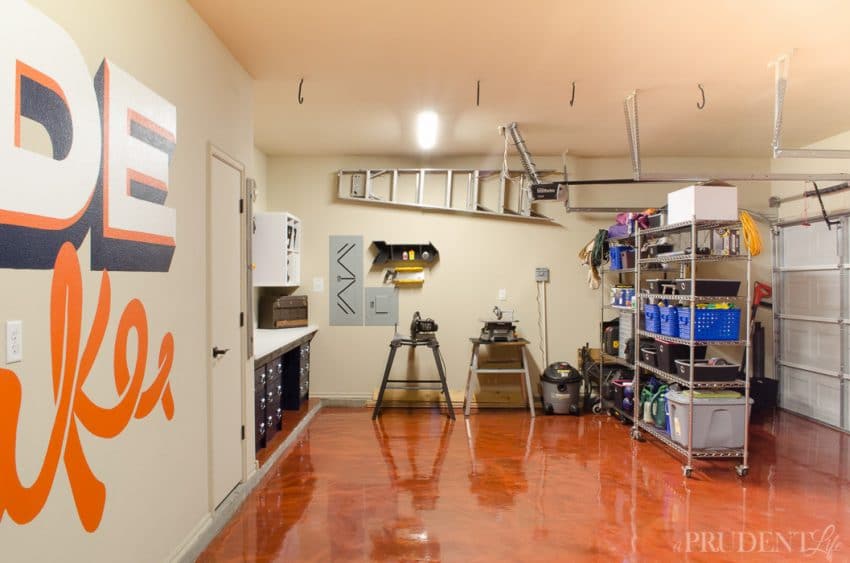
After:
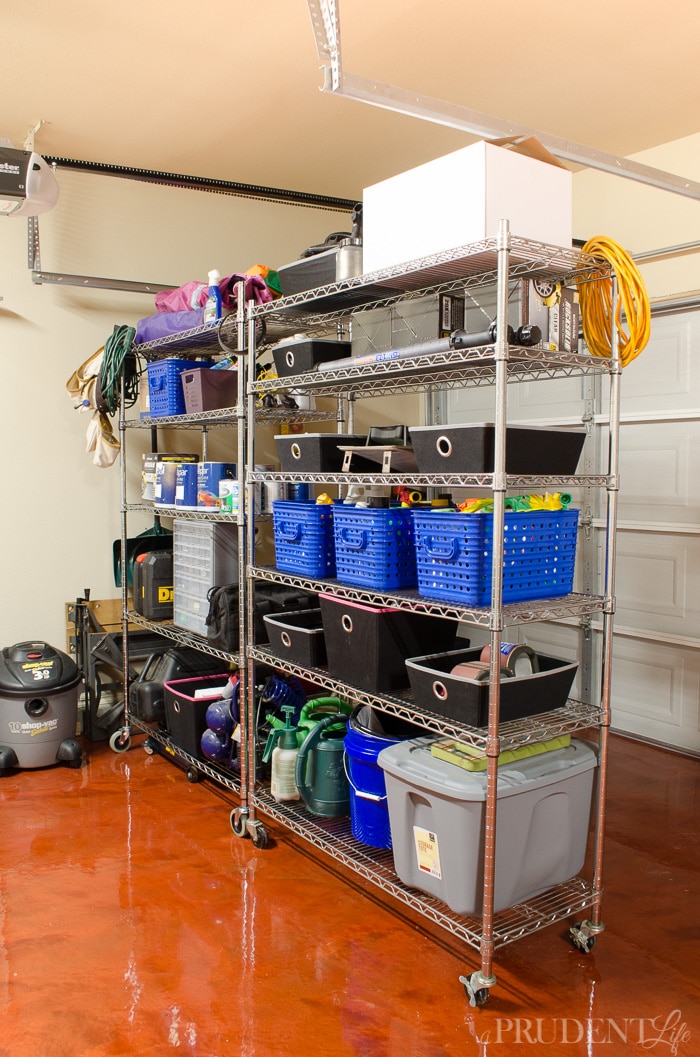
The rolling shelving units were placed perpendicular to the wall to create two separate spaces – a workshop with open floor space and a “shed” for storage of things like the lawn and garden tools.
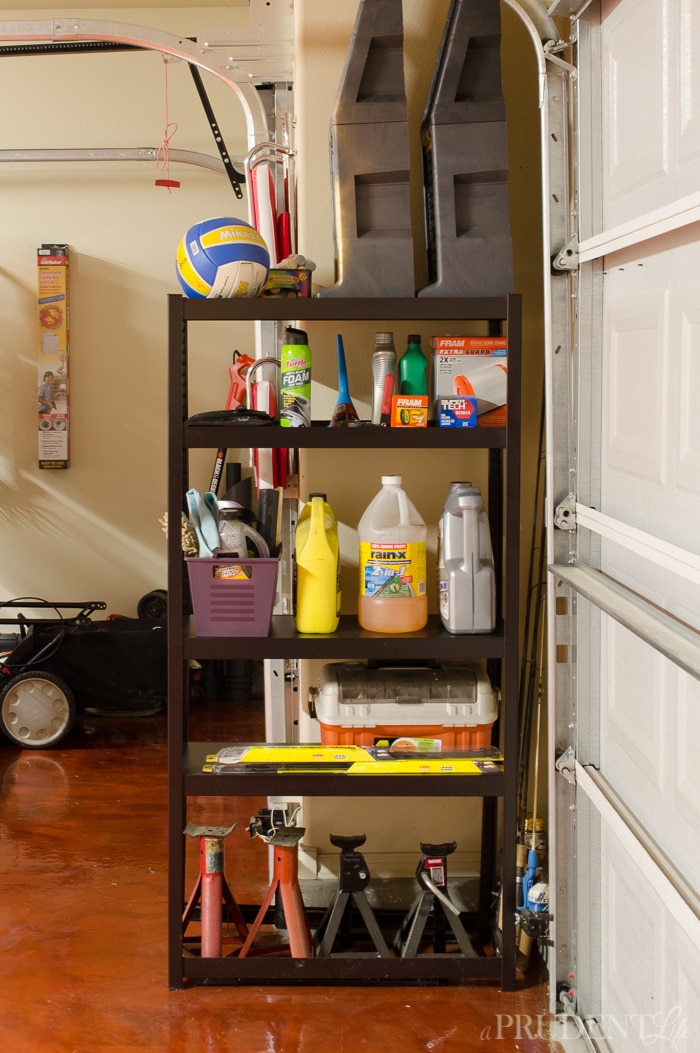
All the car related supplies were grouped in a separate area by the garage doors.
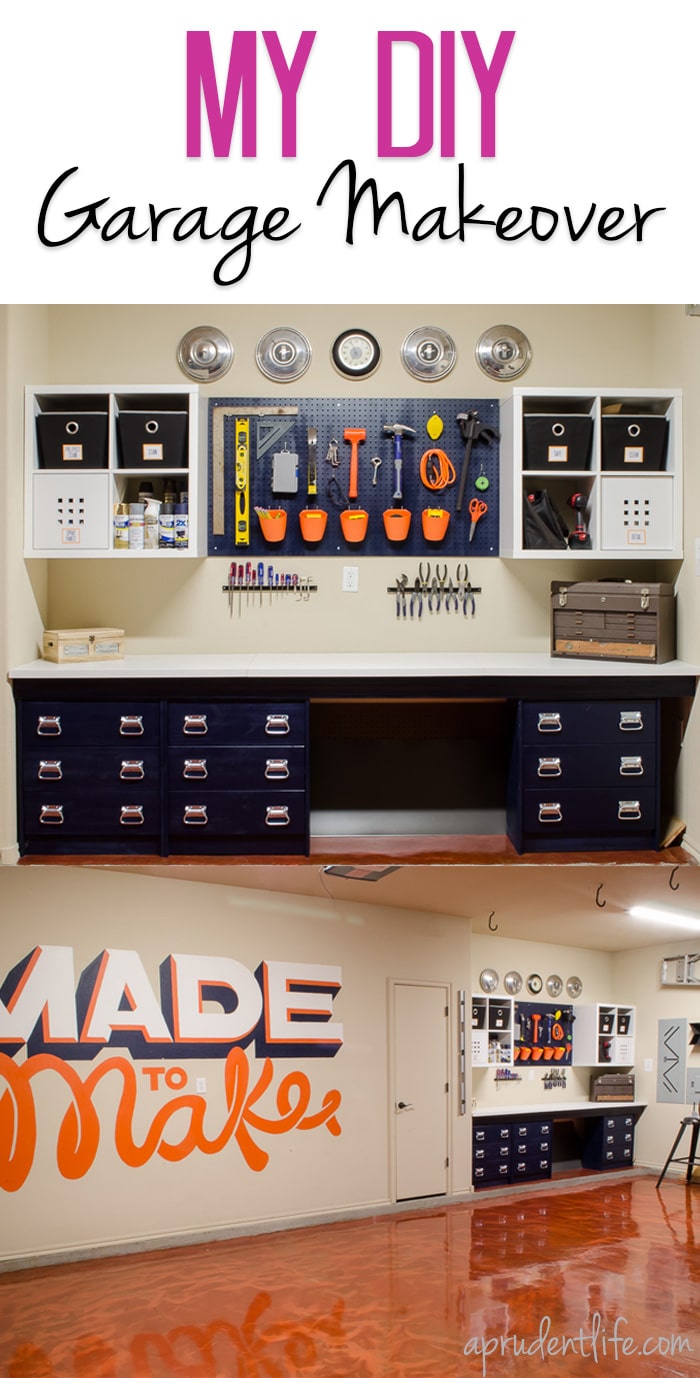
I know shelves aren’t that fun to look at, but the new wall art sure is! My husband knocked it out of the park again. It’s pretty amazing to open the garage and see the huge art.
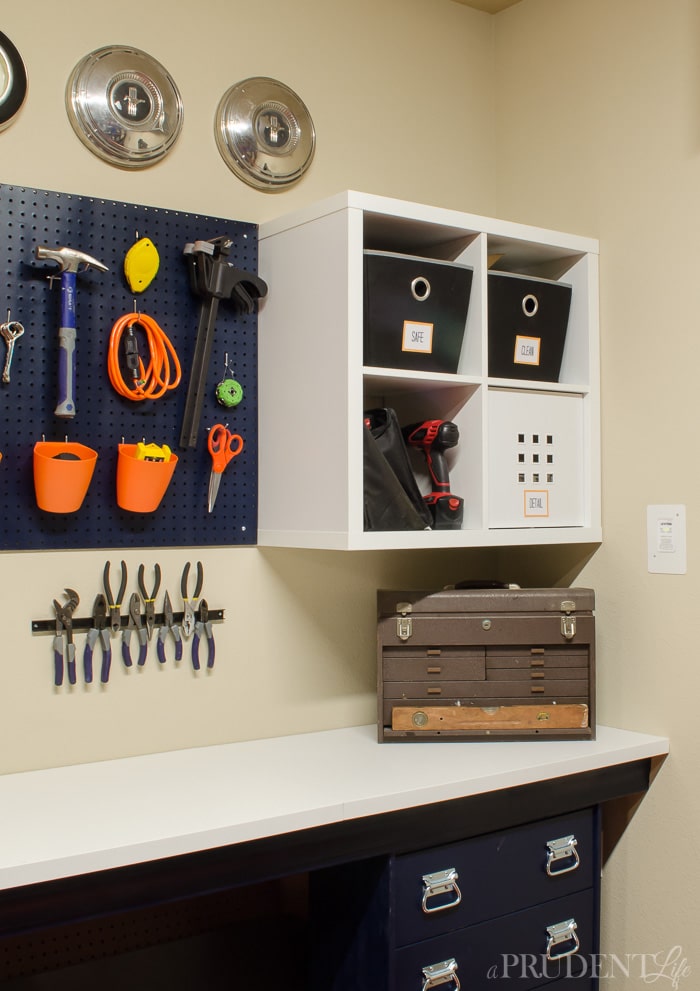
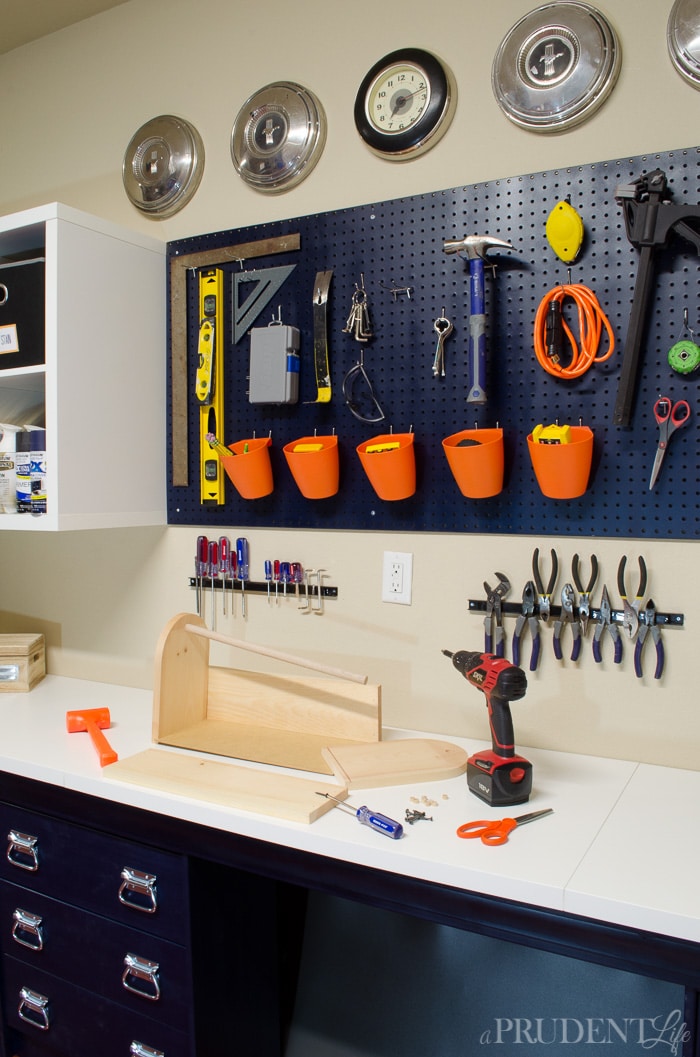
As much as I love the art, the organized workbench is my favorite because it adds even more organized garage storage space!
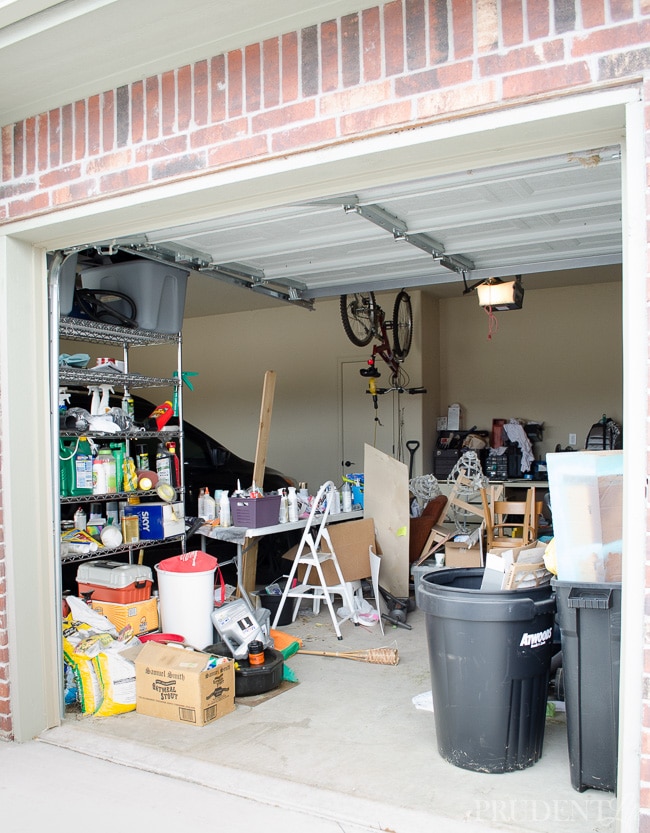
Remember the disturbing before?
And my plan…
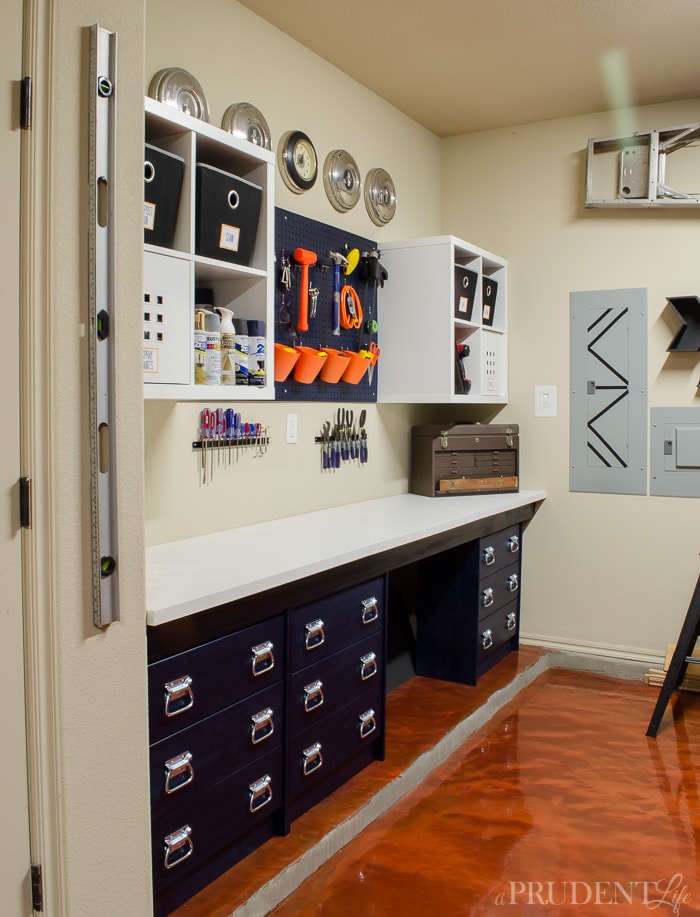
And the “I can’t believe it’s REAL” after:
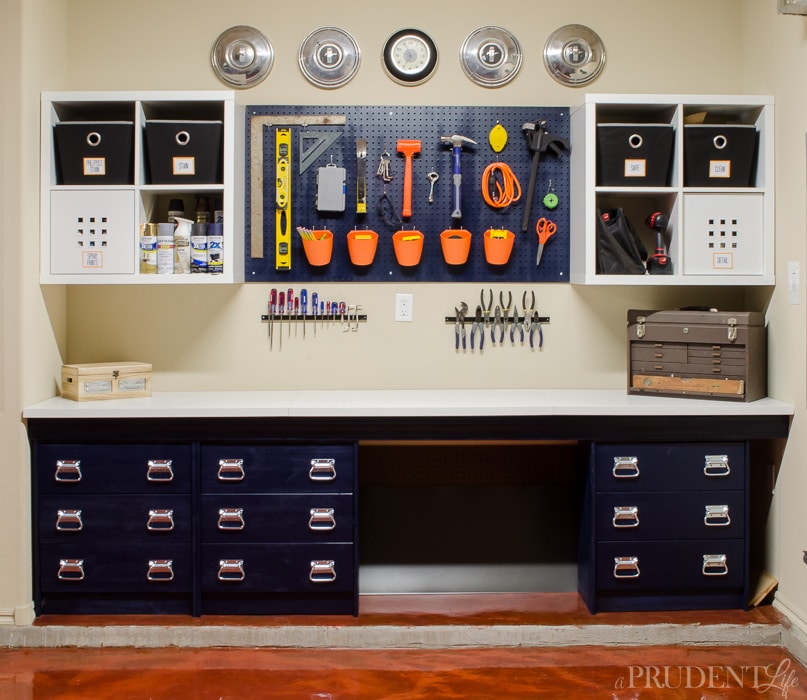
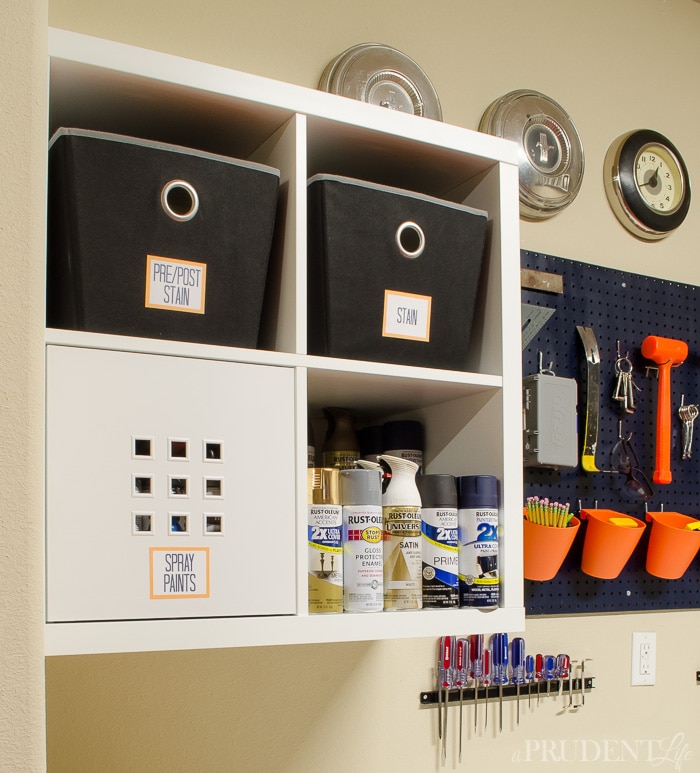
We took advantage of the space between the pegboard and workbench to add wall mounted magnet strips, perfect for frequently used items like screwdrivers.
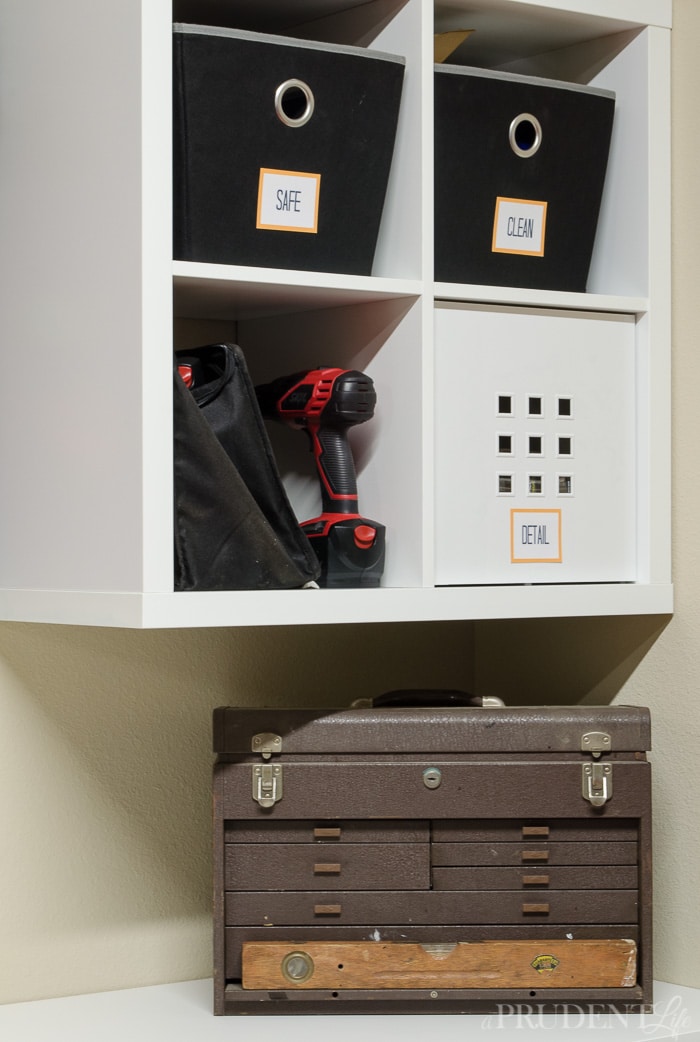
I love that among all the new garage makeover ideas, we were able to work in a vintage toolbox that belonged to Corey’s grandpa.
I seriously can’t believe I have 115 inches of glorious counter top to create things on! It’s so great that I can spread things out during projects, but also know that all the tools have a home when I am done.
For the floor, we used the Rust-Oleum RockSolid Metallic system in Copper Pot. When I reached out to Rust-Oleum about the One Room Challenge and talked about doing the garage floor, I had no idea it would steal the whole show.
But I’m okay with that. Because it’s AMAZING. I think I’ve said this before, but it looks like you could dive in and swim in it. The level of shine is unbelievable. Everyone who has seen it in person thinks it is still wet.
Obviously. I was fooling myself when I thought this post was the end of the garage talk around here. You can find more 3 car garage organization ideas in this post!
Special thanks go out to all of you who commented and cheered me on along the way, all of you are what make these challenges doable. And to my awesome friend Ana for stopping by to help with photos!
And with that, the spring One Room Challenge garage makeover is in the books!
Make sure you check out my Fall 2014 (pantry) and Fall 2015 (master closet) ORC reveals next!






Vel says
WOW! you probably tackled one of the most difficult rooms!!! Love the floor! Can you do mine next?! Great job!
Melissa George says
I think I’m retiring from garages for awhile, but thank you so much!!!
Pat @ Life At Lydias House says
This is fabulous! I am envious of anyone who can get one car in the garage much less two! You have done an outstanding job!
Melissa George says
Thank you Lydia!
Brynne@TheGatheredHome says
INCREDIBLE! Absolutely amazing makeover, Melissa! You have totally inspired me to tackle our garage next! And that copper floor is downright sexy! Way to rock this challenge!!!
Melissa George says
Thank you Brynne! Rust-Oleum should be getting all the credit for the floor, what an amazing product!
Julie - Being Home says
Wow! Very impressive! I love everything and boy do I wish I knew about the metallic floor finishing, when I did our garage floor. I still love ours, but your liquid pearl, metallic finish is gorgeous!
Great job bringing sexy back in the garage and inspiring me to hopefully finally get ours done – it’s been two years in the making. 🙁 lol
High five!
Melissa George says
You’ll be so relived when yours is done! It’s a pain to finish, but so worth it!
Joan Russell says
Where can I find your post on how to do the floor. It’s absolutely beautiful.
Melissa George says
Hi Joan, we haven’t done a tutorial post on it yet, but hope to in the spring. The weather and our schedules didn’t ever agree to finish the last little section and take step by step photos.
Heather58 says
Amazing garage! looking forward to the floor tutorial.
Cheers
Heather
Jenny Kavanagh says
Wow this is crazy amazing! I can relate to your before pic
Amanda says
How is the floor holding up?
Melissa George says
Really well! We’re just a couple weeks short of the one year mark with it. I was even able to easily scrub off some accidental spray paint overspray (whoops!).