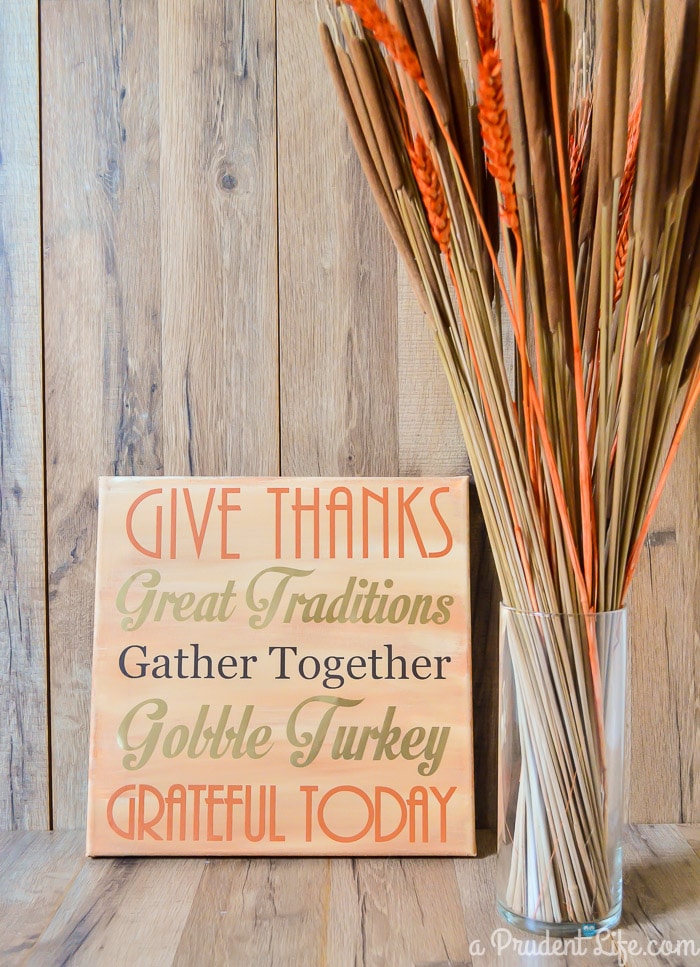
Thanksgiving is a close contender behind Christmas in my favorite holidays list. We have a great Thanksgiving Eve tradition of pie-making, followed by delicious food and fun games with my extended family on Thanksgiving day. To remind me of all the things I love about Thanksgiving throughout the fall season, I experimented with a new-to-me vinyl art technique this week as part of my monthly Expressions Vinyl Ambassador Challenge.
I’ve been wanting to try vinyl on canvas for months and this was the perfect opportunity.
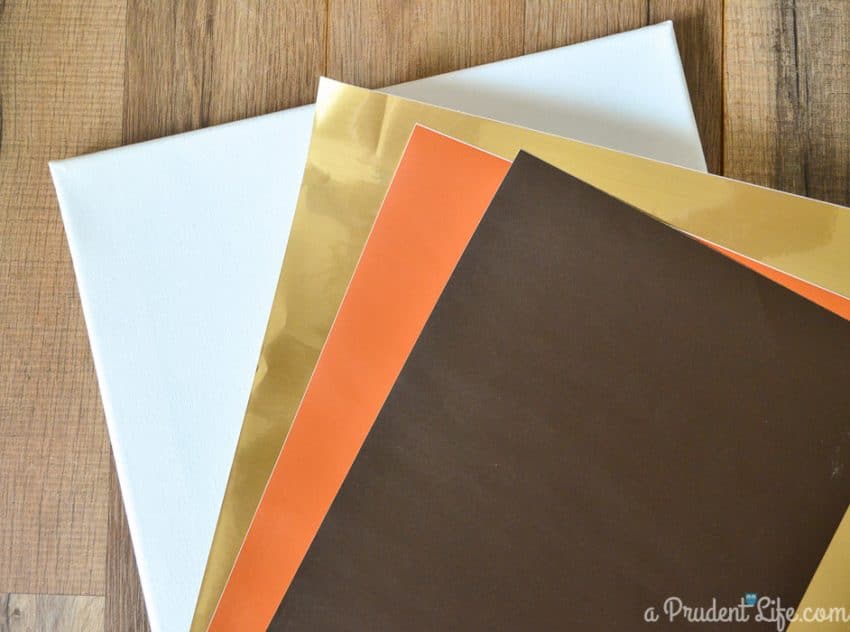
I started my project with an inexpensive 12×12 clearance canvas from one of Michael’s big sales, along with vinyl from Expression Vinyl’s Thanksgiving Pack, and Metalized Brushed Gold vinyl.
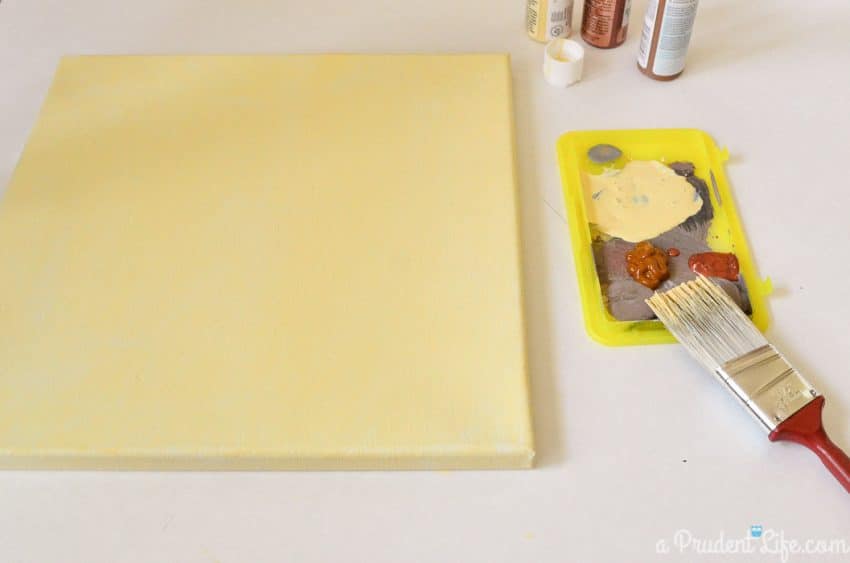
I thought about using the natural canvas color as the background, but decided to darken it up with some craft paint. I started with a solid coat of cream paint.
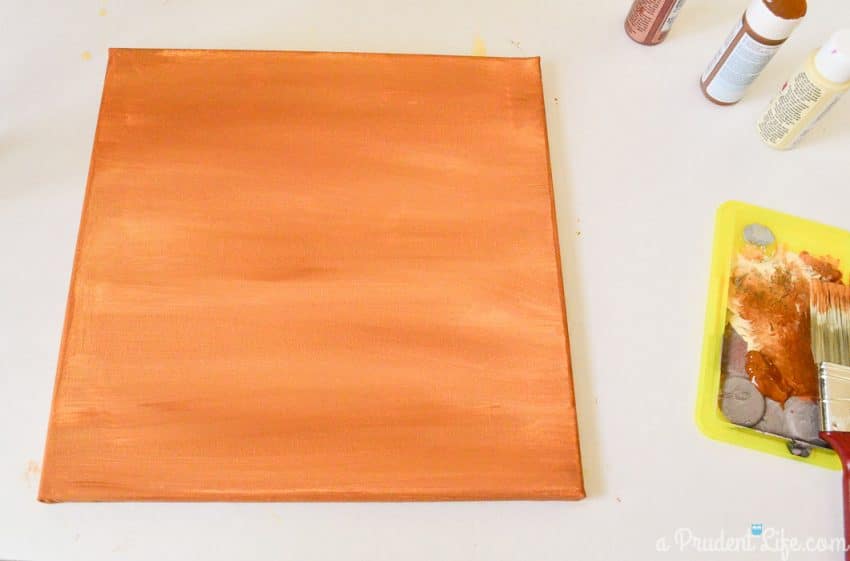
Then I went over the top of it with a combo of copper and brown paint. I wanted some texture to the background, so I was not going for a solid coat this time.
You’ll notice that the final version is a little lighter than the picture above. I loved the way it looked, but thought the color was too similar to the nut brown vinyl, which is a burnt orange color. I went back over the canvas one last time and blended in some more of the ivory paint.
Once the canvas was finished, it was time to decide what I wanted my new art to say. I thought a little alliteration would be fun. I’m also quite certain that is the first time in my life I’ve referred to anything related to an English class as fun!
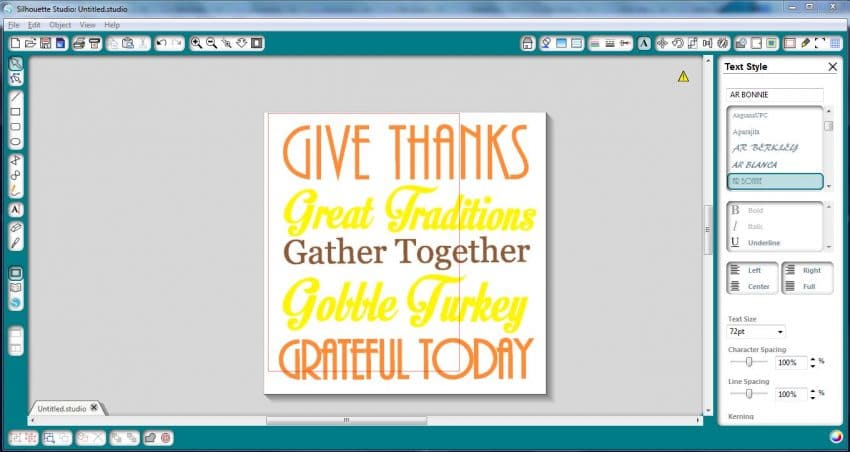
I came up with five matching Thanksgiving phrases and typed them into Silhoutte Studio. From there, I tried several fonts and color schemes until I came up with my favorite combo.
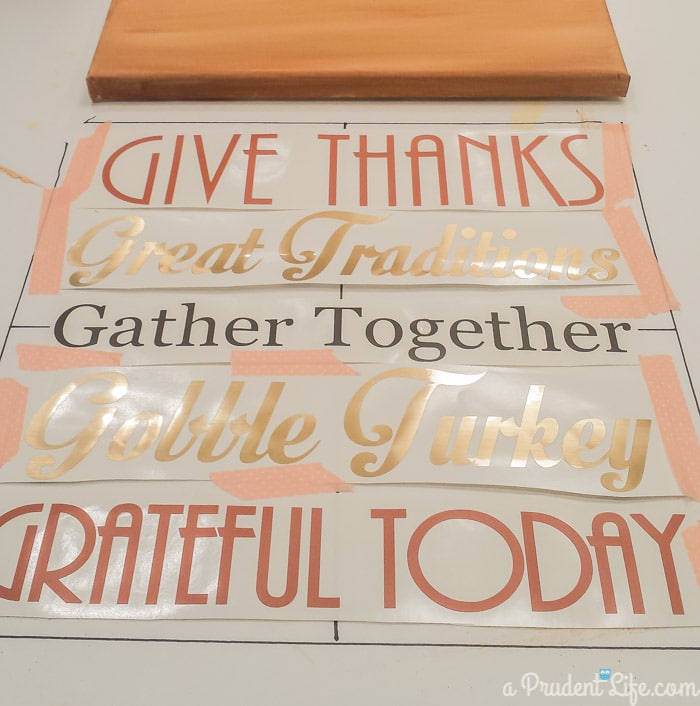
I cut out and weeded all the phrases, then had to figure out how to line them up on my canvas. Yikes!
Instead of placing them one at a time, I decided to transfer all five at once. I started by tracing my canvas onto a piece of foam board. Then I added vertical and horizontal center lines as guides. I placed my “Gather Together” first, measuring to make sure it was centered. As I got each piece in the perfect spot, I taped it to my foam board with washi tape.
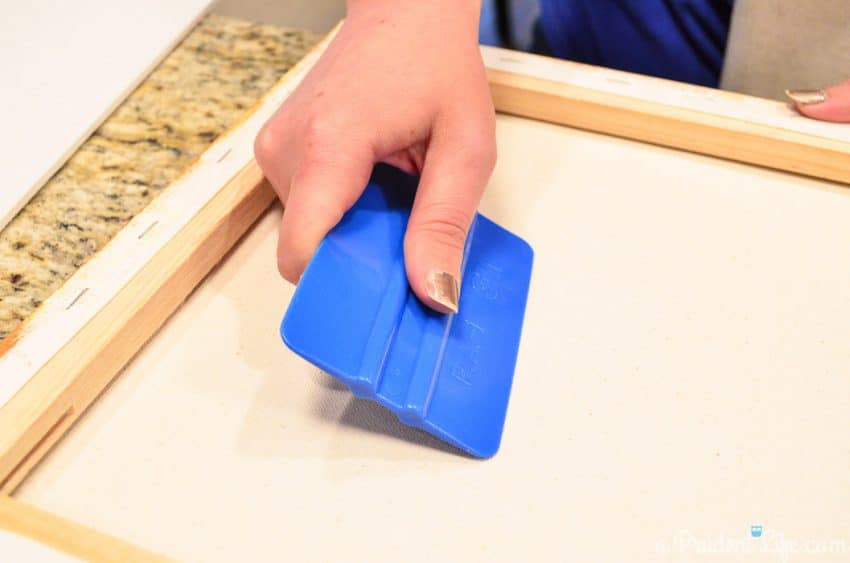
Once all five phrases were taped down, I used one sheet of transfer paper to move the words to the canvas. Using a stretched canvas for vinyl is tricky because you can’t apply very much pressure. To make sure my letters stuck, I flipped the canvas over and applied pressure to the back before peeling off my transfer paper.
I had to pull the transfer paper off very slowly to get the letters to stay on the canvas, but it did work!
There was definitely a moment when I thought the vinyl was not going to stick, but peeling very slowly seemed to be key. The end result was worth the brief panic. I’ve read that it works well to ModgePodge over canvas vinyl art to make sure the letters stay down, but I haven’t done it yet. So far my new sign is holding up well as is.
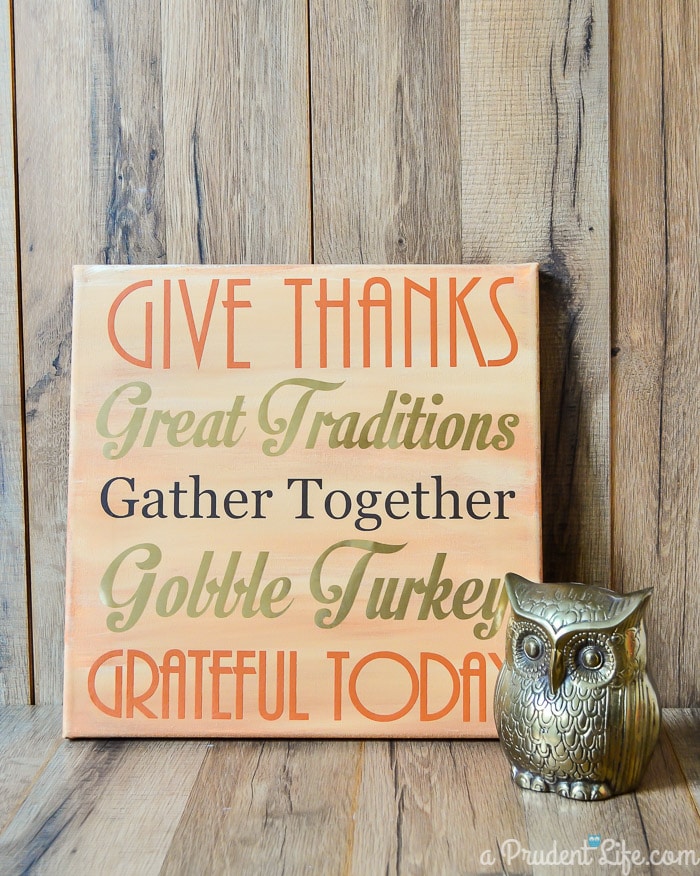
I’m so in love with the brushed gold vinyl! I think it takes the whole sign up a couple notches.
For more fall ideas, check out my fall house tour.


Kay says
i love decorating and being with my family!
lindsey van dine says
I NEED some more vinyl!! Sooo many projects so little time
lindsey van dine says
Forgot! My favorite fall activity is baking anything with pumpkin and decorating with the kids
Shannon Hall says
Love taking little man to the pumpkin patch.
April @ illistyle says
I love your sign! I was thinking of making one for my mantel for Thanksgiving. I love the gold. Pinned!!
Michelle (The Ribbon Retreat) says
LOVE this canvas and vinyl project! So festive and so cute! PINNED!