Tamara is here to show us how she transformed a blank wall in her kitchen with affordable open shelves. She blended function and style to create two chic looks. The first set up works year-round, and then with a few swaps she has a great look for fall!

My family and I try to spend as much time as we can outdoors since summer is short and sweet here in New England. Needless to say, not much gets done around the house.
Fall is a fresh start inside the house. The cooler nights that darken by dinnertime make me want to create a cozy atmosphere to spend evenings and weekends eating and watching football.
The fall project at the top of my list was installing open shelving in the kitchen! I am in the kitchen A LOT this season so I was really excited about this project and I love the way it came out.
When our kitchen was renovated, a wall with corner cabinets was taken down to open up the space into the living area and allow for a large center island. This plan, however, left two blank walls.
One, for now, houses a gallery of family photos and canvases. For the other wall, I decided to go for functional AND decorative. It started off totally basic and boring.
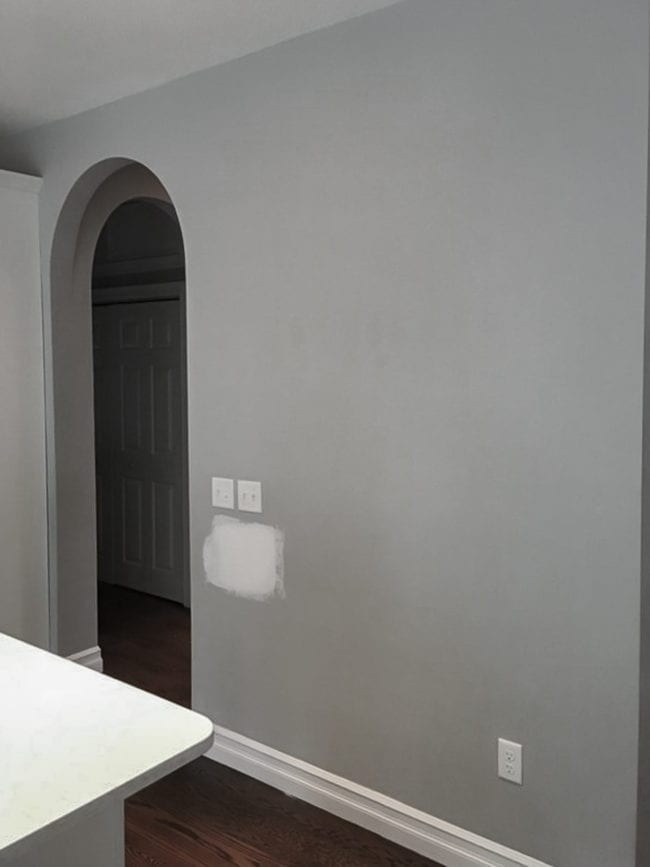
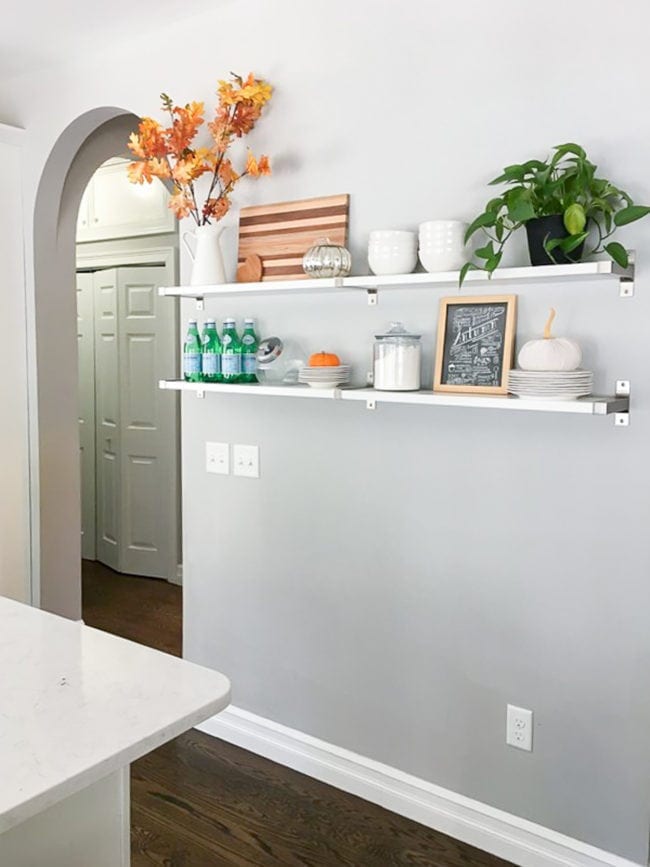
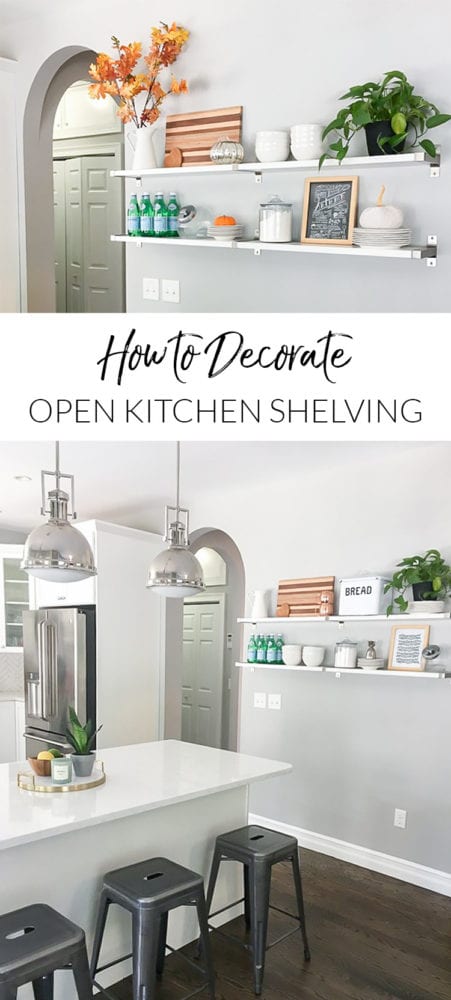
The IKEA EKBY shelves I chose were pretty inexpensive, but gave our kitchen a welcoming, finished look once they were decorated.
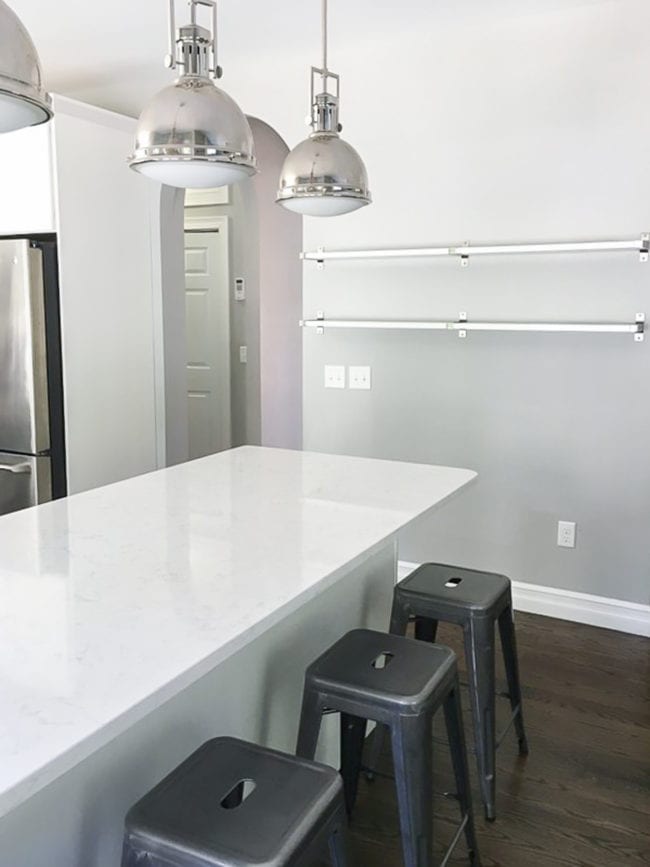
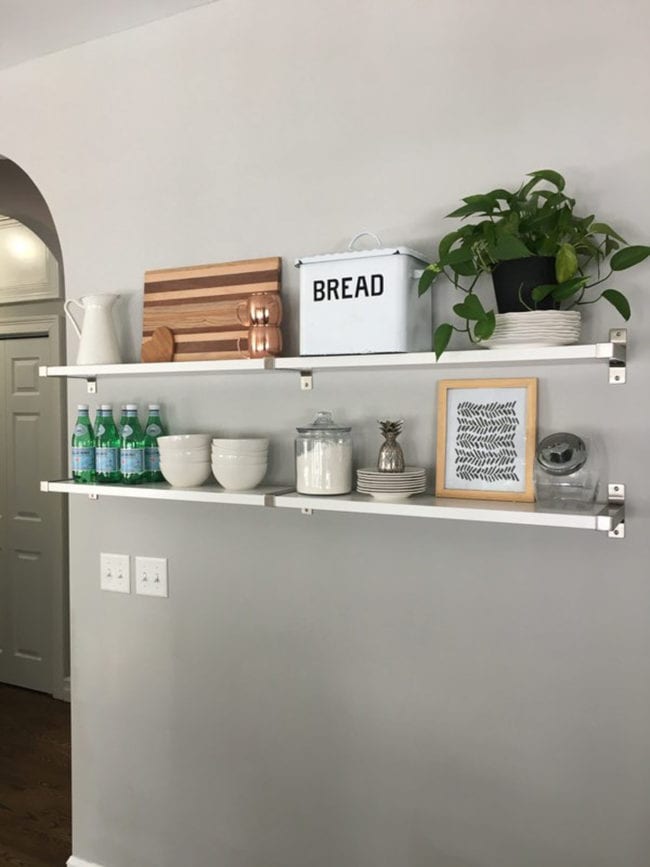
For big items, my motto is usually white, white, and more white! However, all around our home I’ve added pops of blue, pink, and green. I also try to bring in natural elements to balance all the white and metal.
For example, one of the things I was excited to display is a beautiful handmade cutting board. It was a gift from my husband’s cousin. The shelves also gave me space for place settings we received for our wedding.
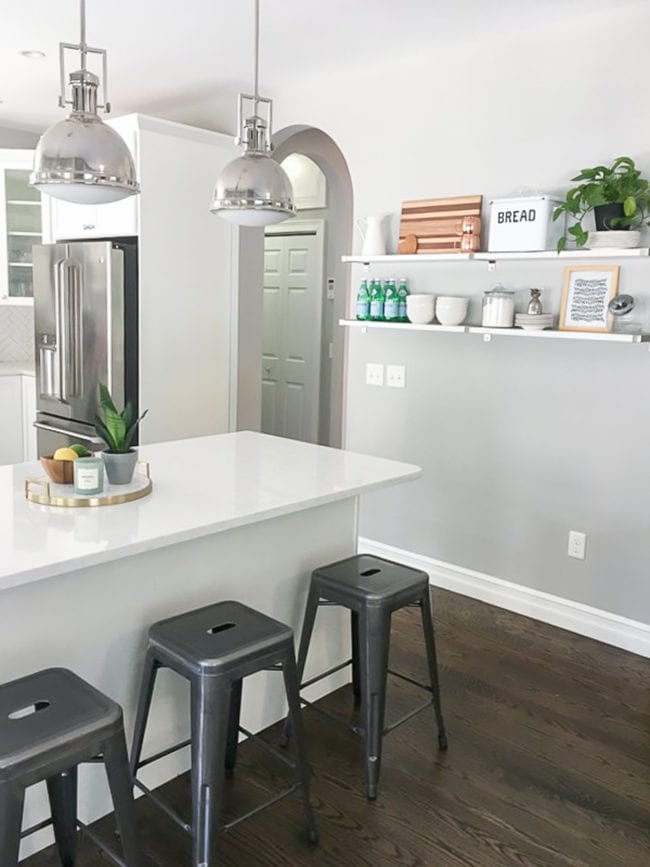
The island next to the shelves is a drop zone for mail, school paperwork, and anything I’m trying to keep away from the dog. It’s also where we eat breakfast and dinner. When I am entertaining, I use most of the island top for food.
Adding the shelves gave me have more space for decor without cluttering the frequently-used island. I try to limit island decor to ONE item to move. It’s often a plant or vase of in season flowers, a small bowl of lemons and limes, and a candle. Gathering those items on a tray fits the ONE thing to move rule and looks great. 🙂
The shelves have ended up being very versatile as I started decorating for fall. I don’t go crazy anywhere in the house with seasonal decor, so the kitchen is no exception.
I stick with small touches, which saves money and keep the house from looking cluttered!
For fall, I found velvet and mercury glass pumpkins at my local home goods, faux fall leaves for the pitcher, and the cutest chalkboard-look Fall Bucket List printable for free!
For the island, I had the kids pick out a variety of mini pumpkins and gourds at a local farm because I love getting them involved in helping decorate for each season. The wooden dough bowl from Target is perfect for housing these. It’s also perfect for filling with fruit that the kids can grab for a snack.
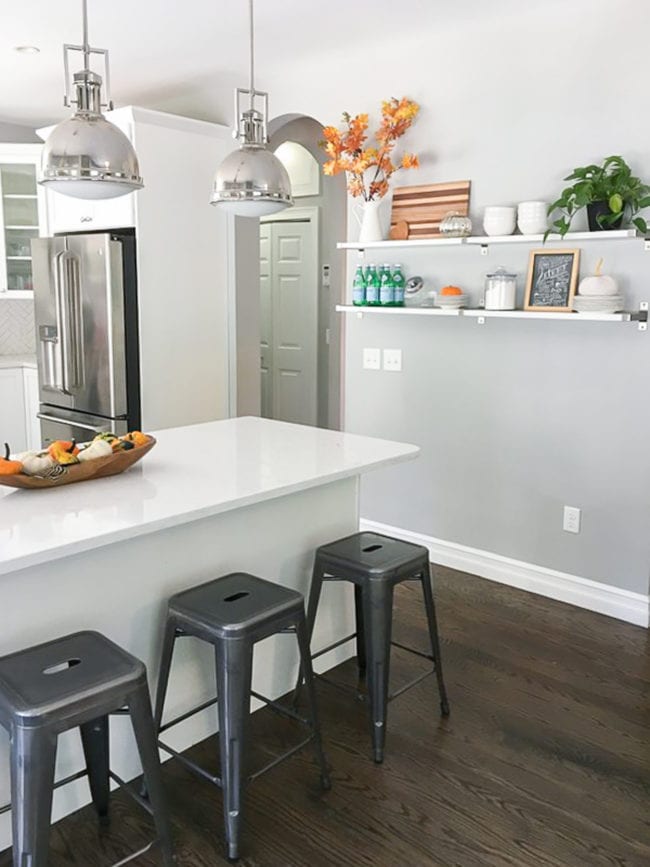
Just swapping out those few items gave our kitchen an updated look for fall without breaking the bank. Keeping the same core items on the shelves also means I don’t have many seasonal-specific items to store. Win-win!
I can’t believe how finished and put together this area of the kitchen now looks with the inexpensive IKEA shelves added. Here’s one more look at that before and afters!
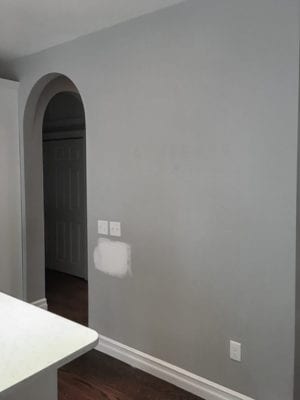 Before | 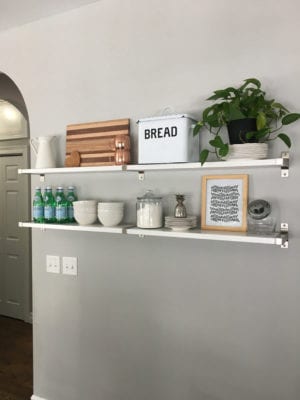 After | 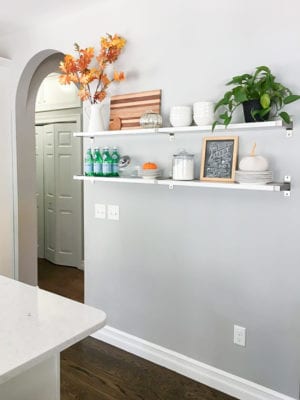 With Fall Touches |
Hopefully, this inspired you to tackle a house project that helps you get ready for a wonderful holiday season. I’m so glad we checked this one off our list!

Sandra says
I have these exact same shelves in our kitchen and I love reorganizing them whenever I can!
Melissa George says
I have them in my office too! I hadn’t thought about putting them in the kitchen until I saw Tamara’s, but I have the perfect spot and will be grabbing some next time we go to IKEA!
Noél Emswiler says
Love it! The shelves look very luxe…
Andrea says
I really liked how you did this and showed the before, after and fall touches pictures side by side ?
Melissa George says
Thank you! It’s always fun to see the transition of a space! Having that in this post inspired me to do a whole before/after post of every room in my house. If you haven’t see that yet, it’s here: https://www.polishedhabitat.com/polished-habitat-house-tour/
Melody says
Hi Tamara,
I love he paint color in your kitchen. Would love to know the brand and paint color.
Thanks
Mel Gipperich
Melissa George says
Hi Mel, I’m checking with Tamara on the paint color today and will get back with you! Thanks! Melissa
Melissa George says
Ok, it’s Light French Gray by Sherwin Williams. Just be sure to get a sample before buying a gallon. I’ve been trying to find a good gray for my mom’s upstairs bathroom this week and even the colors I have on the walls in my house look VERY different in her room. Happy painting!