This is a sponsored post written by me on behalf of Glad. All opinions are 100% mine.
At the end of last year, we joined a new gym. That’s a great thing overall, but it also had the unexpected side-effect of making me tackle a dresser clean out. I promise those things are more related than they sound.
We’ve been gym-less for the last three years, which meant my gym clothes haven’t seen much action. When I remodeled the closet, some of them went in the new drawers, some never made it back downstairs after the closet remodel, and a few other items lived in the very forgotten land of our bedroom dresser.
And when I say forgetten, I’m talking NEVER used and not cleaned out since before we moved it to this house 5 years ago. I think the last time I opened the drawers was to paint them during the bedroom makeover. #trueconfessions
Aren’t you guys glad you get your organizing advice from me?
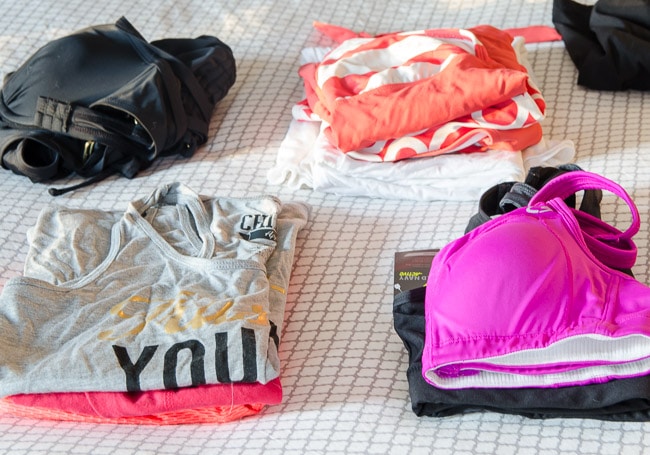
The good news is that everything is purged and organized now. The gym clothes are happily reunited with each other, and I’m going to save SO MUCH TIME knowing right where they are. PS: I’ve since done a whole post on how to organize dresser drawers here.
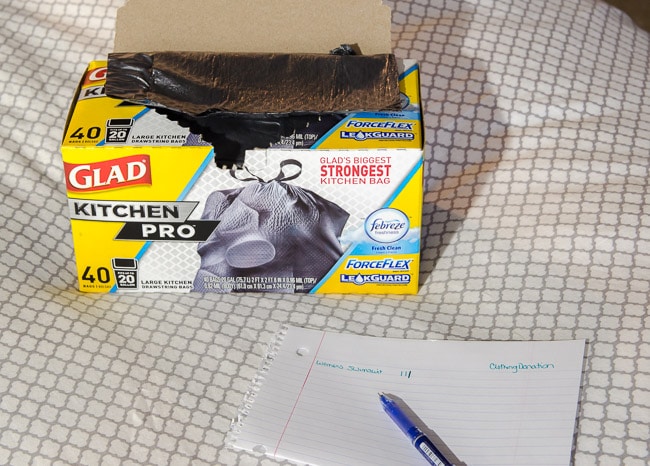
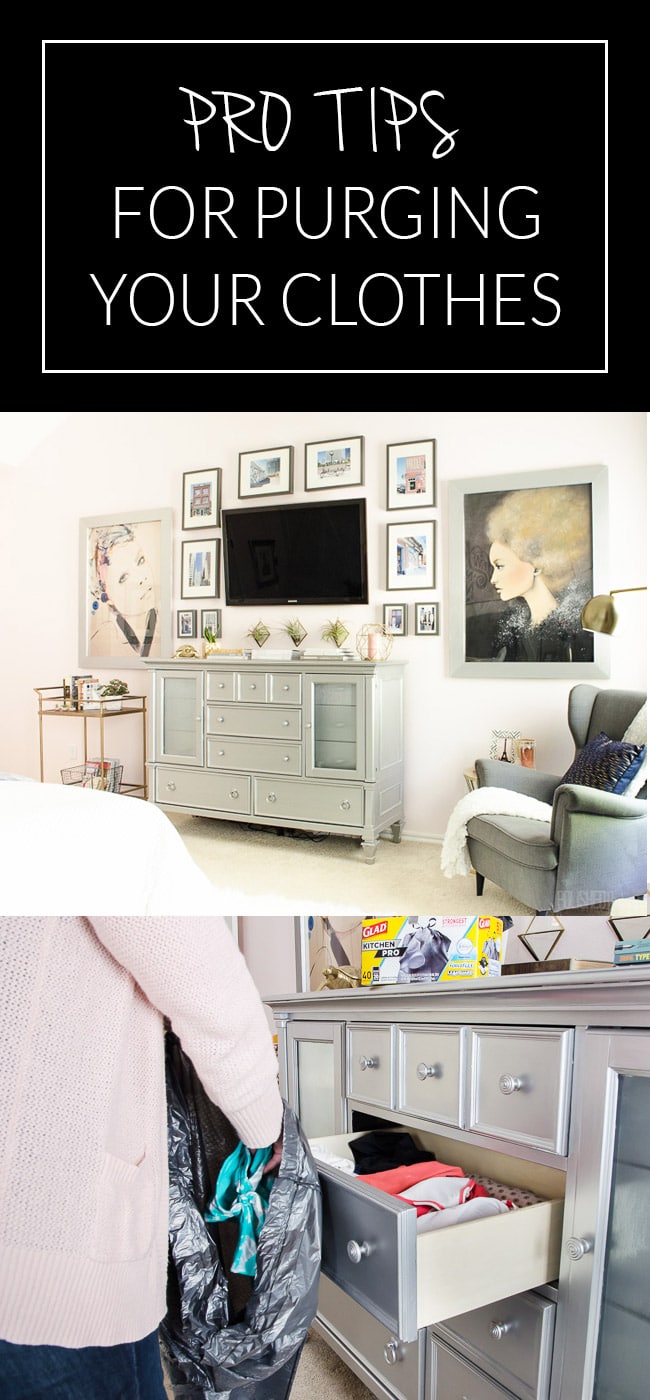
While I was purging, I wrote down some tips to help make your own dresser purge more effective. You’ll need at least two strong trash bags, a notebook, and a pen before you get started.
The notebook and pen are to write down items as you put them in the donation pile (if you itemize your taxes). When you get your reciept from the charity of your choice, staple it to the list to help determine value when you file your taxes. You’ll also need it in case of an audit. Fun stuff, right?
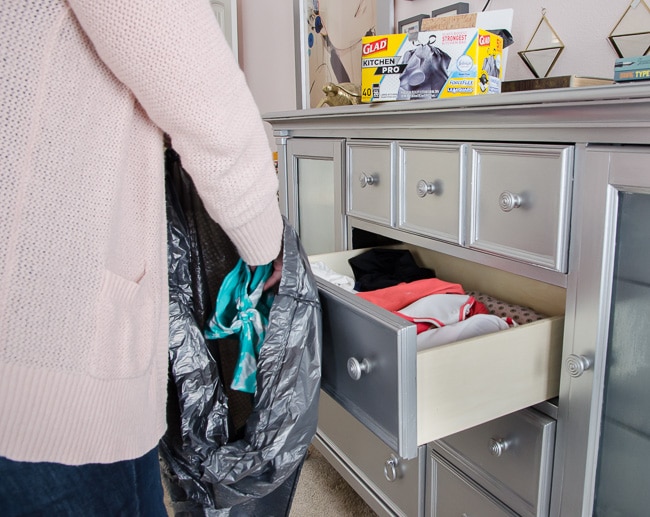
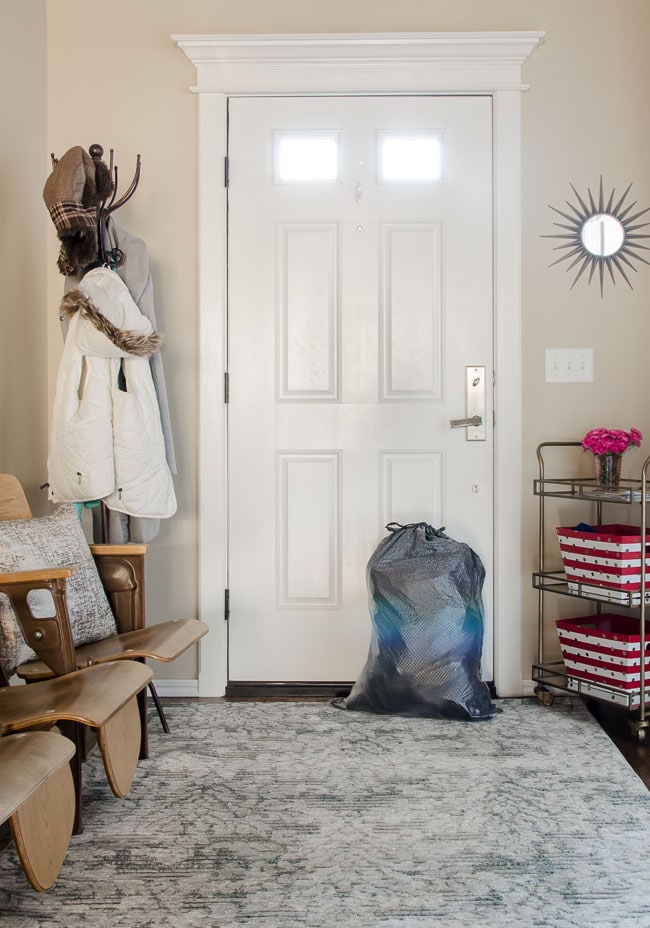
One of the trash bags is for donations, and the other is trash for items that aren’t suitable for donation. As you saw above, I use the Glad Kitchen Pro bags (available at Target) when I’m doing a serious purge/declutter project. They’re stronger than normal kitchen bags, so I don’t have to worry about them breaking when I load them up with clothes.
The fact that they have Febreeze odor protection built-in is an added bonus. Even when I wash clothes right before bagging them up for donation, I often end up leaving the bag in my car a few days before dropping it off. Now I know the fresh smell will still be there for the volunteer that has to go through them.
When you’ve got your bags and paper ready, start in one drawer or zone. Pull each item out and put it in a keep pile, the donate bag, or the trash bag. It’s important that you don’t just look through and pull out things to donate. You want to empty the entire drawer
.
As you go, watch for items that are stained or damaged. Why do so many of us still have socks with holes in the toes!?! Add all these items to the trash bag.
Some items will probably be easy calls to the donate bag. For example, I’m found some items that are still in decent shape, but are way to small at the moment. While I’d like to fit in them, I also know that when that day comes, I’m going to celebrate with new clothes in my current style and not be digging through drawers for old stuff. Reality is your best friend when purging.
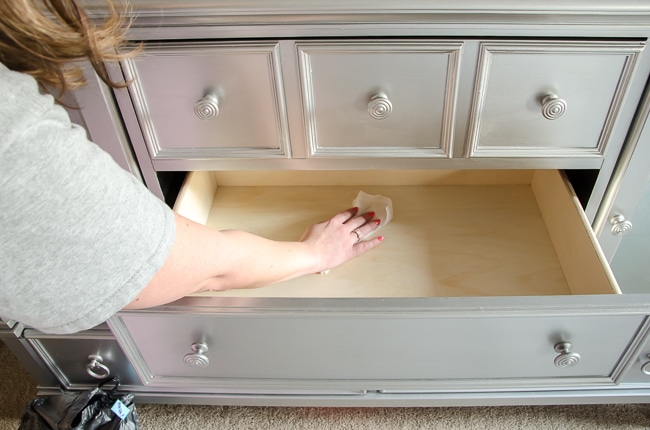
Once you’ve reached the bottom of the drawer, give it a good wipe down and head to the keep pile.
Ask yourself these questions about each item before you put each “keeper” back in the drawer:
- Does it fit?
- If the weather was right, would you wear it today? Is it still your style?
- Is it in good condition?
- Can you put together an outfit you’d be excited to wear with it?
- Do you already have a reasonable number of similar items? A person only needs so many socks and pajamas. We tend to add to things like that year after year without getting rid of our least favorites.
- Have you worn the item in the last 6 months?
Unless you need to rearrange what’s stored in each drawer, I’d put all the keep items back in the drawer before starting the next. It can be overwhelming if you empty out an entire dresser at once, while one drawer at a time is manageable. Continue tackling the dresser drawer by drawer. It’s amazing how great it feels finishing a long overdue project like this. Even though our bedroom went through a huge transformation last year, in the back of my mind I’ve known there was clutter lurking behind closed drawers. It’s a relief to have this project crossed off the list!
Ready to learn how to keep your dresser clean? Now it’s time to see HOW TO ORGANIZE EVERYTHING IN DRESSER DRAWERS!
Next stop, the donation center!



Joyce Fowler says
Nice to see on Apartment Therapy recently, that they used one of your posts about your pantry. I always enjoy your organizing tips and know others who saw that will want to find out more of your ideas!
Joyce Fowler
Melissa George says
How fun, I didn’t even know about that!
Sue says
Dumb question-
How exactly do you fold tshirts so they stand up neatly in the drawer?
Thanks!
Sue
Melissa George says
That’s not a dumb question at all! It’s easier in pictures or videos than me trying to explain it, but you basically fold in from the sides first so you turn whatever you’re folding into a long rectangle. From there, you fold the top and the bottom both toward the center and then fold those together to make an A-frame shape that should stand up.
For a way better explanation, try searching for “How to file fold clothes” on Youtube and there are tons of video demonstrations that will be a big help!