Have you been drooling over all the beautiful inspiration boards people have in their homes? I’ve moved on from drooling over theirs to drooling on mine! And it was EASY! And it was CHEAP!
My “little” craft room organization project has taken on a life of its own. As the scope expanded, I dreamed of the big blank wall being covered in cork. And what comes after dreams? Shopping!
I scoped out the big cork boards at Target, and they weren’t that expensive. I think about $25. But I wanted TWO. AND I wanted a matching dry erase board in between the two cork boards. See how my dreams grow & grow? 🙂 My budget didn’t magically grow at the same rate as my dream, so I decided to see if there were any cheaper options.
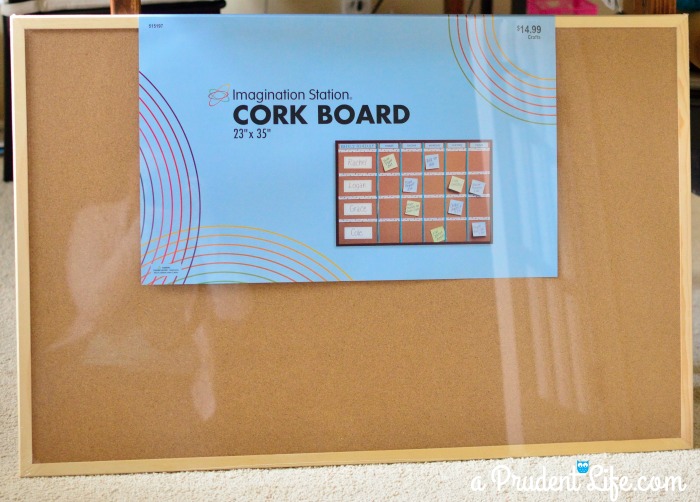
Fast forward a few days to me wandering around Hobby Lobby. I hit the craft store jackpot. They sell 23″ x 35″ cork boards AND white boards for $14.99 each. But wait, there’s more! The cork boards were 50% off!!! Are you kidding? $7.50 each! Why yes, I’ll take two please.
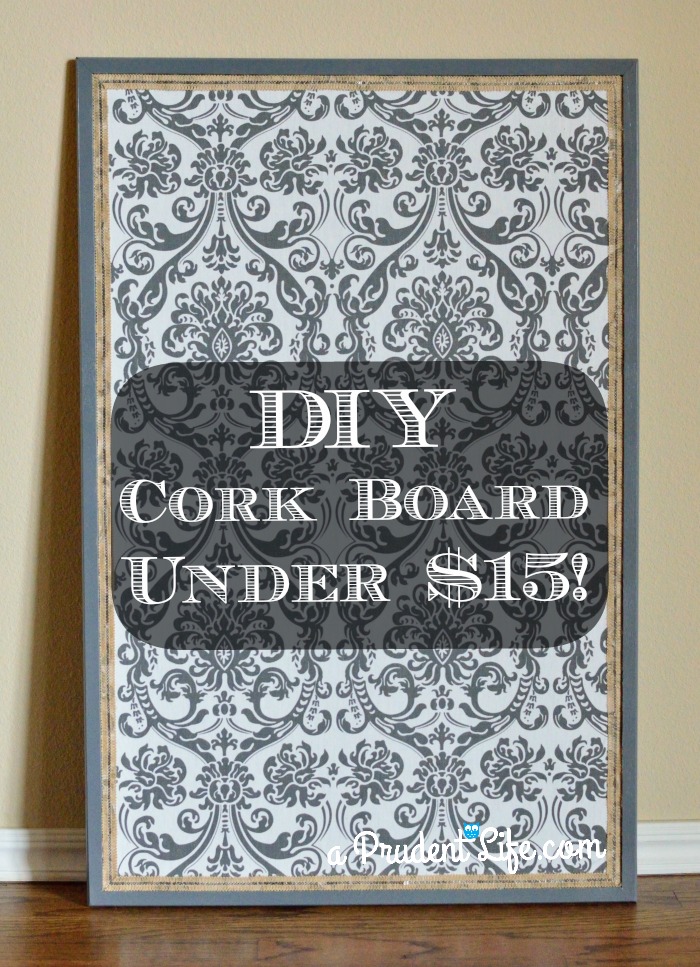
Then the real fun began and I got to transform my basic boards into beauties. It ended up being really easy and I am over the moon in love with the final product.
Start with a plain cork board:
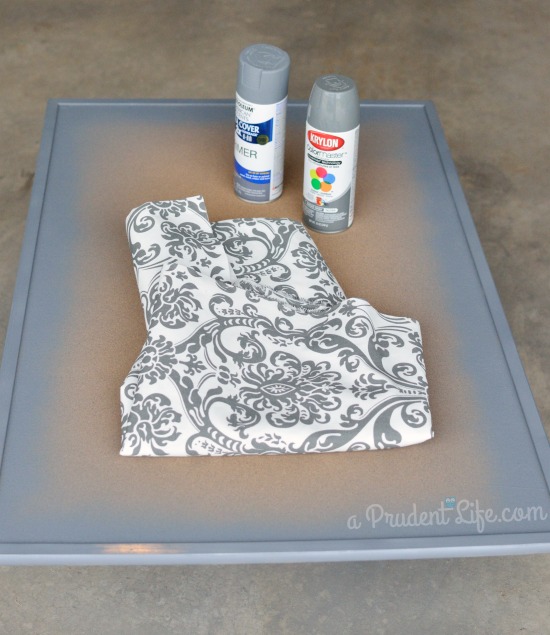
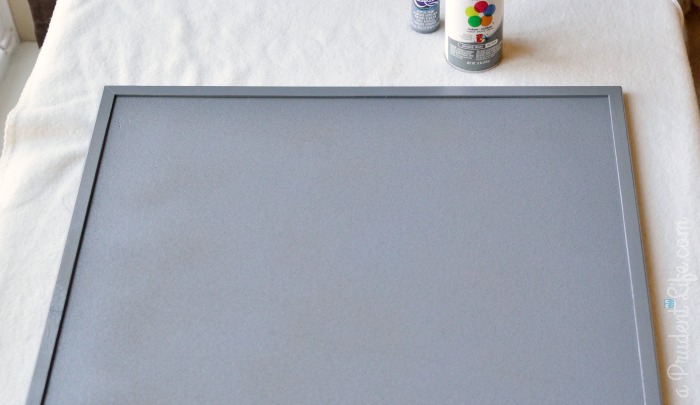
You know the most awesome thing about working with a cork board? You can push-pin your fabric to hold it in place!
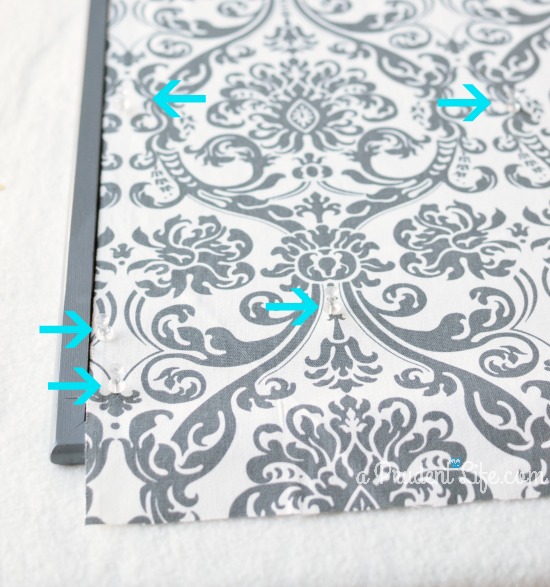
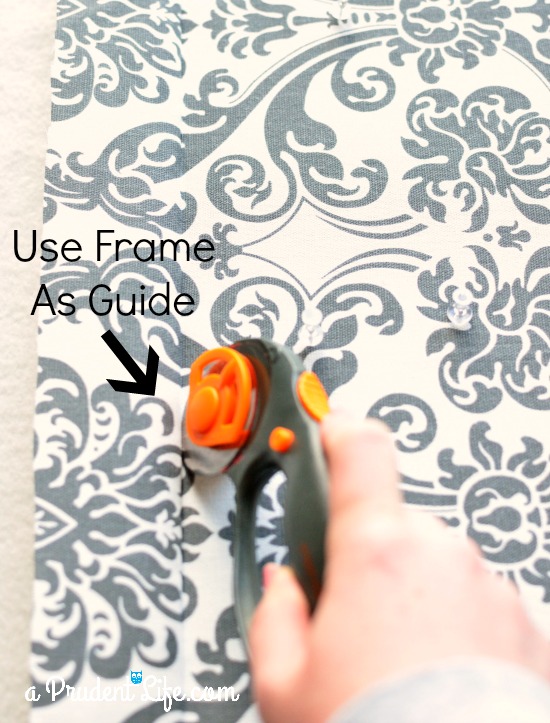
Once I had the fabric push-pinned to the board, it was time to cut. I grabbed my rotary cutter and carefully used the frame as a guide.
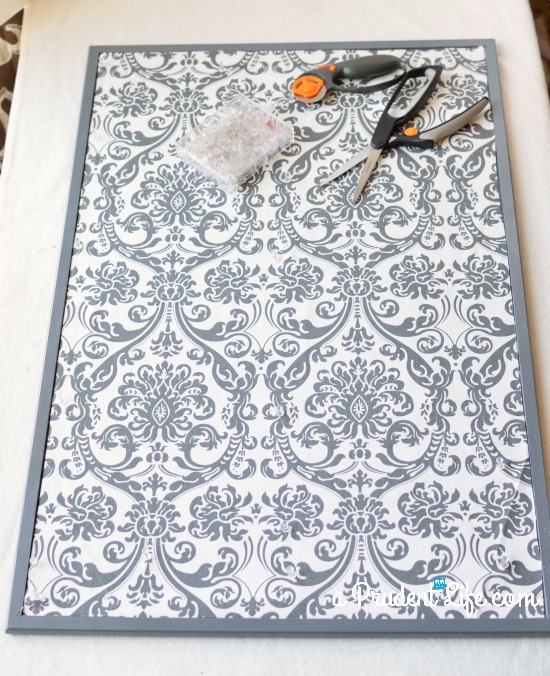
The fabric was still just push-pinned in place though, so it was time to make this board permanently beautiful! Leaving the push-pins along the center and on one side, I removed them from the other side and folded the fabric over.
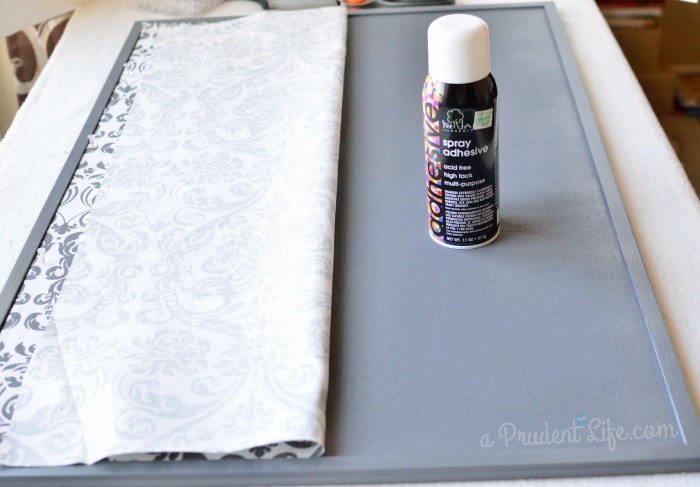
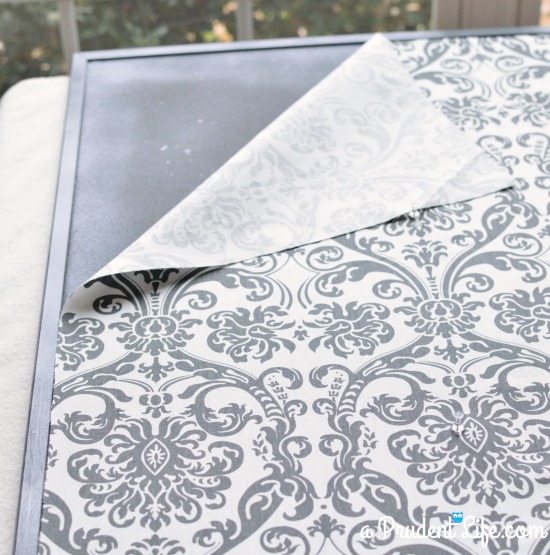
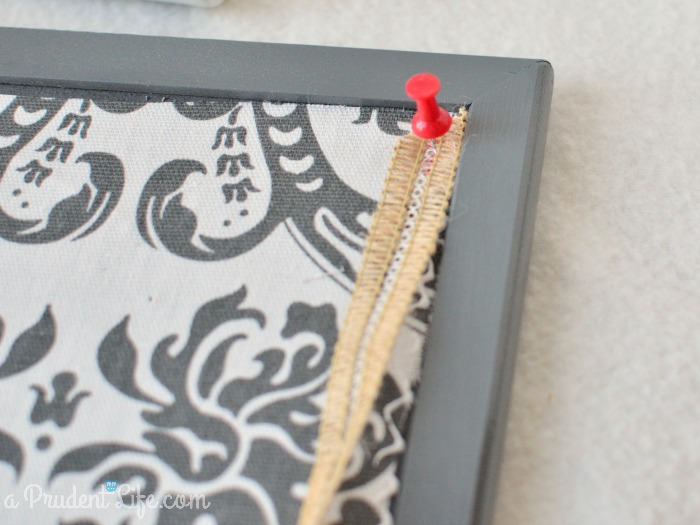
And that was it!
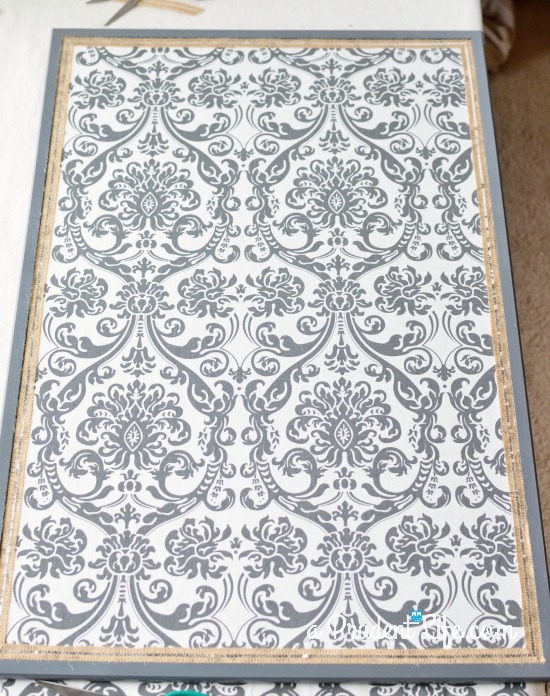
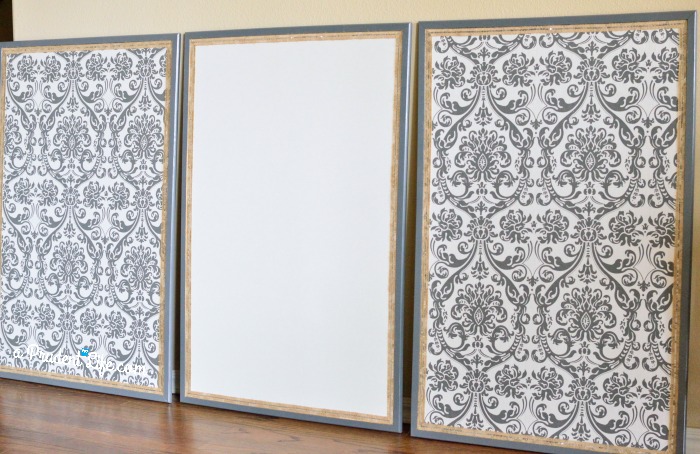
Here’s a peek at all three! You’ll get to see them all hanging up during the craft room reveal. Can’t wait! Together the total size is about 3 feet x 6 feet.
Cork Boards(50% off sale): $7.50 x 2 = $15
White Board (40% off coupon) = $9
Duck Cloth (1 yard, 30% off sale) = $6.50
Ribbon(50% off, 3 rolls @ $1.50) = $4.50
Gray Spray Paint = $5
Spray Adhesive=$5
Total Cost = $45 ($15/board)
Isn’t that incredible! The boards make such a huge impact for the low price. We actually already had the spray adhesive on hand, so my total was really only $40 for all three. Crazy!
If you don’t have a Hobby Lobby in your area, I did find a similar board on Amazon for $10: Quartet Cork Bulletin Board, 2 x 3 Feet, Oak Finish Frame (MWDB2436M) (affiliate link).
Do you still use a real cork board for inspiration, or do you stick to Pinterest?
Don’t miss any of the craft room series!
Craft Room PLUS Guest Room – Reveal Part #1
Craft Room Organizational Details – Reveal Part #2
{Create} Art & Refinished Frame – Craft Room Project #1
Placemat Repurposed into No Sew Pillow – Craft Room Project #2
Cork Board Upgrade:Drab to Fab – Craft Room Project #3
Clearance Lamp Customization – Craft Room Project #4


Lisa Curcio says
Fabulous! I love how easy this is to create yet provides a custom, expensive look to a very practical “household necessity”! Thank you for sharing.
melissa@polishedhabitat.com says
Thank you Lisa! I didn’t expect it to be hard, but I was still surprised how easy it was to get the custom look.
ARod says
super cute job on the cork boards they turned out lovely great pattern choice
Katie @ Addicted 2 DIY says
Wow! I can totally see why you were crushing on your own finished product! It turned out beautiful! I can’t wait to see them hung on the wall in your craft room reveal! I may have to hit up Hobby Lobby for those cork boards;)
melissa@polishedhabitat.com says
Ha! I totally did a happy skip each time I walked past the finished product. It’s so pleasant when a project turns out even better than you expected. I briefly considered becoming a full time cork board beautifier.
Amanda Michelle says
I tried this once and mine did not look as good as yours does, lol. Not even close. Great job Melissa!!
melissa@polishedhabitat.com says
Thank you Amanda! I was worried about attaching the fabric but it worked out well!
Katie @ Upcycled Treasures says
I just re-did a cork board but LOVE the ribbon you put around yours! Pinned 🙂
melissa@polishedhabitat.com says
Thank you Katie! I love adding ribbon to everything AND I got to cover up any imperfections in my fabric edges. Win-win!
Courtney @ Crafts by Courtney says
These look amazing, with all three in a row it’s very Pottery Barny-est!! I can’t wait to see your craft room reveal!!
melissa@polishedhabitat.com says
Thank you Courtney! I’m so sad the craft room reveal won’t happen in Feb like I planned, but my expanded scope keeps leading to fun side projects. Should still happen within the next two weeks though!
Carrie @ Kenarry: Ideas for the home says
Wow, Melissa! Those turned out beautifully. I have a small cork board just sitting on the floor in my craft room waiting to have something done to it. Now I know how! I’ll be pinning this — Thanks!
melissa@polishedhabitat.com says
Thanks Carrie! I’d love to see your board if you make it over. There are so many fun possibilities because of all the great fabric out there.
Vicky says
I recently used spray adhesive and it got on almost everything. How did you keep it off the frame and floor and ????
Loved the look.
melissa@polishedhabitat.com says
The bottle I had mentioned spraying upside down to clear the nozzle, so I sprayed it into a cardboard box until the spray was somewhat predictable. For the board, I started spraying in the middle then worked my way out so I could see the spray pattern. Now the floor was a different story, I should have sprayed the ribbons outside because the overspray does fall to the floor. Outside is way better for ventilation too. My carpet was slightly tacky because I stood in one spot the whole time I was spraying. OOPS. It was fine by the next day though. If you use it inside more than a little, I’d put something on the floor, like an old sheet or drop cloth.
Jenni says
These turned out so cute and I love how inexpensive they are!
melissa@polishedhabitat.com says
Thank you Jenni! I had initially ruled out making my big dream wall of cork because I assumed it would be fairly expensive. I am so glad I figured out how to afford it!
Katie says
Hi Melissa! Love this project … have I told you that already?!? Love the fabric and the details!! Thanks for sharing at DIY Sunday Showcase!!
melissa@polishedhabitat.com says
Thank you Katie!!!
Claire @ A Little Claireification says
Sun a fun project, Melissa! Thanks so much for sharing this at our Best Of The Weekend party1 I’ve pinned it to our party board. Have a great week! xo
melissa@polishedhabitat.com says
Thank you Claire!
Amanda (Moming About) says
Love this! Now I know what I can do with this bleh corkboard I have lying around that my cat may or may not have used as a scratching post prior to being declawed.