There have been a lot of projects that we’ve been VERY relieved to finish, like the master closet, but the backyard tops the list! It’s been a 6-month process, which was mostly waiting on the first landscaper. When we hit two months past his original estimate, we moved on to another company and things finally got moving.
And then still seemed to drag on. We learned that even when you hire professionals, things will not be perfect. You may still end up doing lots of clean-up – both of literal messes left behind (shout out to the concrete guys that left a big pile of pizza crust in the yard) and of work that could have been better.
While I could dwell on the reasons we were unhappy with the landscaping firm that did all the work, at the end of the day, we love the new space that we designed. We’re THRILLED that it was usable just in time to enjoy the most beautiful weather of the year. I’m even writing this post outside right now, trying to soak up every blue sky day. On top of that, I’ve seen more stars at night around the fire pit than I had in the last decade. If you’ve neglected your outdoor space, I can’t advocate enough for making it more useful.
Enough talk, let’s take a look a the pictures! I linked to all the products & plants at the end of the post.
As a reminder, here’s what the yard looked like before from the end of the existing patio.
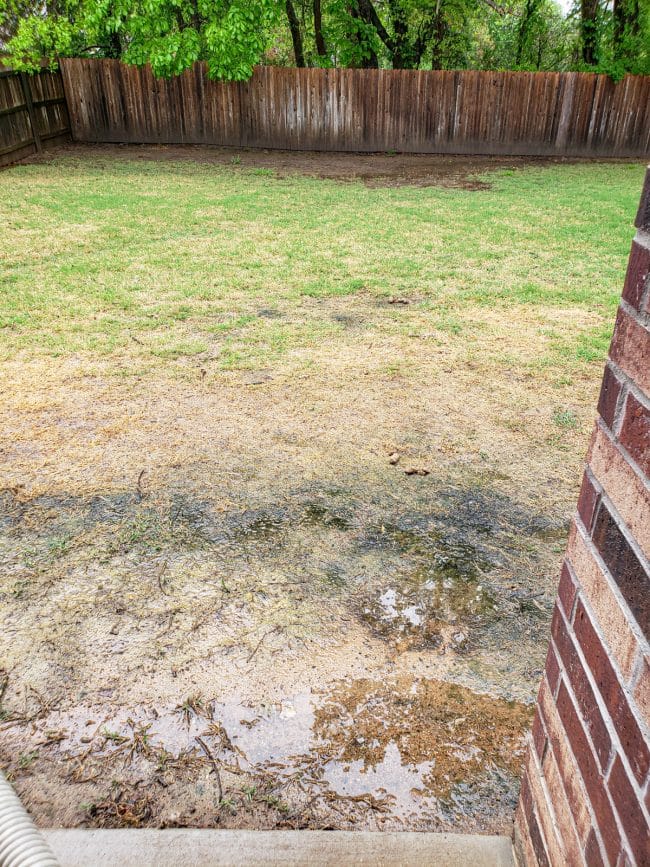
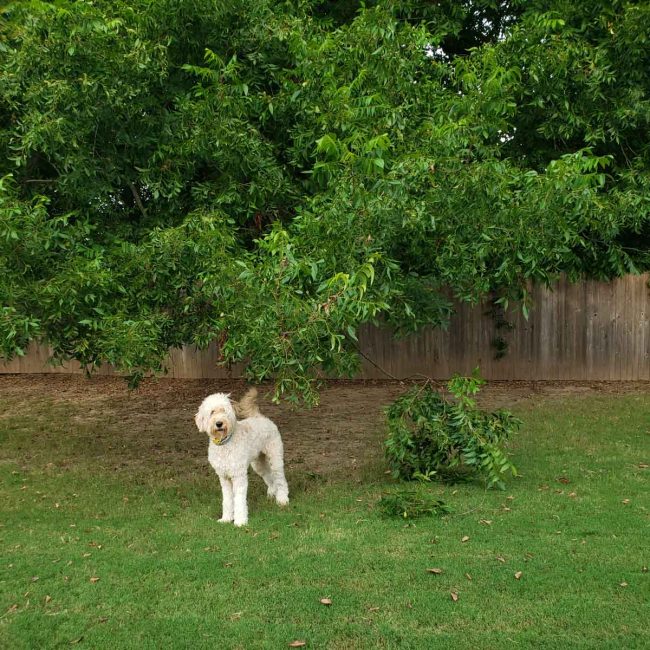
That was an old picture I found that showed the water issues. When we started, the trees behind our property had grown so far into the yard that you couldn’t walk under them, as Gus volunteered to demonstrate.
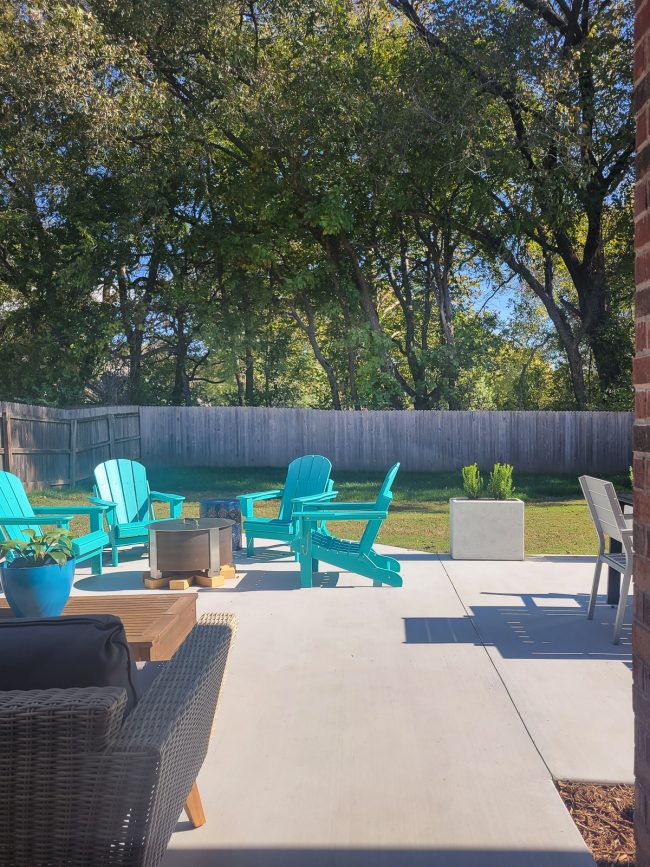
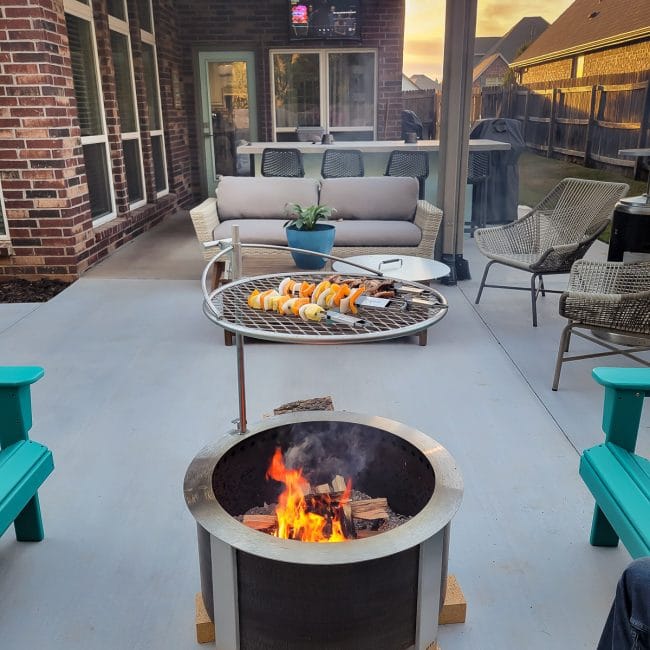
Now, the view from the end of the covered patio so much better! The concrete extension added room for our existing furniture, followed by a fire pit. Beyond that, glorious grass instead of mud and dirt. The back of the yard gets very little sun, so we opted to use fescue sod that should thrive in the shadier zone.
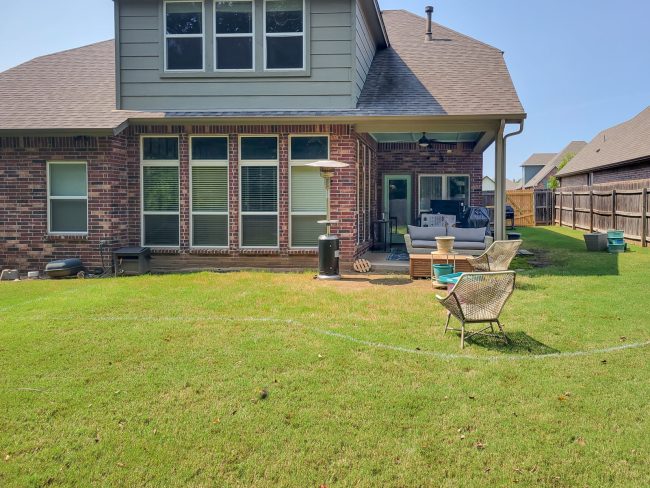
Looking back toward the house is even more exciting. Here’s what it looked like as we planned out the patio extension. Before the concrete installers arrived, we used spray paint to outline the new space. We wanted to make sure all the furniture would fit and flow well.
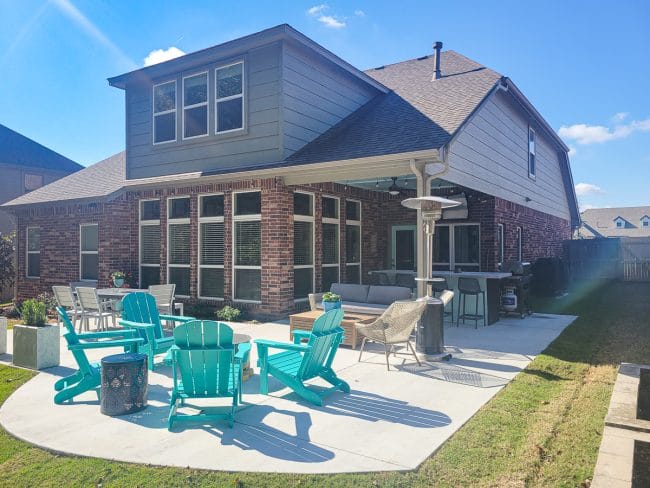
Here’s how it looks now with the patio and new landscaping bed. So much better!
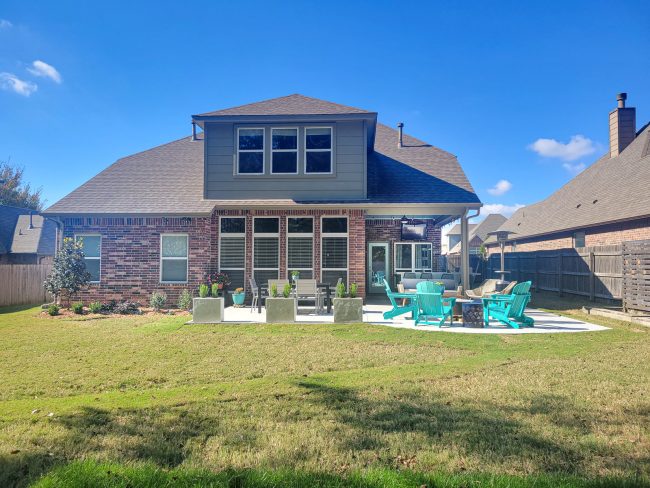
I can’t wait for spring when the grass is all green again, the flowers are all blooming, and the plantings are more mature!
It does look a bit busy from some angles, including the wide view above, but in real life there is plenty of space to move around comfortably. We love having separate, but connected seating zones.
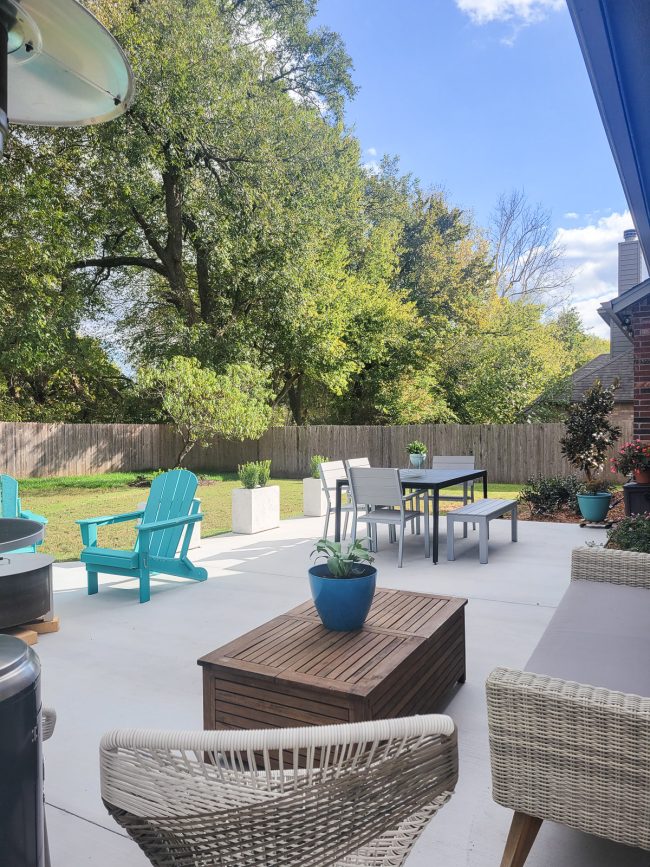
To soften the huge slab of concrete, we left space for new landscaping next to the house. The drift roses should spread to create a beautiful hedge of pink flowers.
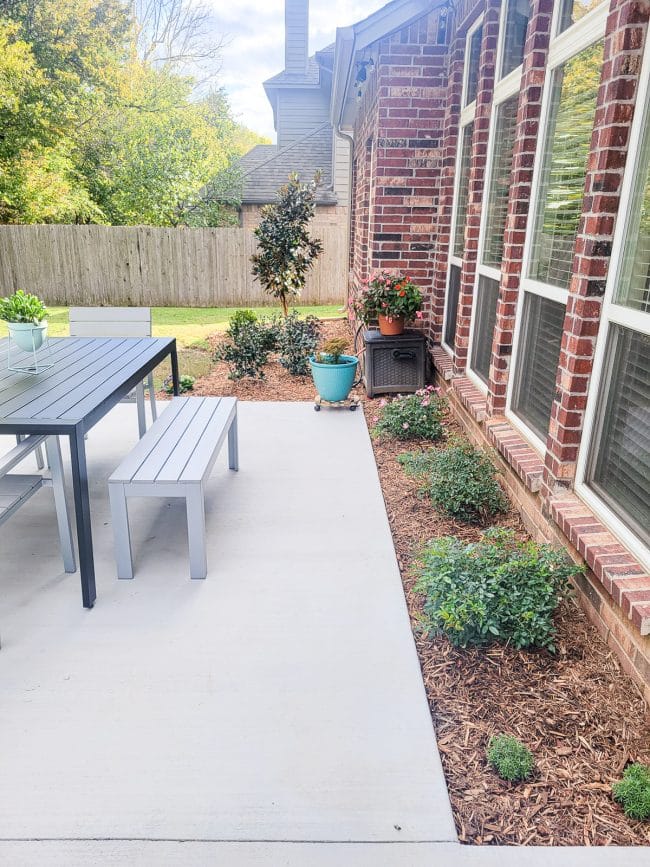
Here’s an angled view showing the whole space before – what a mess!
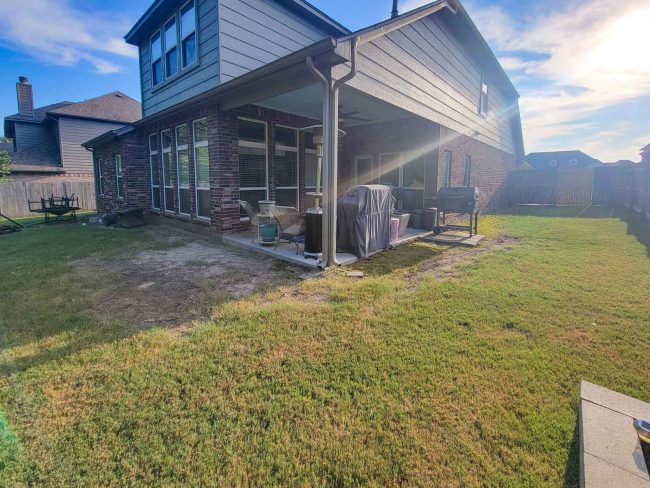
And after…
Our sideyard plans changed quite a bit when we switched landscapers. We wanted to see how much the french drain helped before we planted anything else or installed the flagstone path. It doesn’t look too bad in the before photos, but the whole side is a giant mud pit in the spring rainy season.
Sadly, our instinct was right and the sideyard does still drain more slowly than we’d like, so more work is ahead. Womp womp.
On a happier note, let’s look at the changes under the old existing porch. Ten years ago, when we built the house, we had a power outlet installed in the brick above the window to add a TV, mostly for watching sports.
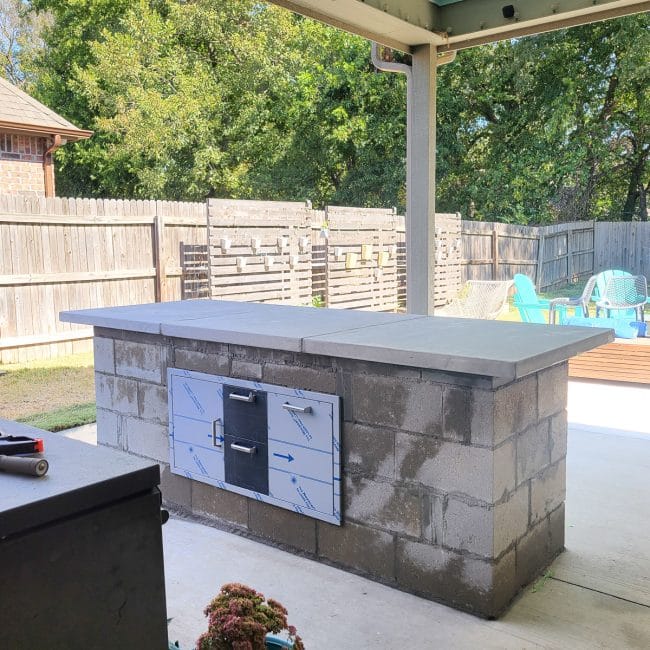
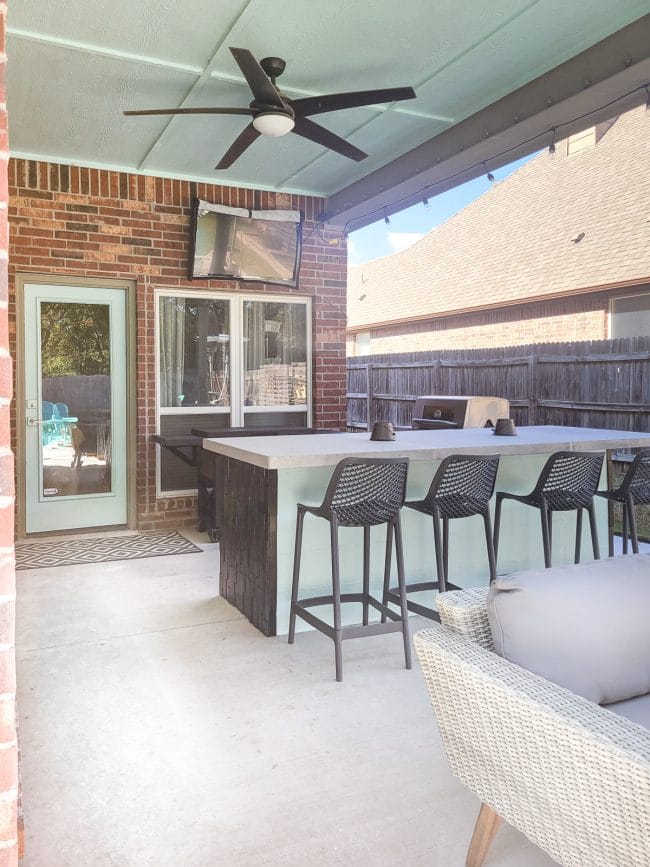
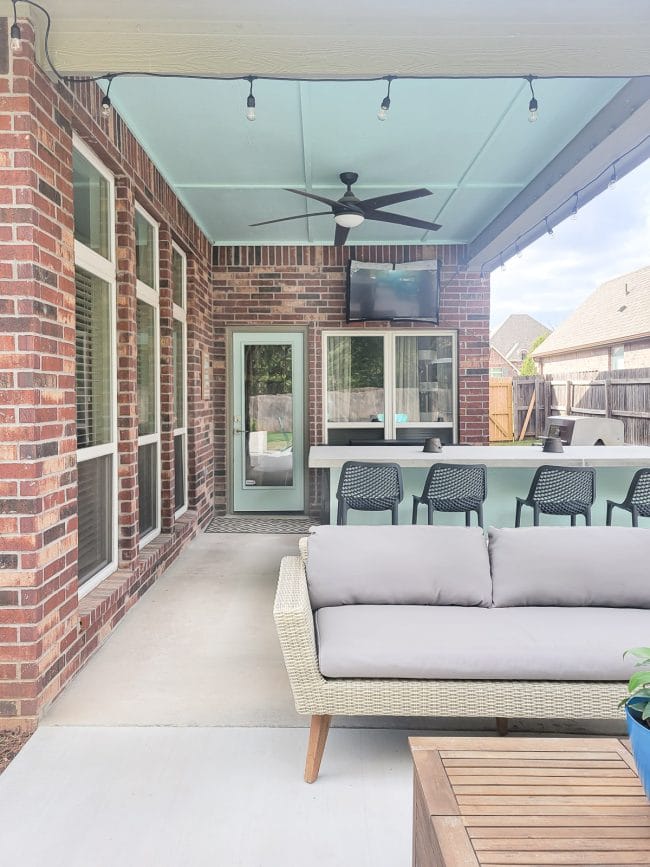
When we planned the backyard makeover, it was finally time to make that happen. We decided to build in a bar looking towards the TV as a functional centerpiece of this zone. Best idea ever! We’ve already gotten a ton of use out of it as a dining area, prep space, storage unit, and even as a desk!
Here’s what the bar looked like when the landscaping company left.
And here’s what it looks like now…
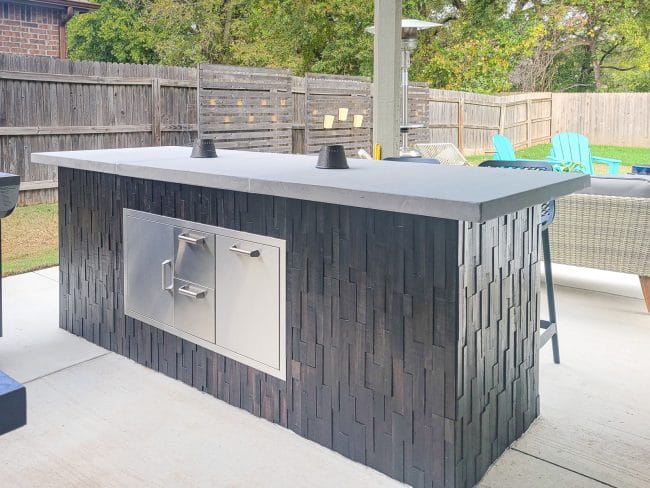
After sealing all the concrete blocks, we added wood tile on three sides, followed by lots of sealer to protect it from rain and sun.
On the back of the bar, we used several coats of concrete floor paint. Originally, we planned to do the wood all the way around. However, after eating at the bar a few times when it was still concrete block, we realized how often our feet touch the wall while we sit. The paint will be much more durable and easier to clean.
Beyond adding seating and counter space, we wanted to add ease to our outside time. That meant adding storage to reduce the number of trips in and out of the house. I started with the idea of adding a pull-out trash can, and then found an outdoor cabinet unit that also gave me some drawer and cabinet space. What a game-changer!
The trash drawer has just enough room to also hold flyswatters and extra trash bags.
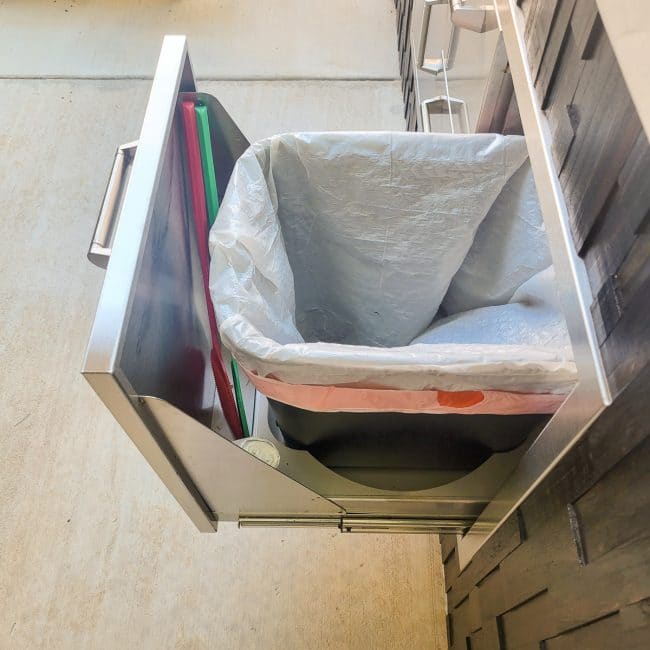
I organized the outdoor drawers the same way I do inside, by measuring the opening and making a list of what I needed to store.
I found the perfect inexpensive bins at Target to separate the various small items like the TV and fan remotes. Next to that, I used a slim cutlery organizer and filled it with our old set of silverware. It’s so handy for all the times I realize I brought condiments out for dinner, but forgot a mayo knife and pickle fork! The organizer also had the perfect size opening for our Bluetooth speaker, which we use every time we’re outside to play music, audiobooks, or the TV.
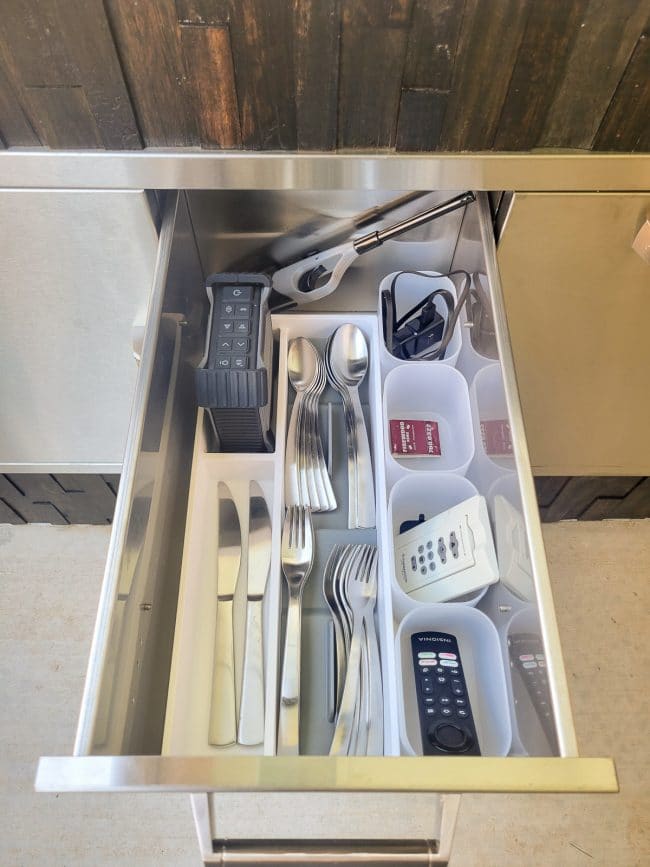
In the bottom drawer, I added a napkin holder, extra napkins, and paper plates. So handy!
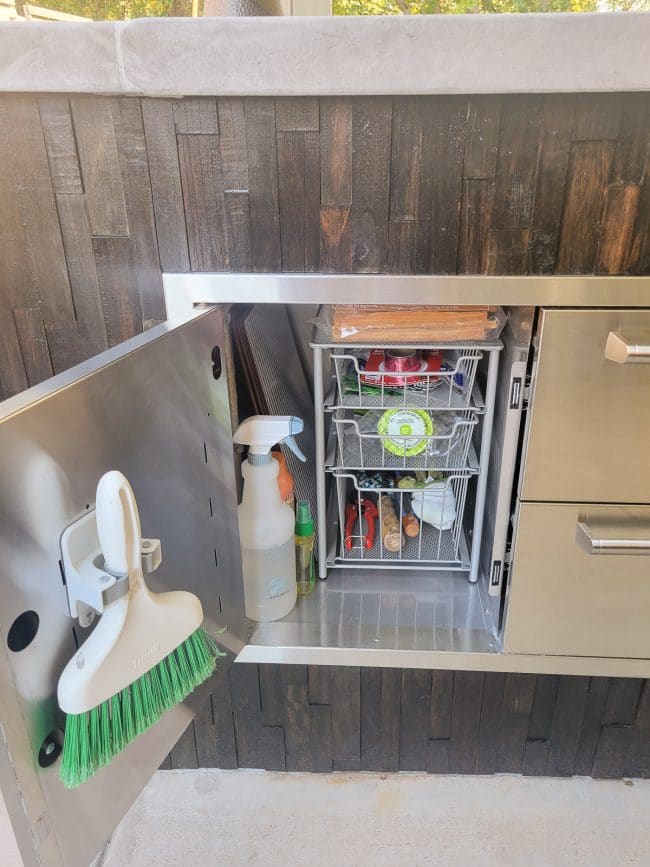
The cabinet section was just a big open hole with no shelf, so I added an organizer with three drawers. It fits on one side of the cabinet, which leaves room for taller items on the left, like a spray bottle of water that’s perfect for both the grill and for cleaning up anything that spills on the limestone countertop and bug spray. The drawers give me space for handheld gardening tools.
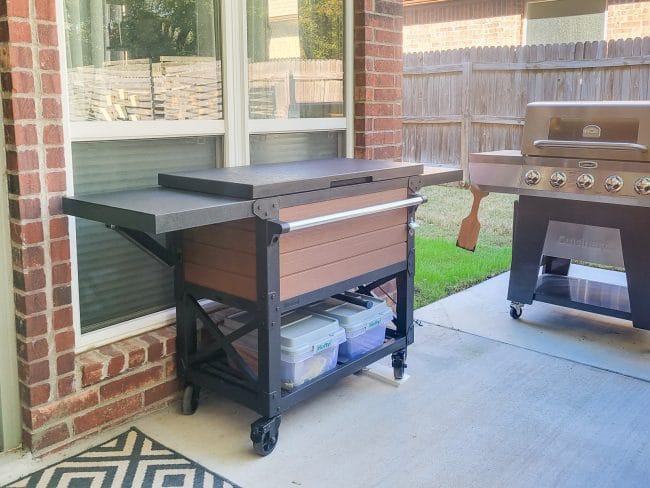
Next to the house, across from the bar, we wanted something that could serve as extra counter space, but that wasn’t built in because it would be in front of our kitchen nook windows. We found a cooler cart at Costco that works perfectly. As a bonus, it has a shelf under the cooler that fits two more storage containers. The first holds firepit supplies like our fatwood starters, fire gloves, and ash shovel. The second is for outdoor cooking items like our metal skewers and s’more sticks.
I can’t emphasize enough how important it is to think through the functional parts of a space and not just the aesthetics. It really has encouraged us to spend so much more time outside, and it makes that time more enjoyable. We’ve even prepared meals on the fire pit!
The final thing we added was a set of Costco LED string lights under the eaves, all the way around the patio. Since we already had an outlet behind the TV, we didn’t have to add new wiring. Instead, we picked up an outdoor smart plug that lets us turn the lights off and on from our phones so we don’t have to constantly grab the step stool to plug them in.
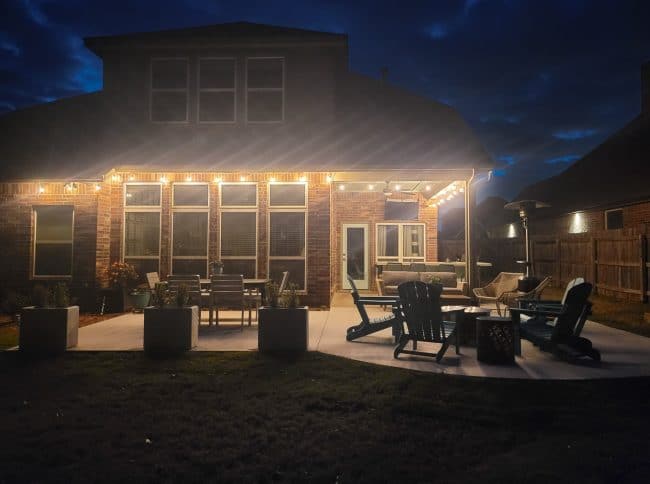
Whew. So that’s what we’ve been up to! It took WAY longer than we expected, but it’s been yet another reminder that big projects are worth the temporary pain.
I gathered up a list of everything we used and linked it below in case you’re curious.
Source List
Kitchen Zone/Under Porch
Bar/Island Wood Tiles
Bar Trash Pullout/Cabinet Unit
Barstools
Grill
Cooler Table – Costco (will probably be back in stock next summer, but here’s a similar model on Amazon)
Island, Door, and Ceiling Paint – Sherwin-Williams Tame Teal (SW6757)
Fire Pit Area
Folding Adirondack Chairs – Turquoise
Firepit – Breeo 24″ Corten
Dining Area
Dining Table – Several years old from Target Threshold line – similar model here
Dining Chairs – Several years old from IKEA – updated version here
Concrete Look Planters
Seating Area
Couch – Several years old from World Market
Chairs – Several years old from World Market
Storage Coffee Table – Several years old from World Market
Plantings
Dwarf Little Gem Magnolia Tree
Soft Touch Holly
Loropetalum
Yuletide Camellia
Pink Drift Roses
Cool Water Pansy
Penny All Season Viola
Baby Jade Boxwoods (In Planters)
Hino Degiri Red Azalea (Around Peach Tree)
Tulsa Area Resources:
Rockwell Irrigation – 5 Stars
The Tidy Junker – 5 Stars
Trees by Jake – 5 Stars
Everything Outdoors of Tulsa – 2.5 Stars


Joycegina says
Your outdoor oasis looks great Melissa! Please show us some pictures in the spring/summer. But in the meantime, I hope you can enjoy that space often.
Melissa George says
Thank you! I’ll definitely do an update when things start blooming and as it changes!
Kim V says
It looks great! So many good ideas. And every space needs a decent place to put garbage! Pull-out trash cans are my favorite.
Kate Horrell says
Hi I just discovered ur blog, I love anything that has to do with outdoors n patios, porches. I live here in South eastern GA n pretty much have nice weather in the winter, but this yr has been really cold n I haven’t been on the back patio or the front porch as much. Love ur back yard. I know u will get plenty of use out of it.
Melissa George says
Thank you! We are still LOVING it and using it any time that it’s warm. Our only regret is not doing it sooner…well…and maybe that we created a monster obsessed with all things landscaping and gardening now (me). 🙂