This is a sponsored post written by me on behalf of Miracle-Gro. All opinions are 100% mine.
Last week, I showed you the sad state of our backyard, along with the direction we are headed in the big endeavor we’re calling Project Take Back the Backyard.
As I mentioned, the very first project was building a raised garden bed so I could get some tomatoes in the ground.
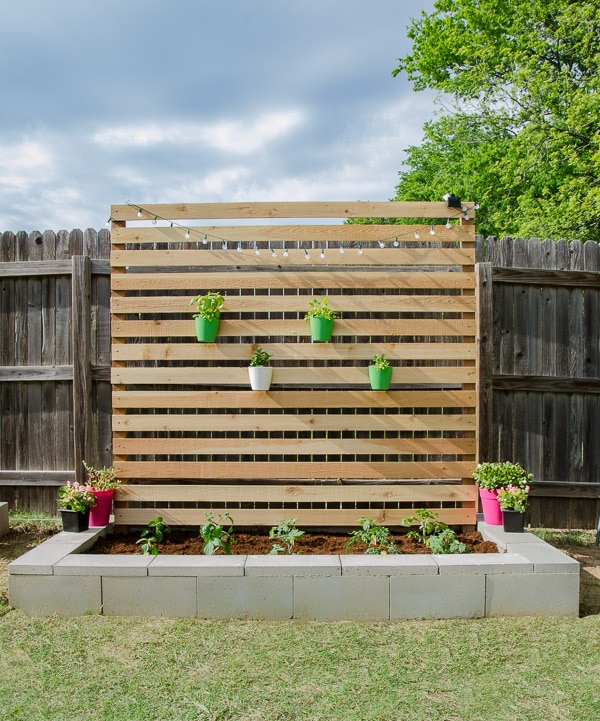
Mission accomplished!
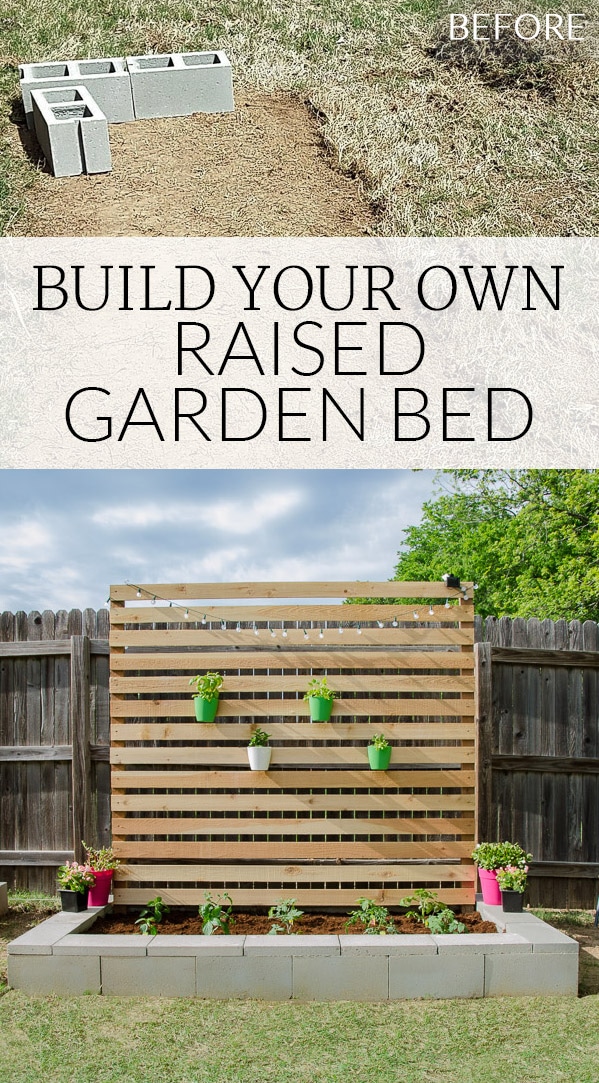
Today, I’ve got a simple tutorial to show you how you can build your own raised beds. It’s not too late to get things growing this year. In fact, we’re adding two more beds this weekend now that we got the go-ahead from the drainage specialist.
Raised Garden Bed Tutorial
The materials required change based on the size you’d like your bed, but we used a total of 16 concrete blocks & 16 caps to create a bed that was 8′ wide x 4′ deep on the outside, which made it about 6.5′ x 2.5′ on the interior.
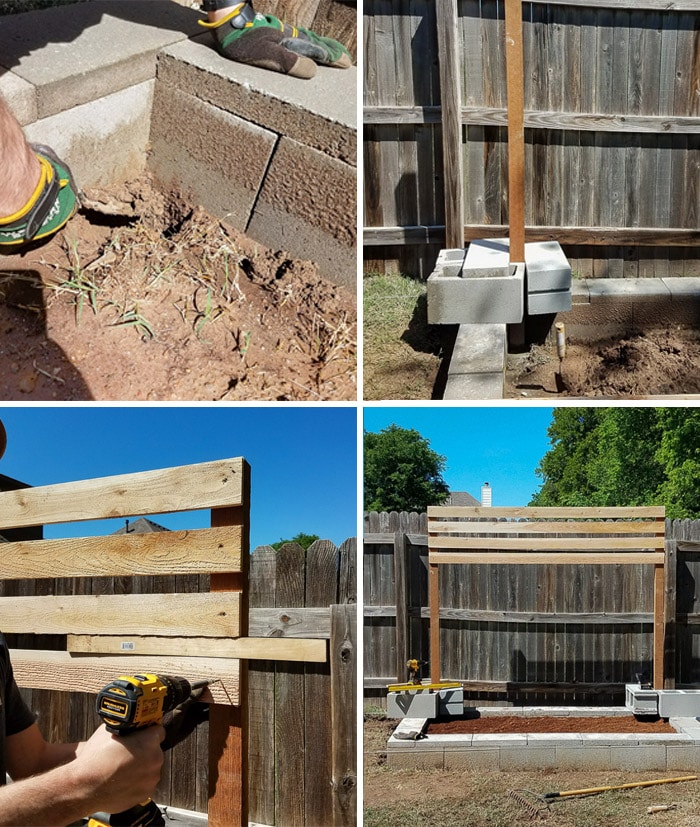
Once you determine your size, it’s time to grab a shovel and get rid of any existing grass. With the site prepped, start placing the blocks. As you place each block, make sure it’s level on its own and compared to the adjoining blocks. Setting up string lines and using an inexpensive string line level will be a big help!
Once the blocks are in place, add concrete toppers to give the bed a more finished look. You can use construction adhesive to make them even more secure, which we’ll do once all three beds are in place. Ours did endure 4.5″ of rain and very strong winds with no movement, so if you want the bed to be removable later, you might be okay never using the adhesive.
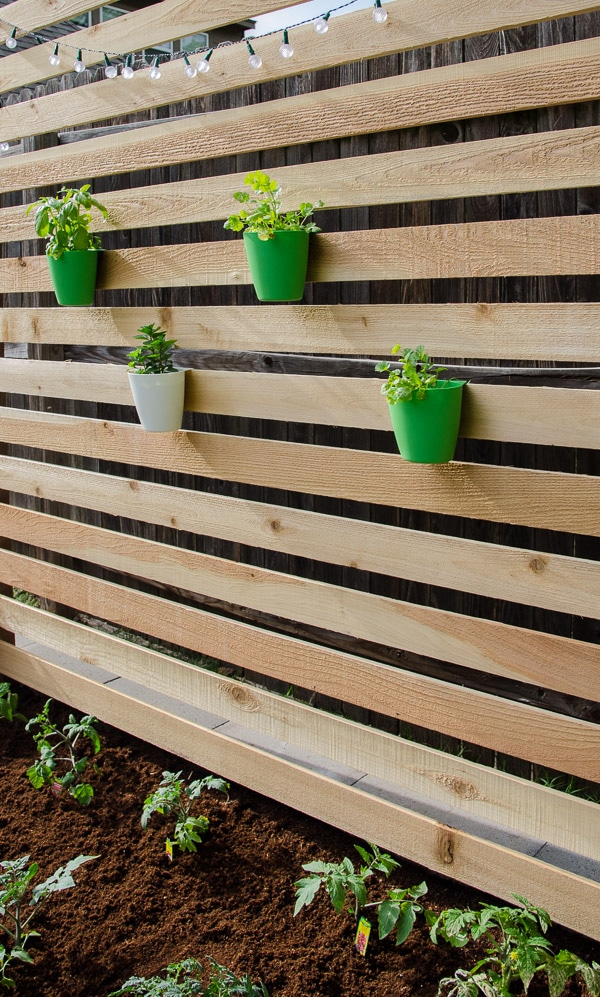
The next part is optional, but we wanted a pretty cedar backing/trellis on our bed to hide some of the unattractive fencing. After lots of discussion, we came up with a very simple way to install it.
In each of the back corners, dig down about a foot (call your local utility companies first to have lines marked). Place a cedar post in the hole, then add quick setting concrete and water per the concrete instructions. To keep the post in place while the concrete dries, you can use more blocks (see below).
When the posts are set, cut cedar fence pickets to span the distance between posts. Using a piece of scrap wood as a spacer keeps everything consistent.
Since you’ll want the top slat perfectly lined up with the tops of the posts, start at the top and work down. The process will go way faster than you expect!
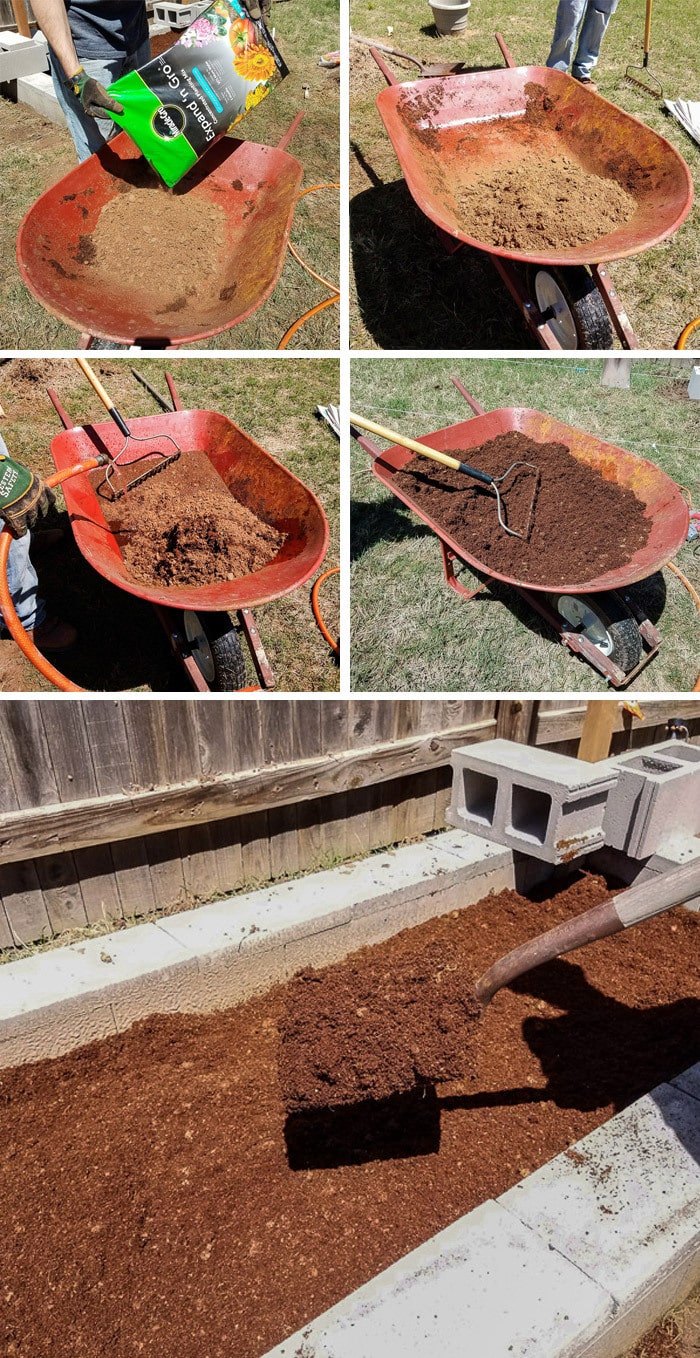
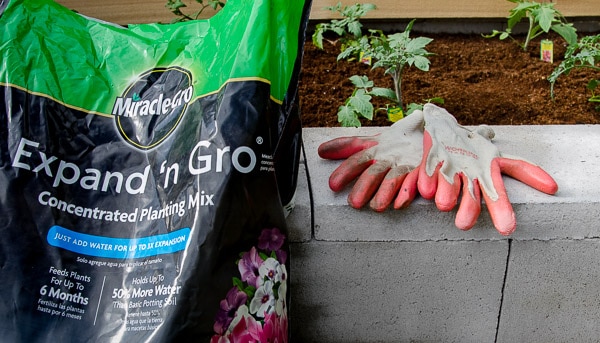
When the corner posts were almost set, we started filling up the bed with the Expand ‘n Gro Potting Soil I told you about last week. We expected it to be cool, but the stuff is REALLY incredible. I kept stopping to take photos of the magic to send to friends.
Use a wheelbarrow to mix up 1/2 bag of the Expand ‘n Gro at a time. After placing the soil in the wheelbarrow, add an equal amount of water and mix it up like a huge cake. As you mix, all of the sudden you’ll realize that you have a FULL wheelbarrow of light, airy soil. The bag says it takes 10 minutes to fully expand, and then it’s ready for use in the bed (or in a planter).
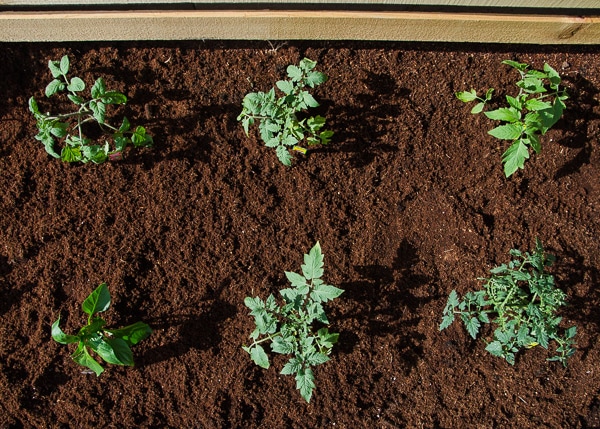
It only took 4 bags to fill up our big raised bed. Seriously mind-boggling. And I wish we had touch-o-vision because I don’t have words to describe how light the soil is. I literally planted everything without needing a shovel, even after the 4.5″ of rain, which turned all the native soil around the bed into dense mud.
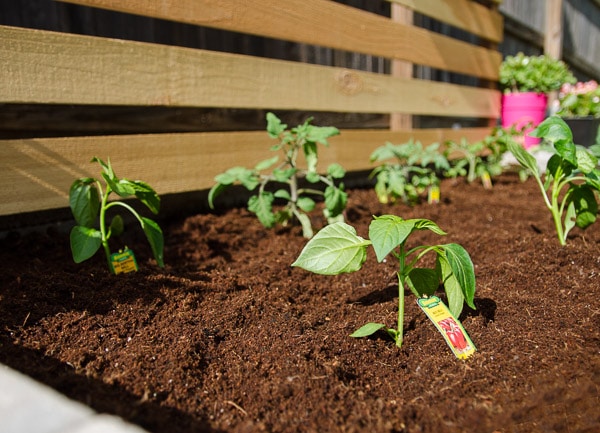
Don’t you love how the mix of concrete and cedar gives the bed a bit of modern flare, even though it was really simple to build?
I can’t wait until we have three of these screens distracting from the fence!
I’m also 100% sold on using Expand ‘n Gro for all our future indoor or outdoor plant projects. I’ve never used a premium soil before this project, but consider me officially converted!



Lisa says
Great post Melissa! After reading last weeks “take back the backyard” plans, I was so excited to see it all unfold! It’s going to be amazing and you are off to a wonderful start! I really want to try this soil now! It really is a miracle! Haha ?
Cornelia L Short says
Wow, what an amazing difference and I can’t wait too try out this new Miracle Gro Soil.
Thanks for sharing the tutorial on how you make this beautiful raised bed.
Susan D says
LOVE this! Saved it to my pinterest board I have for the house we are currently updating.
Melissa George says
We’re loving the beds even more this year since we can just enjoy last year’s labor. 🙂