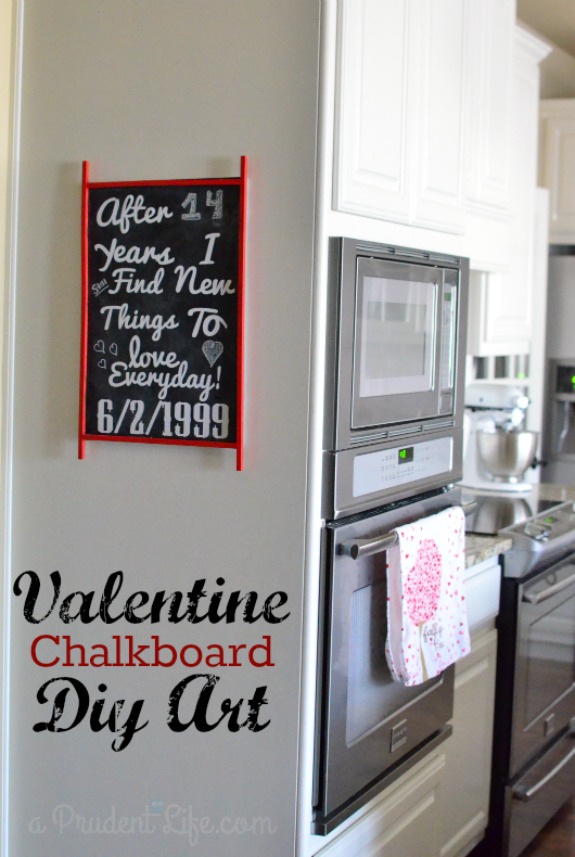
I’m a little behind the times and hadn’t had the chance to use Chalkboard Paint….until now! I came up with a great idea for a Valentine Chalkboard, and DecoArt was kind enough to provide the paint as part of their Blogger Outreach Program. I wanted to make a combo sign that used our anniversary and some other text in vinyl, but had a chalkboard look and left room to update how many years we have been married in chalk each year.
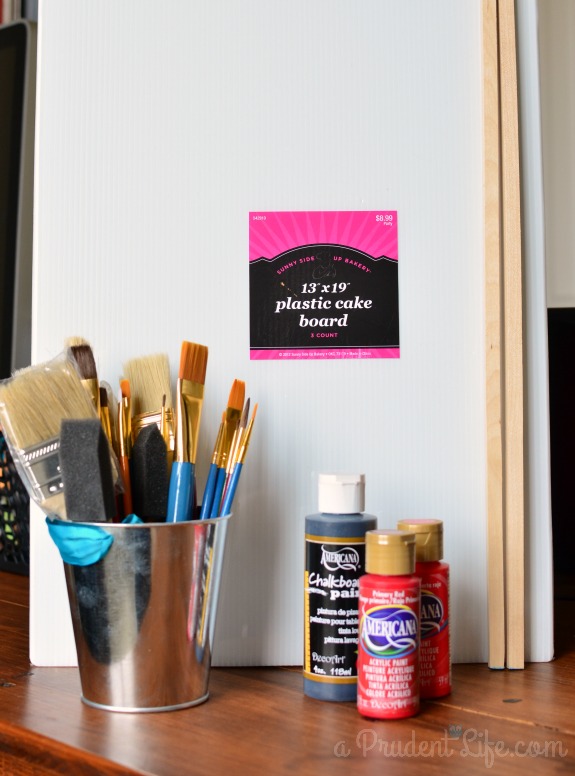
Instead of buying a canvas or using wood, I went a little experimental for my painting surface. I found a 3 pack of plastic 13 x 19 cake boards from Hobby Lobby for $5.39 (after 40% coupon). They were the perfect size for what I had in mind! At $1.80 each, I wasn’t too afraid of messing them up. To make a frame, I bought two square 3/8″ x 36″ dowels for $1.23 each.
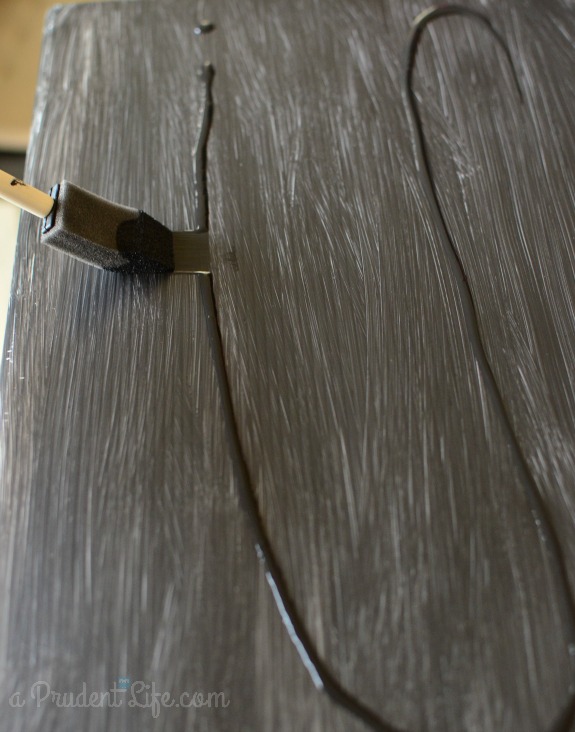
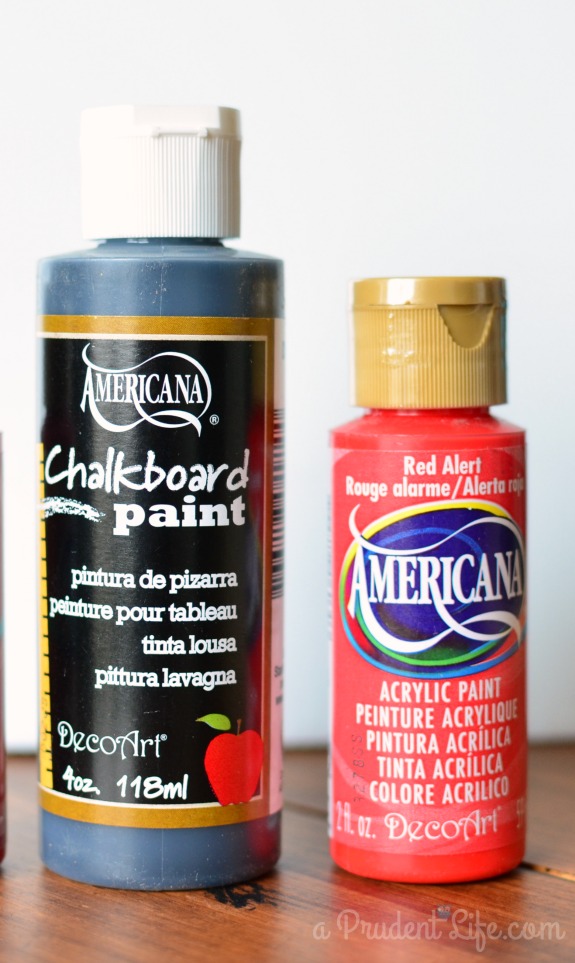
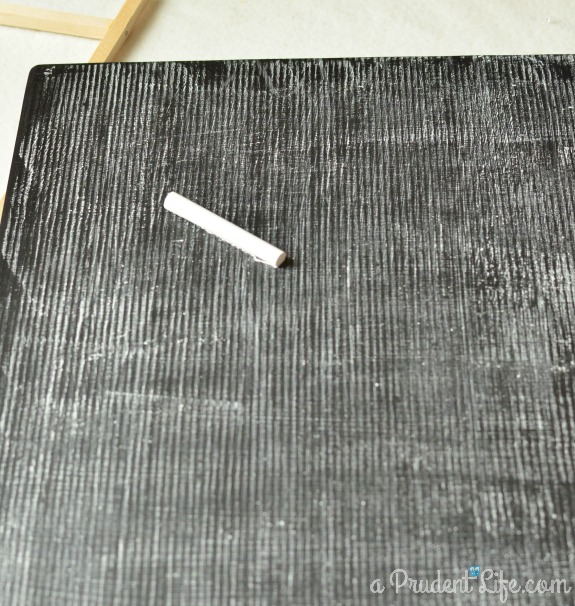
Applying the chalkboard paint was really easy. You apply two coats, one hour apart, in different directions. So, the first coat I painted up & down and the second coat side to side.
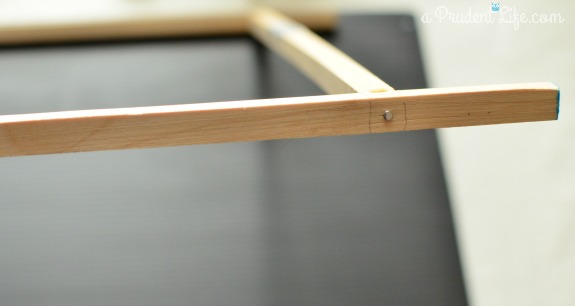
The ridges in the cake board inspired me to model the frame after an old washboard. I cut the side (vertical) dowels 2 inches longer than the board so there would be overhang. To make the frame, I used some wood glue, then nailed the corners together with my trusty pink hammer.
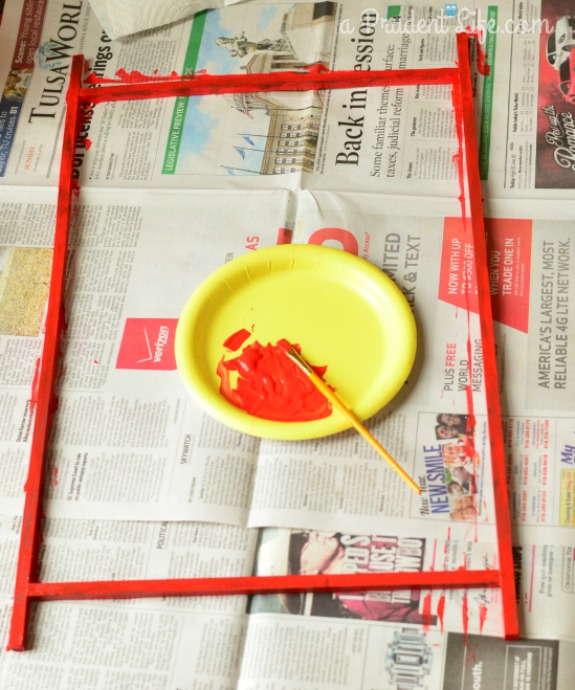
It took two quick coats.
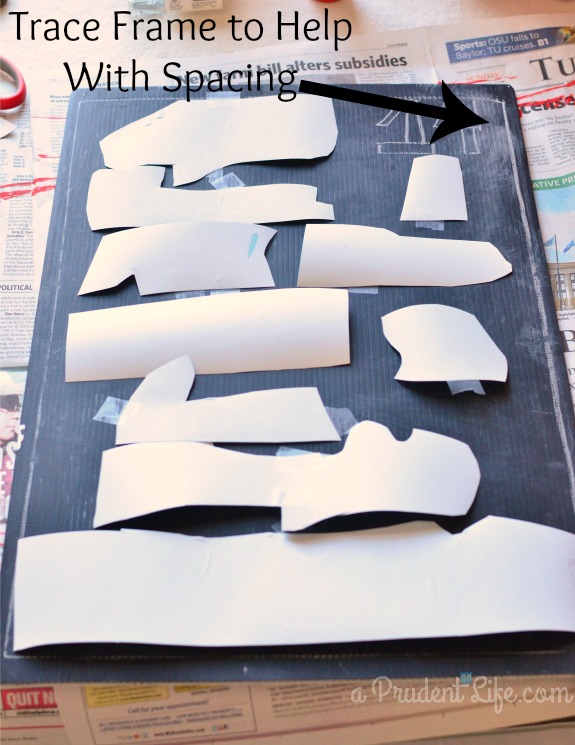
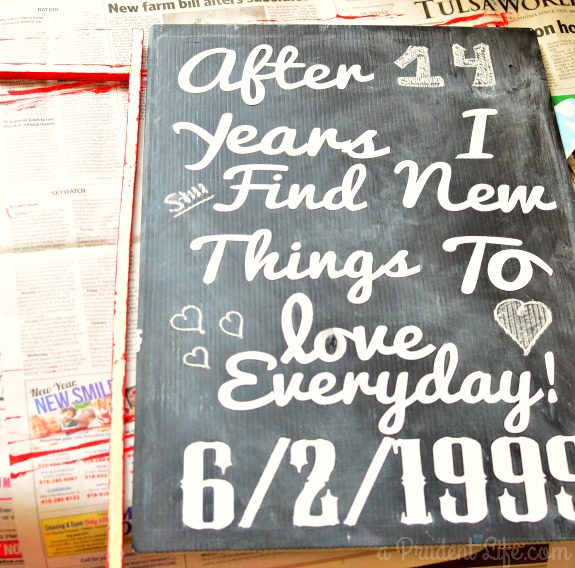
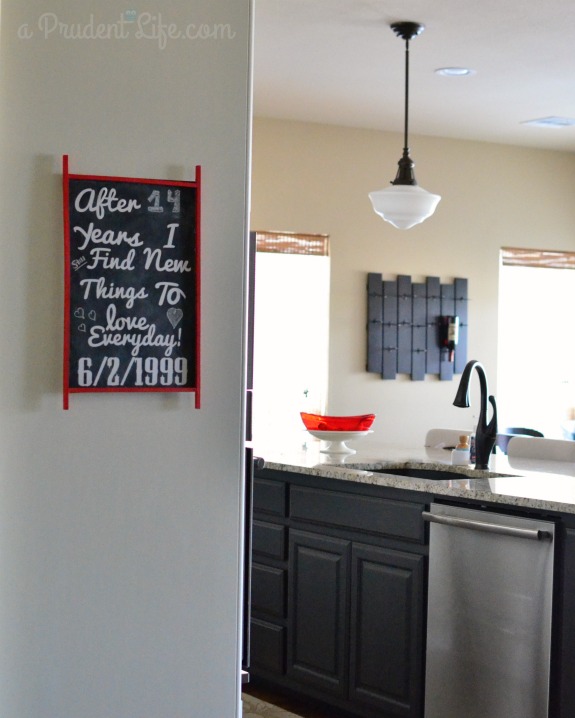
The chalkboard paint was really easy to use, just remember to give yourself time to let it cure overnight before you condition your new board with chalk. I still have a 1/2 bottle of chalkboard paint left and can’t wait to try it on something else!


Katie @ Addicted 2 DIY says
Oh my goodness! I love this, Melissa! The frame is perfect and the vinyl/chalkboard combo is adorable! Great job!
melissa@polishedhabitat.com says
Thank you Katie!
Corey @ Tinysidekick says
This is really cute Melissa. I love the saying. Thanks for partying at The Makers!
Carrie This Home says
I absolutely love how this turned out! What a sweet way to celebrate your marriage! I would love it if you’d link this up to the Frugal Crafty Home Blog Hop. Our readers get really excited about craft projects like this! Thank you!
melissa@polishedhabitat.com says
Thanks for the invite Carrie, I’ll be right over to link up!
Mary says
I absolutely love that I found your project through the hit me with your best shot link up. I’ve been wanting to make a chalkboard but have yet to find the materials, this is a great variation. I’ve pinned if, and plan on creating my own soon.
melissa@polishedhabitat.com says
Thanks for visiting & pinning Mary! The patience giving the paint time to cure was tough because I wanted to try it out right away, but everything else was really easy. Good luck with your chalkboard!
Sonnet @ Sohosonnet Creative Living says
Awwww this is so sweet and super modern looking! I am a sucker for a chalkboard. Love this!
melissa@polishedhabitat.com says
Me too! I can’t believe I waited so long to make one!
Nichole C says
I love this! I’m on a chalkboard kick myself, these days 🙂
Tiffany (Fabulous Mom Blog) says
This is such a fun craft! I pinned so I could find it later. So cute!
melissa@polishedhabitat.com says
Thank you Tiffany!
Kathy says
That is so sweet and looks fantastic! I love the red frame and the style. What a great DIY project. Thanks for sharing.
melissa@polishedhabitat.com says
Thanks Kathy! I’m glad you like the frame, I kept wondering if it made sense or if I was crazy as I made it 🙂
Ricci says
LOVE this!! Pinned it!!
melissa@polishedhabitat.com says
Thanks Ricci!
melissa@polishedhabitat.com says
Thanks Angela! Every time I see the 14 years, I feel the need to say that I got married very young 🙂
Daniela says
So cute, Melissa! I love chalkboard!
xo
Daniela
Put A Bird On It
http://iputabirdonit.blogspot.com
laura@live-love-scrap says
Love this! Such a great idea- I would never have thought to use a plastic cake board!
melissa@polishedhabitat.com says
Thank you Laura! I was excited when I saw them at Hobby Lobby and realized they were the perfect size!
Sondra @ Sondra Lyn at Home says
Love this! Thanks for linking at Share it Sunday!! Pinned!
melissa@polishedhabitat.com says
Thanks for visiting AND for pinning Sondra!
Abby @ Just a Girl and Her Blog says
LOVE this! So perfect for Valentine’s Day! I was late getting on the chalkboard train, too, and now I want to paint everything with it, lol. Thanks so much for sharing at Hit Me with Your Best Shot! Have a wonderful week!
~Abby =)
melissa@polishedhabitat.com says
Thanks Abby! My husband is lucky that every surface in our house isn’t gold or chalkboard!
Shelly says
I love the pop of red with the black & white!
*This was one of my “Knockouts” from this week’s Hit Me With Your Best Shot! Thanks SO much for linking up!
melissa@polishedhabitat.com says
Thanks for hosting Shelly! It’s my favorite party….other than Thursday S.T.Y.L.E. of course 🙂
Mandy says
I absolutely love this idea! I am always looking for a way to use chalkboard paint and I think this came out perfect! Pinning this for future reference!
melissa@polishedhabitat.com says
Thank you for visiting & pinning Mandy!