I find the concept of decorating bookshelves a mixture of fun and intimidating. Once you break it down into a few easy concepts, the intimidation factor goes WAY down. I thought it would be fun to put together a few visuals to help you the next time you need to update your bookshelf decor.
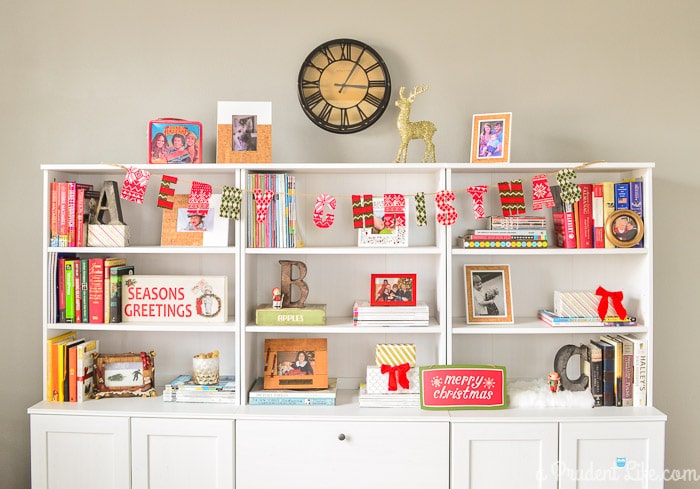
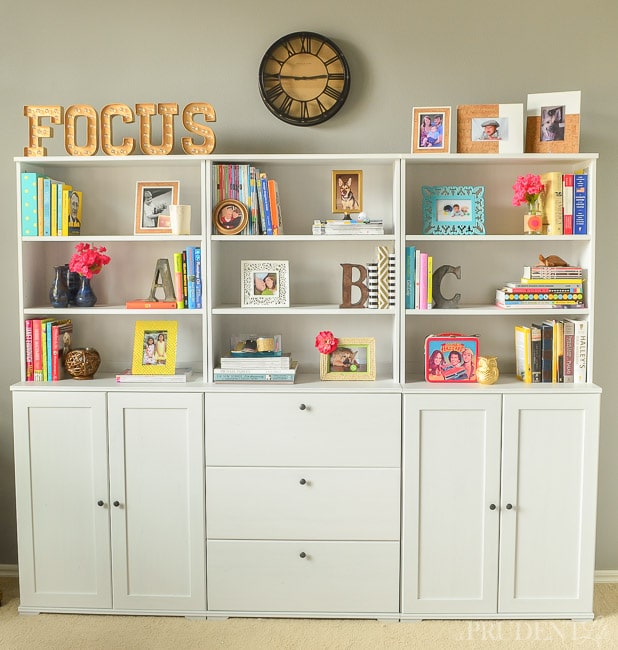
But first, let me show you what I was working with. I’ve been doing slow improvements to our office over the last year. Even though I recently gave my desk a pretty update, the bookshelves have been having an identity crisis. Here’s what they looked like until mid-January.
Eventually, we got all the Christmas specific decor put away, but it seemed early to bring out Spring & Summer colors. So the shelves just lingered, half empty. In February, I did some quick staging on two shelves so I could photograph my DIY Pet Silhouette project. The little sections below were the only ones that looked decent! Cropping is a blogger’s best friend.
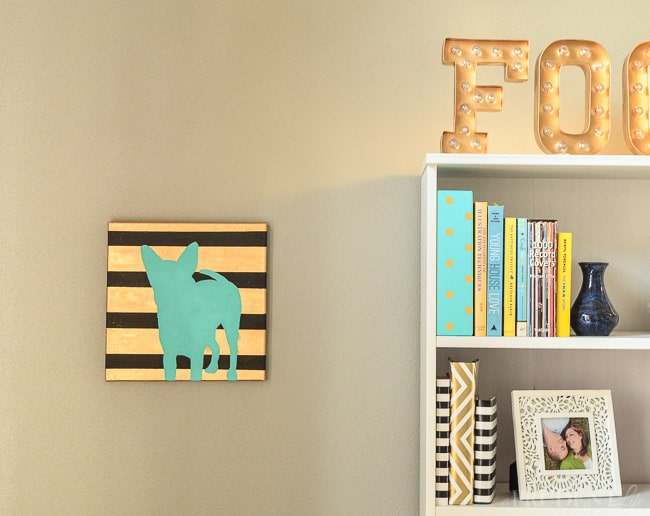
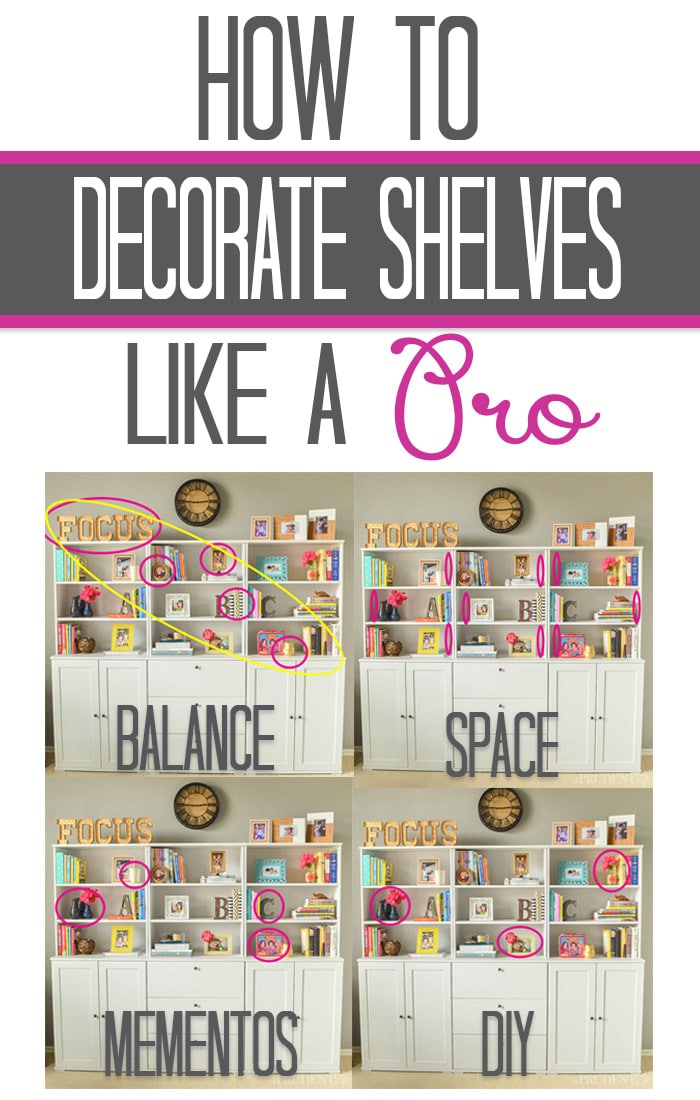
The simple key to having well decorated shelves is BALANCE in every direction with both color and weight. Think of it as a fun puzzle to solve.
In this little puzzle, bonus points are awarded if you work in metallics, natural textures, and fun items that are personnel to you.
Let me show you what I’m talking about.
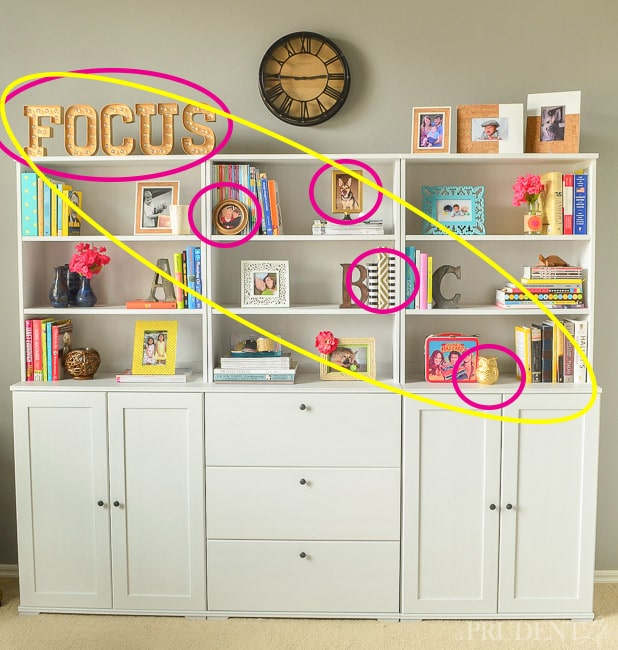
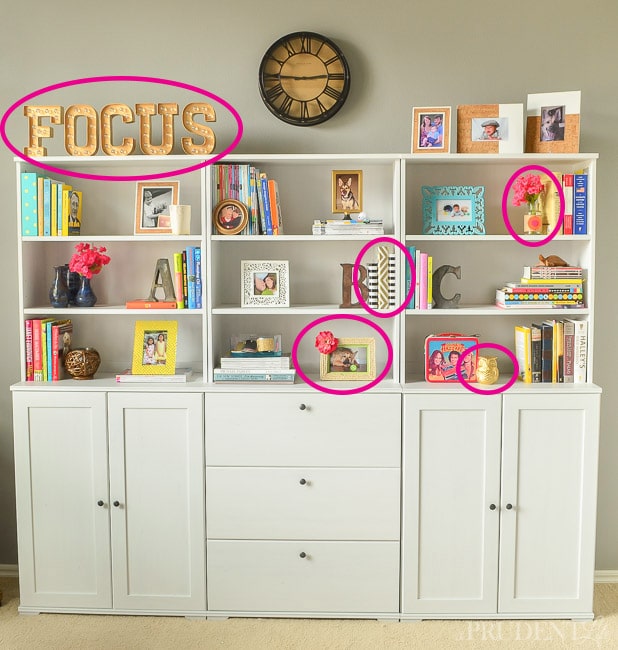
I used gold as my metallic, and spread my gold items across a diagonal pattern. Your eye starts on the big marquee on the upper left, then works its way down to the small owl on the lower right.
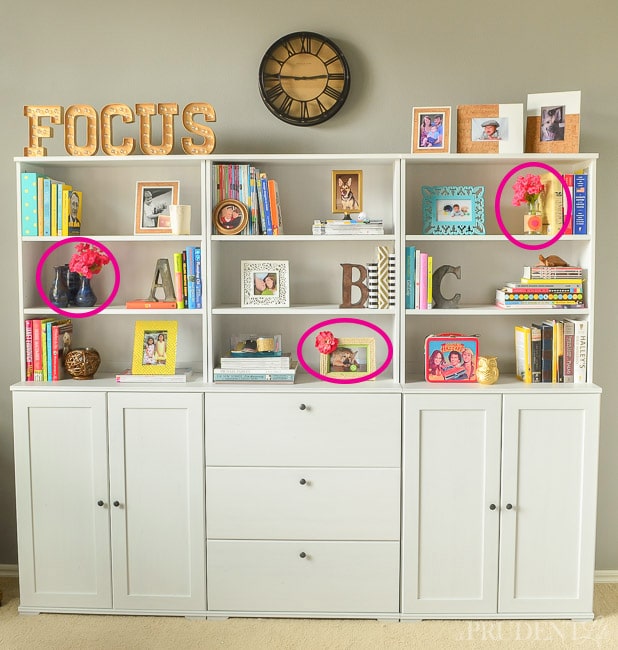
I added texture and color with pink flowers. Having one on each row creates balance with both the color and the natural element.
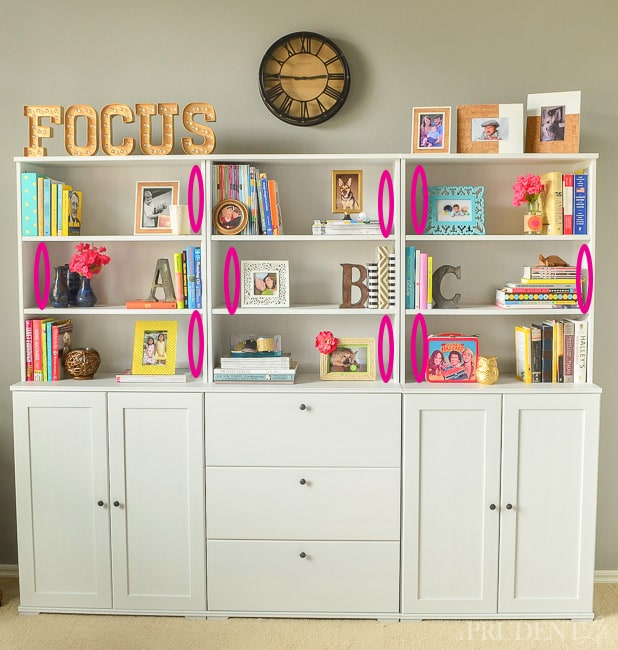
Even the breathing room can be balanced. Add interest by staggering items away from the edges.
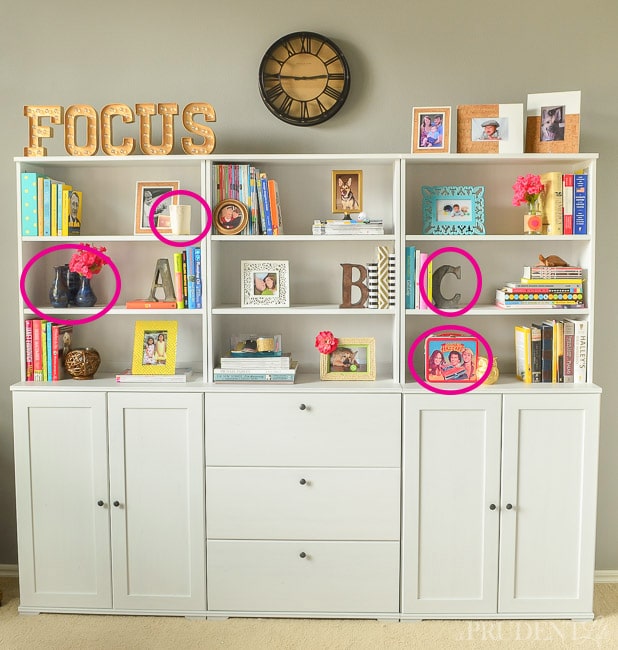
Make sure that you are including pieces unique to your family. As tempting as it can be to buy new things to fill shelves, it is even better to save money by using existing mementos. On the top left, I have a pretty cream and gold candle my sister-in-law got me for Christmas (Thanks Sally!). Right under that, there is a trio of blue vases that our uncle made. The ABC bookends came from a shop in Salt Lake City. I got them during my first blog conference. The ultimate art piece is on the bottom right – my husband’s awesome Dukes of Hazard lunchbox – direct from his childhood.
In addition to mementos, you can make DIY items to fill your shelves.
The FOCUS marquee, books covered in wrapping paper, the rope & flower frame, the burlap & flower vase, and the gold owl were all DIYs. The owl was a white $1.49 find at Old Time Pottery and just needed a coat of paint to be transformed.
The rest of the shelves were filled with books (imagine that on a bookcase!), magazines, and family photos. Since we have closed storage as well, I switch out some of the displayed books from bright colors to red and green between Christmas and the rest of the year. The ones we use stay out, but changing others is simple free decor! Using some of the magazine and books stacked instead of standing up is another free way to add interest.
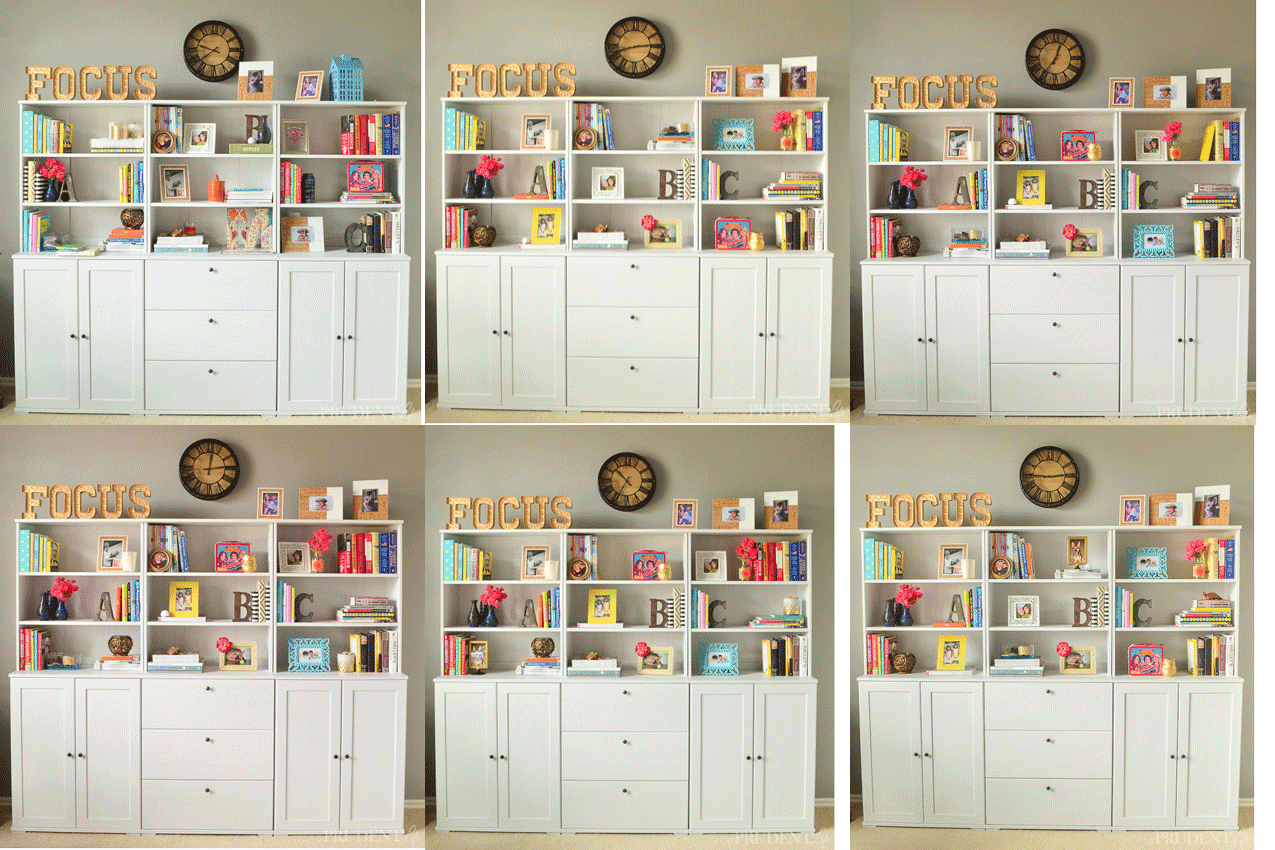
I attempted a little animation showing all my little tweaks as I tried to find the perfect balance. Hope it works!
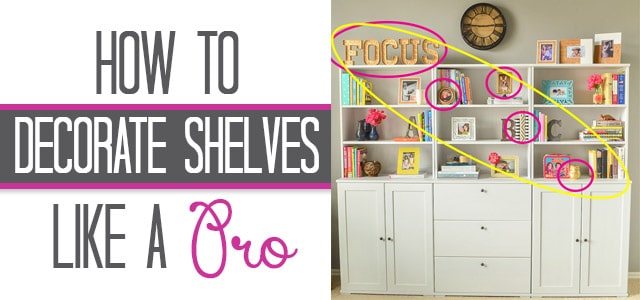
If you thought these tips were helpful, I’d love you to pin the graphic below to help spread the word that it doesn’t take money or a design degree to come up with a beautiful display for your home!
Post shared at: Pretty Preppy


Corinna - For My Love Of says
I just love a little touch of whimsy and that lunchbox is perfect!
Katie @ Addicted 2 DIY says
Your shelves look beautiful and I love how you broke it all down. It’s such a struggle for me to decorate shelves, but your method makes it feel less daunting:)
Melissa George says
Yeah!!! So glad it was helpful!
Sarah says
This post is so helpful. Your drawings are some of the better ones I’ve seen and really help to demonstrate your point! Thanks for linking up to our Pretty Preppy Party! xoxo
Amy says
Great tips! Sharing this tomorrow as a Pretty Preppy Party favorite, thanks for linking up 🙂
XO,
Amy
Melissa George says
Wow – what a great surprise! Thank you Amy!
Bonnie says
thanks for the help but my shelves are 6 feet long from floor to ceiling In an apartment, I think I have too many things, I think it looks like a store rather than our living room, how many items per shelf?? I have six wooden shelves, I think it could be great, but it sure is not now…thanks
Melissa George says
That sounds gorgeous, but I know what you mean about it looking like a store. I’d try filling in the bottom shelves (bottom 3 if there are 6 shelves) with books first, and then doing decor on the top sections. That will give it some grounding and make it less like items are just floating on all the shelves. You can mix more books into the upper sections as well, mixing some laying down and some “normal”. As far as how many items on each shelf, I’d try to mix that up so they aren’t all the same. Some may look great with one larger vase in the center and others will need more of a mix.