Did you stock up on discounted Christmas craft supplies last year? I hope so! Mom and I started a new tradition about three years ago. Every gift gets a unique handmade tag. We use thicker sheets of scrapbook paper as the base, and then embellish with coordinating paper, ribbon, & stickers. This year we found really cute project materials in the dollar area at Michaels.
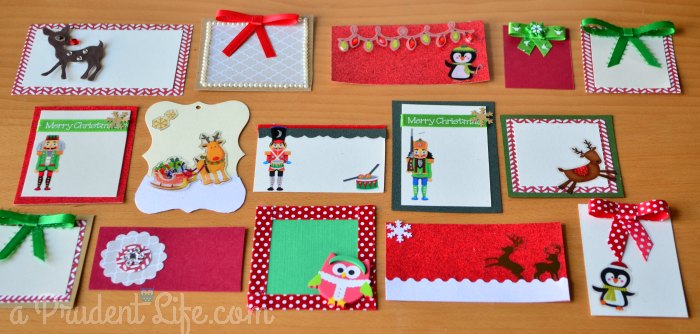
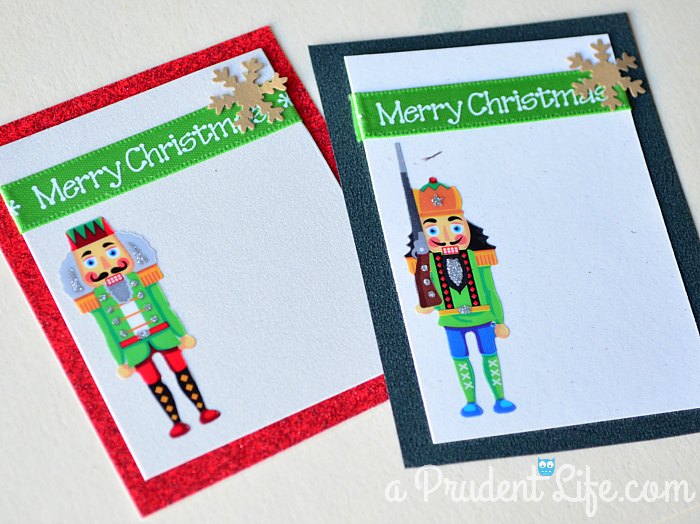
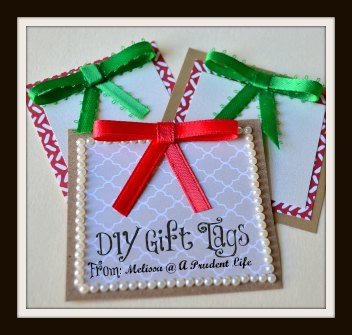
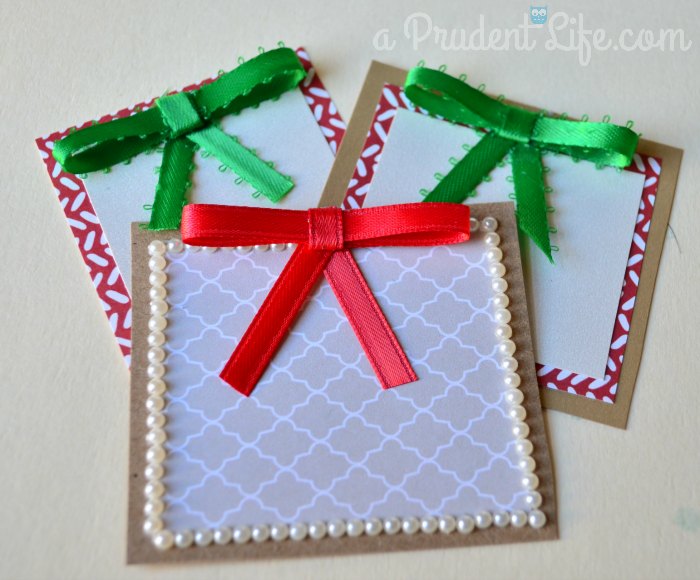
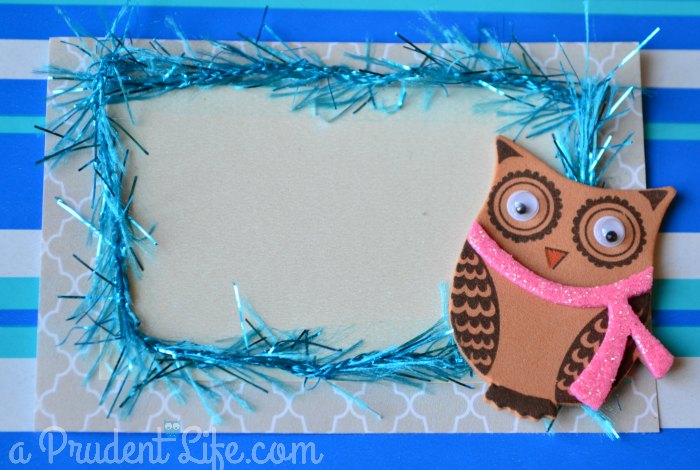
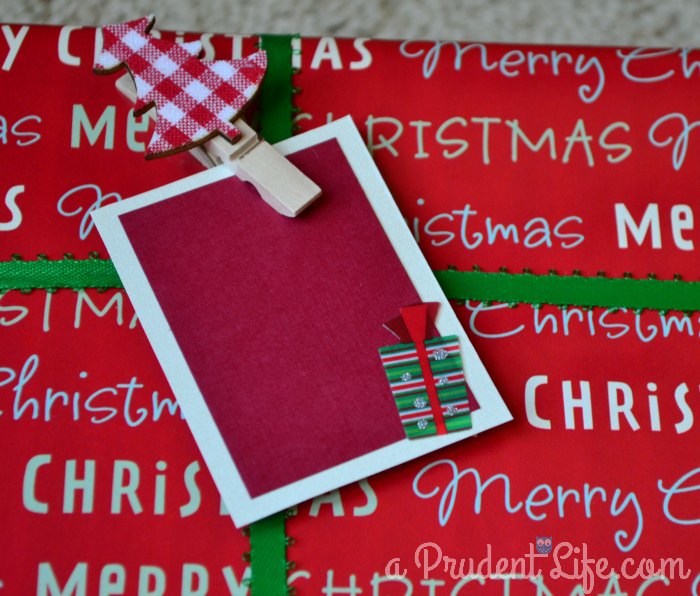
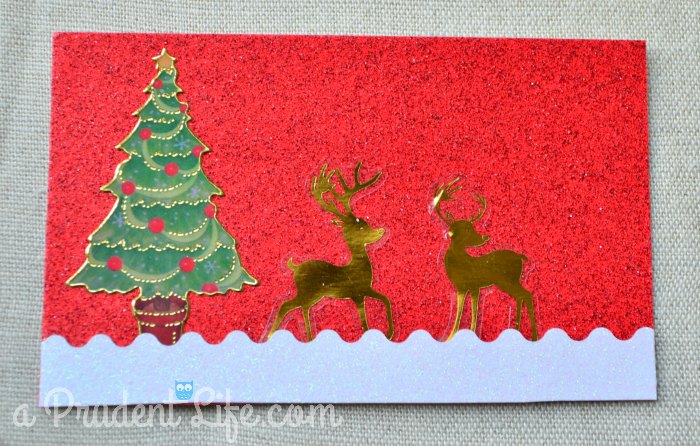
Here are some of our favorite tags!
It takes us about two hours to make 40ish tags, but the time could be greatly reduced if you made multiples of a few designs. Most of our time is spent trying to decide if a tag needs a snowman or reindeer!
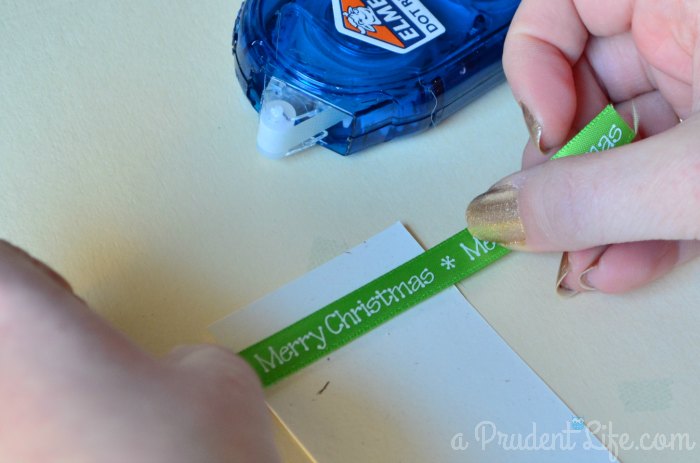
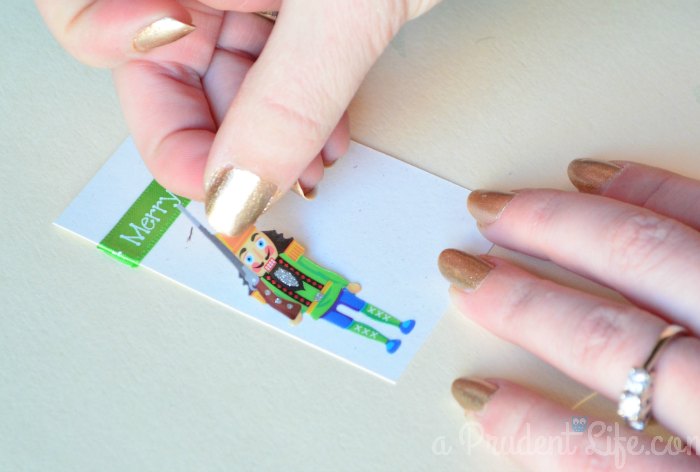
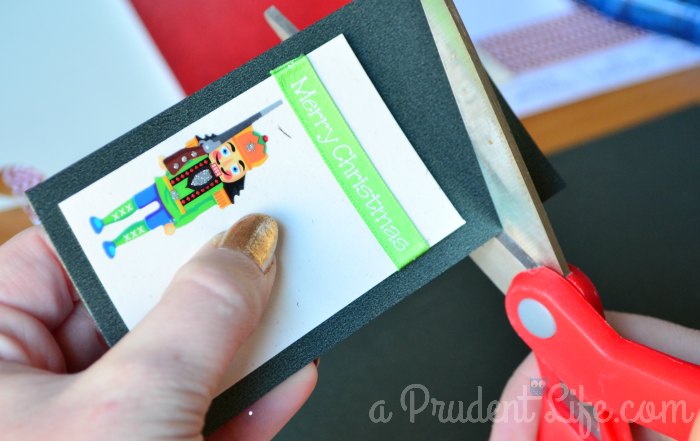
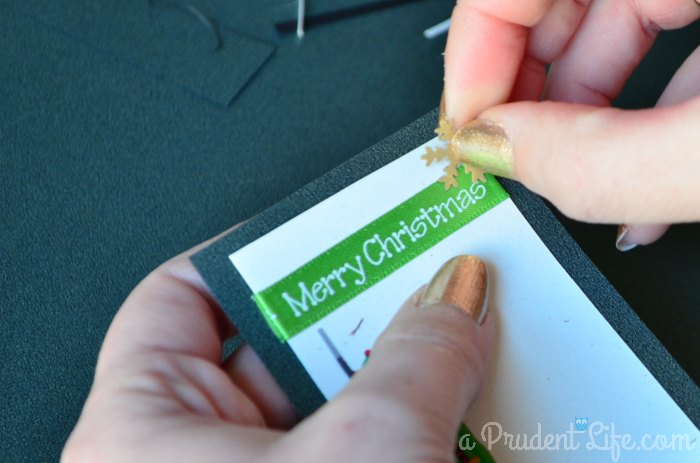
Here’s a mini tutorial on how I approach it, but really, there are no rules. Stick paper together, add ribbons and/or stickers, decide if you like it, and attach. The only adhesive I use is a dot runner – so easy!
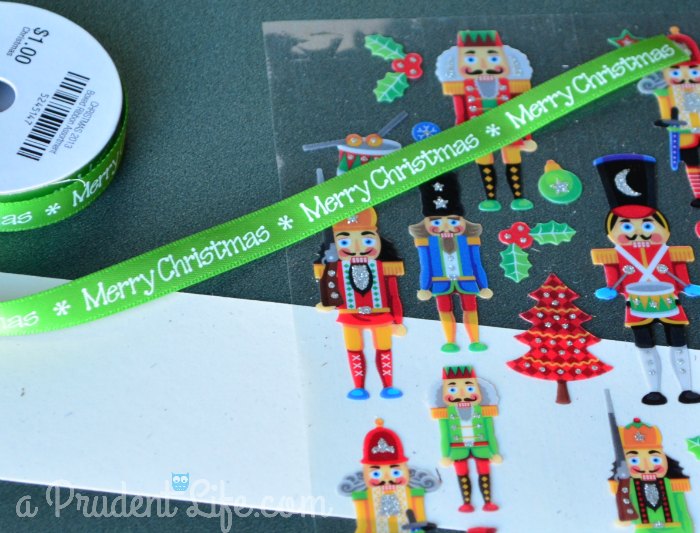
1. Pick some materials that go together.

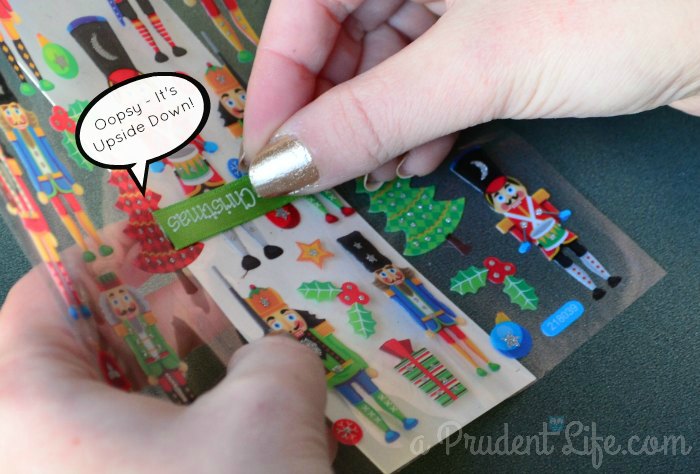
2. Stare intently at your grouping until they speak to you.

3. Cut, layer, & attach your way to perfection.
4. Admire your amazing skills!
This is a little more-time consuming than throwing a pack of tags into the cart at Target. However, we found it to be a two-fold blessing anyways! First, Christmas time can be stressful, and while this initially seemed like one more thing on the list, once we get started, it is relaxing. Sitting down to focus on one task temporarily relieves your brain from all the other “to do” items floating around. Add some Christmas music and a glass of wine and it is a perfect break!
The second blessing comes when gift receiver notices you took the time to make handmade tags. Don’t be disappointed if some folks just rip them off. Eventually, someone’s heart will be touched and that is enough to make it all worth it for me!
My favorite tags this year were the ones with itty bitty bows. Let me show you how I made them so you can have some of your own adorable-ness.
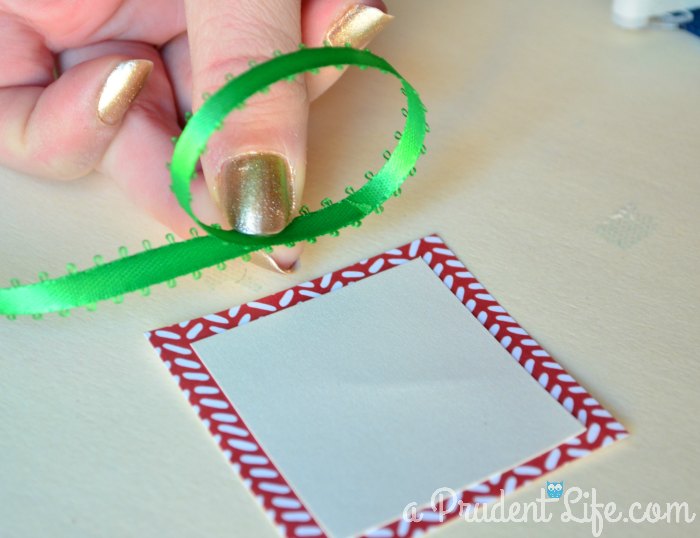
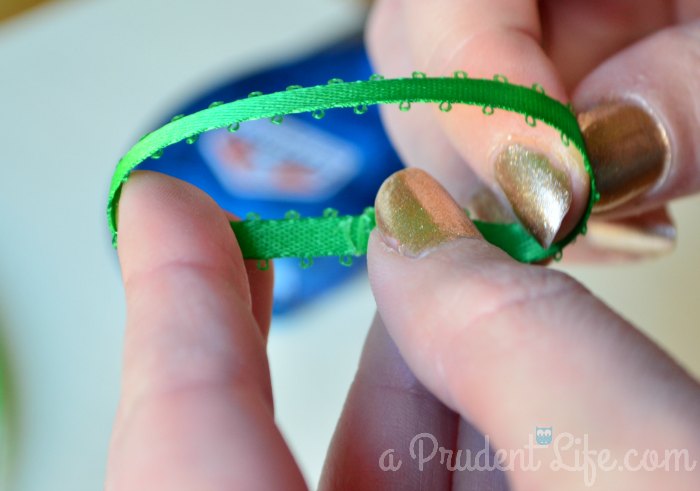
1. Make a loop of ribbon, using your tag to determine the width you want your finished bow to be. Overlap the ends and attach them together with dot runner, glue, or double sided tape.
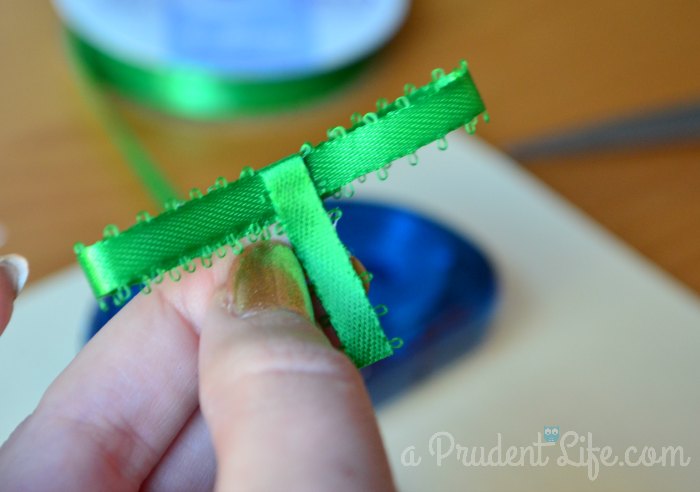
2. Cut a short piece of ribbon to make a vertical loop around the center of your big loop. Attach one end to the back, then wrap around the front (it will look like a T at this point). Now attach the 2nd end to the back. I had to trim the “tail” shown so that the end of the ribbon was the right length to attach to the back.
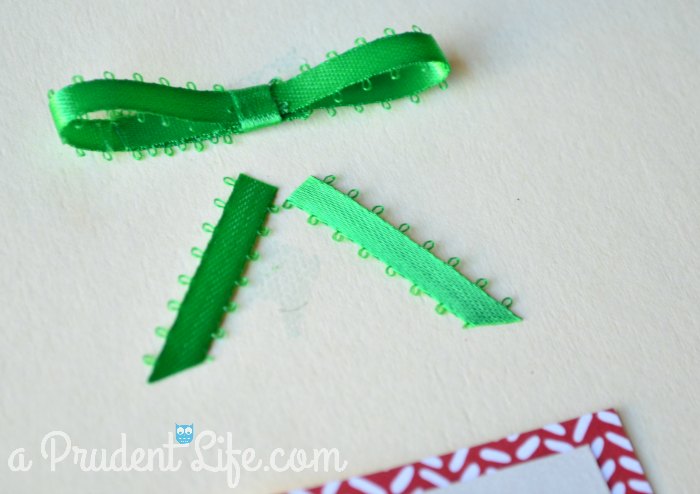
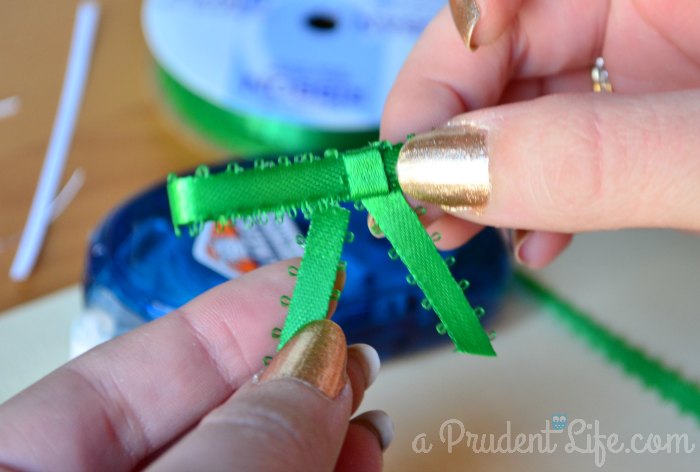
3. Cut 2 “legs” for your bow, and attach them to the back of your loop.
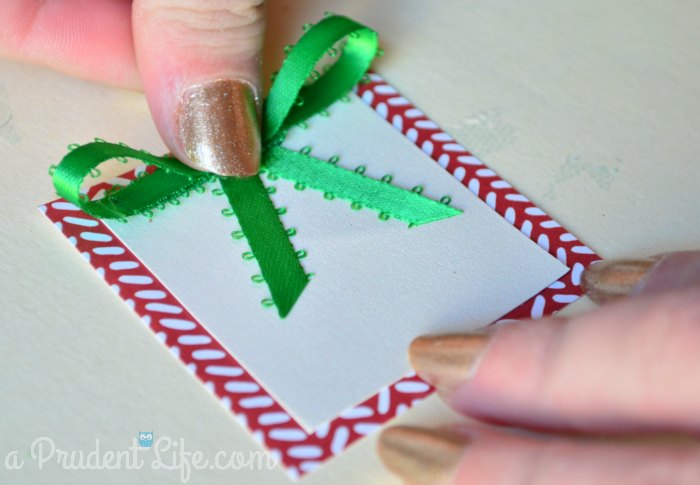
4. Attach it to your tag & get ready to impress people with your bow making skills!
Now you’ve got all the skills you need to be a master tag maker! Grab the wine or cocoa and get crafting – I’d love to see some of the tags you come up with!
Here are a few more shots you can use for inspiration!
This one uses a fun feather boa inspired ribbon from the $1 bin at Michaels. I used this tag on a birthday gift.
Don’t you love this clip on tree? They were also from Michaels – I think it was a 4 pack for $1. I swear this isn’t a sponsored post, we just found some awesome goodies in those bins this year!
Mom gets all the credit for this one. She doesn’t think that she is creative or crafty, but I thought it was a pretty darn good idea to make some snow out of glitter paper and craft scissors. And I LOVE the gold deer stickers. I think they were from Hobby Lobby.
Hope you enjoyed my tutorial – feel free to pin it for next year if you can’t handle one more project this year!


Tania @ Run To Radiance says
I totally stocked up on Christmas stuff on clearance last year…but they are all in a box in our garage somewhere…boo. Maybe this weekend I should dig it out! I love making my own gift paper and tags- and I think you’re right, people do appreciate it more! I super love your nail polish, what color is that? I want gold everything!!!!
melissa@polishedhabitat.com says
The polish is Sally Hansen Xtreme Wear in Golden-I (485). I was so excited to find an awesome gold on the cheap – I think it was around $3. I’m pretty tempted to stock up in case they ever discontinue it! I’m in love!!! Send me pics if you make some tags this weekend!