I have a little thing for office supplies. Okay, I confess. It’s a BIG thing. If you ever need to cheer me up, just bring me some new pens and a pretty notebook. As far as obsessions and collections go, it’s not the most expensive habit, but I still love it when I find a way to indulge my deepest office supply desires on the cheap.
I’ve been working to get my desk organized and pretty (see the full reveal here). Part of that process includes setting up binders for some items that I will access frequently. Being the office supply fanatic that I am, I used this as a sign that I “needed” new matching binders. But I had to tread carefully, because technically we had binders that I could have used. They just weren’t matchy and chic like I wanted.
I rationalized that I shouldn’t buy something expensive – you know like this beauty:
Instead, I could buy super cheap binders and made them pretty myself. I knew the added work would be worth it since they’ll be on display on my desk all the time.
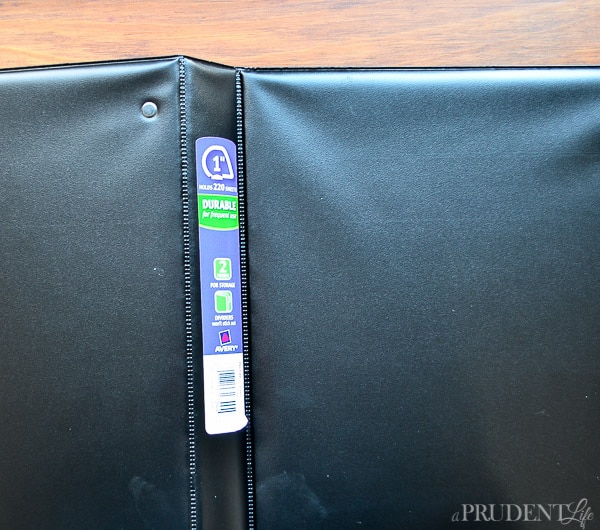
I started with $2.24 black 1″ Avery Durable binders. I found them at Wal-Mart, but in our location the plain cheap binders are on a different aisle than the pretty binders. So sneaky!
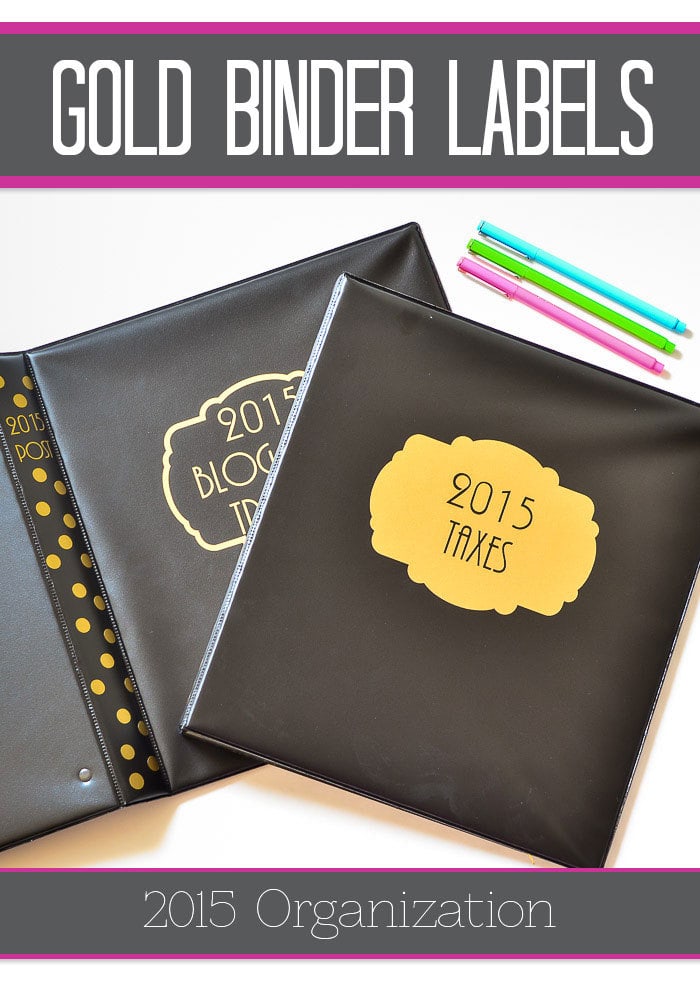
I’ve been slowly taking over the office with gold touches, like the black & gold $3 trash can. I dug through my vinyl scraps and came up with just enough gold metallic vinyl* to beautify 3 binders. Score!
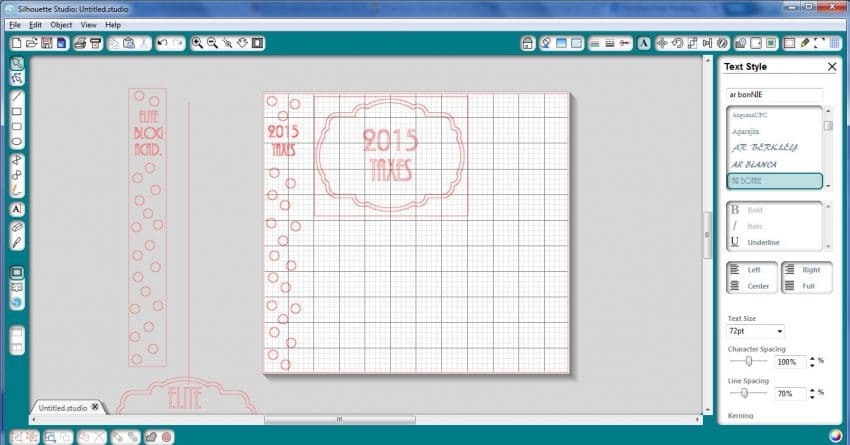
To indulge my current passion for all things dotty I made a quick polka dot pattern for the spine of the binder. I did this by starting with one circle, and then duplicating it. When I had a three polka dots, I grouped them together and duplicated the group. I kept going until I had enough to cover the spine.
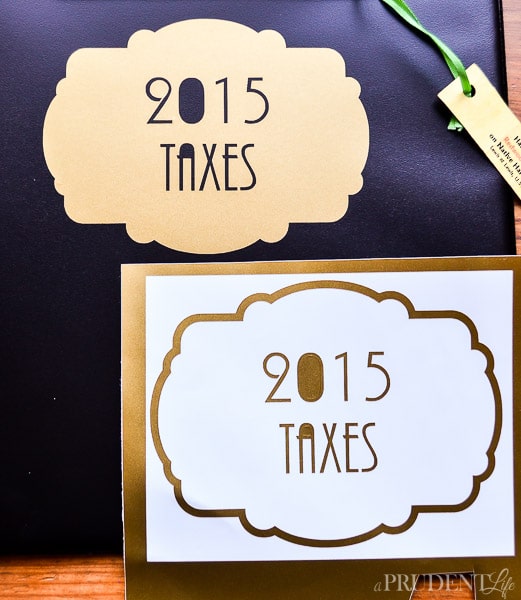
Once the spine was designed, I found a cute frame shape for the front in my Silhouette library (similar here). I added my favorite labeling font, AR Bonnie. The front labels were fun because I realized I could use them two ways. For the first binder, I made the frame and letters gold, then for the “2015 Taxes” label I used the negative space. This let the black binder show through the letters. I can’t decide which one I like better!
It didn’t take long to jazz up the binders, so I’m really glad I did it myself instead of splurging on something that was already cute.
I can’t wait to show you guys how great these binders look on my desk! See them in action here.


Katie @ Addicted 2 DIY says
LOVE your binders! Especially the pretty polka-dot spines! I definitely want to do this in my office!
Randi Sowders says
These are so fun! I need to figure all this stuff out too and so this is a great start!
Jenn says
I am a big fan of office supplies and my silhouette cameo. I am pinning this right now! Thanks for sharing 🙂
Erica says
These are SO cute! I just got a Silhouette for Christmas, so I’m excited to play around with it. I’ll definitely be looking at your other tutorials!
Melissa George says
Oh fun! I hope you love it as much as I do!
Courtney @ Crafts by Courtney says
These binders are great. I have binders that I keep our important documents in and now I think they need a makeover.