Whew, that was quite a post title! But, I’ve got a lot of goodness happening here today. First I’m going to show you how I made some inexpensive embroidery hoop art for Christmas, then you get to see how I used it to decorate my entryway, THEN at the end you can enter to win a Cricut Explore machine!
Remember a couple weeks ago when I told you I was ordering a bunch of my Christmas decor supplies online from Consumer Crafts? While I was browsing their site, I found super cheap wood embroidery hoops and decided to use them to make a big Merry Christmas sign for our big empty wall in the entryway. I was so excited that the entry way was going to be more exciting than it was last Christmas. I’ll be nice and show you a quick before and after before we get to the tutorial.
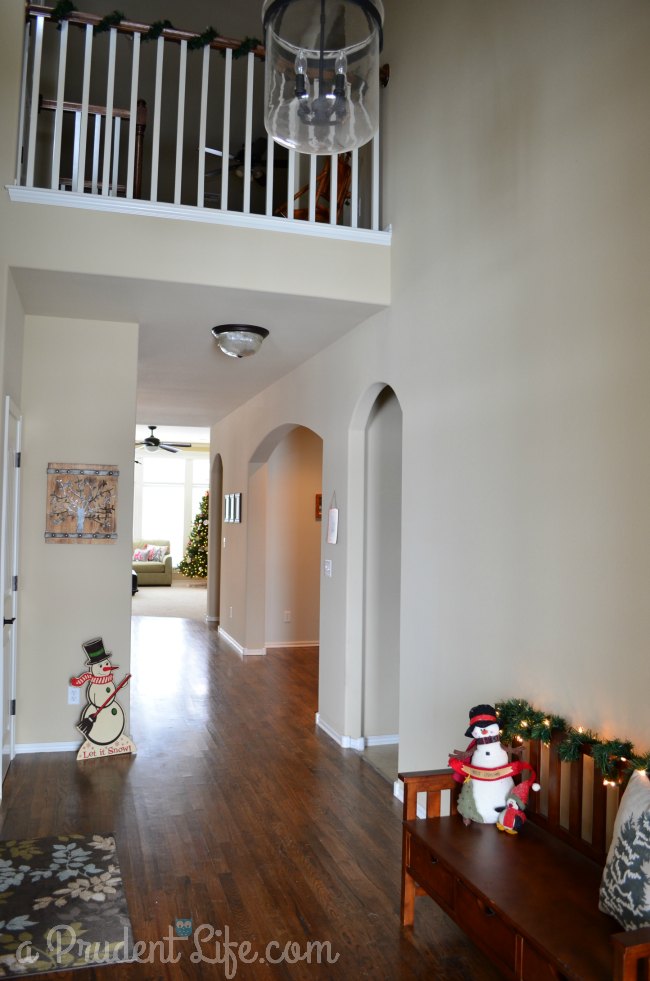
BEFORE:
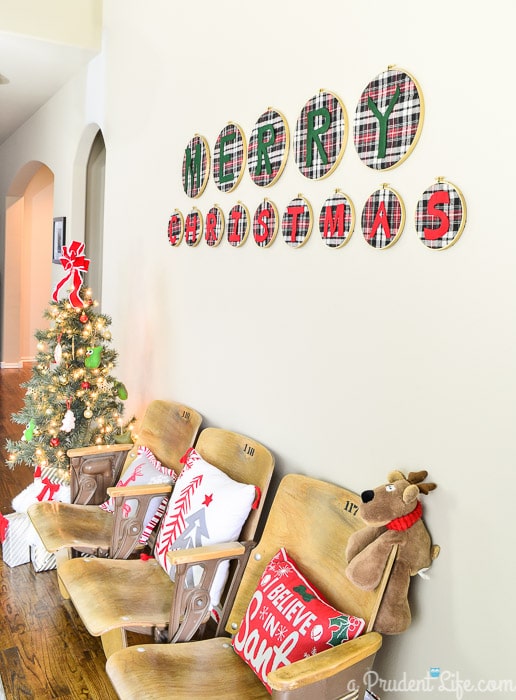
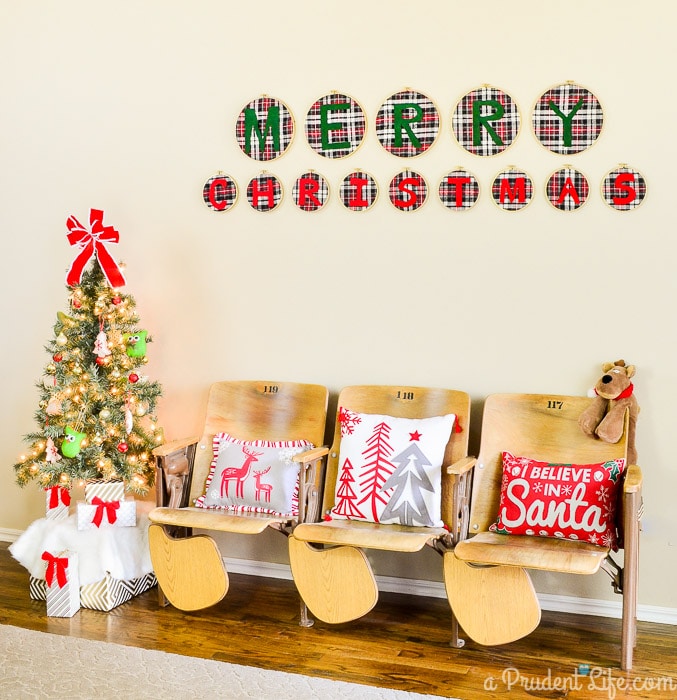
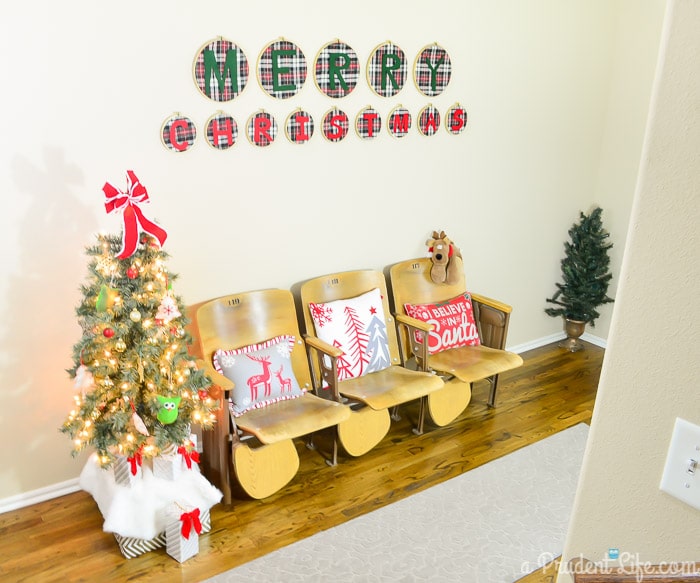
AFTER:
If you follow me on Instagram, you might remember that we scored these amazing auditorium seats that came out of Oklahoma State University. They are SO much more our personality than the dark stained bench we had before. Plus the scale is more appropriate for the space. Definitely one of our best purchases ever! The mini-tree normally goes in the attic window above our garage, so I’ll be on the hunt for another cheap tree to go up there. It wasn’t quite tall enough, so I wrapped an empty box to use as a stand. I love free decor!
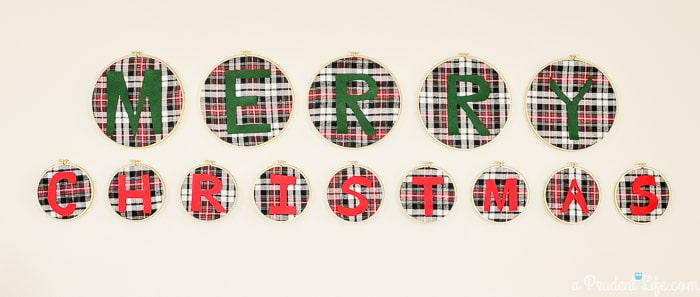
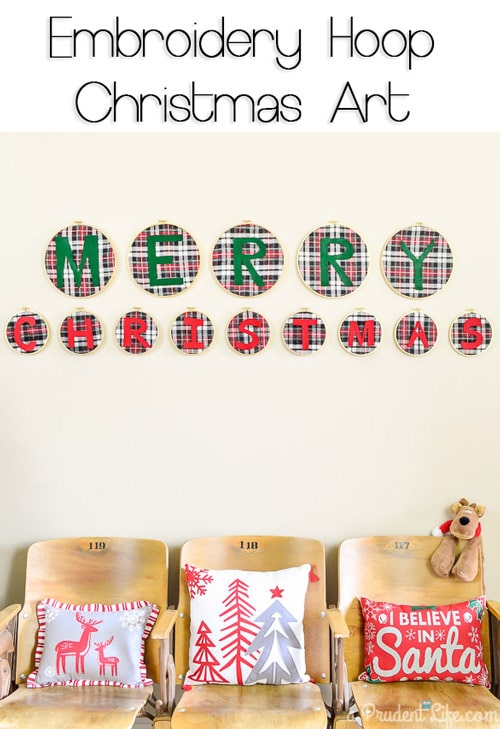
Let’s talk about that Merry Christmas wall art now – I’m obsessed with it! I love finding new ways to incorporate plaid and the felt ties in with my new tree pillow down in the living room. It’s hard to tell in the photos, but those hoops are gold, so I’ve even got a little glam going on. All of my favorite things!
Let’s pause and give thanks to ConsumerCrafts.com for sponsoring this post and giving me the opportunity to think up this genius project. #humble. They are also the ones providing the Cricut Explore giveaway. Woot woot!
Here’s what you need to make your own embroidery hoop art, complete with links to make shopping easy!
Supplies
10 Inch Embroidery Hoops (MERRY)
6 Inch Embroidery Hoops (CHRISTMAS)
Felt for Letters
Fabric of your choice for background
Scissors
Optional: Fabric Glue
Optional: Spray Paint for Hoops
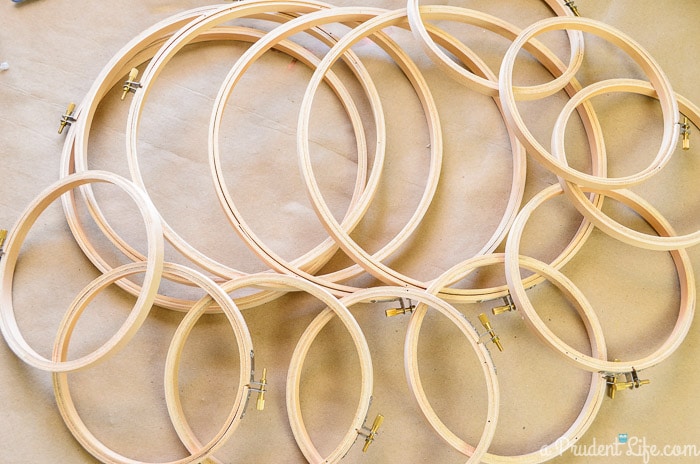
Since our walls are almost the same color as the natural wood, and because I’ll use any excuse to goldify something, I started off by spraying all the outer hoops with gold paint. I didn’t waste any time or paint on the inner hoop because they get covered by fabric.
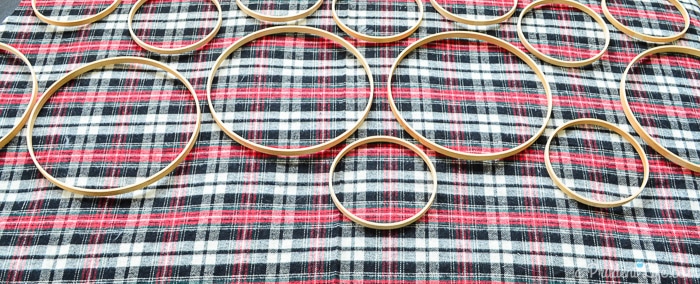
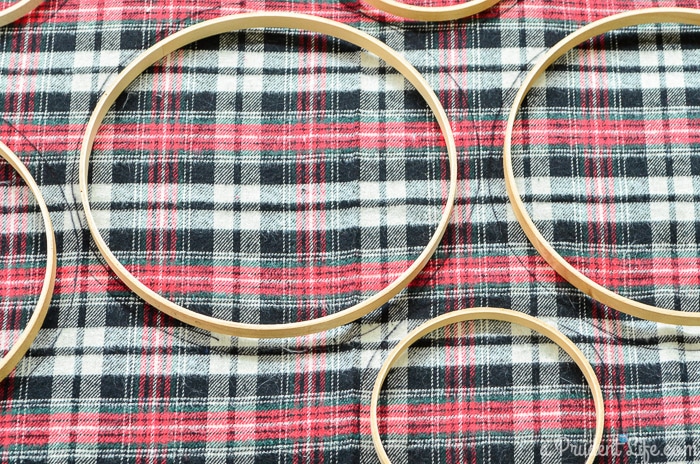
While the gold paint was drying, I laid out all the inner hoops on my fabric to minimize waste.
Then I used a marker to trace around the circles. I angled the marker out from the frames to make sure there would be enough fabric to wrap around the sides.
You may want to play something on Netflix for the cutting part. It took a little longer than I expected, but maybe that’s because I kept getting distracted by Netflix. Classic chicken or egg.
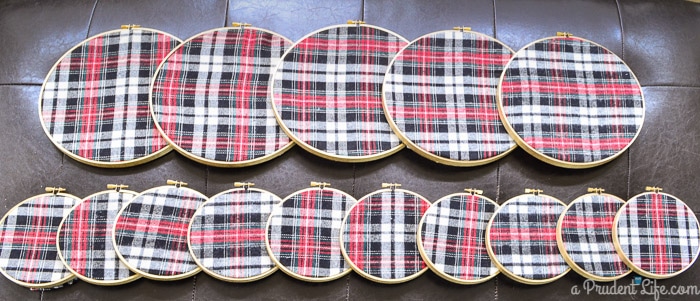
I’m a linear thinker as evidenced by our gallery wall. Because of that lovely aspect of my personality, I had to make all the plaid lines straight. My creative side wanted the pattern to be different in each hoop though. I’m not COMPLETELY boring!
I wasn’t really sure how I was going to cut letters out of felt, but it was way easier than I expected. I cut one out as a test, and it actually looked pretty good. Well, that’s kind of relative, BUT I was going for a vintage rustic vibe which meant having imperfection was perfect. You could print letters out and trace them, or use a cutting machine, but hand cutting them was quick.
To keep my letters about the same size, I cut my green felt into 6″ wide x 7″ tall pieces and the red felt into 3 1/2″ wide x 4″ tall pieces. Once I had those pieces, I just visualized the letters and started cutting. When cutting letters like the C, I folded my felt in half before cutting so the matching sides (or top & bottom) would mirror each other.
Did you notice that I said the fabric glue was optional in the supply list? In our house the felt static clings to my plaid fabric. It’s been up there for days with the front door opened and closed several times and nothing is moving! I’m thinking that after Christmas I can switch out the Merry Christmas with a different phrase and keep my embroidery hoop art up all winter. I could even change the letters out to Happy Valentine in February! Muli-holiday projects are the best! This could be a weird side effect of bizarre Oklahoma weather, so you may need glue.
The imperfection is kinda perfect.
Now that the entry way is decorated, I’ve got to figure out what to do in the rest of the house! I’ll be sharing a Christmas home tour on 12/2, so make sure you’re signed up for my email list to get the tour delivered right down your chimney…err…inbox.
It’s time for one of you to win! ConsumerCrafts.com is giving away a Cricut Explore machine to one lucky reader. Enter below, then don’t forget to check out their site and get inspired to create your own holiday projects!
Post shared at: Get Your DIY On


Brynne@TheGatheredHome says
Melissa, I love this art idea! And I love seeing your thrift score auditorium seating in action! You have such a welcoming entryway with the perfect Christmassy touches!
Kathryne says
I would get going on some awesome personalized holiday greeting cards! I love snail mail and love to send thank- yous, birthday cards- you name it! This would be soooo awesome to have at home, It would be my dream come true, really! :0) – Kathryne :0)
Caitlin Fritz says
I love the new seats! And I think the first thing I would make is something with leather. A day planner or journal or something with vinyl to put on a sign for a wall. 🙂
Colleen says
Hi Melissa!
Love your hoop art – I’m so inspired to make my own now for our mantle. I would use the Cricut explore to create cards, labels, and artwork that I can put in see-through frames.
Happy Thanksgiving!
Hugs,
Colleen
bette @ Somerset Lane says
such a great idea. I love the fabric you used and those auditorium seats are fantastic. I love the entire set-up!
Ace of Shades says
What a job, very inspiring!
lisa
Ashley Bree Perez says
I would make a scrapbook. 🙂
Courtney @ Crafts by Courtney says
This whole area is beautiful, I can totally see it in Country Living Magazine. Those plaid embroidery hoops look amazing and those seats are to die for!! perfect Christmas setup.
Leigh Anne says
I love this entire area! So lovely! I totally want to win that Cricut, I’d make a ginormous pallet sign!
Breanna says
Love those embroidery hoops! So clever! And I love the fabric you chose 🙂
Ashleigh Hall says
I would love to make a large subway piece!! So exciting!
Mandy Campbell says
I would do some Christmas decorating!
JaneEllen says
Don’t have enuf of one size to make your wonderful “Merry Christmas” but think I could squeeze in a word or two on maybe couple of these. I buy embroidery hoops every time I see them at thrift stores for good prices. Cheapo me.
Or I could cut a felt tree or ornament to sew on. Your post has given me several ideas what I could do.
Your hoop art is so great, love the plaid and how you did your letters. Love this project, glad you shared this. Love how you made merry in one size and Christmas in smaller size.
Happy week and enjoy season
If you choose to reply please do so to email address, thanks.
Michelle J. says
Personalized onesies!