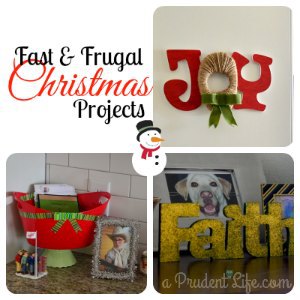
If you read my Liebster Award post, you already know that I love Christmas. However, it’s approaching way too quickly this year! I don’t have time for any big Christmas projects, and I would guess most of you are short on time as well. I didn’t want to give up having a few new homemade touches around the house, so I came up with three fast & frugal Christmas crafts.
#1 – Christmas Card Collection Bin
Hold onto your seats! This is a 2 minute, $2 idea that helps control Christmas card clutter.
Materials
Tub from Dollar Tree or similar ($1)
Washi Tape in a coordinating color ( $1 ish – partial roll)
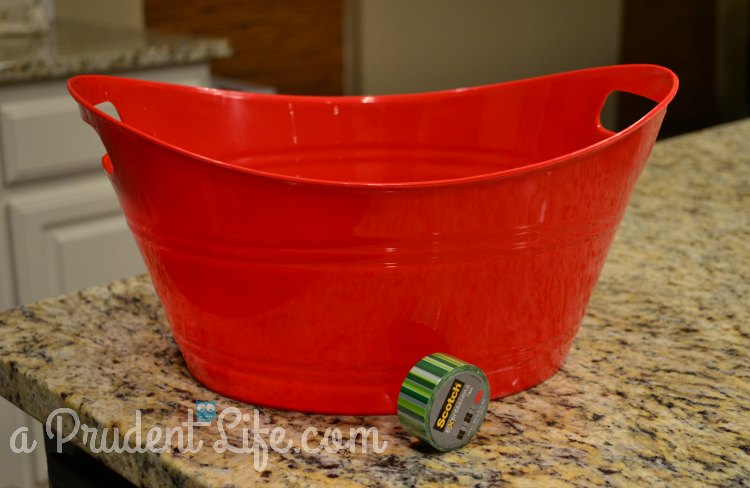
Before:
Step 1 & Only:
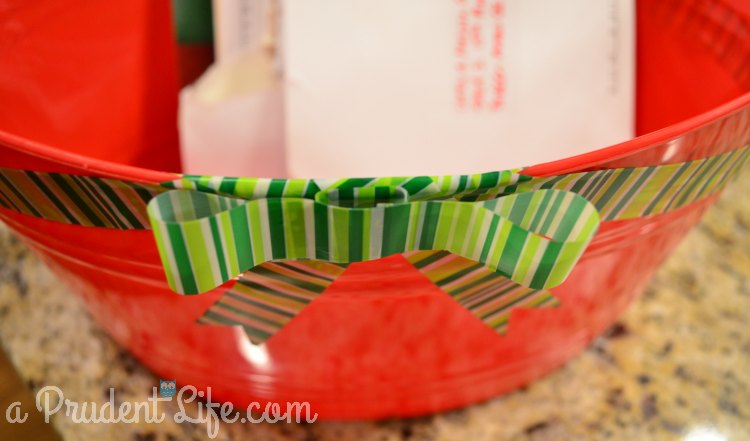
Wrap tape around the bin in a swag pattern, then make a simple bow out of the same tape. Here’s a shot to show how I made basic loops of tape into the bow. It’s just one big loop squished together in the middle, then a small loop to attach it to the bin. Easy!
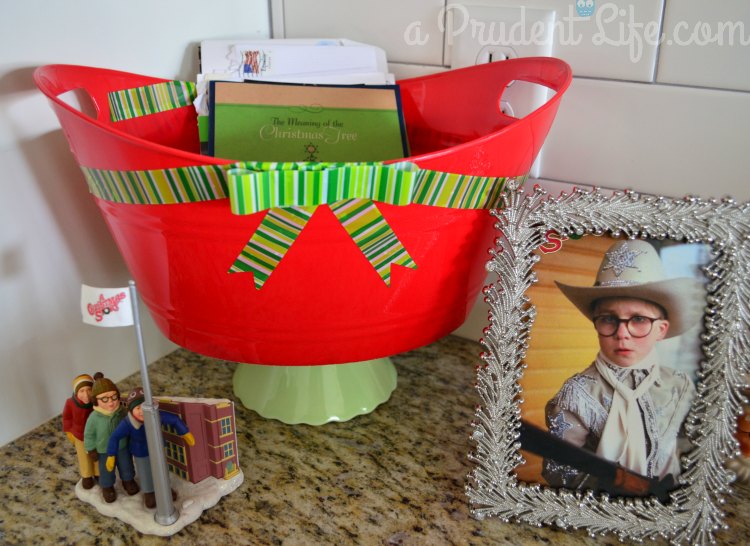
Fastest project ever! Here’s what it looks like perched on a mini cake stand and surrounded with Christmas Story awesome-ness. I’m excited to have one dedicated place for all the Christmas cards to be stashed.
#2 Joy Wall Decor
I’m pretty much snowed in, so had to finish this project using materials I could find around the house, I LOVE the way it turned out!
Materials
Wood Letters ($4.50 total Hobby Lobby – 50% off sale)
Craft Paint (On hand)
Twine (Found in garage!)
Hot glue
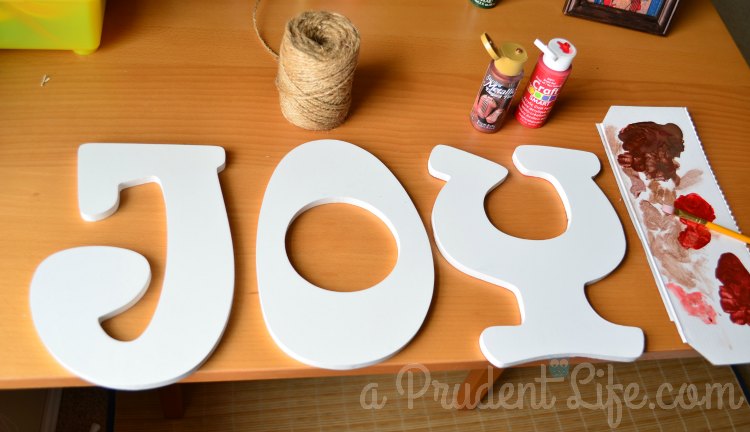
Before:
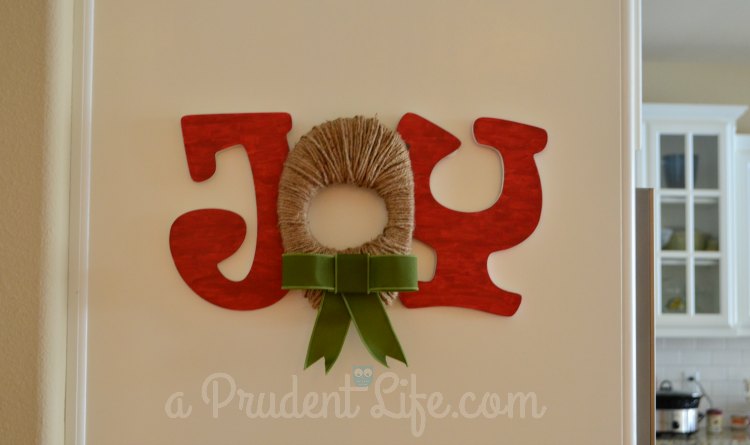
I decided a rustic red would complement the twine I found to wrap the “O”. I didn’t have any, but was able to combine some bright red with a copper metallic paint. I tested out different mixes on the back of a letter until I found the perfect color.
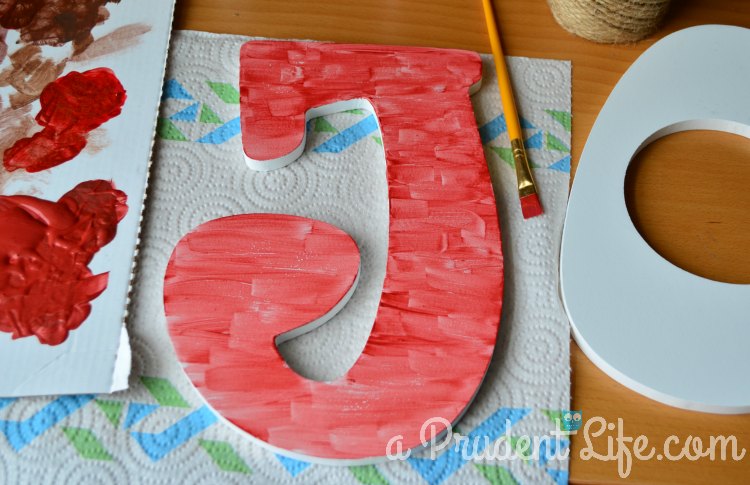
The starting letters were solid semi gloss, but I wanted some texture. I achieved it by brushing the paint on with an almost dry brush using only side to side brushstrokes. It took three coats, but each only only took a couple minutes to paint.
Here’s what it looked after the first coat:
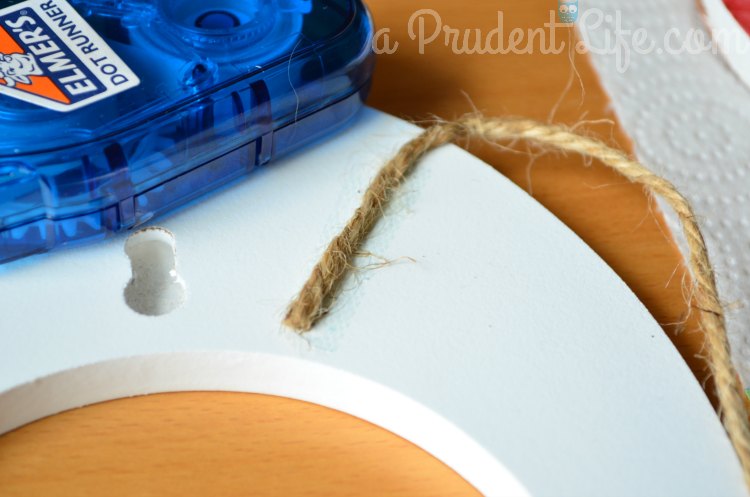
While that was drying, I wrapped the “O” in twine. To get started, I used some double sided tape to hold the rope in place. I also ran the tape along the outside edge. Hot glue would probably work even better.
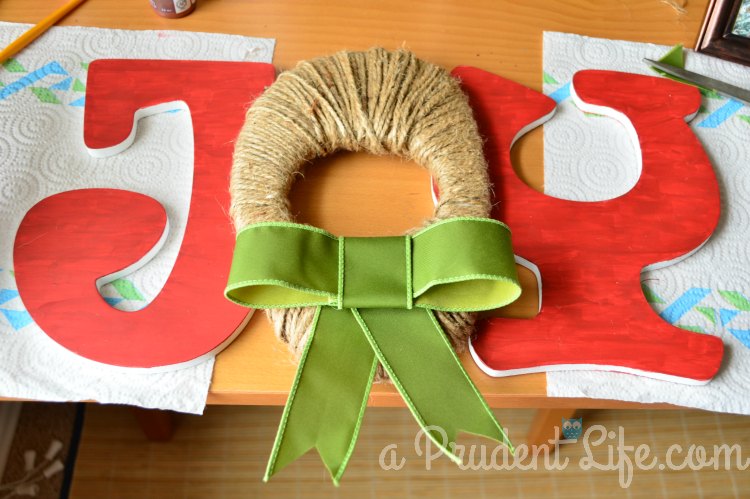
After 3 coats of paint were dry and the O was wrapped and hot glued on top of the J&Y. It looked like this:
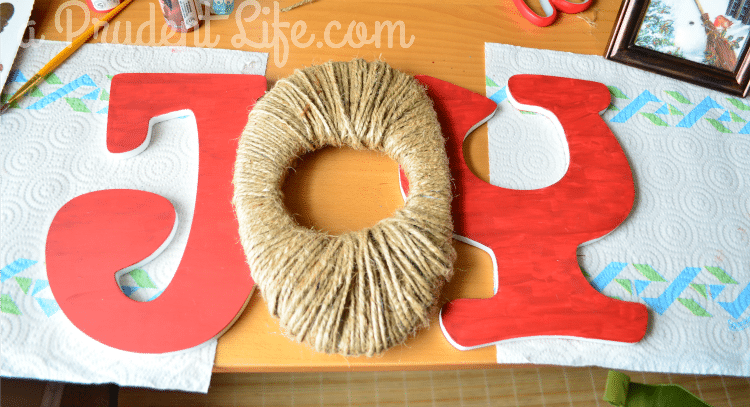
The bad: The rope was a pain to wrap around the wide base and ended up bulkier than I wanted.
The solution: Raiding the gift wrap supplies for some ribbon!
Much better! Here’s what it looks like hanging up by the kitchen:
#3 – Sparkly Faith Table Decor
I wasn’t planning on doing this project, but sometimes fate intervenes. I generally try to avoid Wal-Mart but our snow had starting falling and I needed to grab a few last minute things before I hunkered down for the weekend. I was supposed to be grabbing groceries, but somehow I ended up in the fabric section. Oops! I’m sure I had a good reason. Once there, I was so excited to find an endcap of wooden words for $2.97. How could I say no?
Then I headed back to check out, but accidentally wandered down the craft aisle. How did I not know they made craft paint infused with glitter?!?! And it was only $1.77! So a project was born:
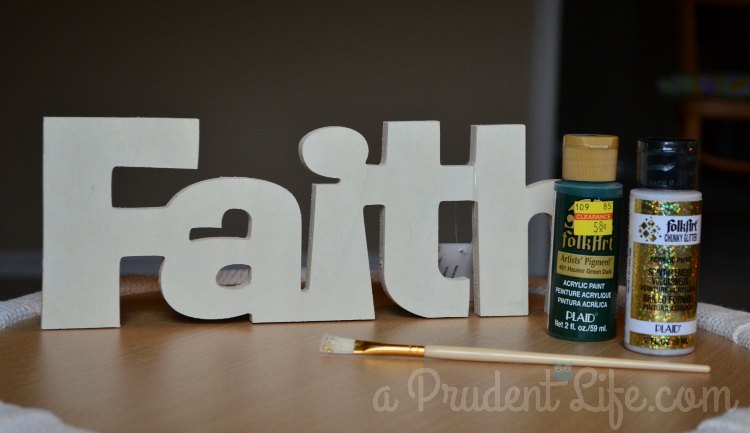
Materials:
Wood Wal-Mart sign ($2.97)
Glitter paint ($1.77)
Base coat paint (on hand)
Before:
My instinct was to paint the letters black before applying the glitter, but it seems I don’t own any black paint. Crazy.
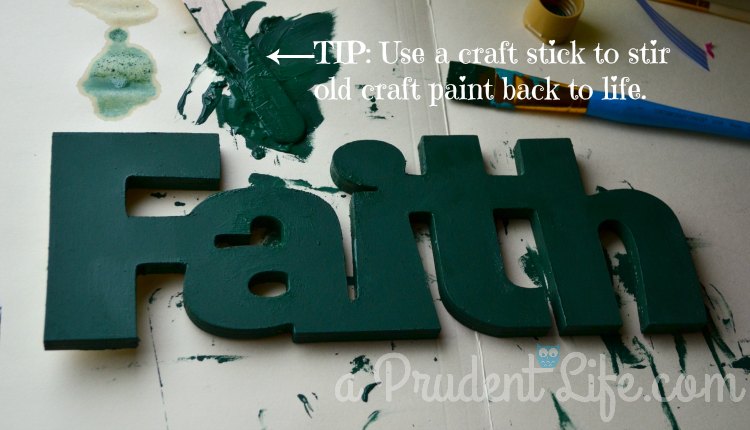
I found a dark green in my stash and went with that instead. It was a bit of a mess even after shaking, but I figured out a craft stick could save the day!
First coat of green:
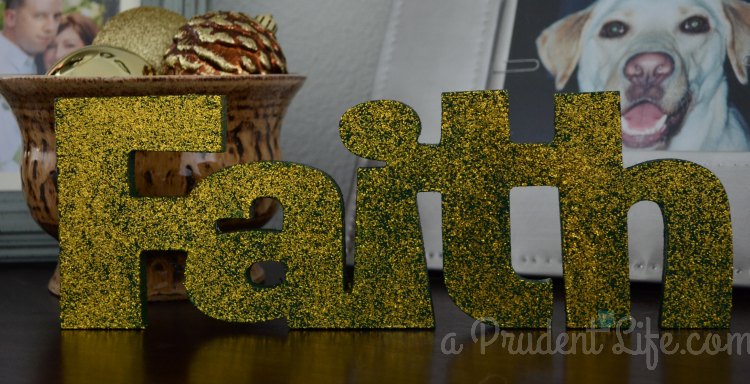
Then came the glitter. It says to wait an hour between coats, but I’m just not that patient. I found I could pounce it on with the brush and get really good coverage. Here’s what it looks like now:
So fun! This is definitely worth a trip to Wal-Mart. It’s probably a good thing I’m snowed in. I would have bought glitter paint in every color and started making the whole house sparkle! Hopefully the urge will subside by the time I’m ready to brave the cold.
I love that all of these crafts were super cheap and have very minimal hands-on time. Which one is your favorite?
Want to see more Christmas at my house? Check out my house tour!
Looking for more Christmas ideas? Check out the Last Minute Christmas Link Party!


Katie @ Addicted 2 DIY says
Oh my goodness, I love every single one of these projects! They are so cute! I usually like to hang my Christmas cards throughout the house, but that bin may change my mind;)
melissa@polishedhabitat.com says
Thanks Katie! I have a few of my favorite cards hanging around also, but the bin gives us something to do with them right away. Helpful for husbands 🙂
Char@marshallhousematters.com says
Love the sparkly table decor. Nothing says festive like glitter
melissa@polishedhabitat.com says
Agreed! I’m even sporting some sparkly nail polish this week!
melissa@polishedhabitat.com says
Thanks Angela! I wish all projects were as fast and frugal as that bin!
Jodie says
All three of these are totally adorable! I love how you layered the letters in the word joy and brought it different textures! I’m also very jealous of the Christmas Story decor- that’s amazing! I watch hours of the 24 hours TV marathon before Christmas each year haha : ) Bed Bath & Beyond is selling a mini-leg lamp and I had to stop myself the other week- it was just too funny!
melissa@polishedhabitat.com says
Thanks Jodie! I meant to say something clever about the totally classy Christmas Story decor in the post. 🙂 We’ve had the ornament for years, but the pic is new this year. I was looking for a Christmas card to use in that pretty frame and giggled when I found the one of Ralphie & his Red Ryder. I couldn’t resist!