This project is so easy, it shouldn’t be called a project! It was more of a quick re-purposing of something I bought even though I didn’t have a real purpose for it 🙂
Here’s what happened…. Remember when we painted the office gray? We were running out of paint with a lot of wall to go, so I headed out for another gallon. Of course, twenty other people also seemed to be in the same predicament. I had at least thirty minutes to wander around waiting for my paint to be mixed. I’m at the hardware store often, but since we built the new house, there are aisles I don’t get to visit anymore. Like all the beautiful tile. Let me tell you, in the past two years there have been major improvements in the awesome-ness of tile that is carried in hardware stores. I was drooling.
In fact, I was drooling SO much that I couldn’t stop myself from buying a few pieces.
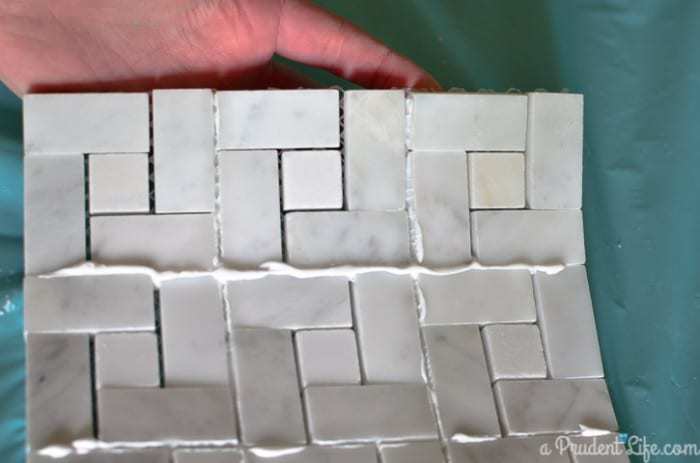
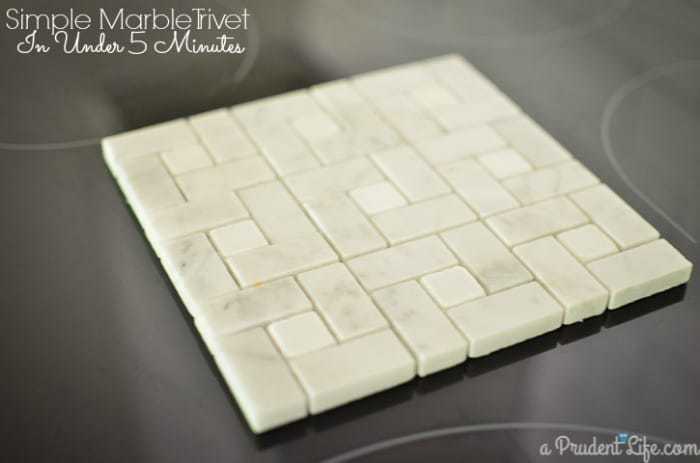
Which brings us back to this post. In my dreams, I wanted a gorgeous marble counter top in our kitchen. Unfortunately, in reality, I knew it was not the right fit for us. We use & abuse the kitchen. I know skipping the marble was the right call because we already have a few odd stains in our granite. Thankfully, they just blend into the pattern. White marble wouldn’t have lasted a month with us! But, thanks to the paint wait, I now have my own little piece of marble. Look at this beautiful tile. 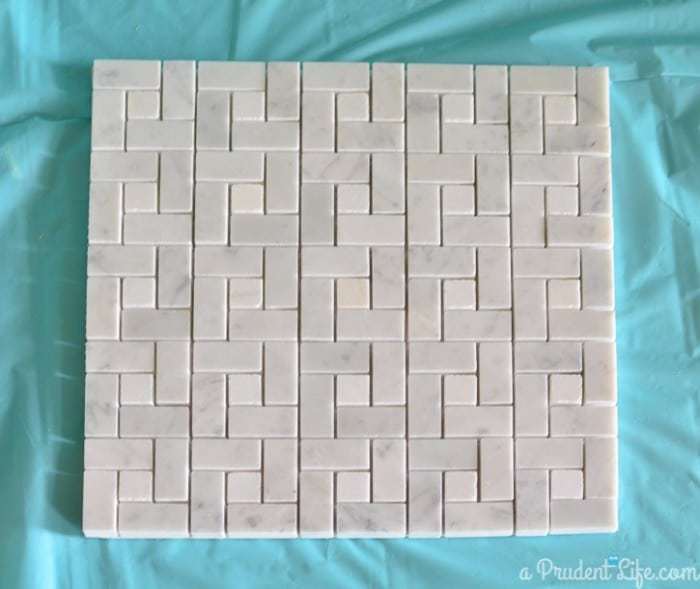
Thanks for reading!


Deborah says
Repurposed…that has our name on it! LOVE IT!
Julie says
Love it! At least you were able to incorporate the tile into your kitchen somehow.
Katie @ Addicted 2 DIY says
That is the perfect way to incorporate the marble into your kitchen! You are so creative to make your own trivet from those tiles:)
Trisha D. says
Genius strikes again!! WOW girl these look fabulous! These are totally making it on our “To Do List” (it’s currently a bazillion miles long!!)
Laura says
This is so cute 🙂 And I love that you used something instead of grout … makes this project super easy for anyone to do!
Lisa at Mabey She Made IT says
I love these! Thanks for sharing at the Do Tell Tuesday party!
Courtney @ Crafts by Courtney says
What COOL idea!! That piece looks great.