One of the most important, but often overlooked, parts of my home organization process is labeling your storage containers, bins, or totes. I talk about this step in every organizing project I do because it’s the key to keeping things tidy long-term.
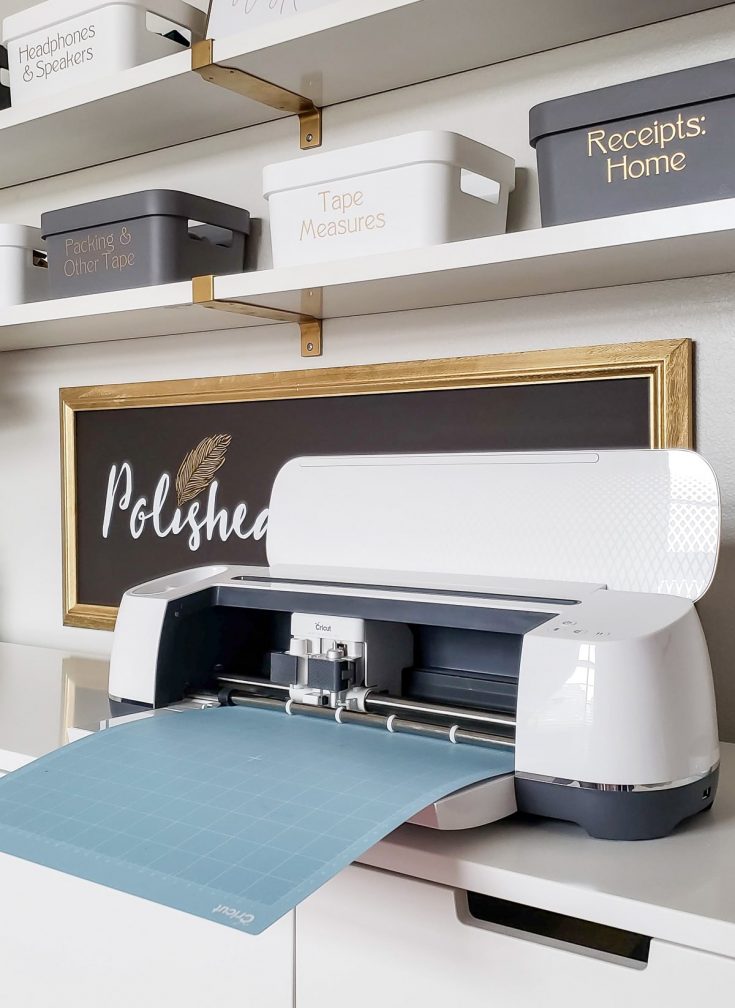
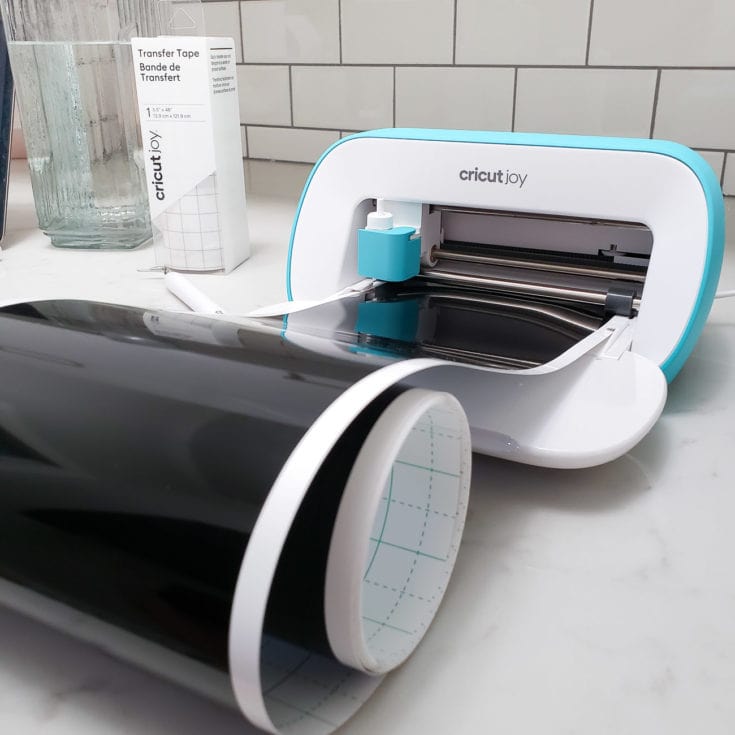
In the past, I’ve shared my favorite labeling tutorials using my Cricut Joy and Maker, but what if you want cute and functional labels without the expense of a Cricut machine?
I challenged myself to come up with the best ways to label storage bins on a budget, starting with a trip to Dollar Tree. I’m not affiliated with them in any way, it’s just my go-to first stop when I need something affordable.
I actually found SEVEN different label options for $1 each. Plus, each dollar buys enough labels for anywhere from 4 to 40 containers!
Here are all the adorable options I found, along with the store location and suggested types of bins to pair them with.
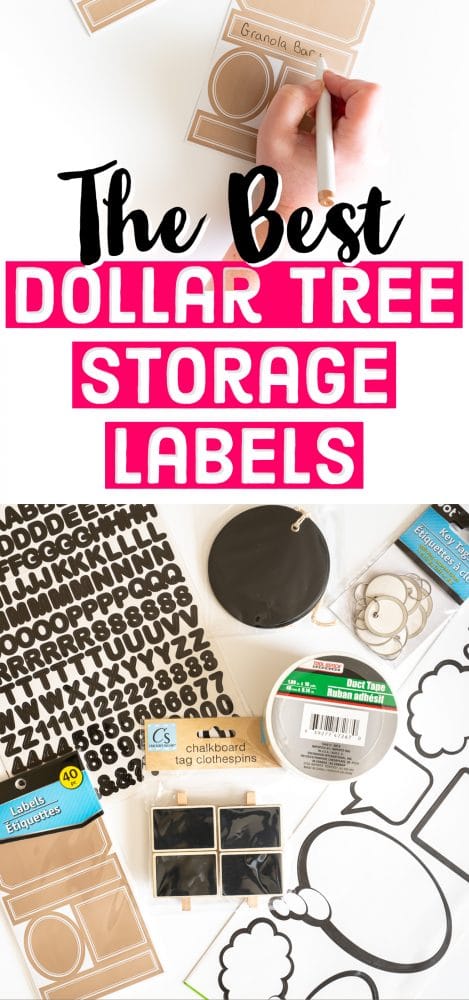
1. Clip-On Chalkboard Labels – Crafting Section
These adorable mini-chalkboards are the most expensive item on my list at a whopping $0.25 each (4 pack for $1). I was excited to find them because sticker-style labels don’t work on fabric bins, but you can clip these right on!
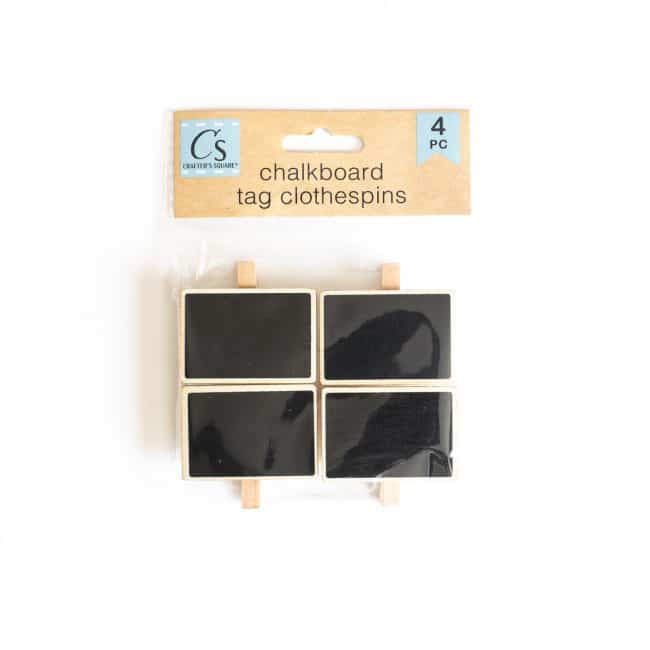
2. Round Chalkboard Tags – Crafting Section
At a price of 6 for $1, you should stock up on these stylish labels while they are available. They’re perfect to tie onto any basket with a handle, or even attach to a woven basket by threading the twine through the weaving. They’re also cute to have on hand to spruce up an inexpensive kraft paper gift bag.
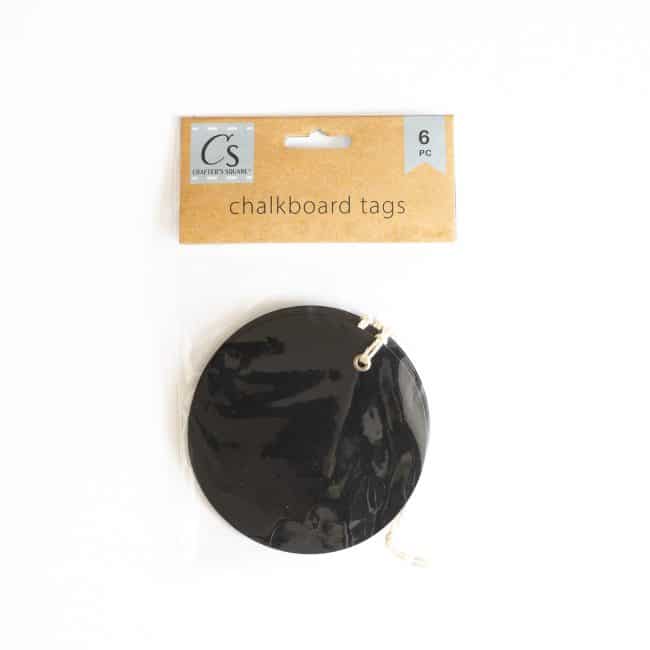
3. Sticker Letters – School Supply Section
I was surprised by the variety of shapes and sizes of sticker letters that were available. These would be really cute on the shoebox-sized clear plastic organizers in a kid’s room or craft space. I picked up some basic black letters for our house.
4. Duct Tape – Home Improvement Section
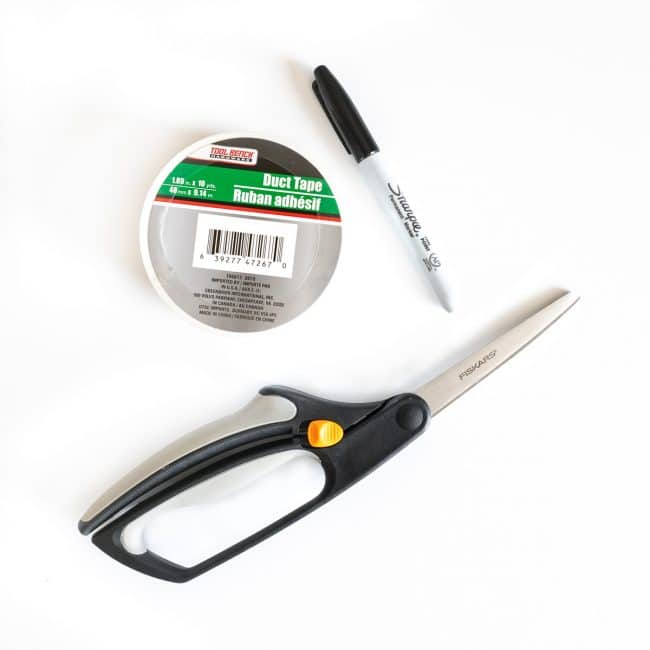
Do you have jumbo storage totes in the garage, basement, or attic? While it’s always an option to write directly on the container, I tend to reuse ours for different things over time, so I prefer the flexibility of writing on something removable. At Dollar Tree, I found white duct tape – the perfect affordable solution. A black sharpie on the white tape will make the labels easy to read on any color container and will give you a nice cohesive look. Just cut the tape to the same size for each bin.
They also had several other colors available, which could be used for color-coding your storage. For example, you could add a strip of red tape to every box that holds Christmas decor.
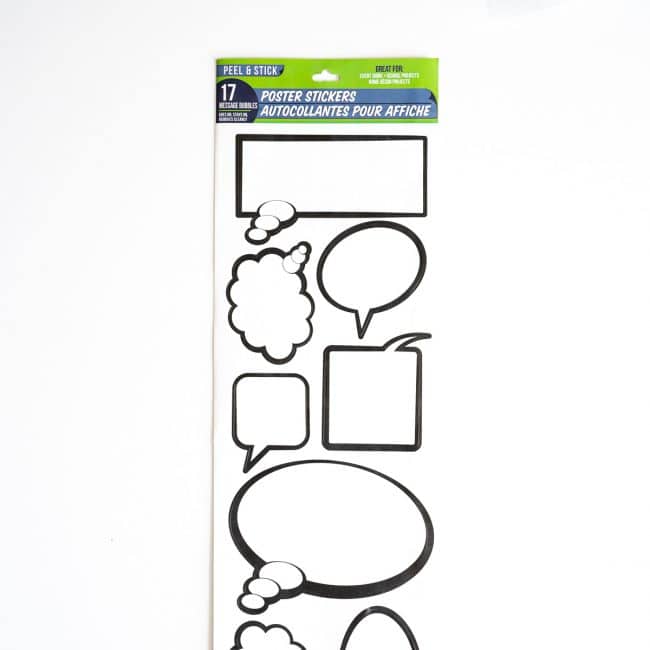
5. Poster Stickers – Art Supply Section (with the poster board)
These speech bubble labels are adorable and would be really fun in a teen room or anywhere else you wanted to add a burst of personality to hard-sided bins.
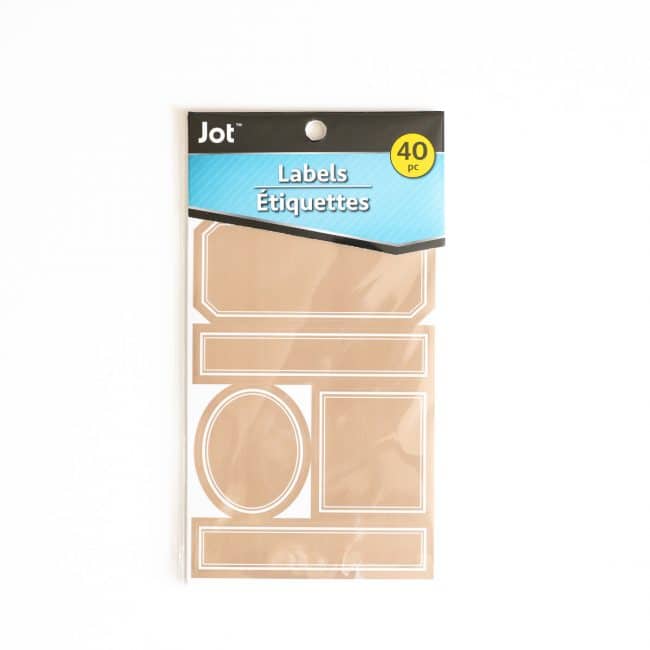
6. Decorative Labels – Home Decor Area
This 40 pack of decorative labels is a bargain at 2.5 cents/label. You’d have enough to label your entire pantry, and the different shapes and sizes would add some interest while still looking cohesive.
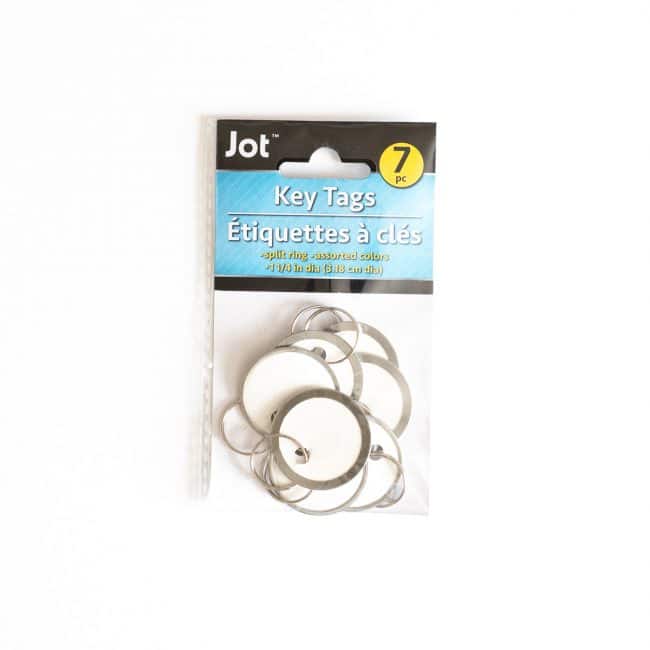
7. Key Tags – Home Decor Area
If you liked the idea of tying a label to a basket, but the chalkboard labels are too large, pick up some key tags. You can either use the attached metal hoop, or swap it out for some baker’s twine to tie the small label onto your basket.
You could also remove the metal hoop and hot glue a key tag onto the side of a solid surface container to create a “built-in” label look.
Are you surprised by all the different cute and functional options available for $1/package? I was!
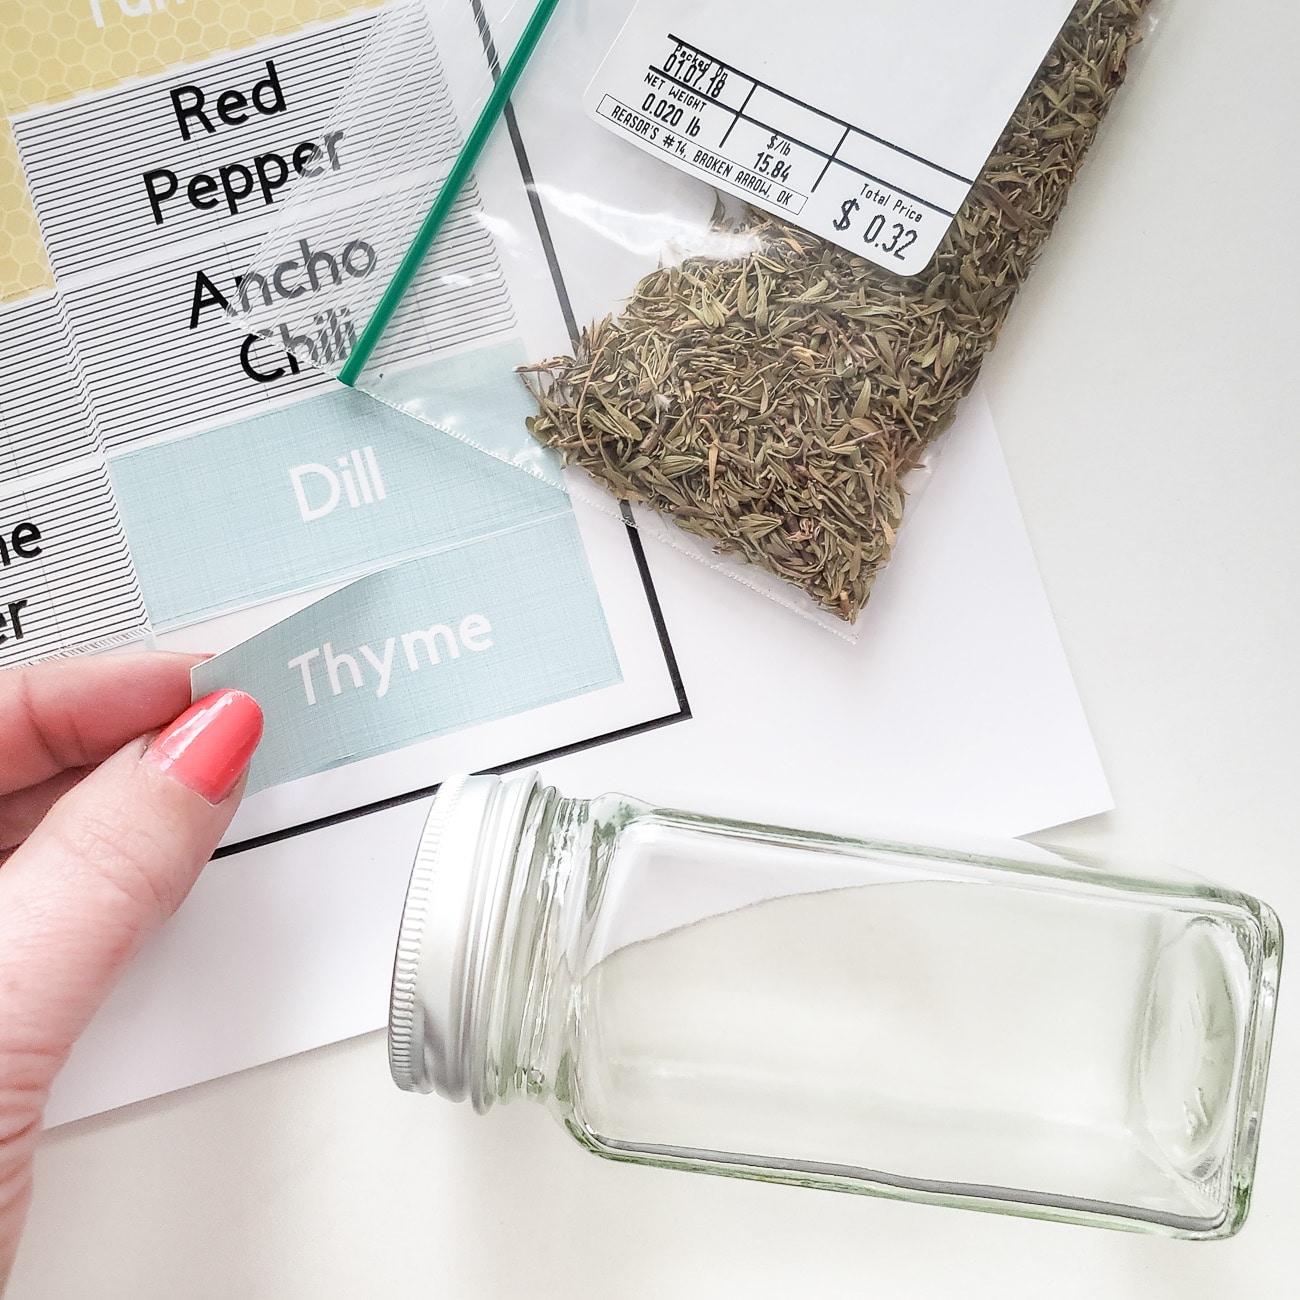
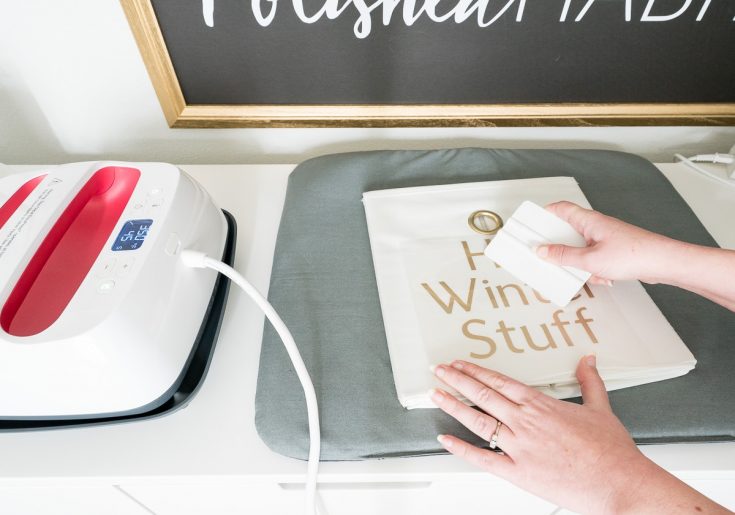
If you do have a Cricut, or are interested in the different ways to use them for labels, here are links for five different tutorials.

Leave a Reply