This is a sponsored post written by me on behalf of FrogTape®. All opinions are 100% mine.
In the before tour post of my brother’s house, aka Roanoke Ranch, I mentioned that we have to repaint EVERYTHING in the house. Which was a bummer because the prior owner had just paid someone to paint.
The people hired made MANY mistakes, so I thought it was the perfect opportunity to show you how to avoid the same issues in your home.
Throughout the post, I’ll also show you how we finished painting the first room at Roanoke Ranch – the dining room!
Mistake #1: Picking Colors Without Testing
I don’t care how many Pinterest images or blog posts you see about something being the PERFECT color, how tight your budget is, or how dreamy the color is on a paint sample card you picked up at the store.
Tell the paint desk you need a sample of the color before investing in a gallon. It will be $3-$4, but will save you time, money, and effort in the end. Colors look different in every home, and even in different rooms.
Paint your sample on more than one wall and check it both during the day and in the evening. 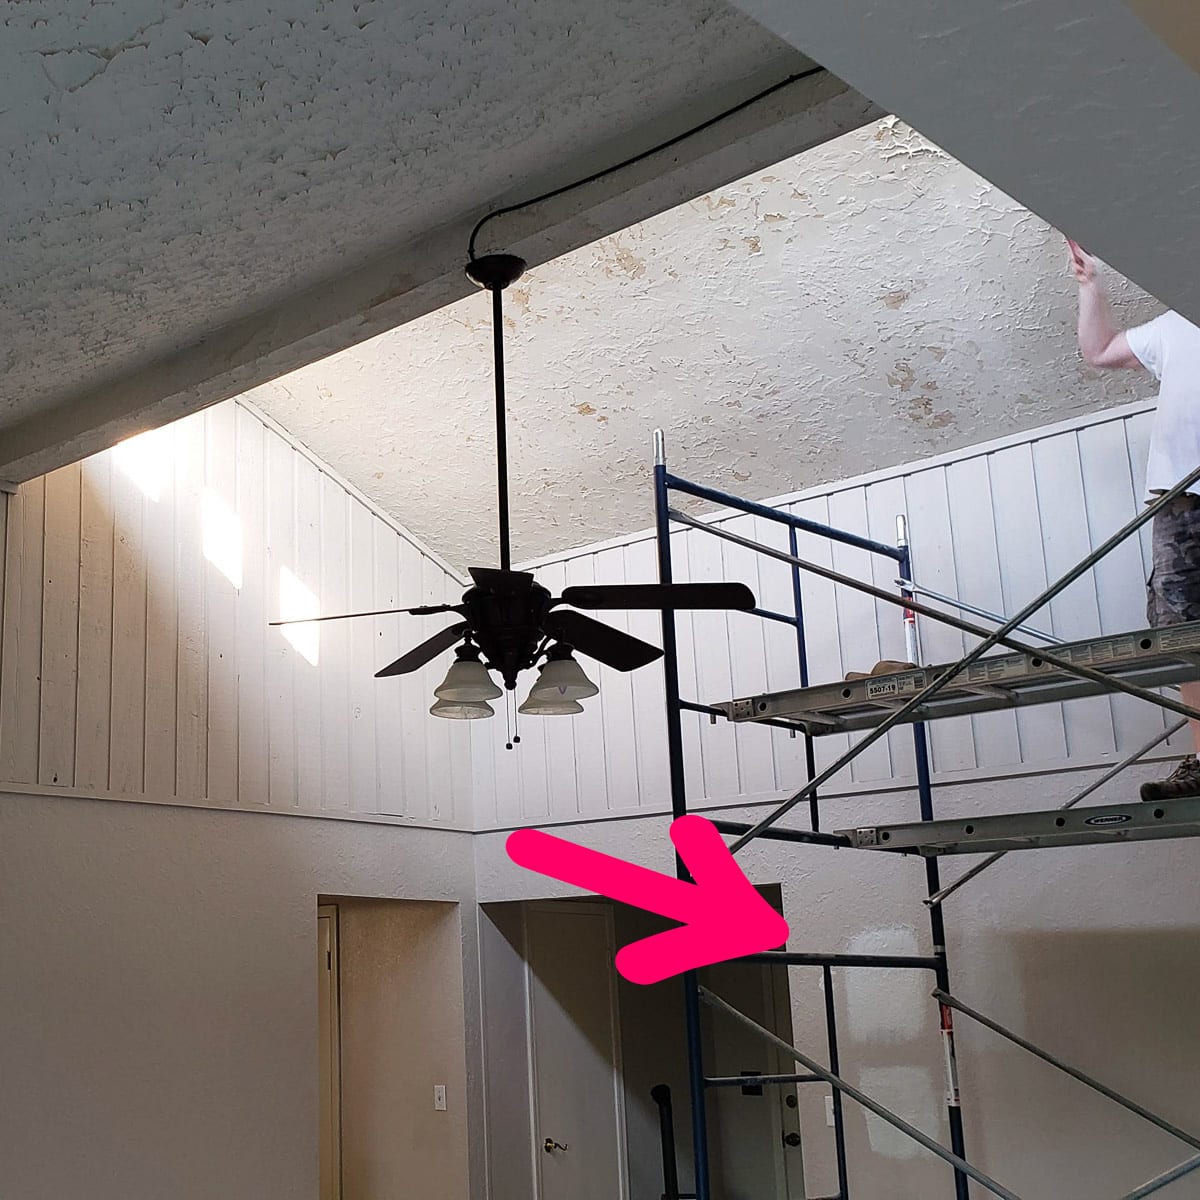
The gentleman selling the house mentioned that the color was much more dreary than they expected once it was on the walls. We got a better deal because he knew it all needed to be repainted.
Without using the samples, I thought the winning color was going to be the same very light gray that we used in my office and our laundry room. However, putting it on the wall at their house, it was much darker. Instead, we found that SW China White was the perfect light shade for their walls.
The craziest part is that we had the China White sample for the EXTERIOR of the house, but thought it was too bright white outside. Inside, it’s not harsh at all.
Mistake #2: Not Cleaning the Surfaces
Once I’ve picked a color, I’m eager to jump right in. But, it’s always a mistake when I start the process with a paintbrush instead of a sponge or cloth. 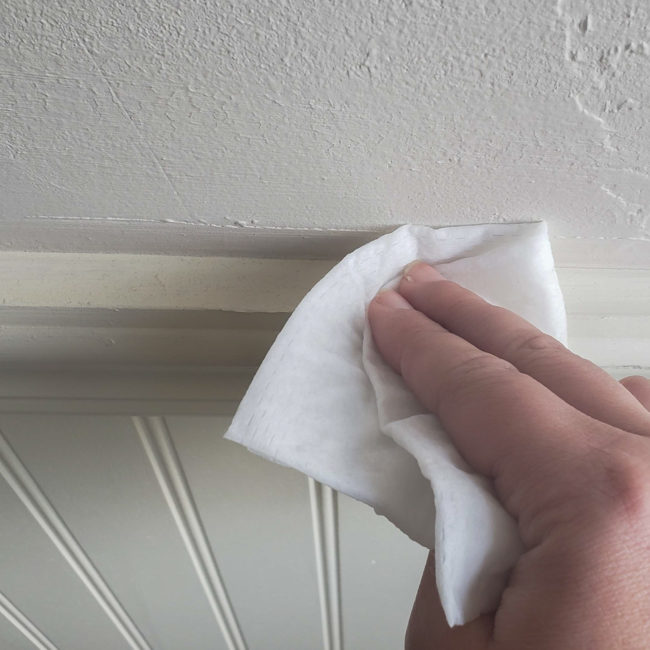
It’s disturbing how dusty walls and baseboards can get, and it’s often not noticeable until I start painting. I’ve accidentally painted rogue dog hair right into the wall before – ugh!
Mistake #3: Not Caulking Gaps & Filling Nail Holes
Just before painting is a great time to do a bit of simple maintenance. Check for any gaps around the windows, doors, and all-around your moldings.
The people who added the beautiful trim work to the Roanoke dining room skipped this step big time. It may not seem like it would make a huge difference, but properly finishing all the gaps between the walls and trims transformed the room and made it look more professionally done and expensive. Not a bad payoff for $4 of caulking and 30 minutes!
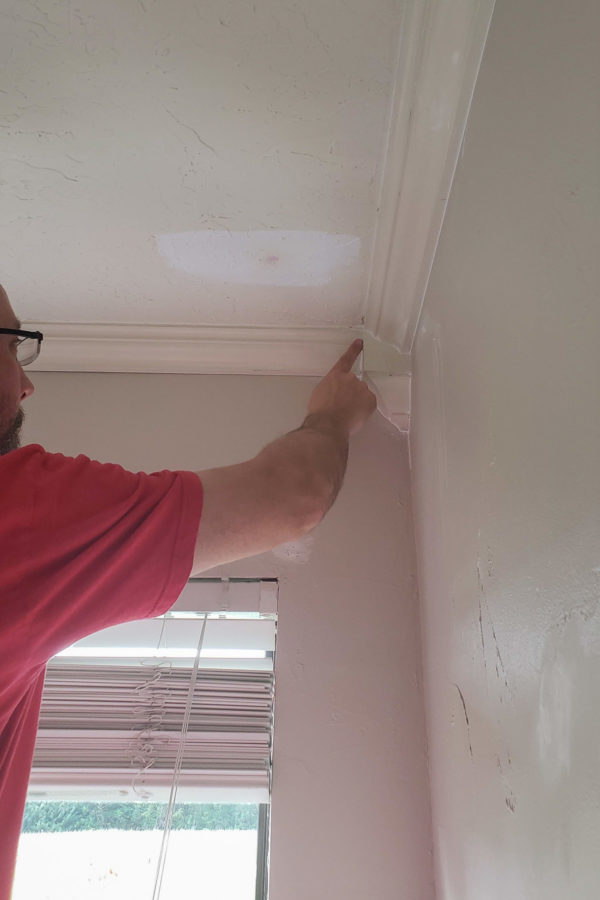
In the photo above, you can see the big gap between the bottom of the molding and the wall on the left side, compared to the part we had already caulked on the right side of the photo. While you’re at it, check the walls for old nail holes and fill them in with spackle. If you only have a couple of small holes, toothpaste will work in a pinch!
Mistake #4: Not Protecting Things That Shouldn’t be Painted
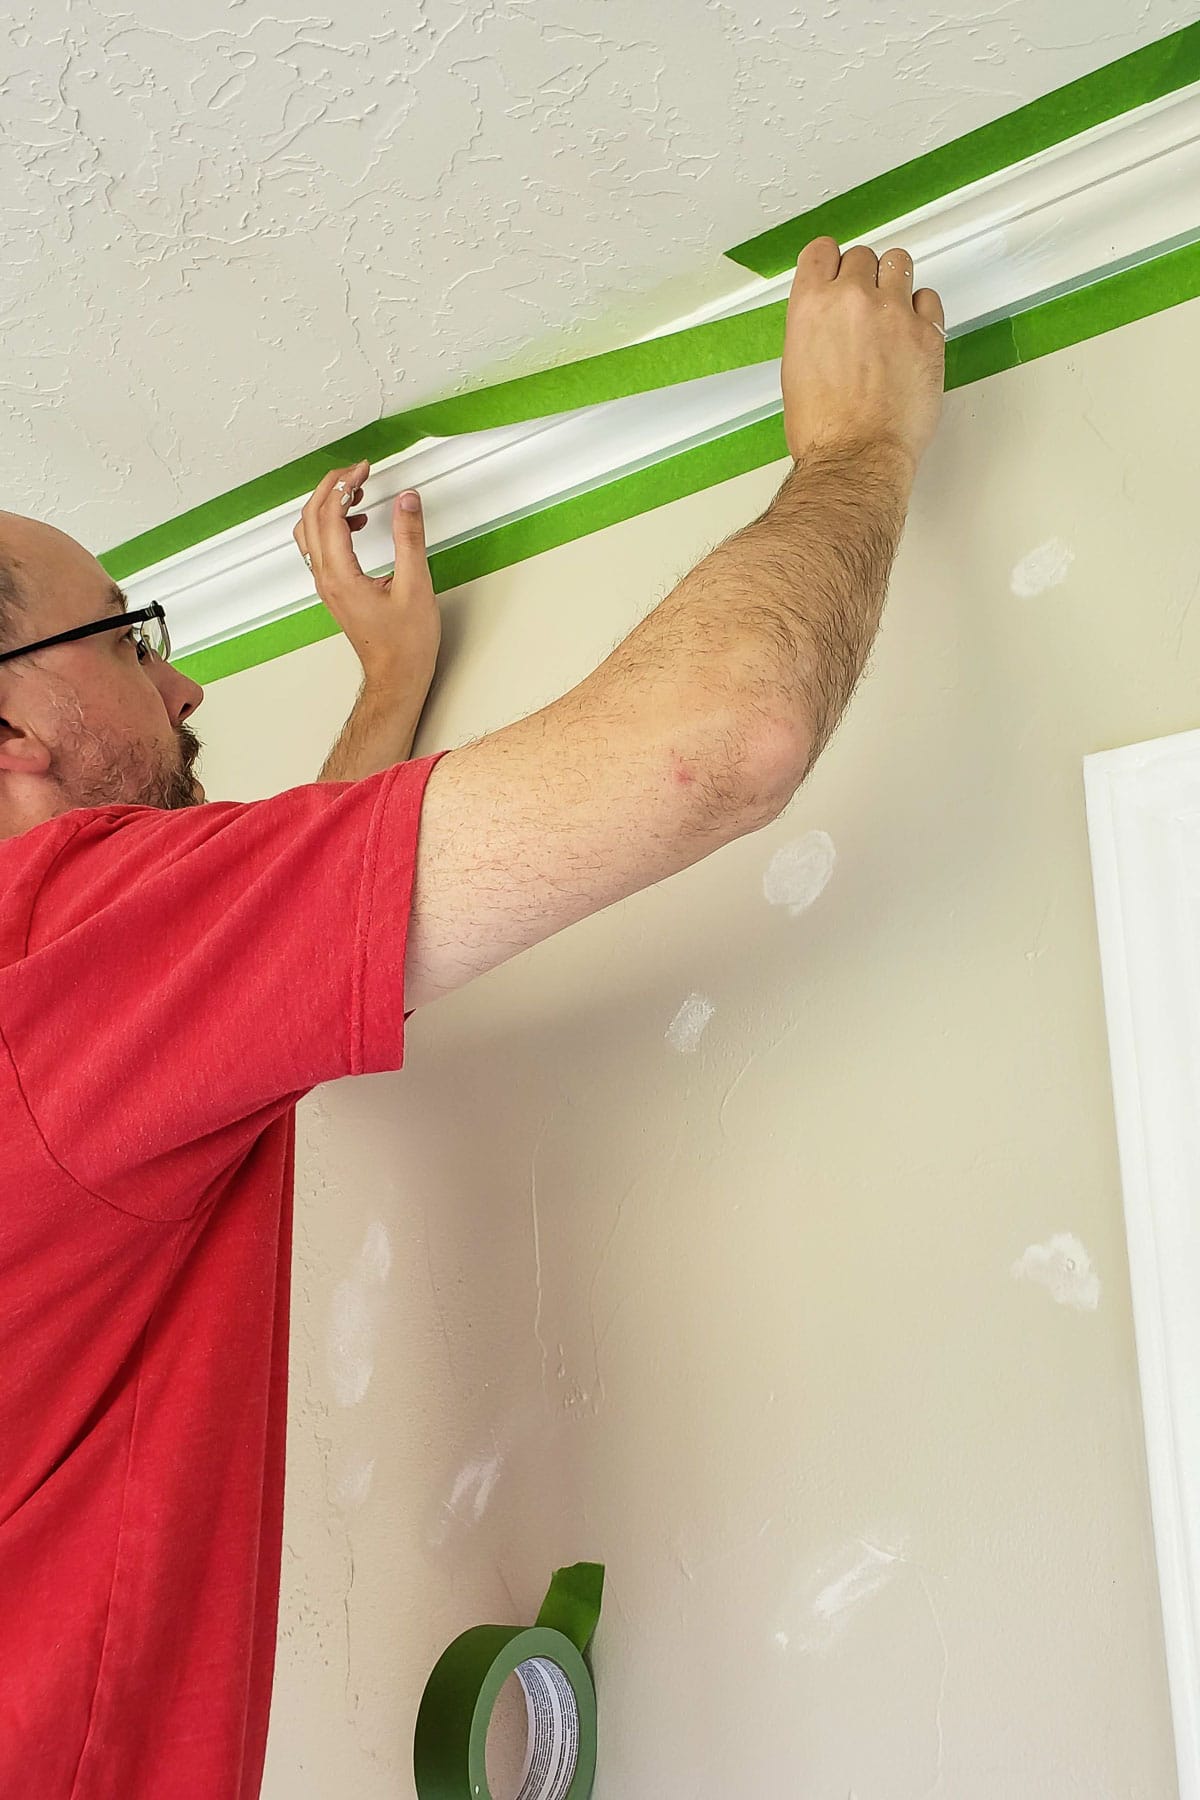
It’s SO tempting to skip this step, but I promise it will save you time in the long run. Instead of trying to freehand paint the walls near the trim and the trim itself, you’ll have a better result if you take the time to use a high-quality painter’s tape like FrogTape®.
Plus, you’ll make up all the application time (and more) because you don’t have to be as precise with the painting. 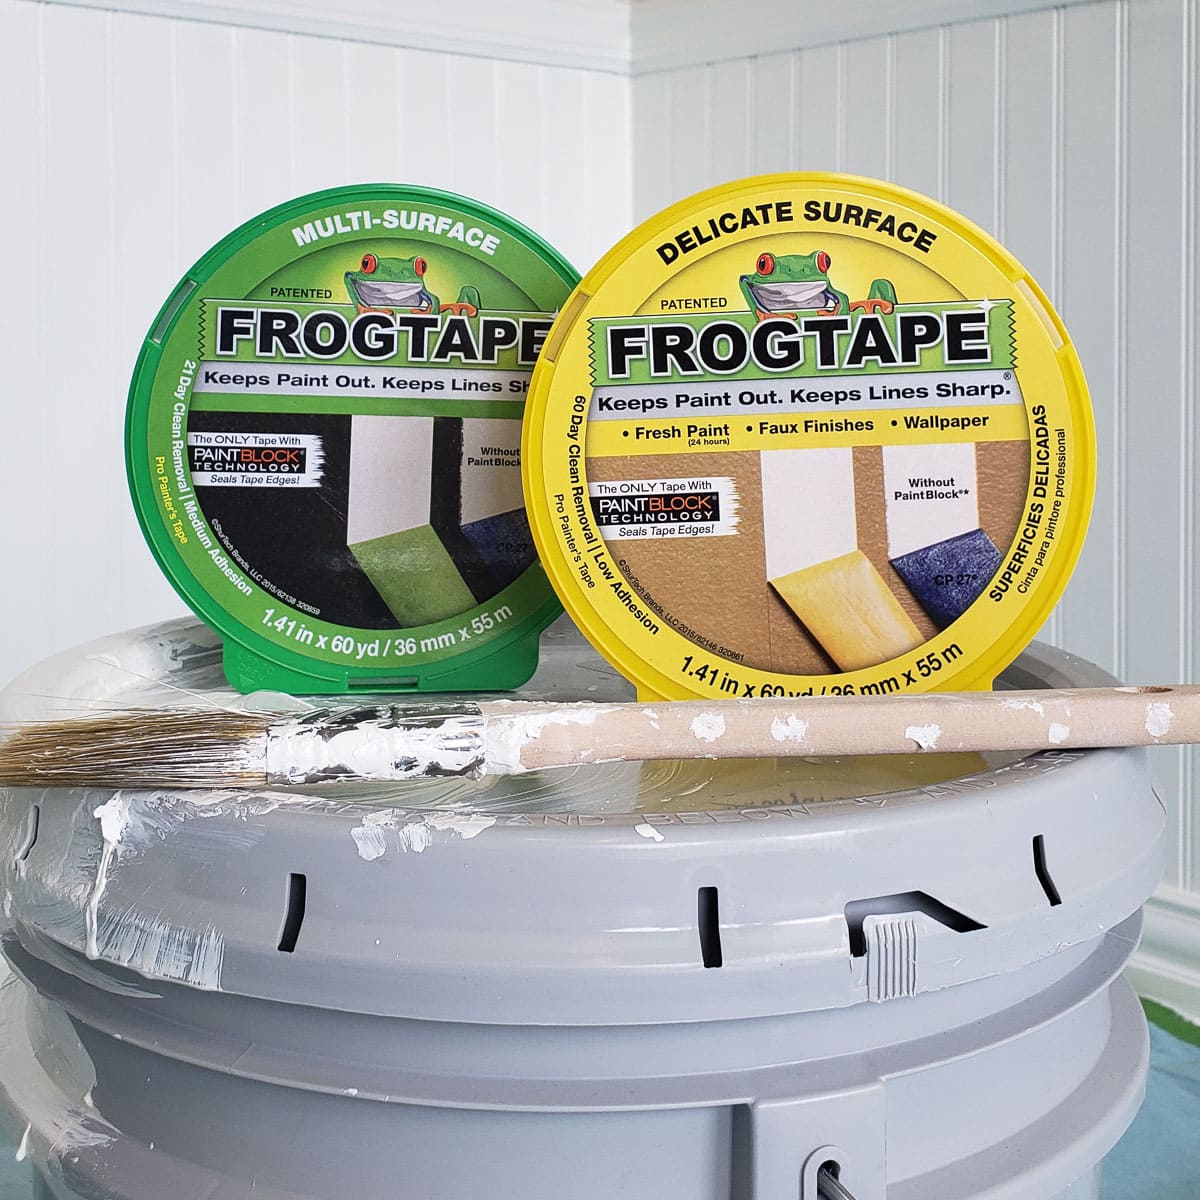
We’ve had the best experience getting crisp edges using FrogTape, I think because their PaintBlock® Technology technology seals the edges of the tape preventing the seeping that can happen with other tapes.
Here’s an example of what happened at the Roanoke Ranch because the prior painters clearly didn’t use FrogTape. 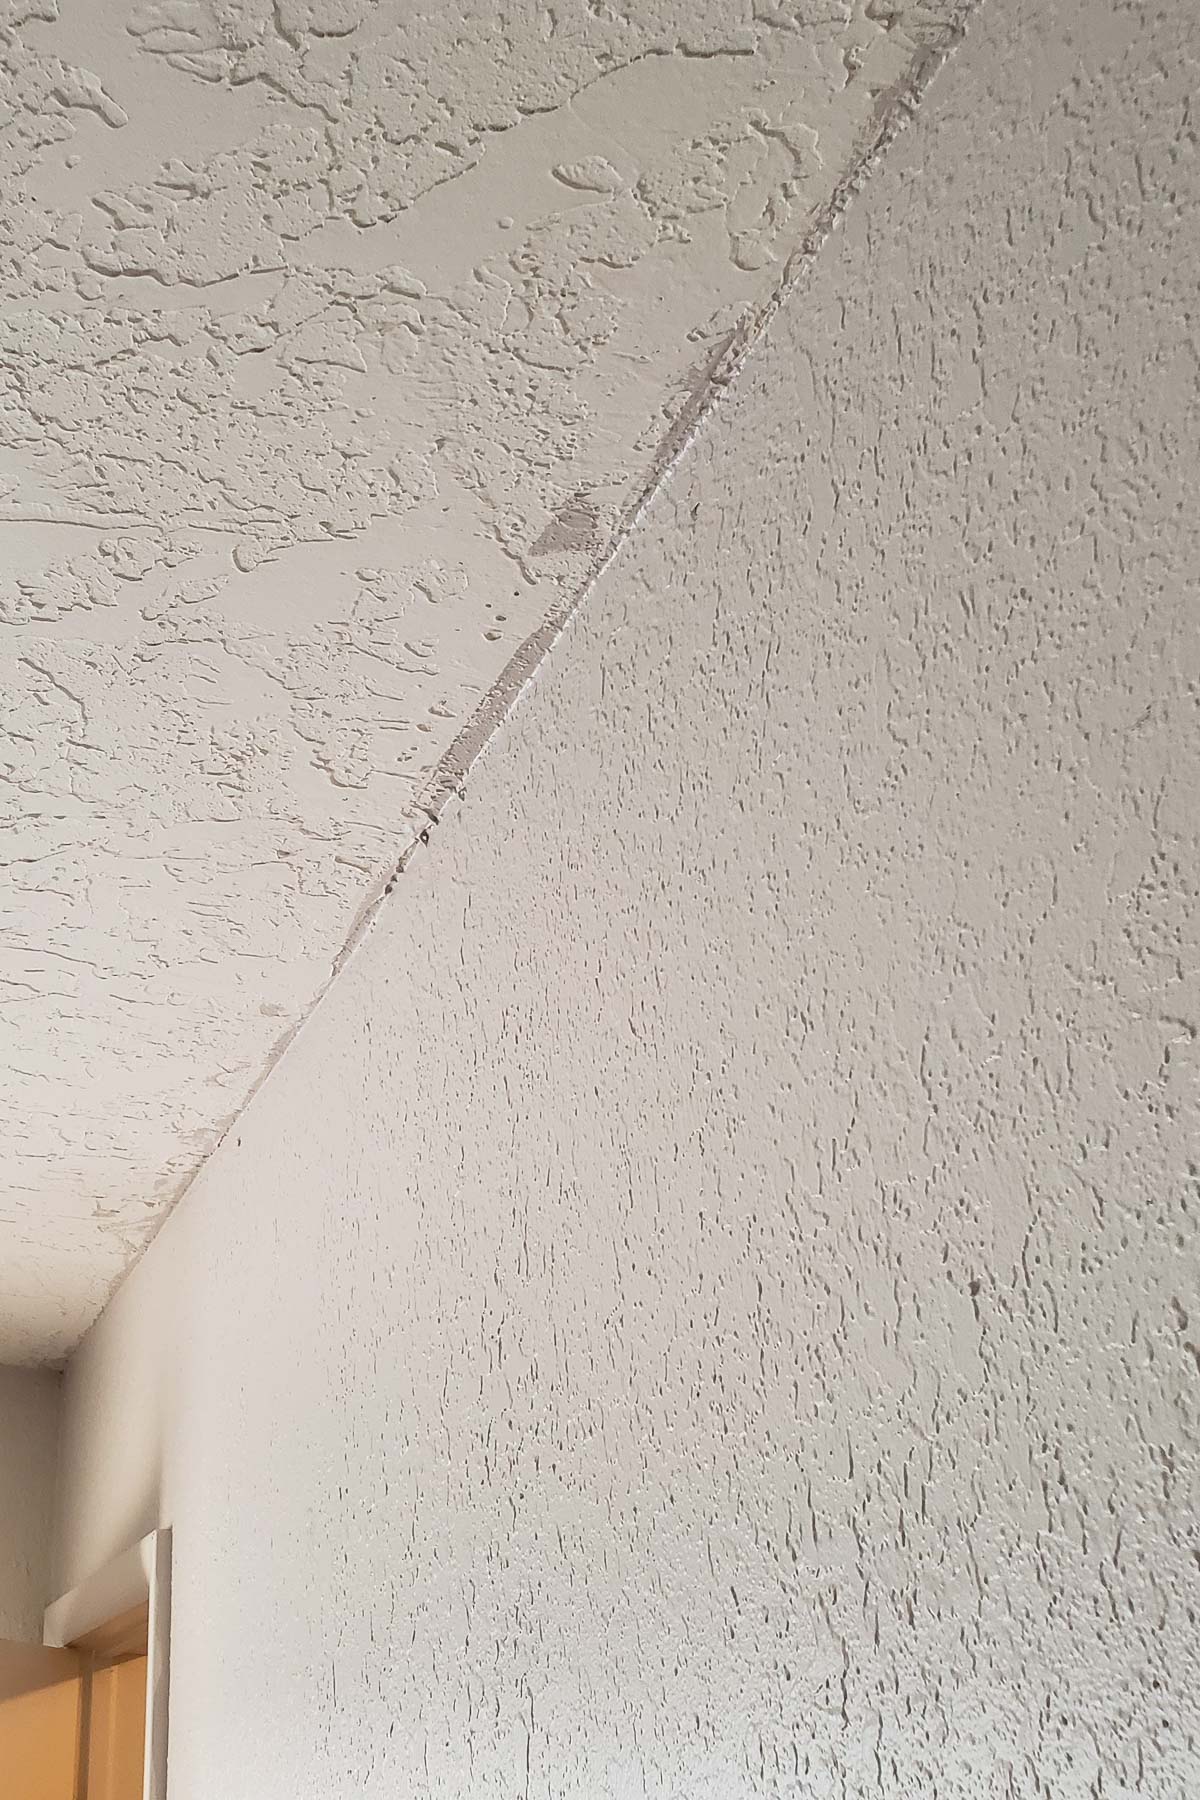 We opted to start the dining room makeover by protecting walls and ceiling with the original green FrogTape while we painted the molding.
In some of the photos, it’s hard to tell what a difference painting the wainscotting made, but you can see how much better the crisp Simply White looks in this close-up. 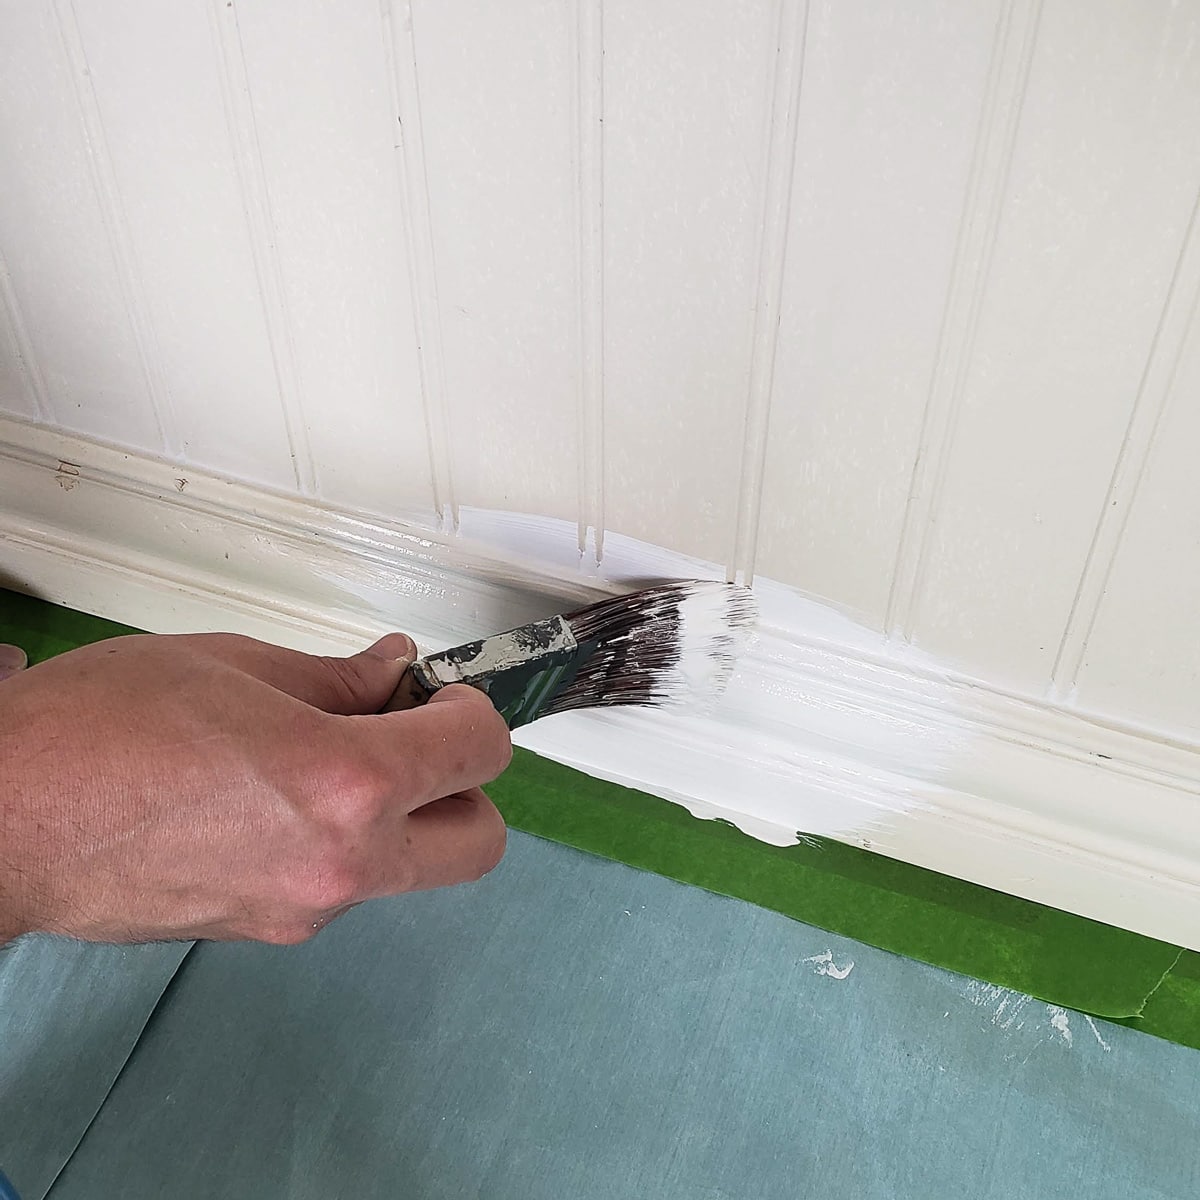
Once the walls were painted, we pulled off the tape and admired the nice clean line. Because the white paint was semi-gloss, we didn’t want to get it on the walls even though we were still going to paint them. 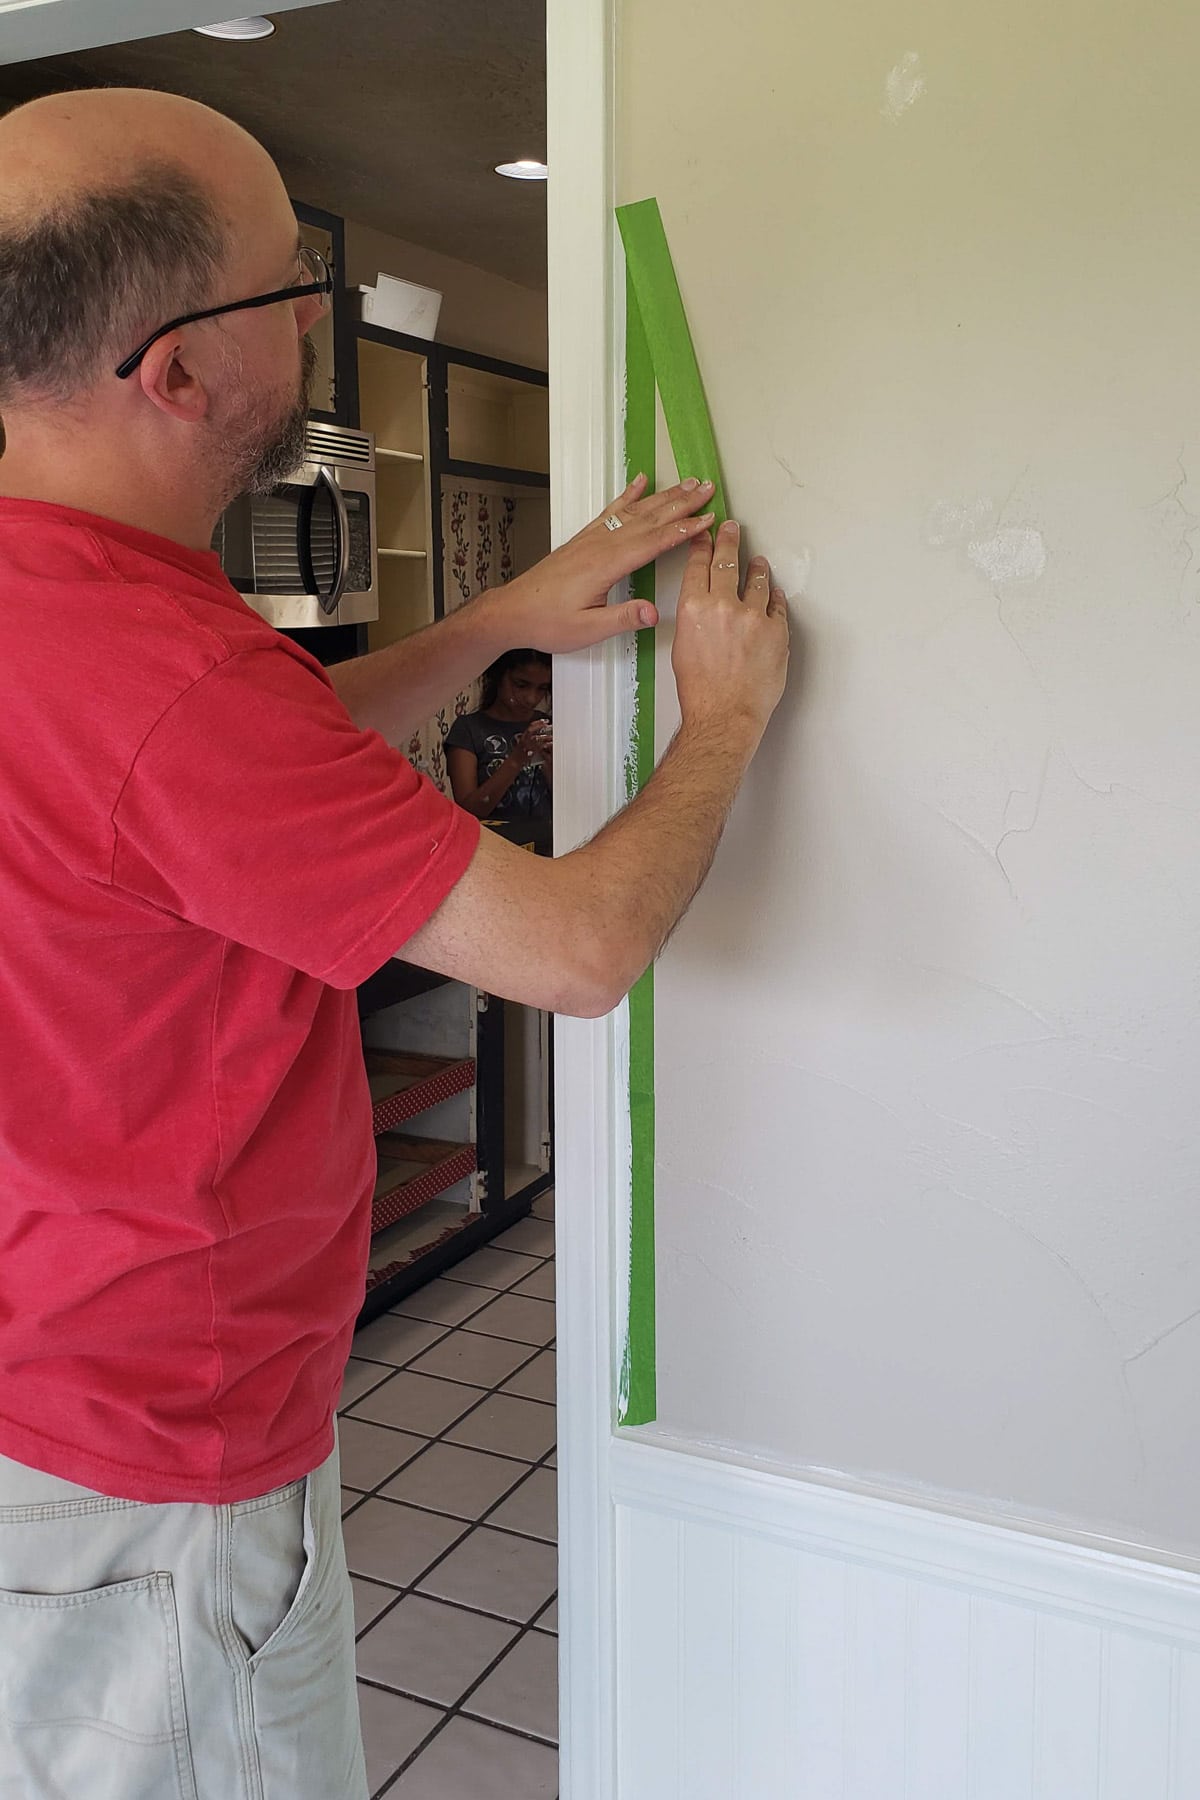
We’ve used FrogTape for years but hadn’t tried the yellow Delicate Surface option before. It’s perfect for use on fresh (but dry) paint. We were able to go back the next day to tape off all the molding to paint the walls. 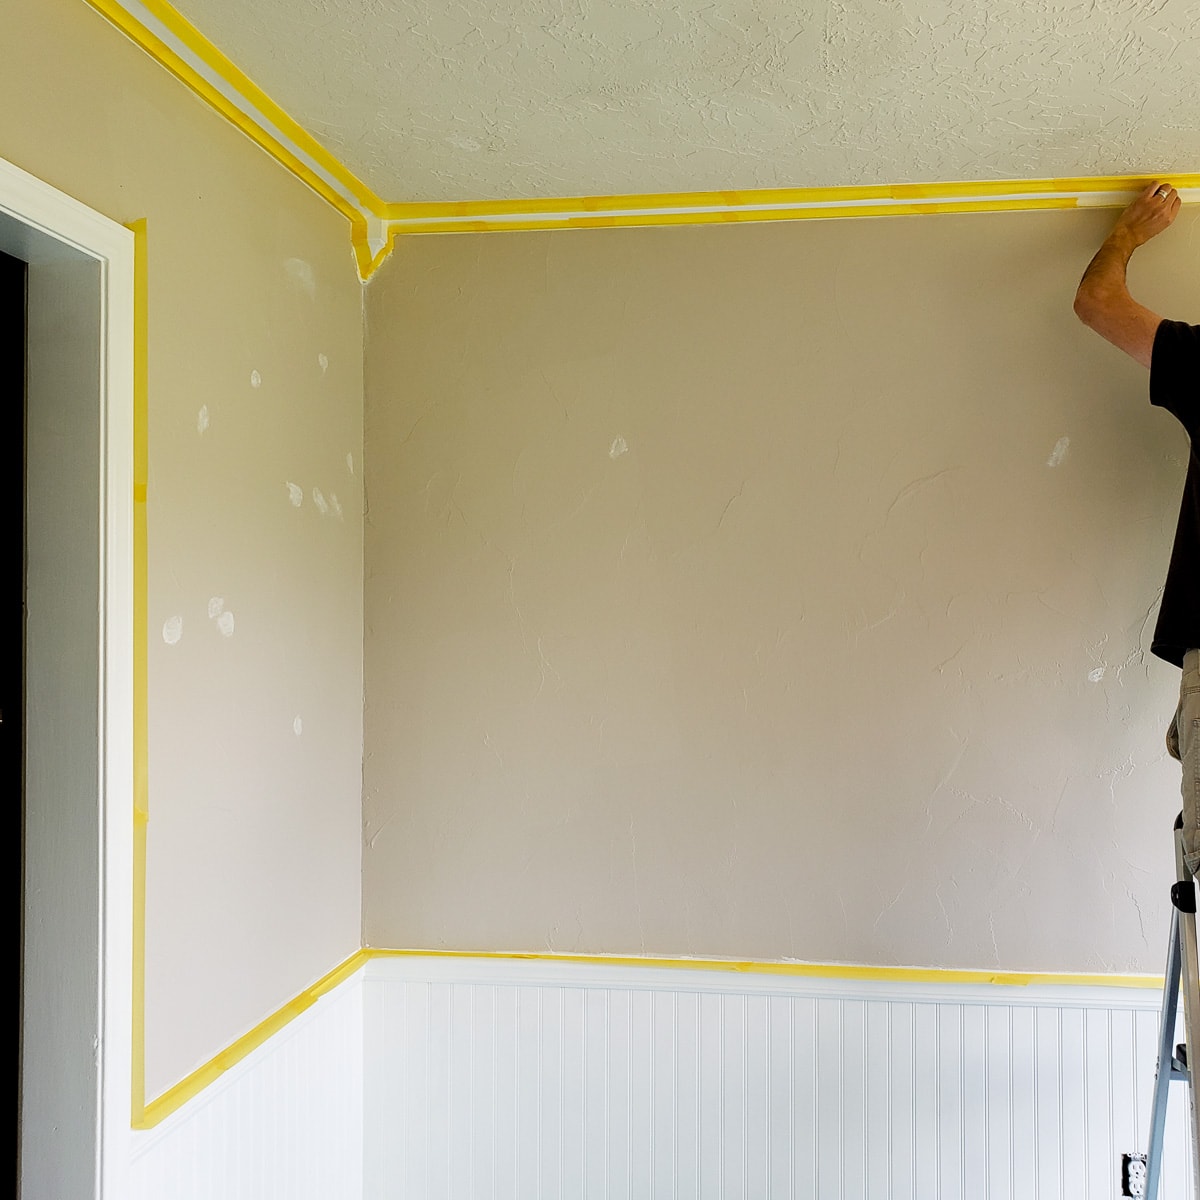
It worked perfectly! None of the new paint was affected by the Delicate Surface tape, and just like the original green FrogTape, we had a straight line when we peeled back the tape. 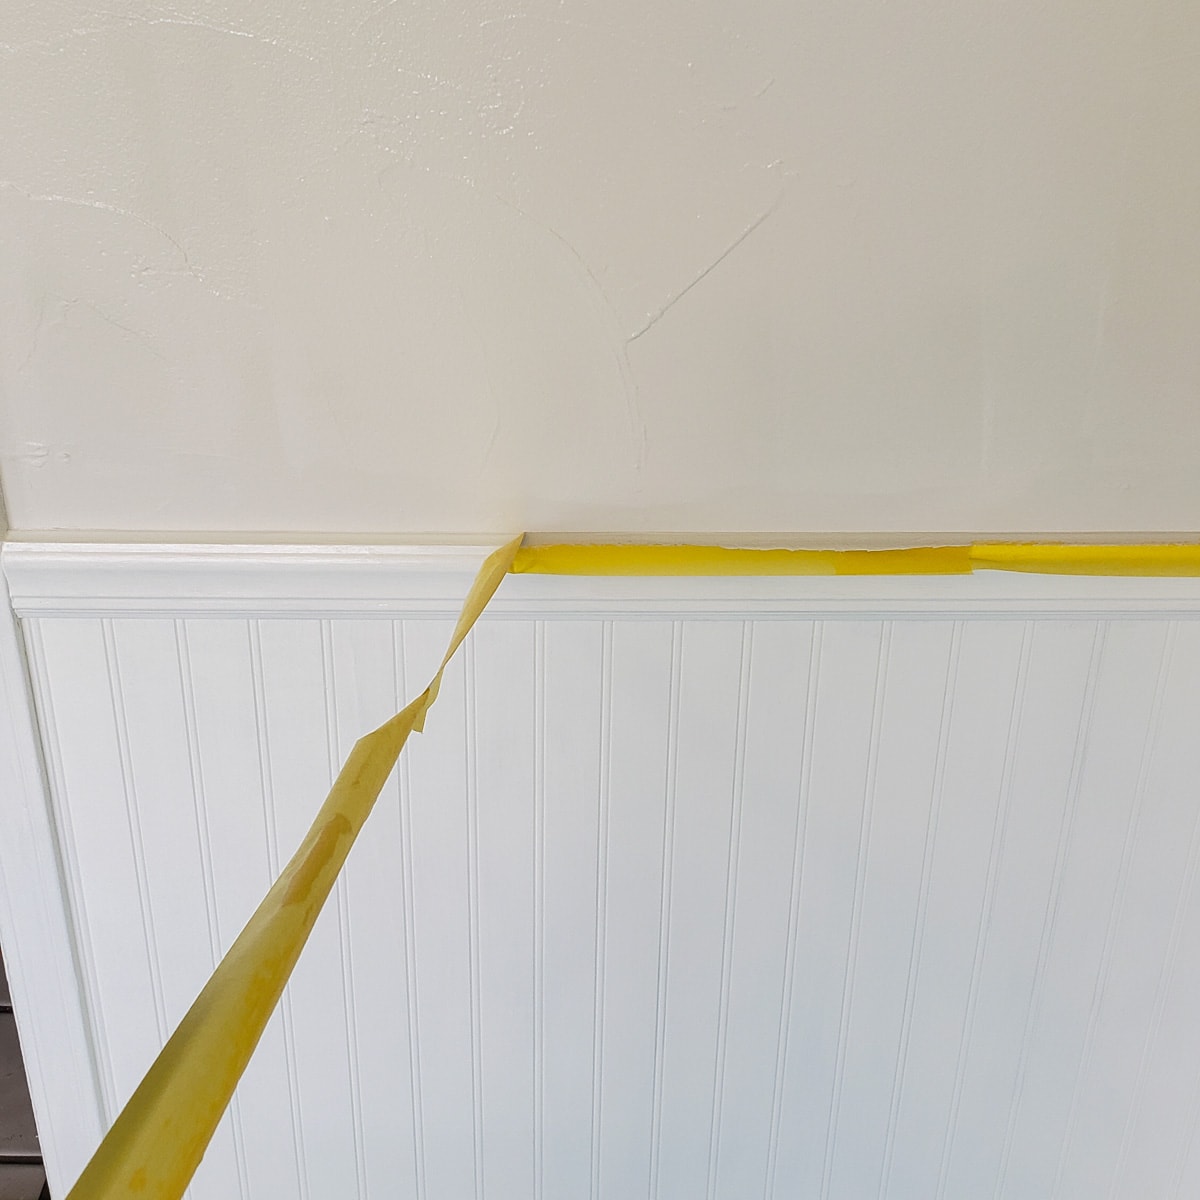
Mistake #5: Not Keeping a Wet Edge
I hate to think about how many rooms we’ve painted and then been frustrated with the results before learning this tip.
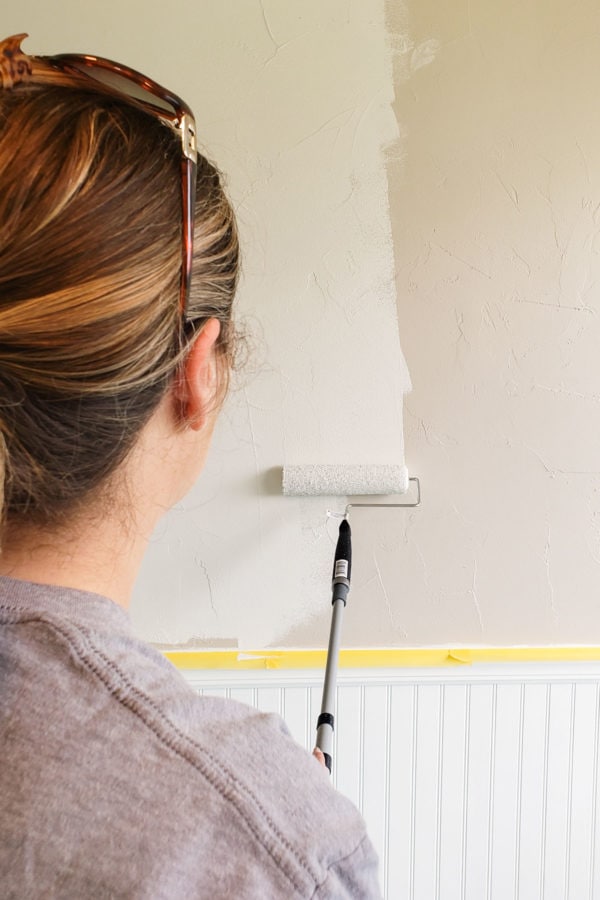
Our biggest version of this painting mistake happens when we let a wall dry and later try to touch up isolated spots. They always end up blotchy. I finally learned that you’re always supposed to keep a wet edge for the best results.
So, don’t paint with a brush around all the trim, then take a 3-hour break before using a roller for the main part of the wall. Instead, either recruit a helper so one person is doing the brushwork and the other is following right behind with the roller, or work on one wall at a time if you’re alone.
BONUS TIP: Between tasks, put your brush in a plastic zipper bag or wrap a plastic grocery bag around your roller to keep them from drying out without having to wash them clean.
Mistake #6: Not Cleaning Any Mistakes Immediately
Sometimes in the eagerness to finish painting a room, you end up going a bit too thick with the paint application.
This leads to drips and runs on the surface. It’s essential to watch for those and go back over those areas with a brush or roller right away while the paint is still wet. If you let them dry, they will still be visible and will make you crazy.
You’d eventually need to sand the drips down, which is WAY more work than taking care of them while your paint is wet. The same goes for any other paint messes. We accidentally touched the wainscotting with the roller, but already having a damp sponge nearby made wiping it off quick and painless. 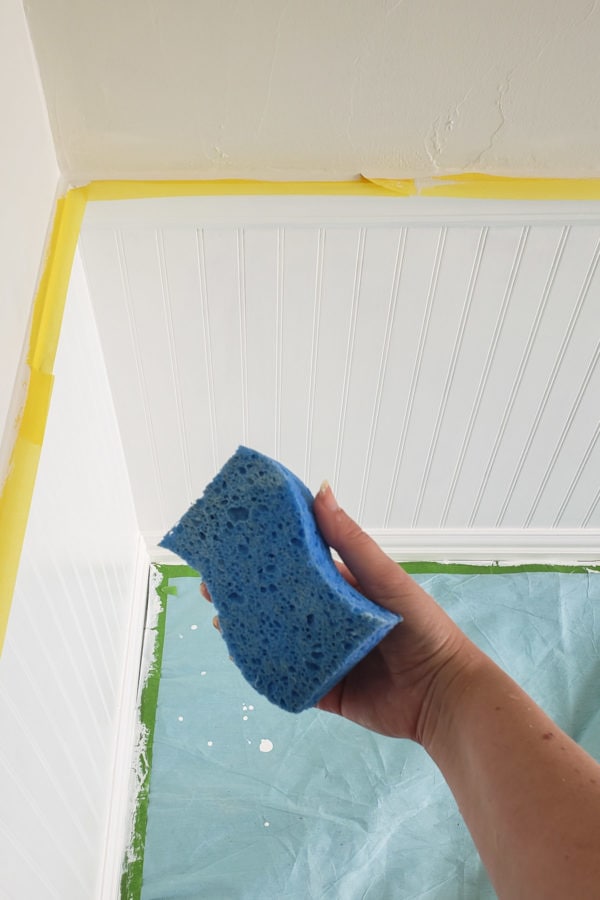
Even in the photo above, you can see how much paint we got on both the yellow FrogTape that was protecting our freshly painted wainscotting and the green tape that was protecting the floor.
Using the right tools (FrogTape) and taking the time to prep saved us hours of touch up AND the hours of frustration we would have spent trying to paint a straight line between the molding and wall.
When we were done, the room looked so fresh! The China White paint is beautiful and has just enough warmth and contrast against the Simply White trim. 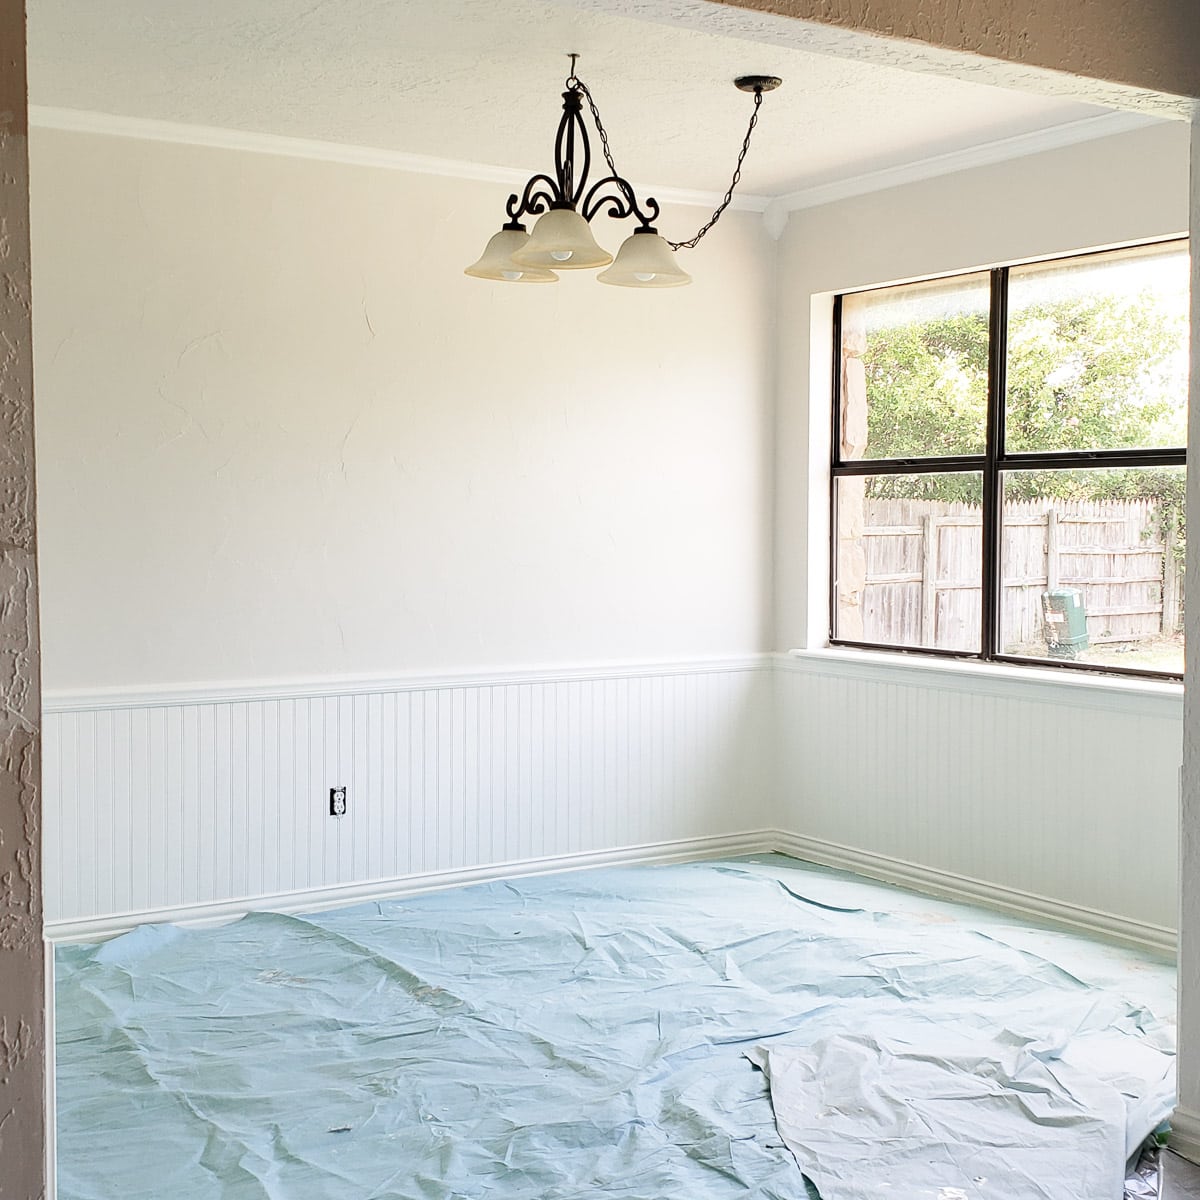
We’re not done-done with the room since we still need new outlets, a light fixture, and even new windows. But, seeing such a big difference is inspiring for how awesome the house will be when we are done.
It’s nice that whether we come in the garage or the front door, we can see the dining room as a bit of encouragement of what can be. We’ve learned all these painting lessons the hard way over time, so it’s been nice to teach them to my brother and all of you to save some heartache! Happy painting!

Sandra says
Which paint brand did you use for semigloss simply white? I see you have a banner for Glidden?
Melissa George says
Hi Sandra, I used Sherwin-Williams from Lowes.
Paula D says
What a huge difference in color making it brighter! Also thank you for tip #5 – keeping the edge wet. This is one I didn’t know, now I know why I was always so frustrated with my corners.
Melissa George says
Yay! I’m so glad that one helped!
Dian Owens says
Great tutorial, and the China White/Simply White contrast looks so fresh.
Kellie says
We have rough surfaced walls similar to this. I don’t understand why having walls sprayed like this when you build is a good thing. Is there a certain nap roller that works better to get into all of the low spots?