We’re remodeling our laundry room, and it’s the messiest project we’ve ever done. The project has been a double whammy of added clutter + epic dust.
After updating so many rooms in the past, we’ve figured out some tips and tricks to make living through a room renovation more bearable.
Without them, you’d be shocked how quickly your entire house gets out of control.
Tip #1: Designate a Project Storage Zone
Remodeling chaos always begins well before the actual project in our house.
We start getting deliveries or picking up supplies, and soon there are piles of building materials and decor taking over.
I’ve learned that the house stays less cluttered if I designate ONE spot to gather everything. More importantly, it’s best if we can’t see that spot from the front door.
It’s so much nicer coming home and not being immediately overwhelmed.
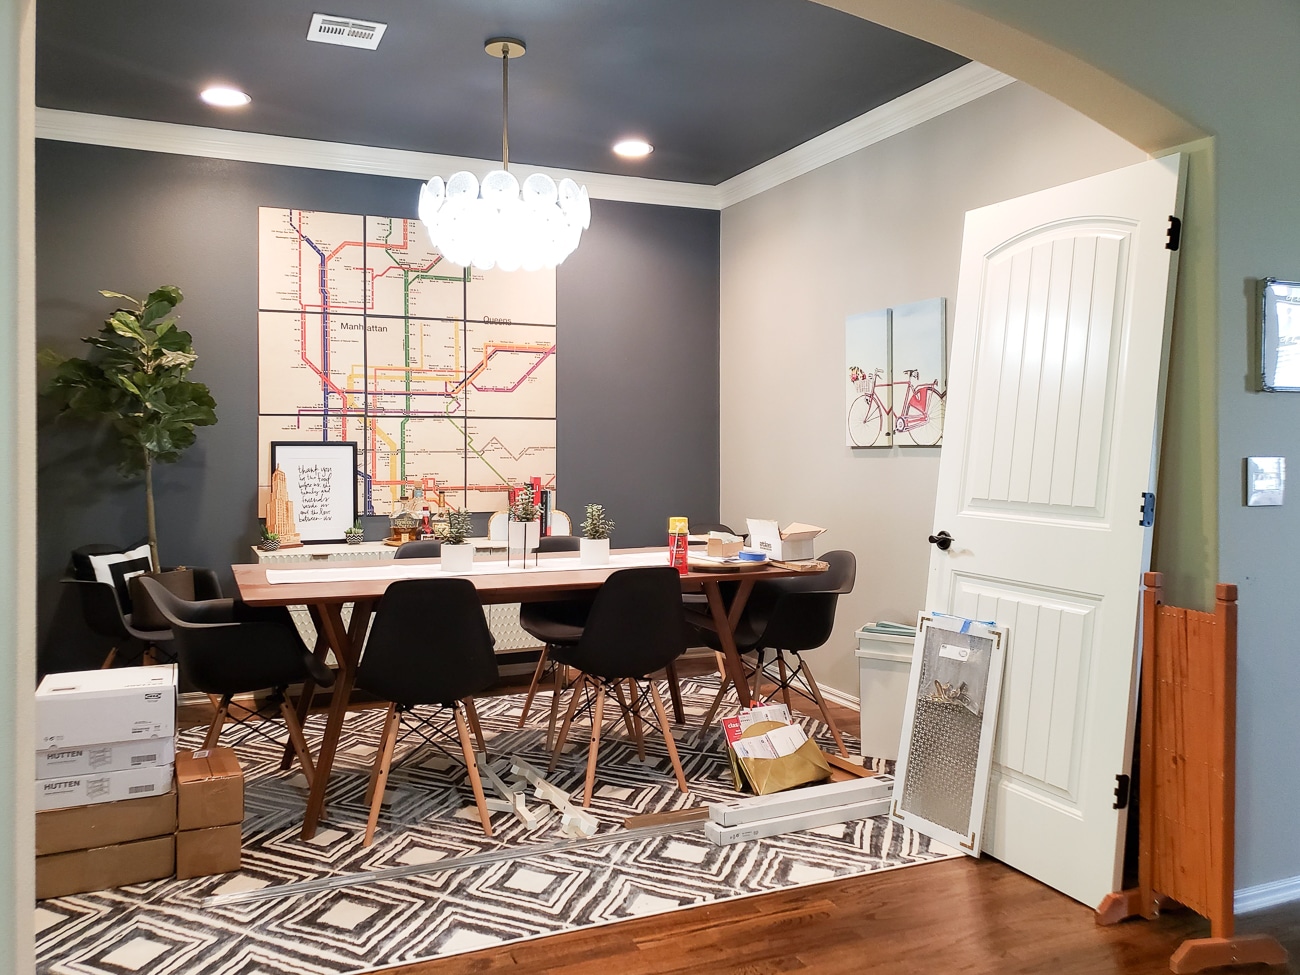
We don’t have a spare bedroom downstairs, so I use the dining room. It’s tucked to the side of our main entry hall, which makes it easier to ignore.
Now that we’ve installed the cabinets and tile, the dining room is starting to get better. Imagine the same photo above, but with 5 cabinet size boxes and 10 boxes of floor tile. That’s what it looked like for weeks.
Tip #2: Designate Clean Zones
When your time and energy are consumed with a big project, it’s natural and okay to give yourself a pass on some of your usual housework.
HOWEVER, every time you blink, the remodeling chaos will try to spread. If you don’t have a plan, it will win. Trust me, I’ve been on the losing end of that battle way too many times.
Instead, figure out a couple of areas to designate as clean zones to pick up every night before bed.
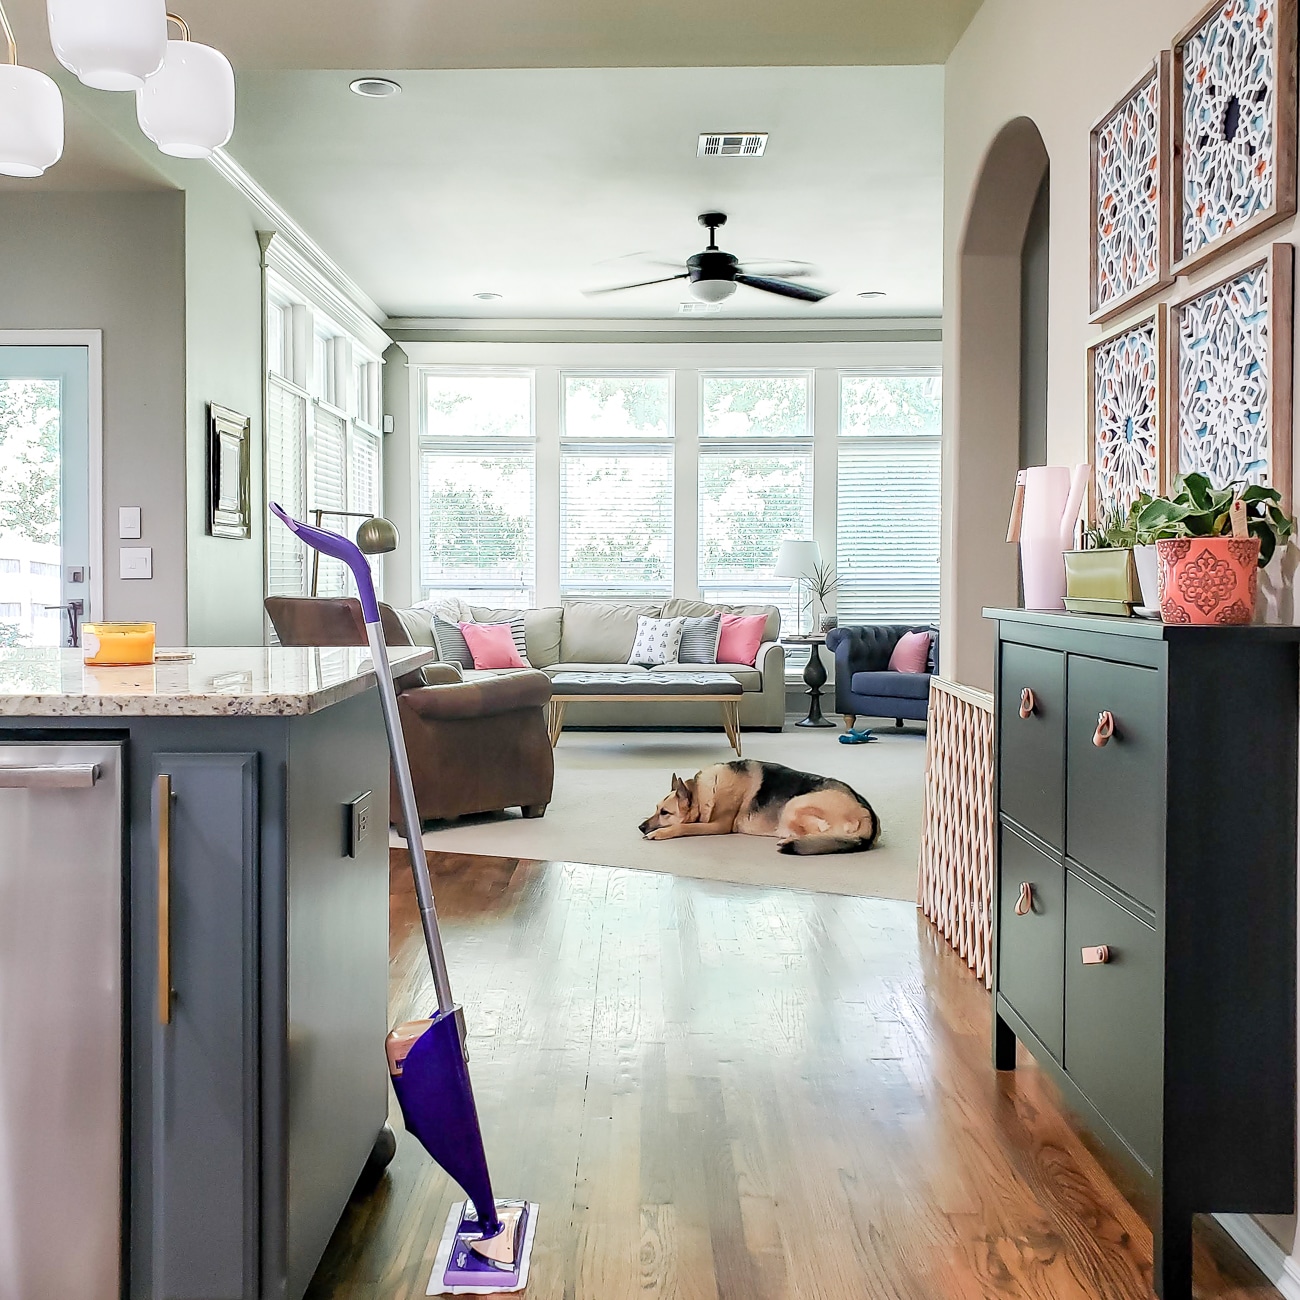
For me, the end of our island is the first place to gather any kind of clutter. It’s also the first place I get frustrated to see clutter each morning. When I make sure it’s orderly, the whole house feels tidier.
I also try to keep the living room and bedroom picked up. We need spaces to relax without being reminded of our long to-do list.
Figure out which spots trigger you the same way and block out a tiny bit of time to stay on top of them each day. It’ll be worth it!
Tip #3: Prep the Space
Before doing any dirty work, whether that be busting up old tile or just painting, it’s essential to prep your space to limit clean-up later.
It could be as simple as taking the time to use drop-cloths on any flooring or furniture before opening the first can of paint.
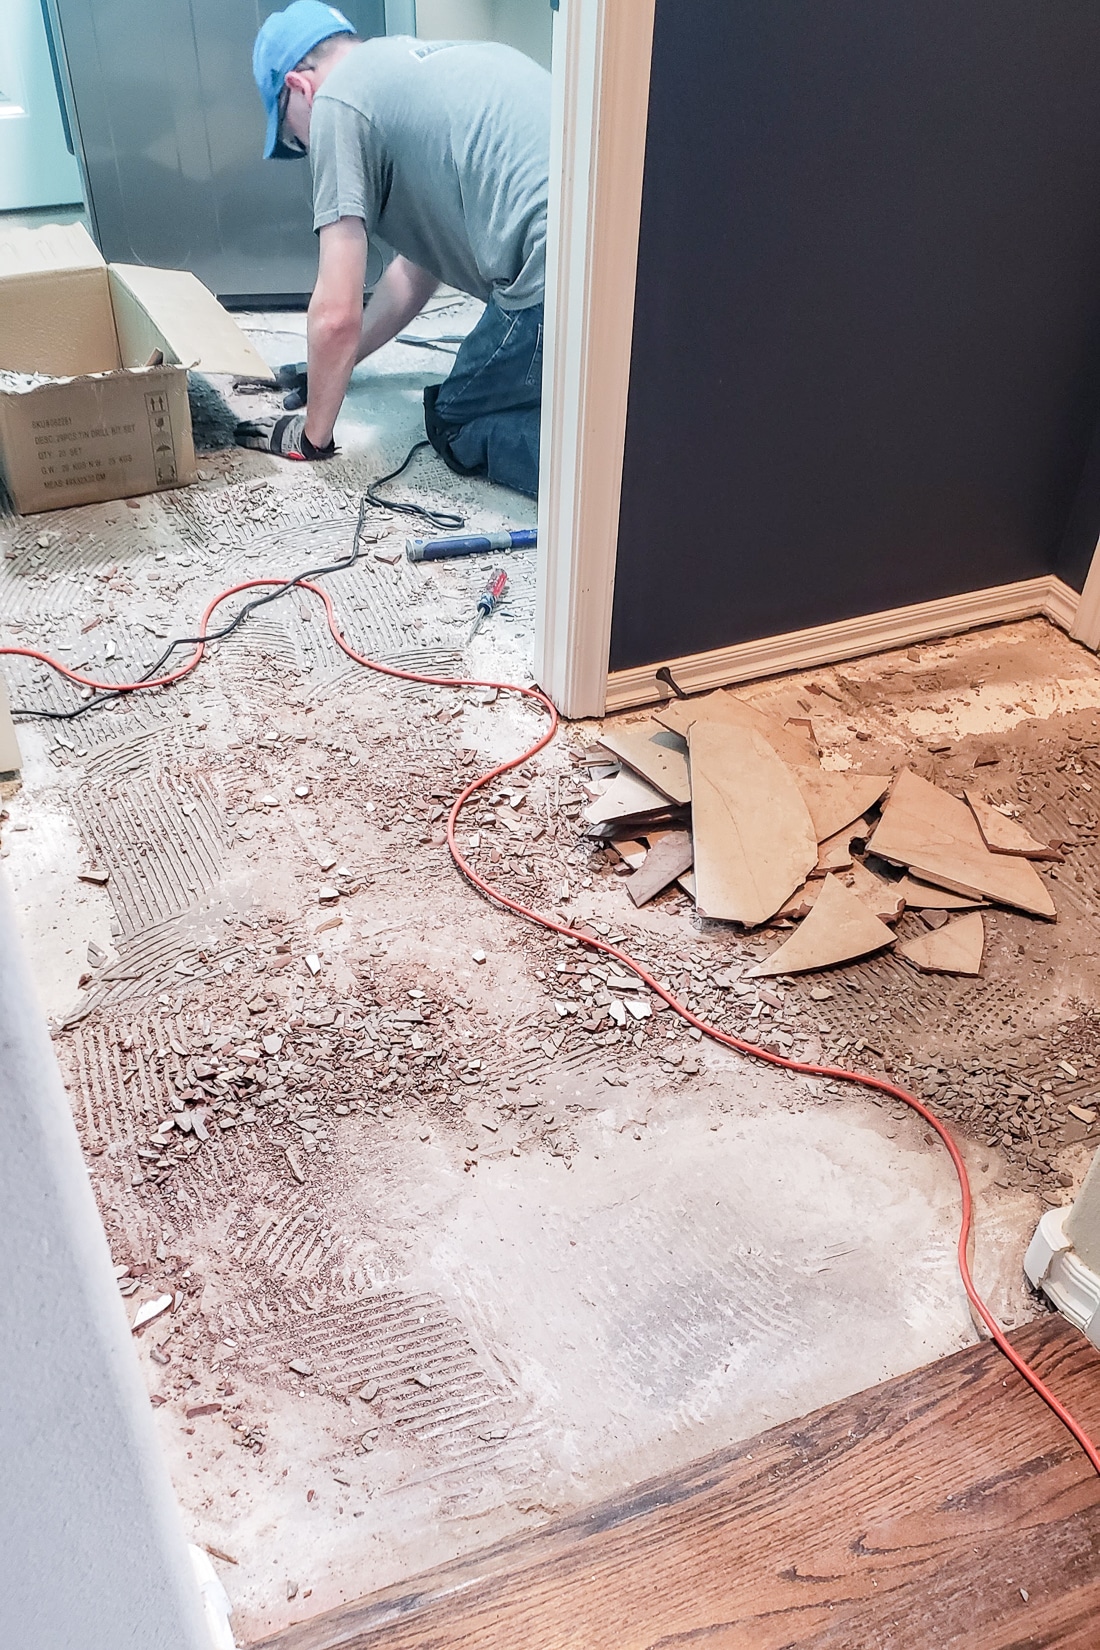
If you’re doing a task that creates dust like demo-ing old tile, you’ll want to go a step further.
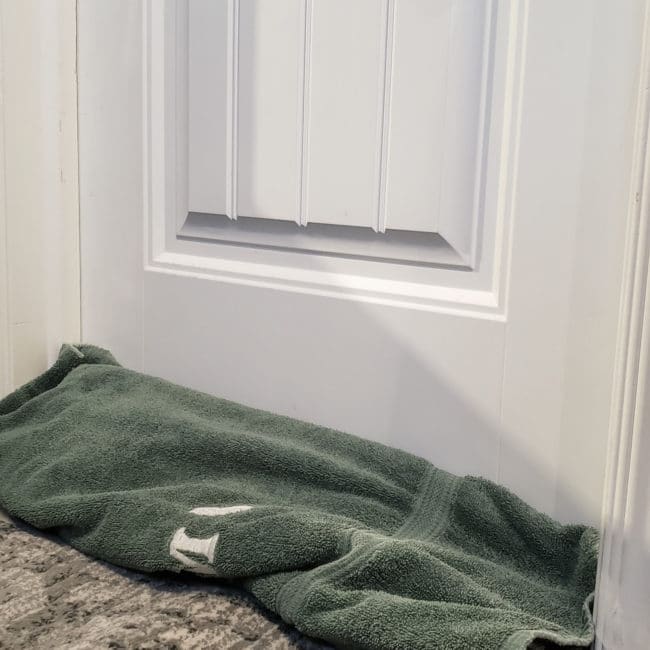
We closed the door between our laundry room and master closet, then stuffed an old towel under the door to protect the closet from dust.
On the other end of the laundry room, there isn’t a door. Instead, we used painters tape and a drop cloth to cover the opening.
We didn’t start off with the hanging drop cloth. You’d be shocked how far the dust traveled around the house before we came up with this plan.
Learn from our mistake!
Tip #4: Frequent Cleaning with the Right Tools Really Does Help
During past projects, I tended to let renovation messes linger. They’d bother me, but I’d always tell myself if I cleaned, it would be messy again the next day.
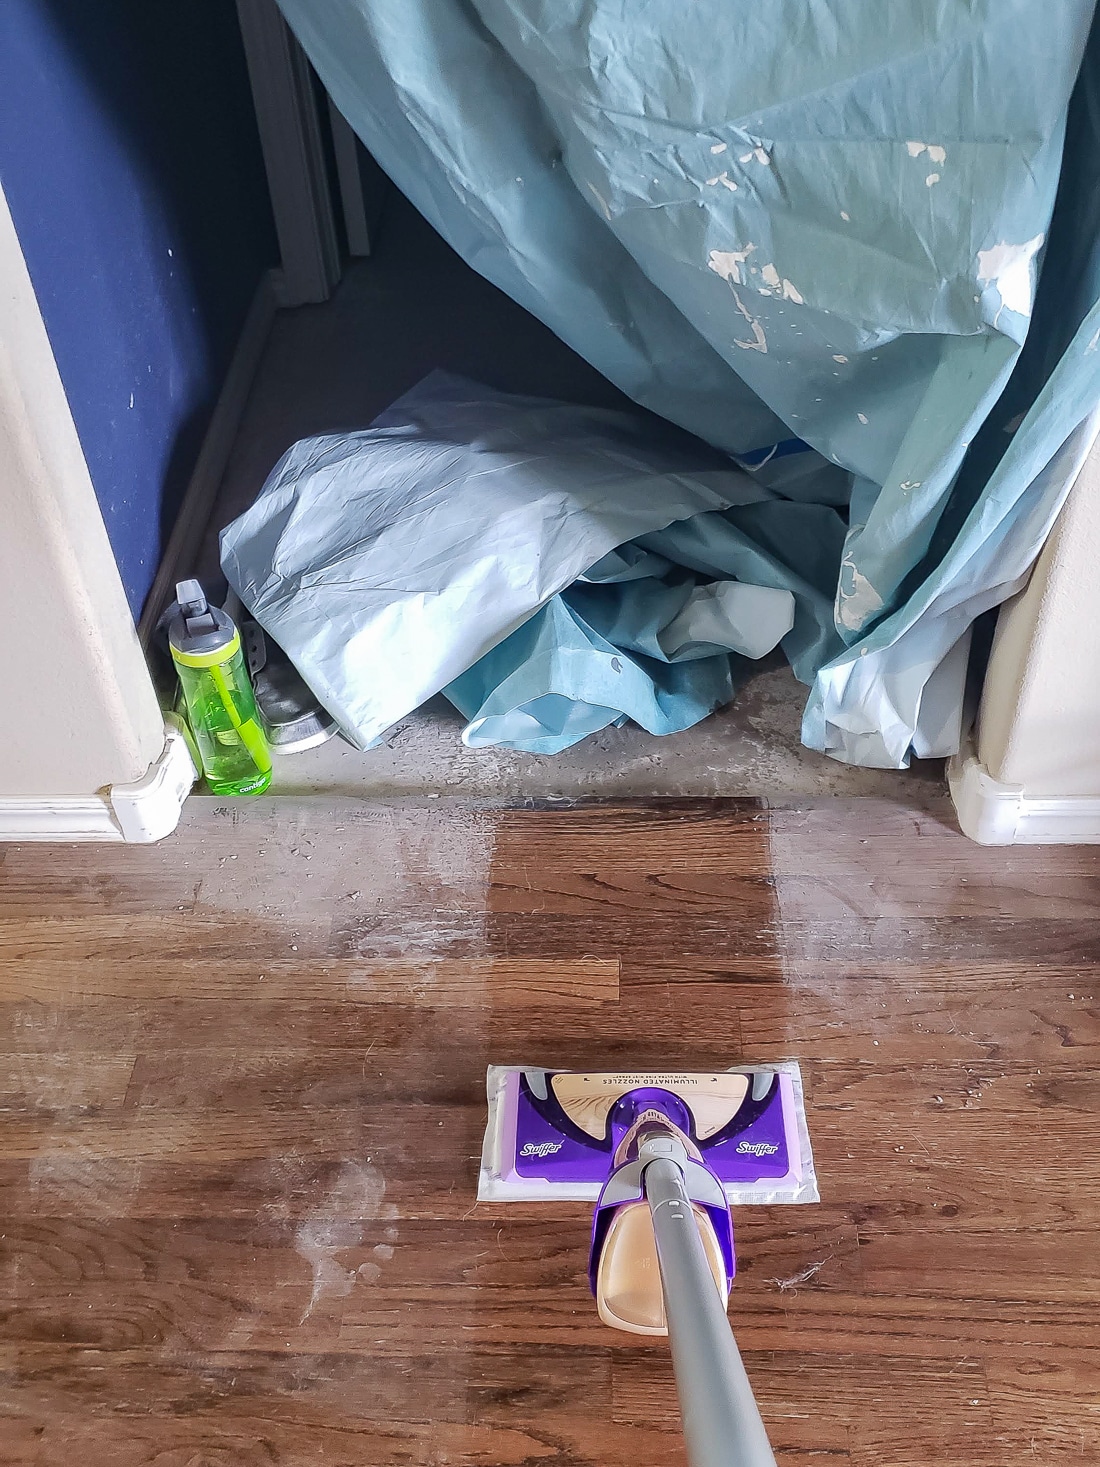
This time, it was a little different because the wood floors next to the laundry room were getting covered in dust and small debris day after day. I didn’t want the wood to suffer any long-term issues.
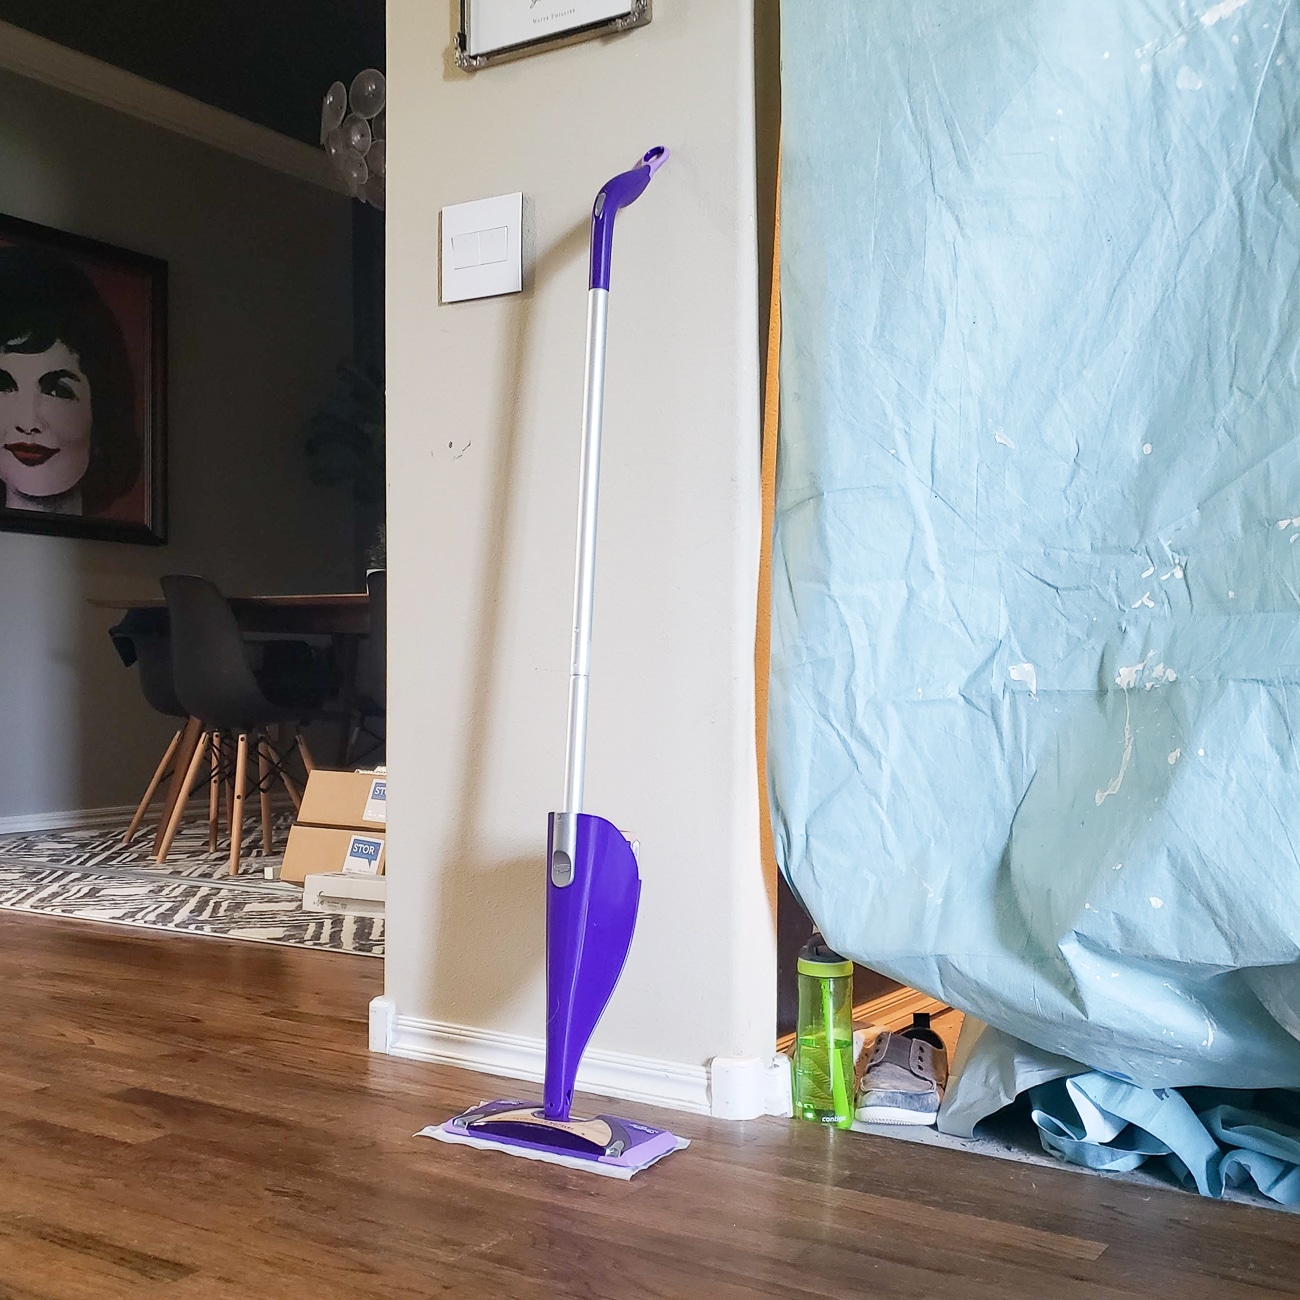
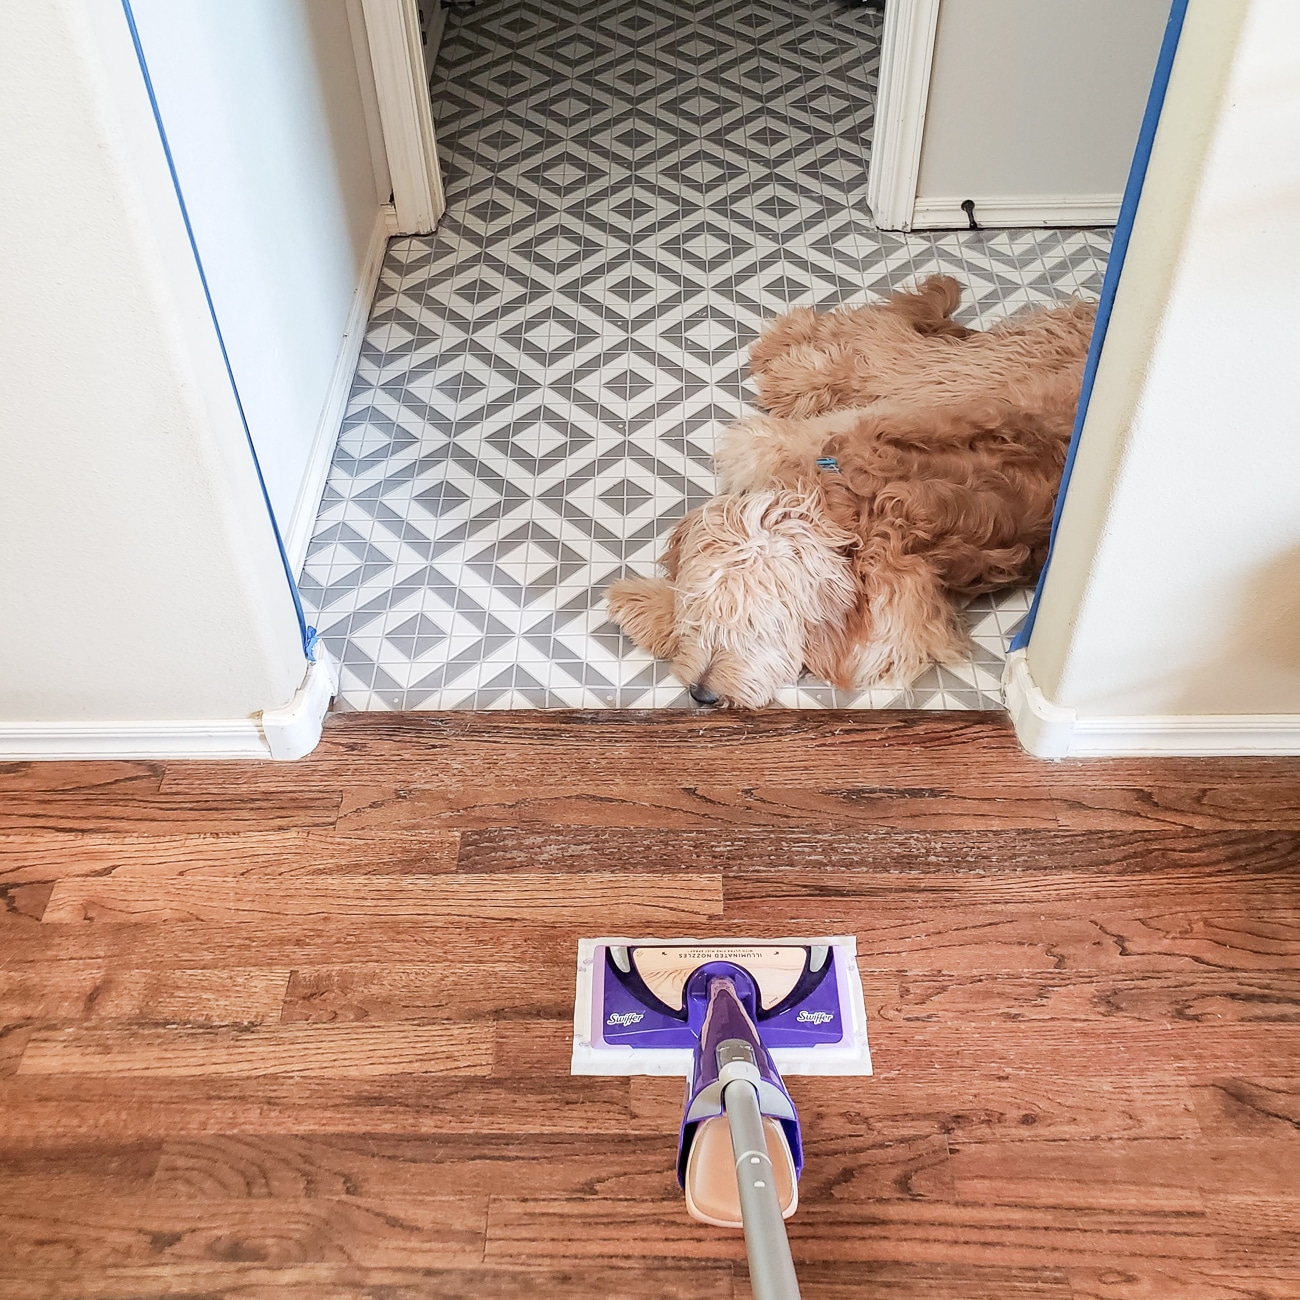
Thankfully, the same Swiffer WetJet Wood mop that I showed you in the Wood Floor Care post a couple of months ago saved the day again. I found replacements for the special microfiber-like pads at Walmart, and they were put to quite a test.
You can see how well the WetJet collected a serious layer of dust in one pass.
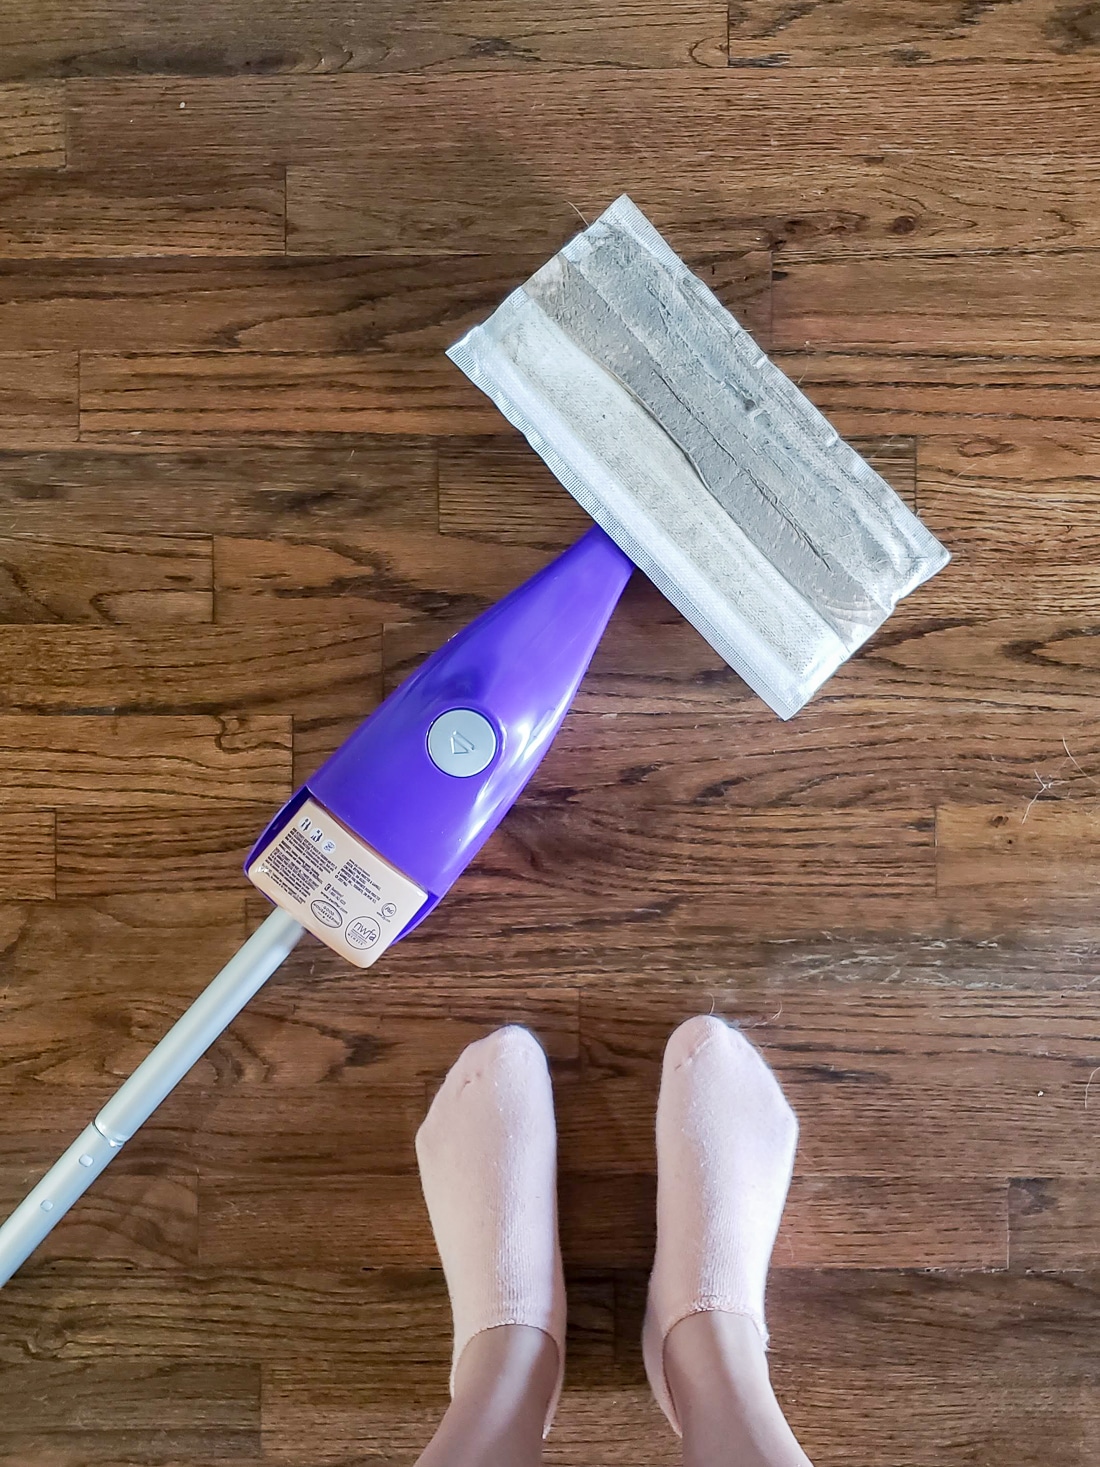
After cleaning the area, I had to take a peek to figure out where all the thick dust went.
Sure enough, it was attached to the pad. I was equally impressed and horrified!
Not only did the WetJet Wood work on all our tile dust, but it was easy enough that I didn’t mind cleaning up the wood floors at the end of each day.
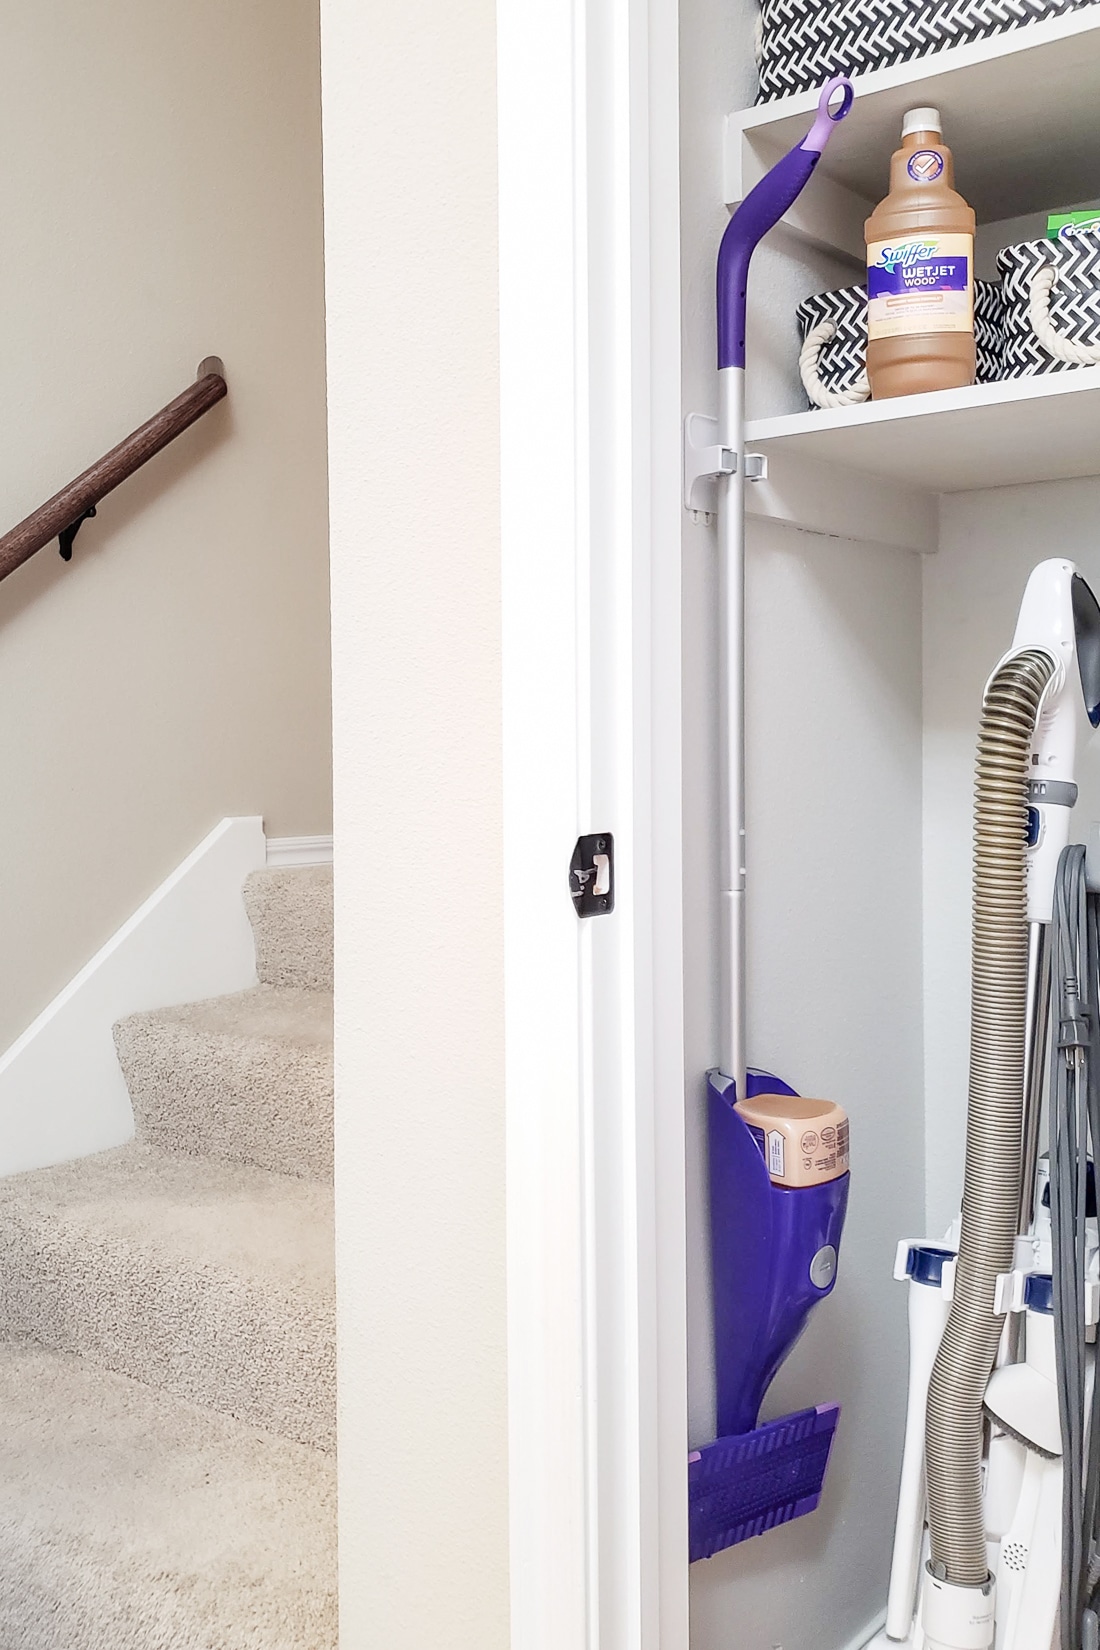
In under 5 minutes, I could grab it from the cleaning closet, clean the whole area around the laundry room, and hang it back in the closet.
I started the routine to protect our wood floors, but soon realized I felt so much better living through this renovation when I kept things cleaner each day.
As for our big project, we’re still finishing the laundry room, but here’s a little preview of the new tile we just finished grouting. Gus approves.
If you have any wood floors in your home, don’t forget to pick up your WetJet Wood Starter Kit or refills at Walmart this week!



Alicia says
Thanks for these tips! We learned the hard way how useful hanging a drop cloth in the doorway can be. We’re remodeling our kitchen, which joins the living room with no door in-between. After we took down wallpaper and pulled up 30-year old linoleum, half of our apartment was covered in dust! Every single item had to be wiped down or scrubbed. Definitely learned our lesson.