This is a sponsored conversation written by me on behalf of Cricut. The opinions and text are all mine.
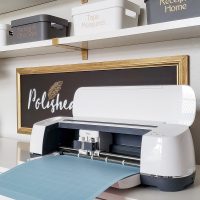
Before I owned a Cricut Maker, it felt like a luxury item that could be fun, like a toy. But the more I use it, the more I realize it’s becoming an essential tool in our house.
I know many of you are wondering if you should beg Santa to toss one down the chimney this year. I thought it was the perfect time to share the top reasons I love mine so you can decide if it’s a good fit for you too.
And if you’re already thinking you don’t have ANYWHERE to put a machine like this, pop over to my Cricut Joy tutorial. It’s tiny and cute so you can put it anywhere, but it can still do SO MANY THINGS.
PS: As part of reason #5, you’ll find a tutorial for the cutest Christmas kitchen towel that would also make a perfect hostess gift idea.
Five Reasons I Love My Cricut Maker
ONE: The Cricut Maker & Design Space Software is EASY
I’ve mentioned this a little in other posts, but it’s worth saying again. The Cricut software consistently stops me from messing anything up.
My first cutting machine was a Silhouette. I usually had to adjust the cut settings and would find myself cutting different materials with the wrong side down on the mat.
I’ve owned the Maker almost a year now and I’m impressed to report I can’t think of ONE time that I’ve wasted any materials.
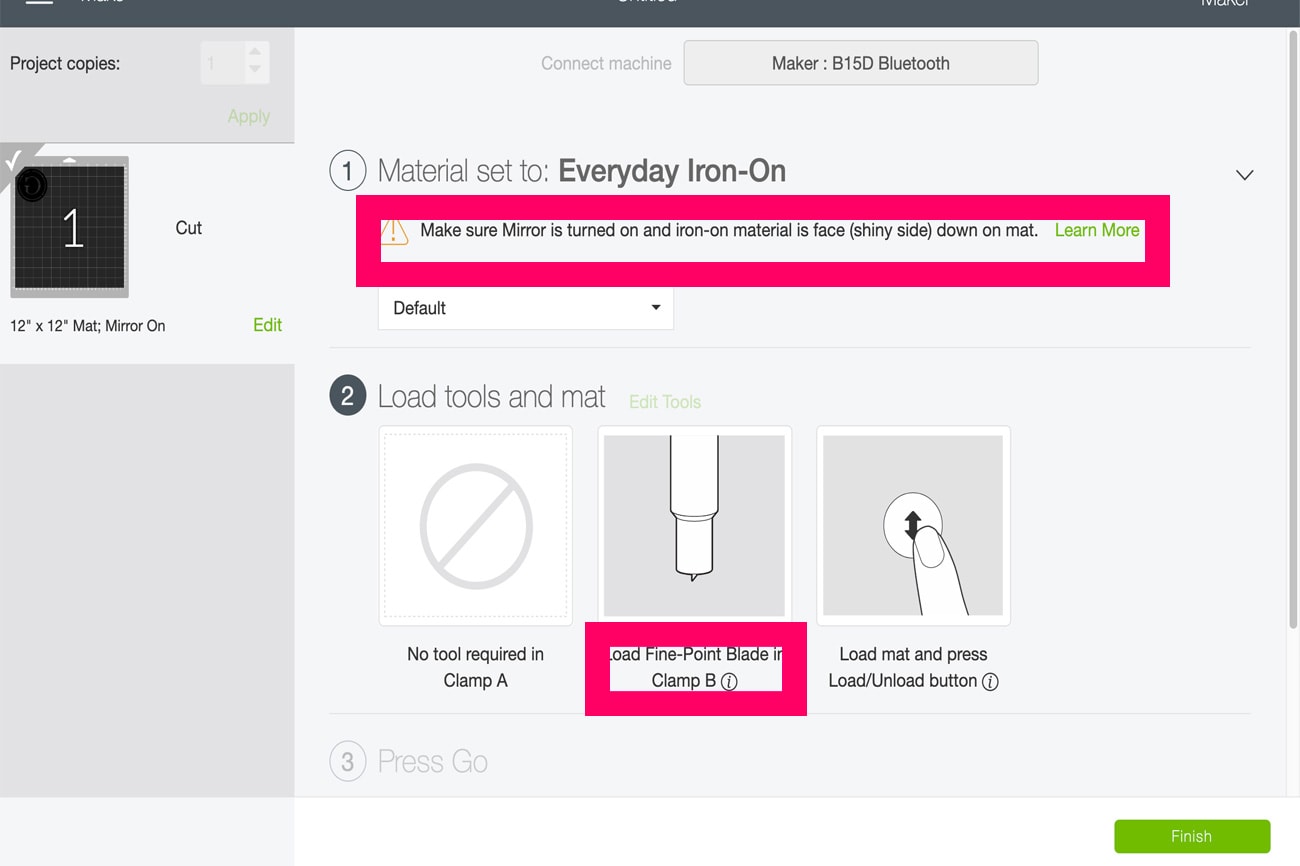
When you select your material type, it tells you everything from the blade to use to whether you need to mirror your design. All I have to do is follow the prompts and my project turns out well.
Also on the easy front, I can connect to the machine via Bluetooth so I never have to mess with cords connecting it to the computer!
TWO: I Don’t Have to Be Creative or a Graphic Designer
Sometimes I struggle starting with a blank page and have no idea what to create. And I definitely don’t have the skills to draw anything on my own. For a long time, I thought Cricut machines were only for craftier people with art skills. Oh how that is wrong!
I use the Cricut Access plan for thousands of pre-made designs that I can use as they come or tweak to customize.
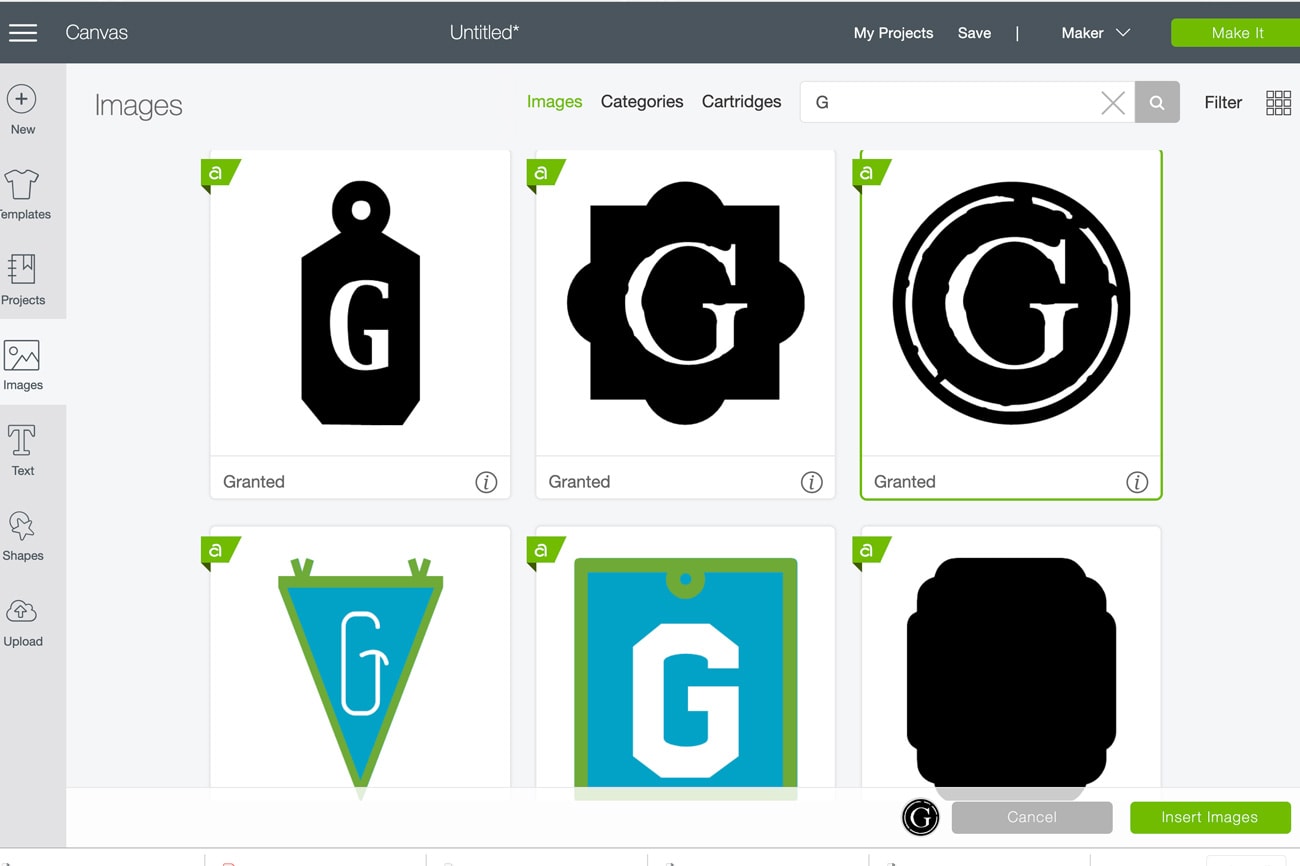
For example, if I select Images in Design Space and then enter G in the search box, it comes up with a TON of monogram G options (for our last name).
I scrolled through a TON of options in every style until a distressed/vintage looking G in a circle caught my eye. I’ll show you how I used it in a minute!
THREE: The Maker Helps Me Label EVERYTHING
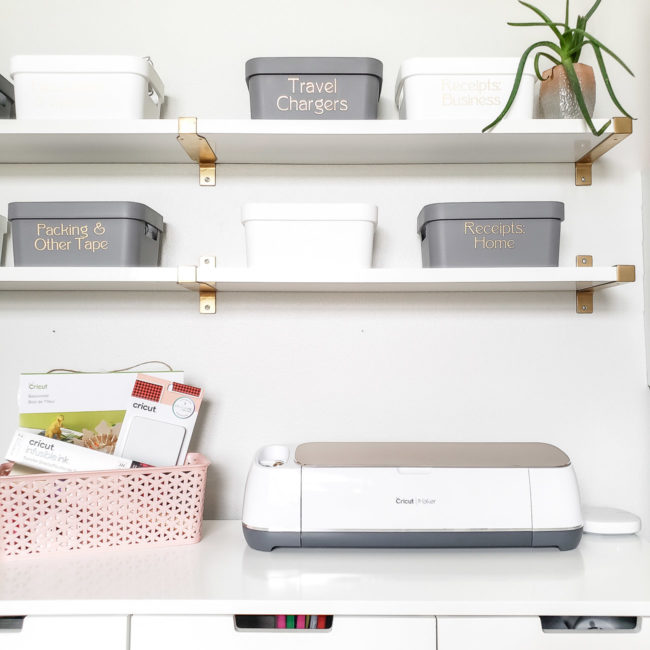
No home organizing project is complete without labels to KEEP everything organized, and the Maker is my go-to labeling solution.
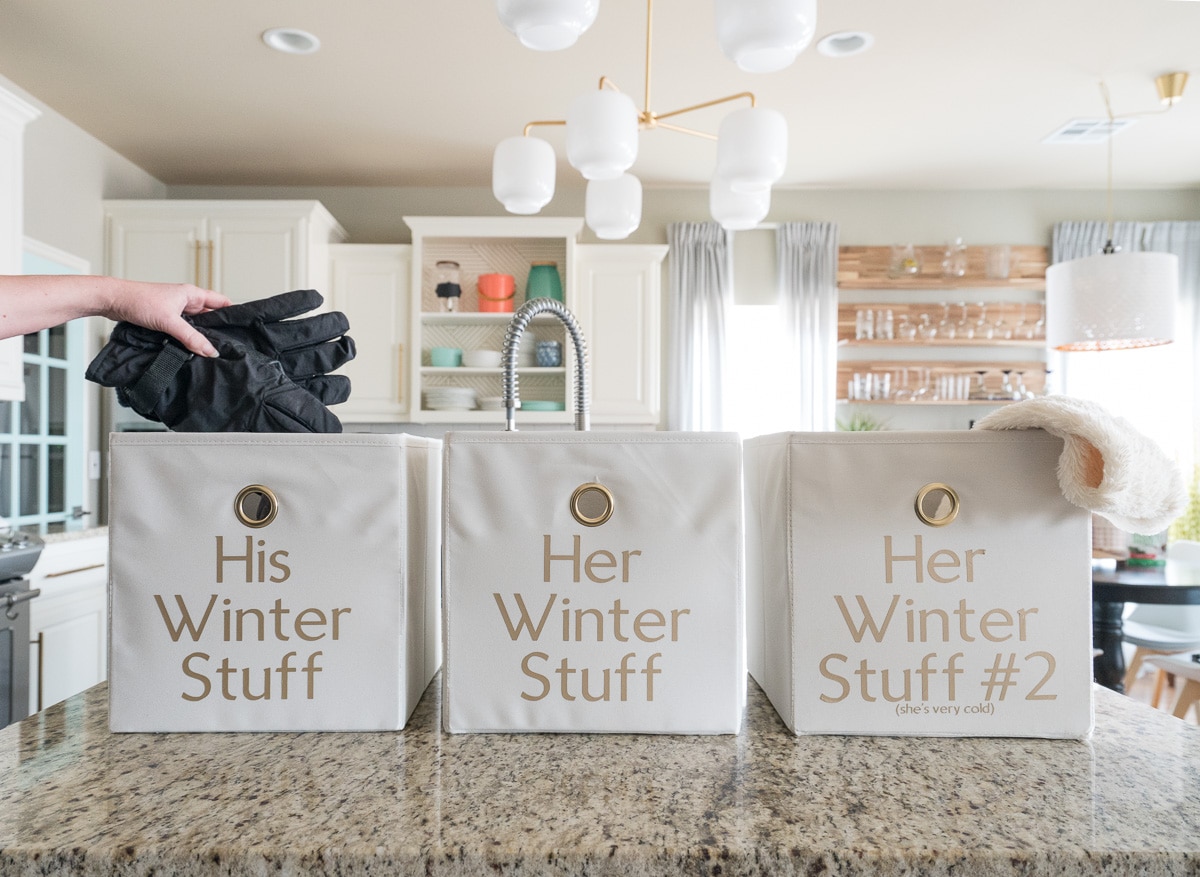
Whether it’s metallic labels on plastic totes, heat transfer labels on fabric bins, labels to hang from baskets, or even colorful spice jar labels, the Maker has you covered!
FOUR: One Machine Can Cut Over 300 Materials
Versatility is important when we’re investing in any tool, and the Maker is a powerhouse of project options.
We use the standard blade most often, but it’s simple to swap to the rotary blade to cut fabric, the knife blade to cut wood, or to insert a pen to “draw” instead of cutting. There’s even an engraving tool now. I haven’t tried it yet, but can’t wait to test it out!
FIVE: I Can Create Custom Decor & Gifts
As much as I love the Cricut Maker for labels, that’s really only the beginning. I’m loving all things buffalo check this year, and came up with so many cute projects to incorporate it into our Christmas decor and for gifts!
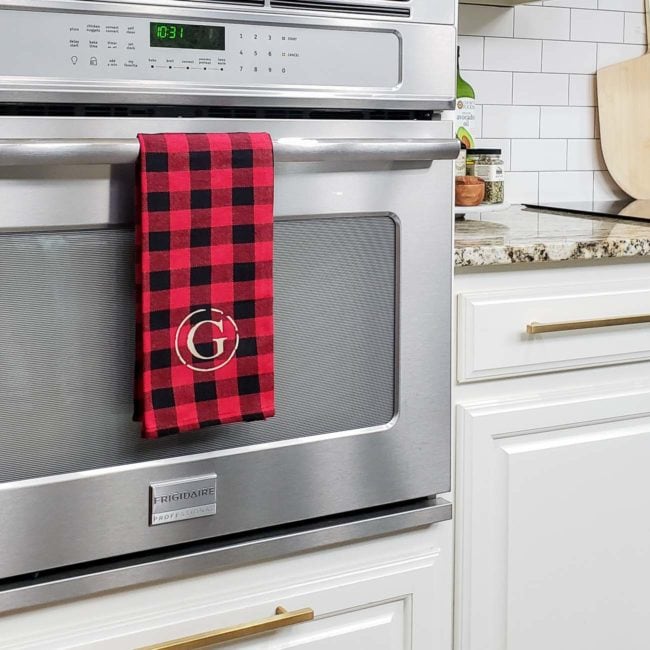
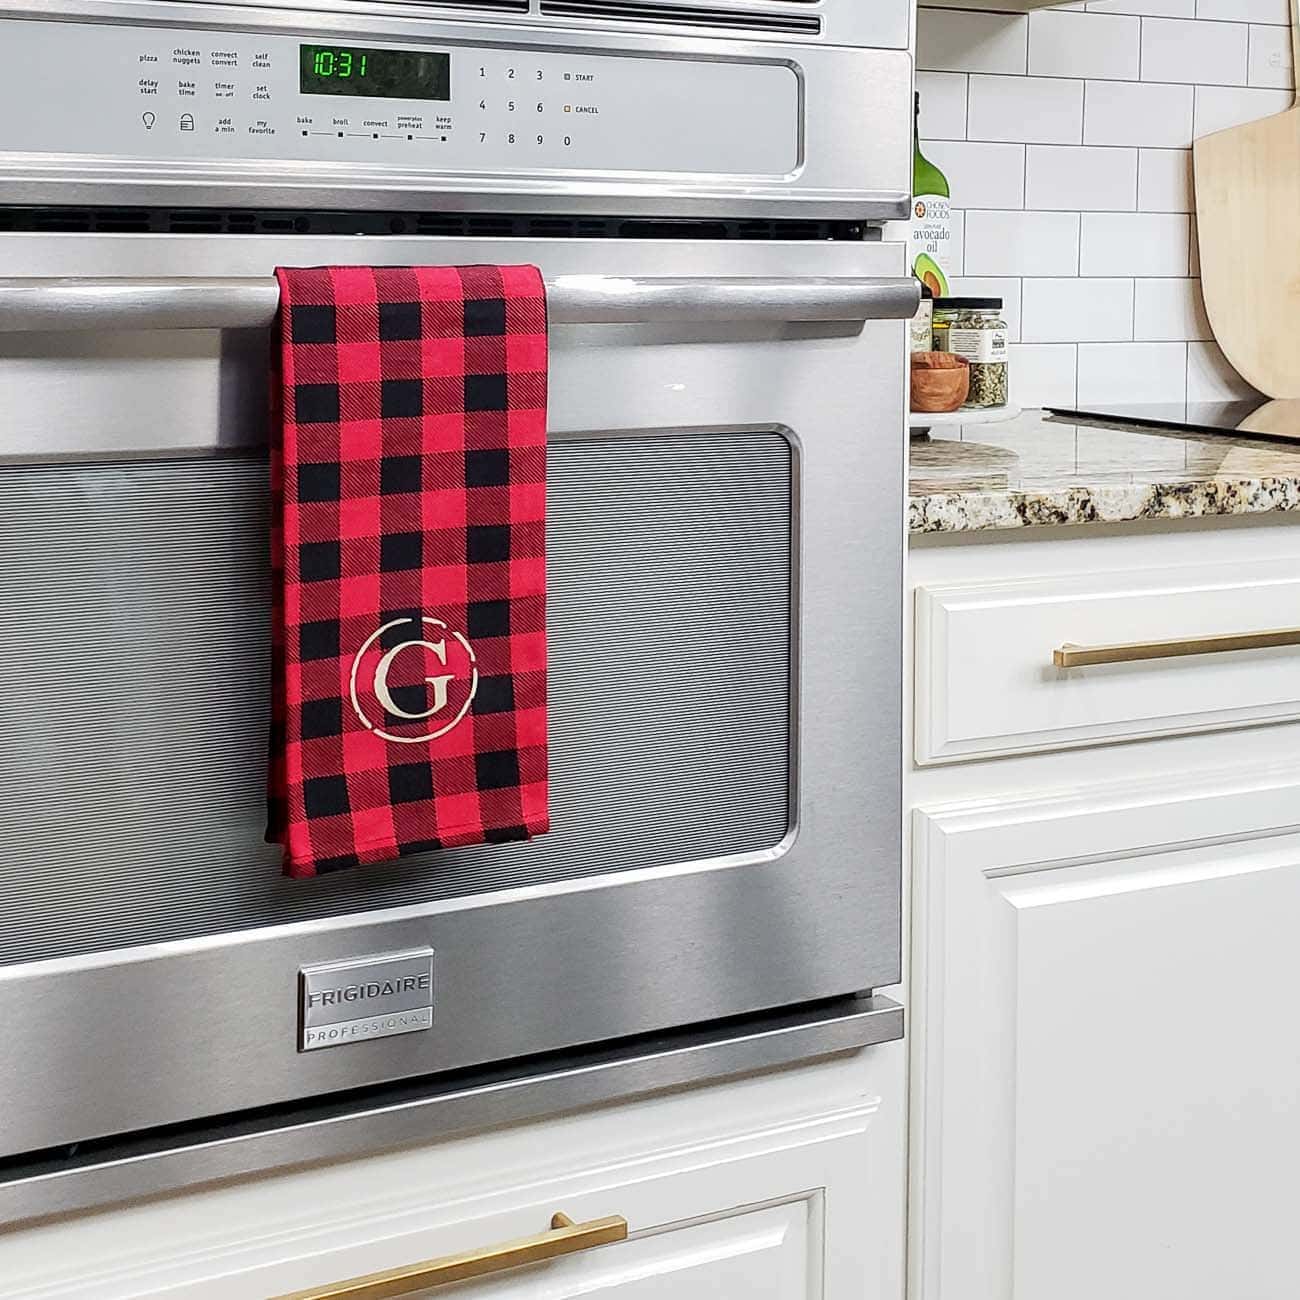
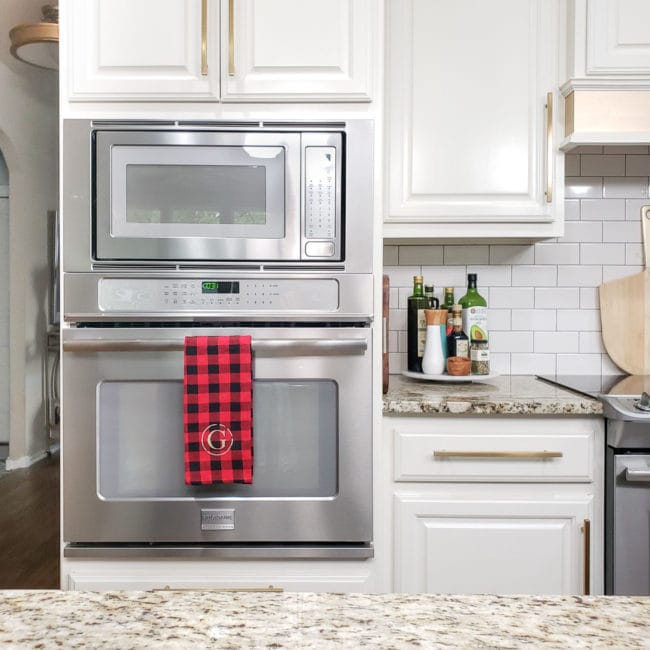
Sticking with the EASY theme, I wanted to show you how I customized a tea towel for our kitchen.
It only takes 15 minutes to add a monogram and the towel makes a really affordable gift. I found the basic buffalo check towel for $3.50 at Hobby Lobby (on sale) and you only need a 4″ x 4″ piece of iron-on, which makes the total project cost under $5/towel in materials!
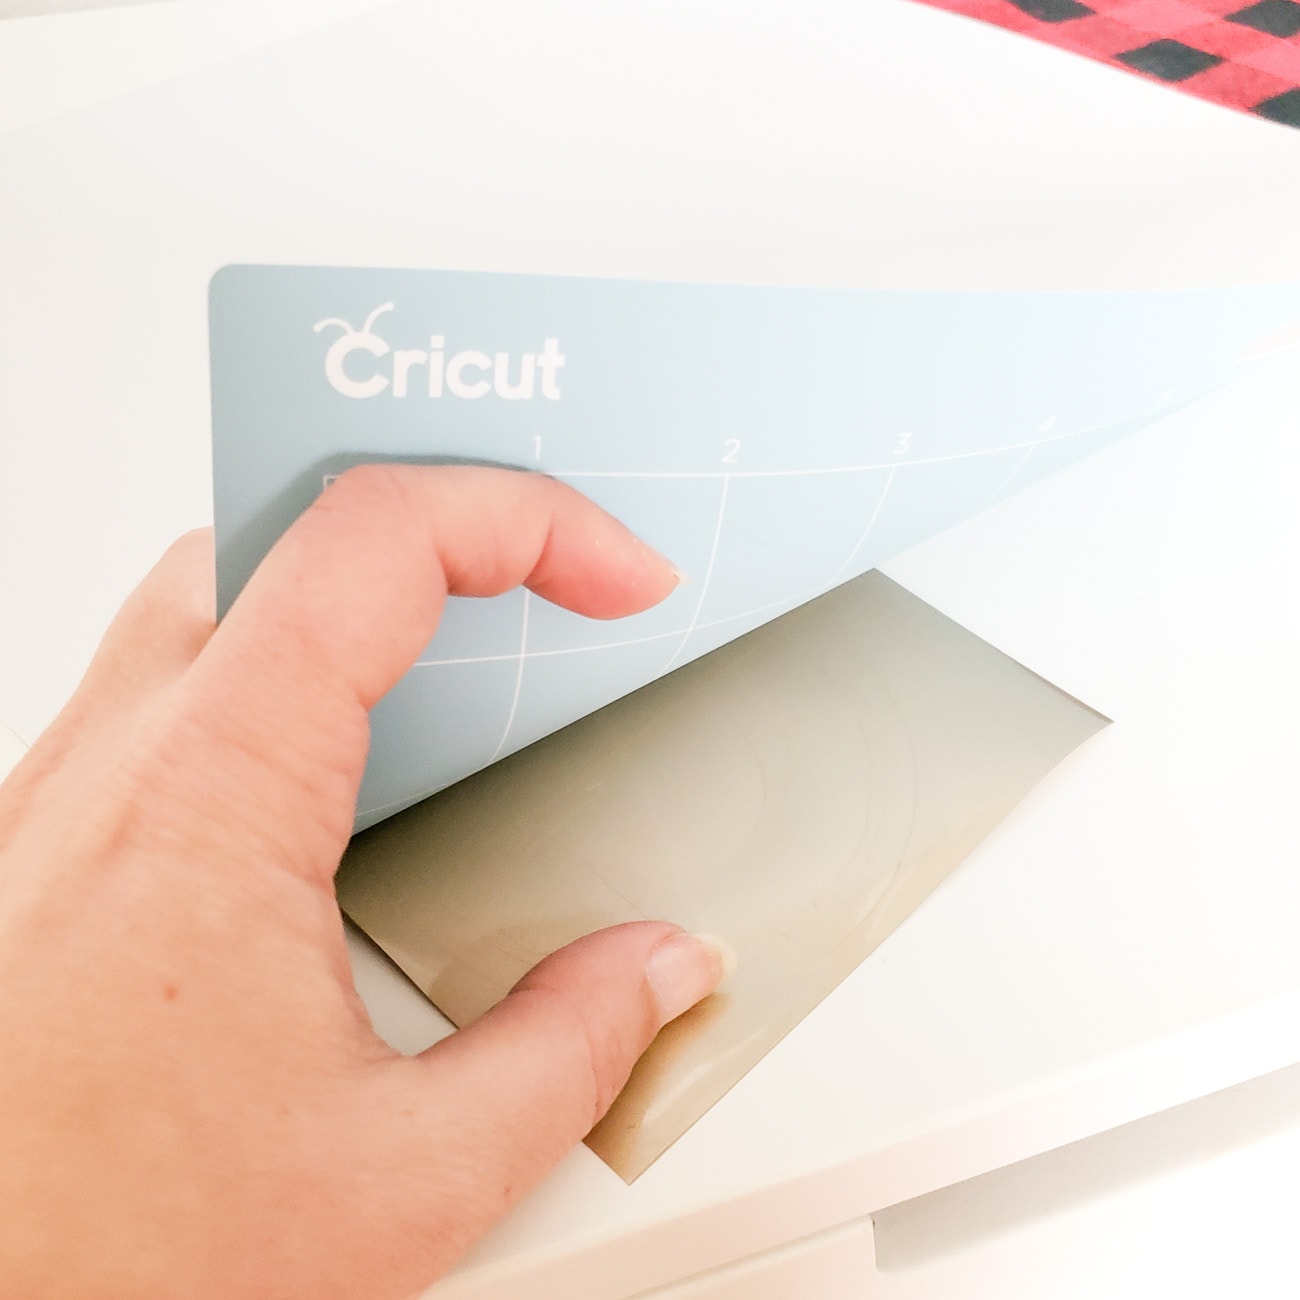
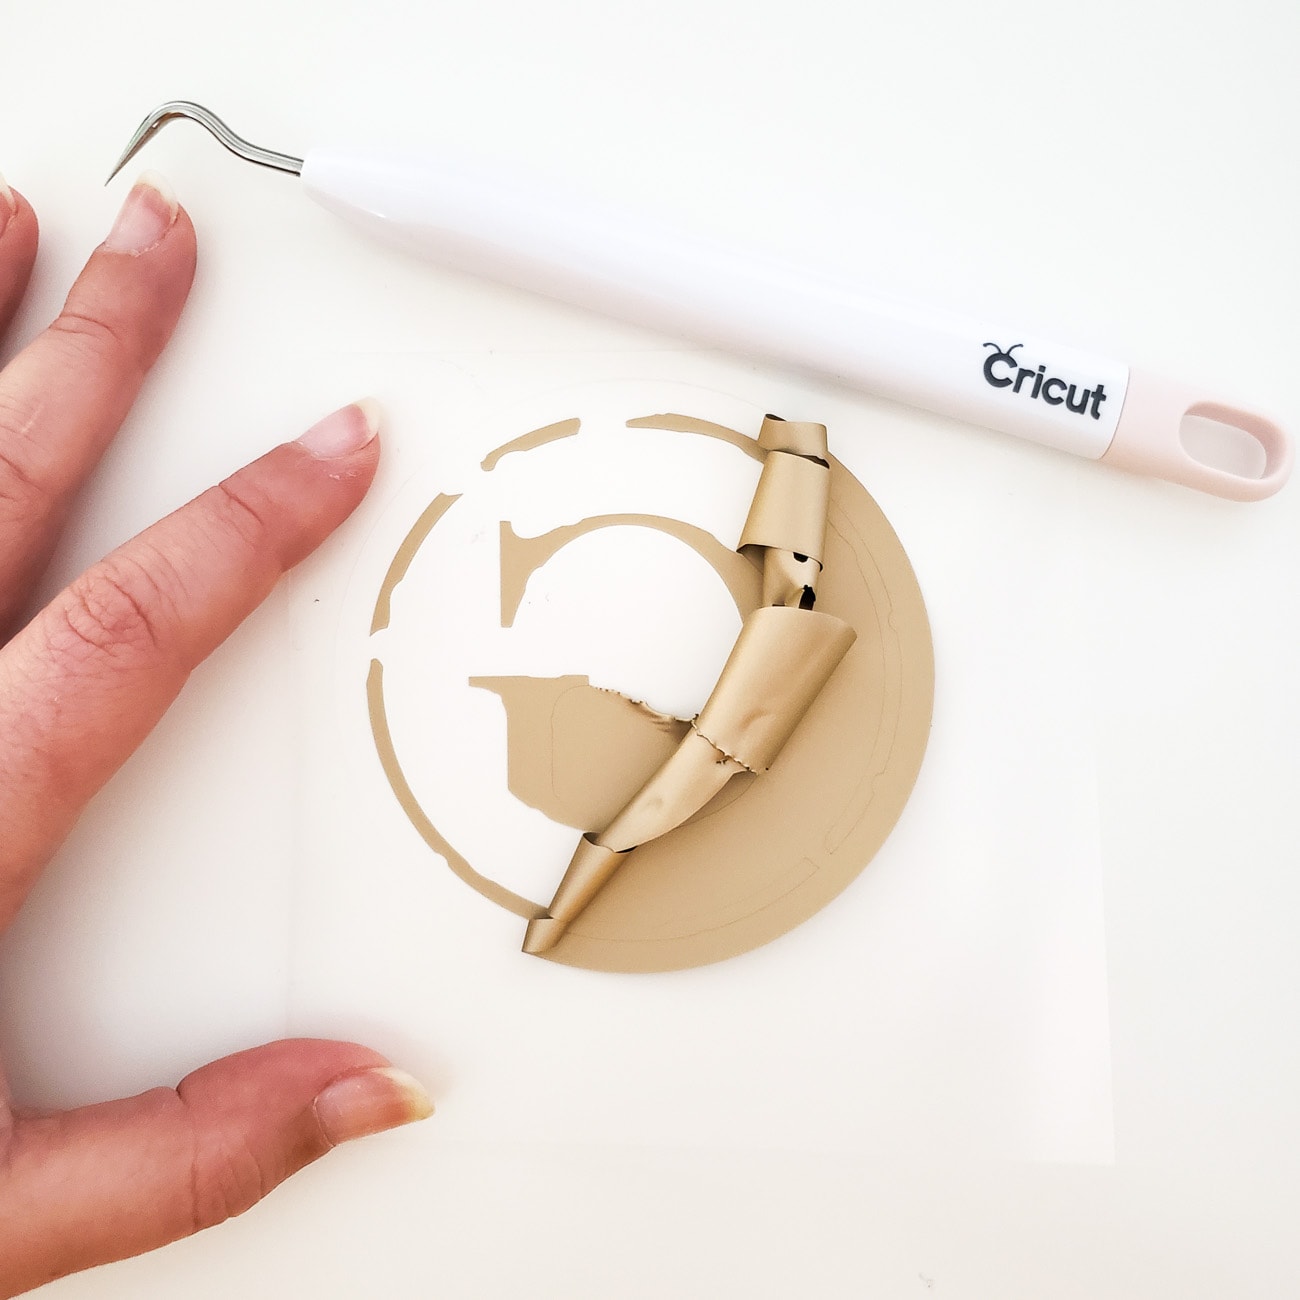
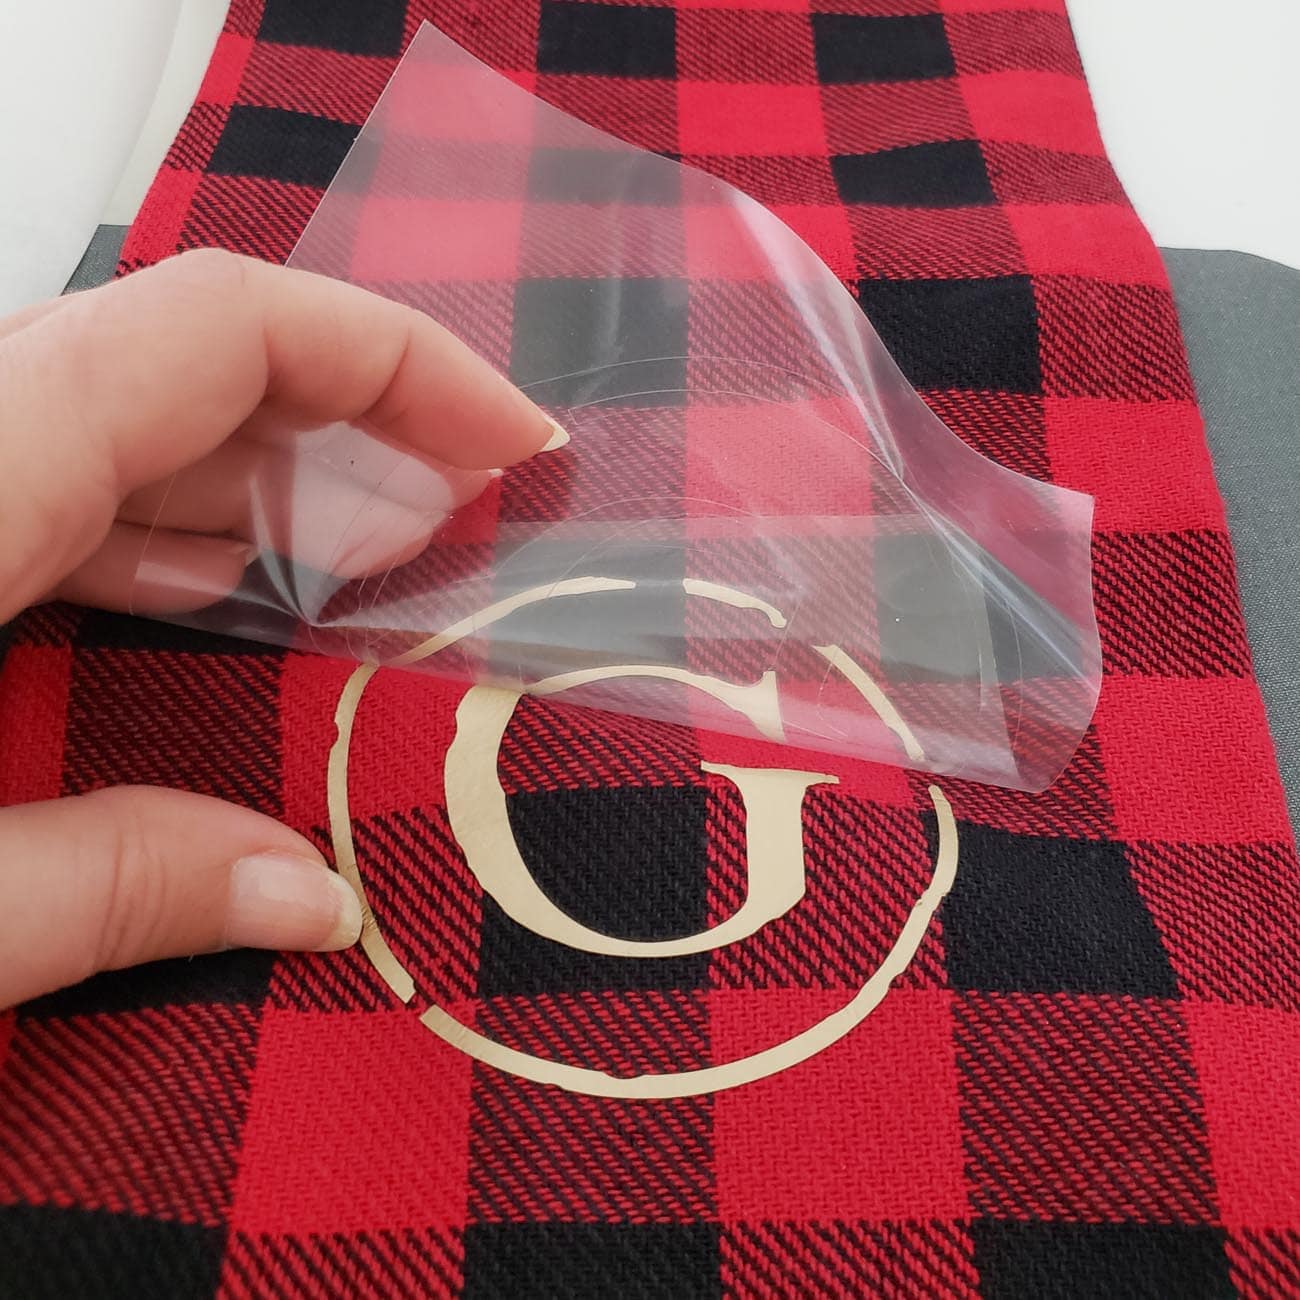
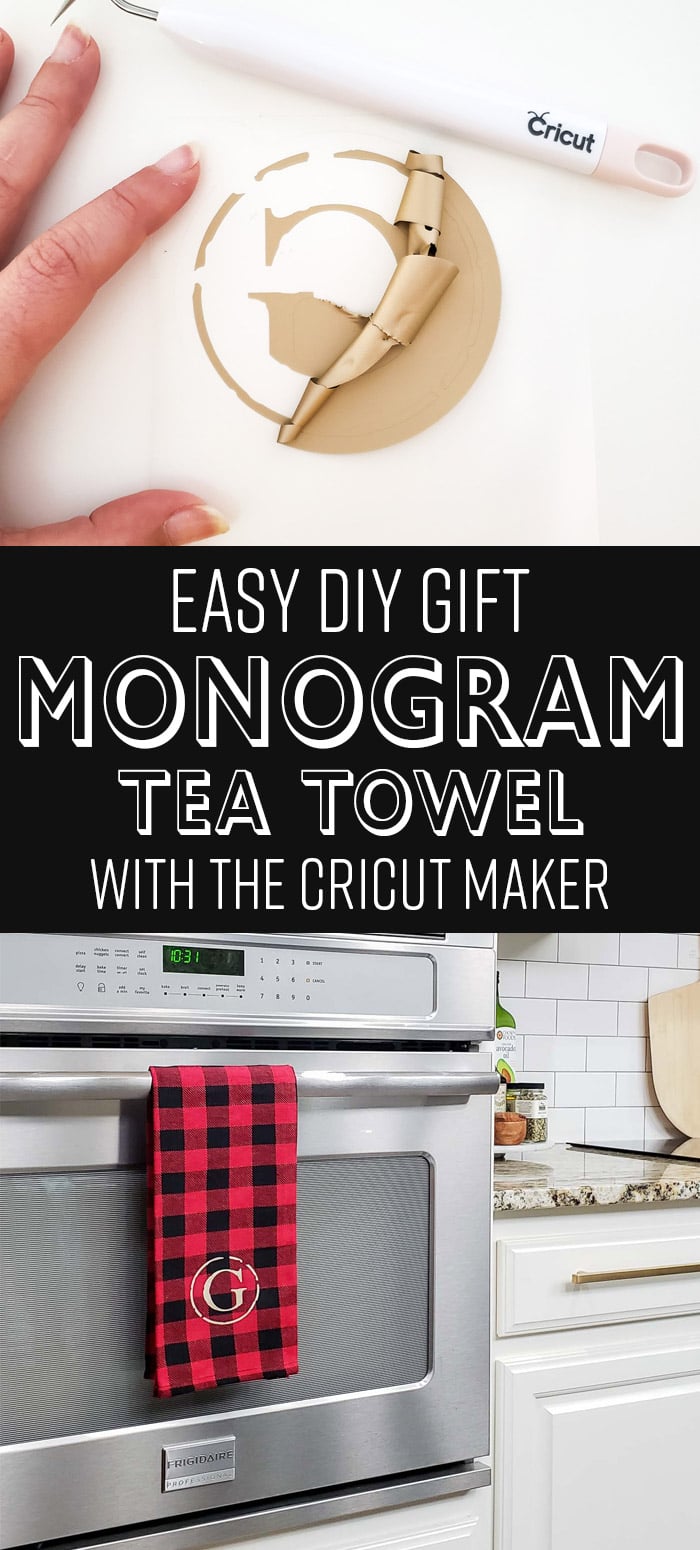
This vintage monogram kitchen towel is quick to make, affordable, and the perfect hostess gift. If you're having trouble peeling back the transfer sheet, try this: As an Amazon Associate and member of other affiliate programs, I may earn a referral fee from qualifying purchases.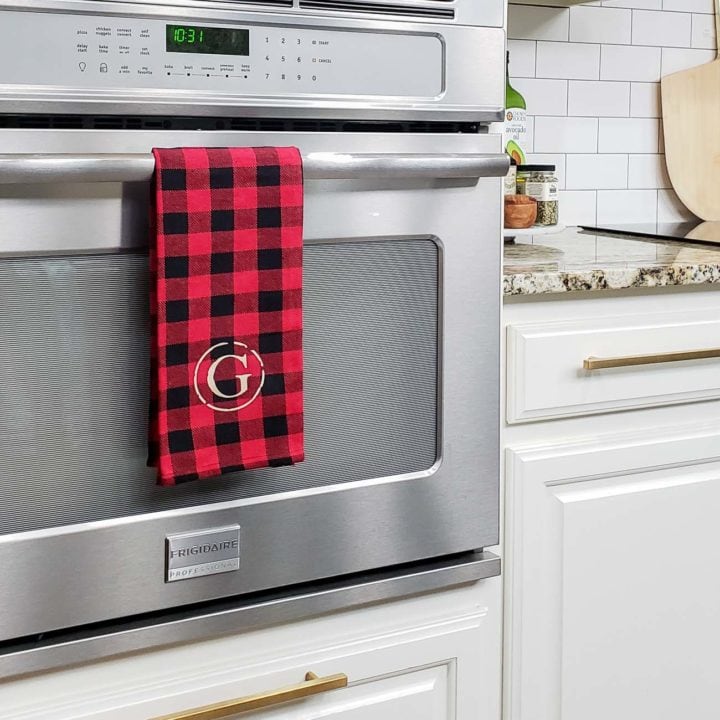
How to Make a Monogram Tea Towel with Cricut
Materials
Tools
Instructions
It's already time to cut!
Your Maker needs to be plugged into your computer or connected via Bluetooth at this point.
Once you've selected your material, Design Space will prompt you to make sure you've mirrored your design. If you haven't, just click edit under your mat on the left side and then click mirror.
It will also prompt you to put your iron-on material on the mat shiny side down and to use the standard cutting blade.
That's all!
It sounds like a lot of steps, but should only take your 15 minutes to create this cute custom Christmas decor for your kitchen! Notes
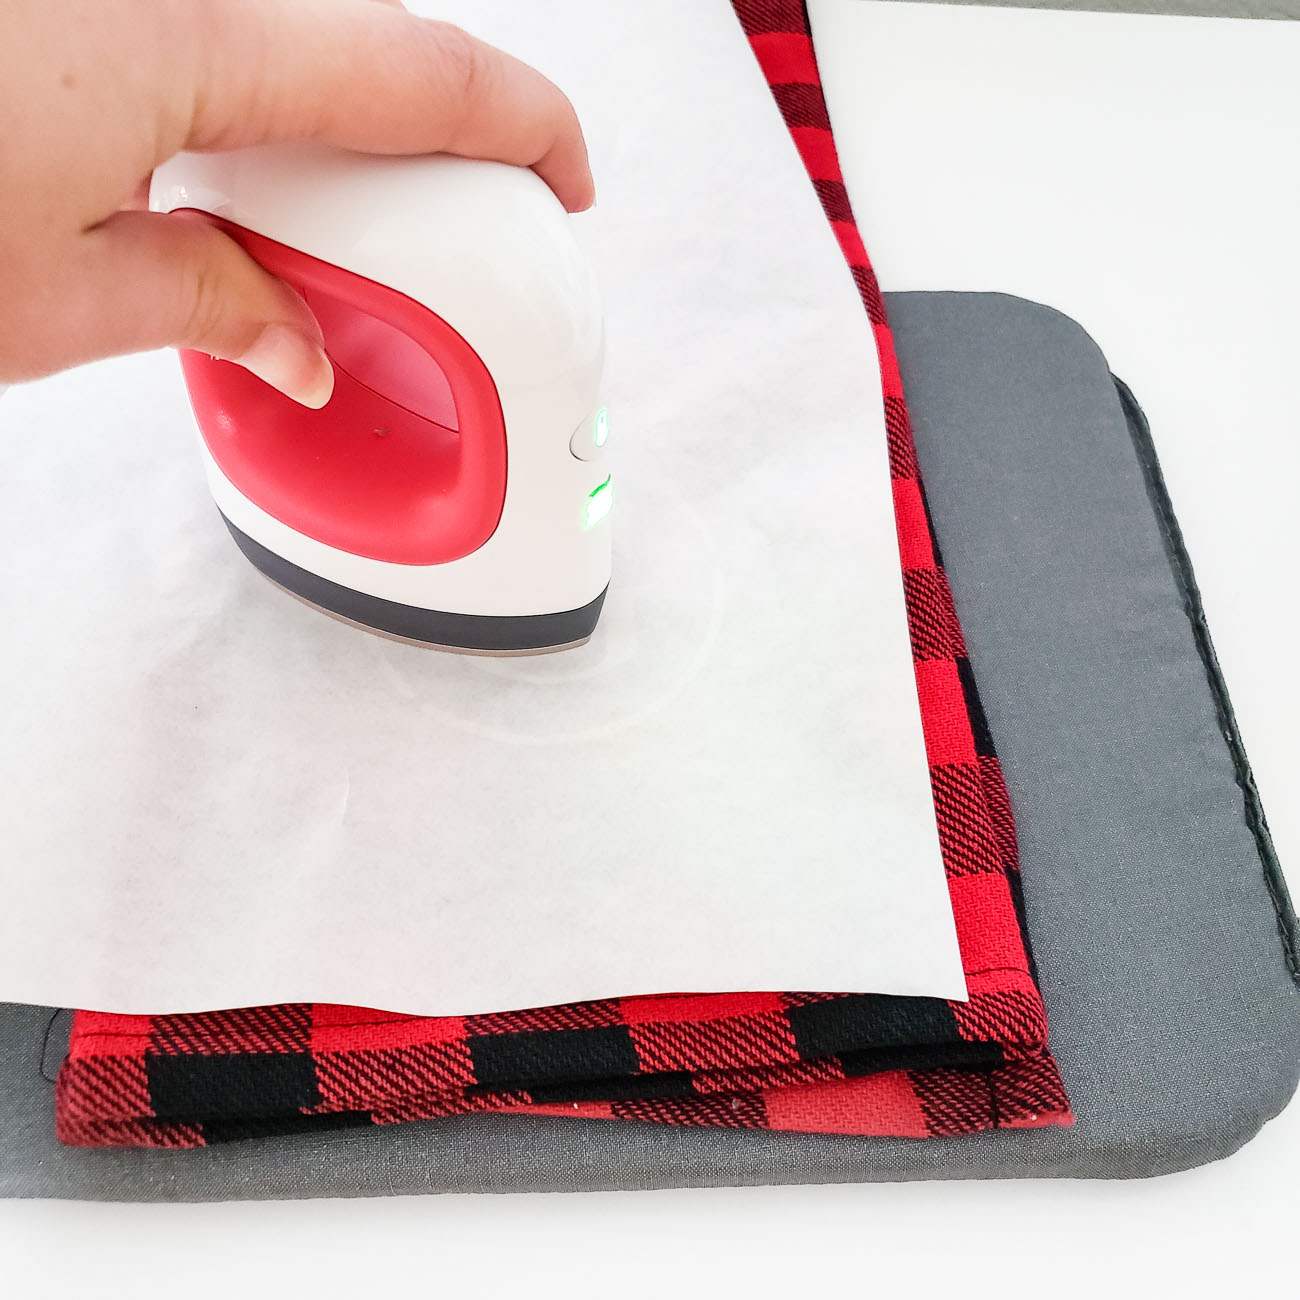
Complete a second round of heat with your press or iron and then use the flat side of your weeding tool to firmly press down the design before peeling again. Recommended Products
Check out this fun project list of other buffalo check Cricut projects I’m going to adding to our holiday decor this year.
Metal Hot Chocolate Bar Sign for the Kitchen
Buffalo Check Pillow with a Fabric Deer Silhouette
DIY 3D Framed Christmas Art
Set of Clever Christmas Coasters
I’ll share them as I get each project done! Until then, I’ll be enjoying a tiny touch of Christmas decor early with my monogram kitchen towel!



Leave a Reply