Hello friends! I am so excited to be here with you for my first organizing post for Polished Habitat.
I am known by my friends and loved ones as the OCD Organizer! It’s a title that I am proud of and embrace.
My motto is Pretty+Functional= Productivity. I believe that a pretty, organized and functional space is a happy space!
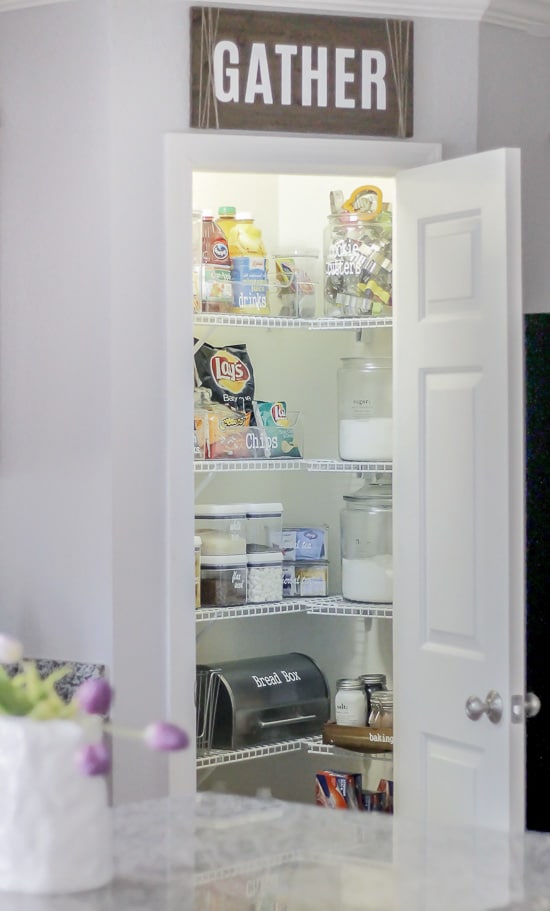

Like all my organizing projects, I wanted our pantry to be functional, but still pretty. So, I started my project by adding a few of my go to organizing pieces that I use in several spaces around our home – acrylic containers!
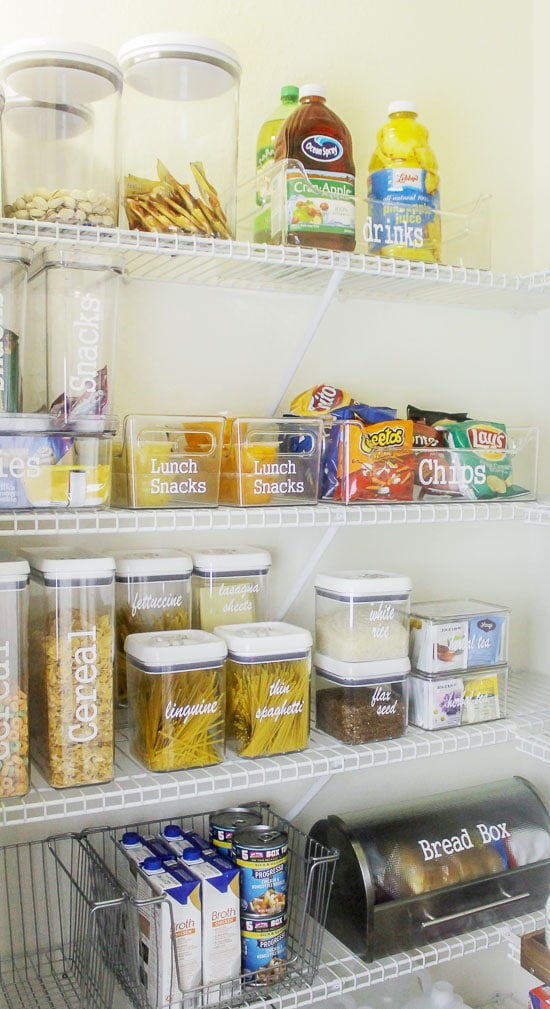
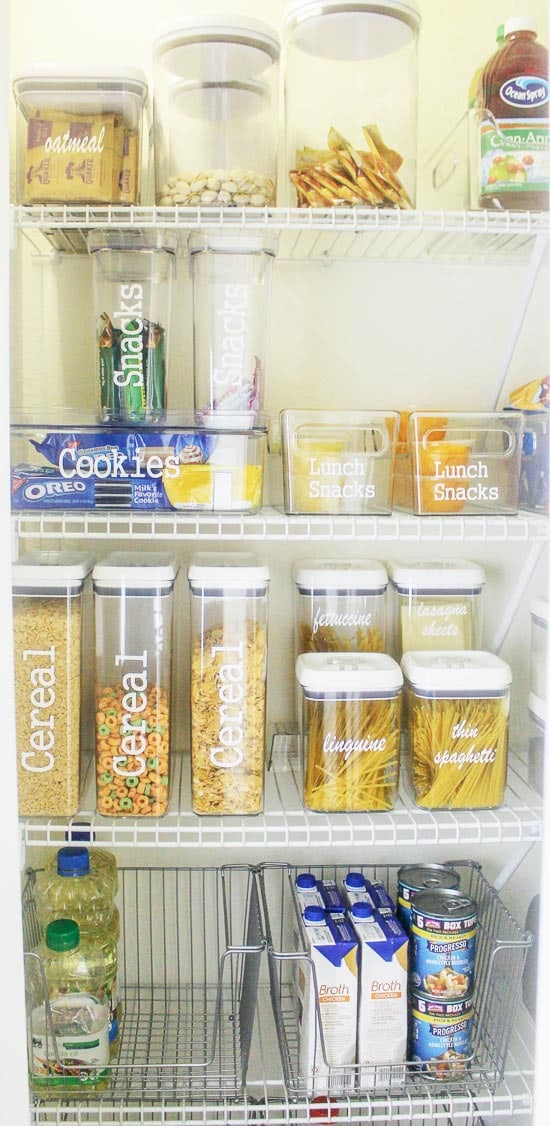
Not only are the food containers pretty, they are perfect for storing items that are normally awkward, like fruit cups. For dry goods, I used the same bulk food storage containers that Melissa has in her pantry – great minds, right?
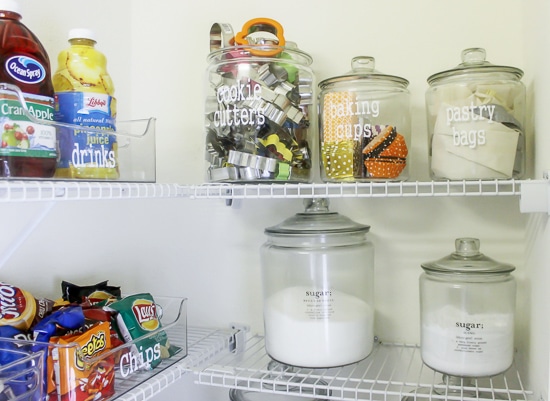
I love the way they allow you to see everything that you have on hand. Because our pantry is small, I had to be creative to find the right size clear containers. I found that jumbo glass jars, tall mason jars, and clamp-lid jars are also great options.
I tried to utilize every inch of space that we have, while still leaving room to add new items as our needs change.
I listed out a few more go-to organizing tips below. They work for every space, but are especially important in small areas.
I love acrylic food storage. I really do.
However, that may not be the best thing for your family. I suggest taking an inventory of your space and then mapping out a plan. Don’t go shopping until after you have a good list of what you need to store.
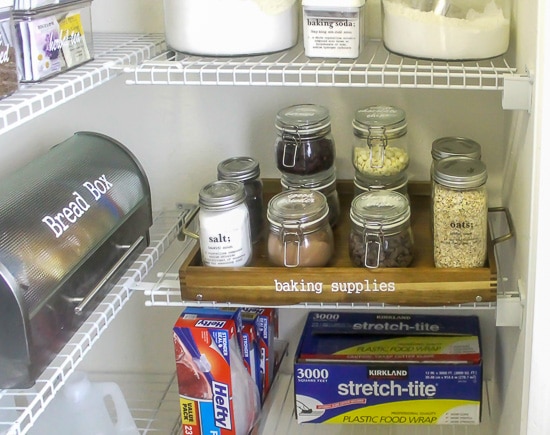
While you are planning, consider grouping like items together on a tray. I did this with my baking supplies and it comes in so handy!
2. Keep an inventory.
The first thing I do when meal planning is to grab my pantry inventory list and see what I already have.
I do this for two reasons:
First, I am not buying duplicates of things I don’t need.
Second, I don’t like things to go to waste. I know that I am not the only one that hates wasting food! I prepare meals based on the items that I have in my pantry for that week. It saves me a ton of time and money!
3. Have storage for big box and prepackaged items.
Cereal, crackers, and cookies come in unnecessarily large boxes. Make sure you prioritize storage for those items.
Those big boxes take up a lot of space and are usually pretty ugly! For example, my family loves the pre-packaged granola bars. Using the clear containers, I can fit more bars in the same amount of space AND we know how many we have without opening each box to check.
4. Label all the things!
I love labels even more than acrylic boxes! Labeling your storage containers in your pantry helps to not only keep you organized, but your family as well. Having everyone on the same page when it comes to storage goes a long way.
For the pantry labels, I used my Silhouette Cameo 3 to do all the work. If you don’t have a vinyl cutter, no need to worry. You can use an inexpensive label maker also.
Another one of my favorite items for labeling is Alpha stickers. You can find those at most craft stores and for a reasonable price. Now everyone in the house can see where the snacks and chips go when they help to put the groceries away. It’s a win for the entire family!
I hope that some of the tips I shared with you today were helpful. Organizing doesn’t have to be hard or expensive. You just have to have a plan, be creative and work it!



Rachael @ This is our Bliss says
Love these tips, Nicole! It’s awesome to see how nice the pantry can look with all different types of storage containers… mixing and matching pieces to fit the individual food items. All with beautiful labels, too, of course! Great job 😉