We’re venturing upstairs today on the blog, and you’re about to see why that doesn’t happen very often. When we built the house, it was an easy call to go 100% builder basic upstairs. That left all of the money we set aside for upgrades to be spent on higher impact things downstairs like the wood floors. I’d still recommend the same strategy, but it does mean living with some very boring spaces for awhile.
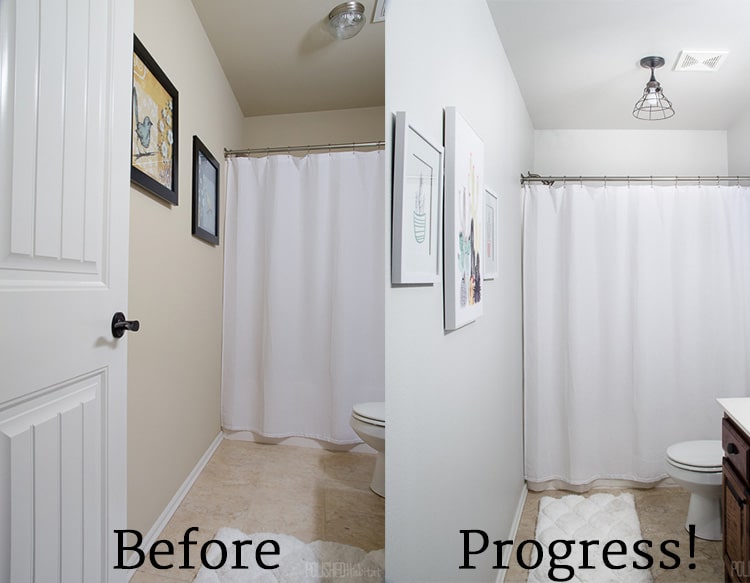
The upstairs bathroom is the perfect example. The ceiling light next to the shower was worst part. So bad.
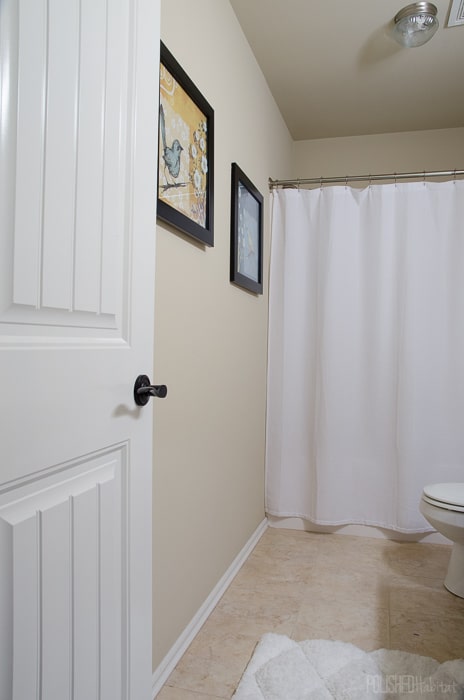
I had added some randomly placed art a few years ago, but nothing in the space feels like us. I wanted to pull it together, but not spend too much money.
Surely it could be better than this without a full makeover, right?
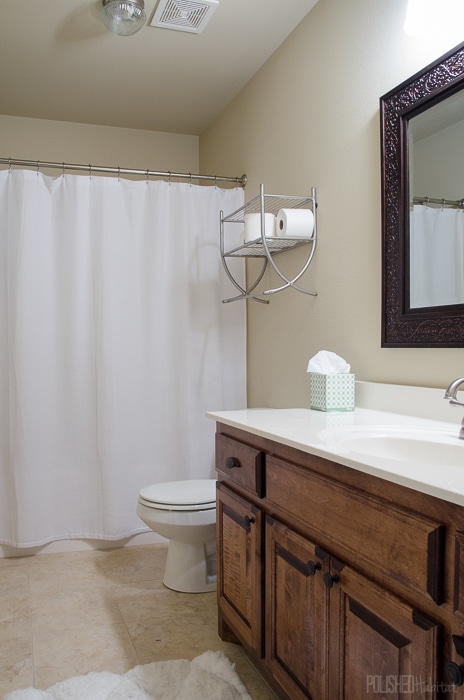
The shelf thing above the toilet was pointless because it wasn’t deep enough to hold towels. Overall, the bathroom wasn’t exactly welcoming to house guests. Unless they REALLY like beige.
I decided to see how far I could get with a $200 decor budget. That included a new ceiling light AND vanity light, so I knew it would be tight. But it was totally doable!
As you may have noticed in the post title, this is part 1 of 2 and I’m getting ready to show the new paint, lighting, and decor.
Part 2 comes next week and is all about organization! Hobby Lobby challenged me to organize a bathroom with $100 from their store. I’m using that to finish off the bathroom update with lots of function and some extra style.
For the $200 decor budget to work, I had to get creative. The first stop was the garage to see if I had enough paint from any prior projects to cover the walls.
I found an almost full can of the light gray paint from the office. Score!
With the painting done, I still had the full $200 budget and needed to come up with a frugal lighting solution.
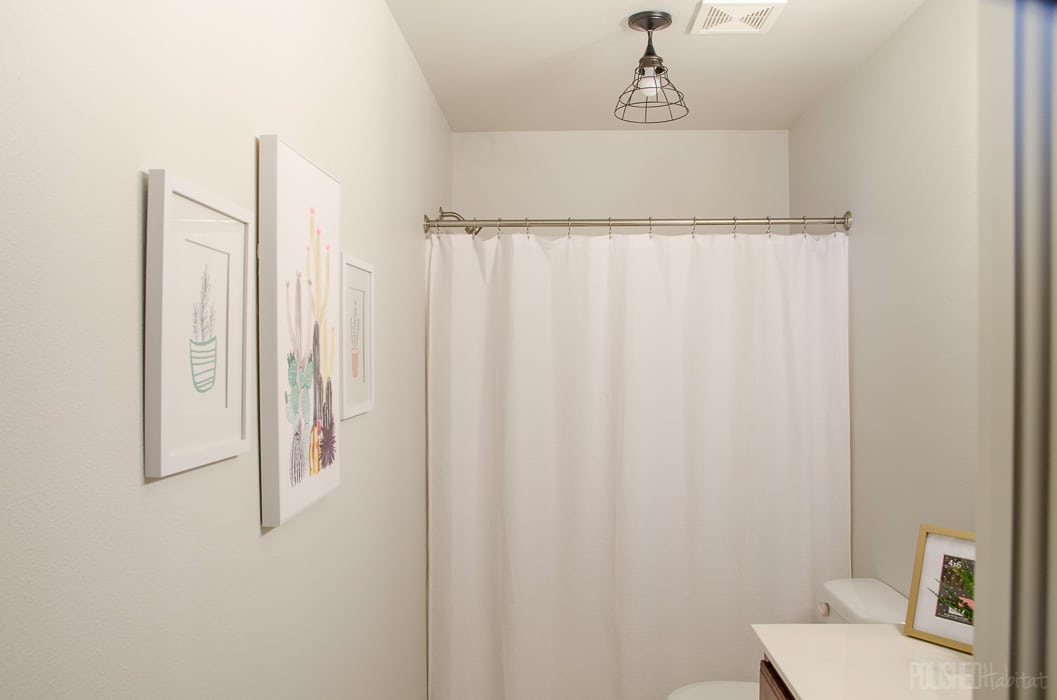
The ceiling light was the biggest challenge because the junction box was almost on top of the vent. Most flush mounted lights are wider and wouldn’t fit. The solution turned out even better than I expected. We used a mini pendant light kit for $13 and a wire pendant light shade for $19, both from Lowe’s. Instead of it hanging it like a traditional pendant with the long dangling cord, we pulled the cord all the way tight to the fixture. It worked!
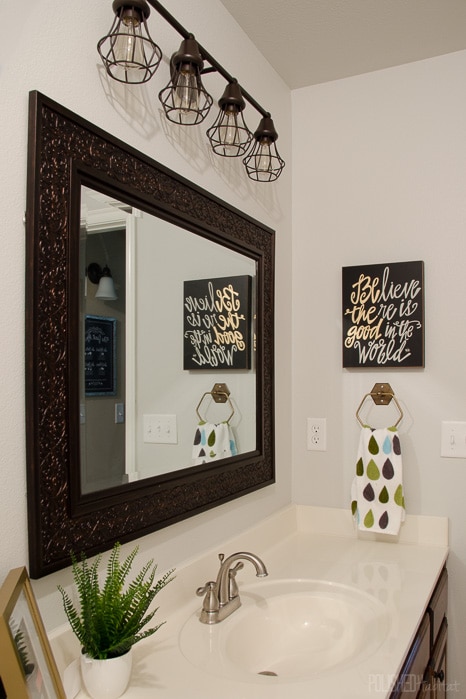
Above the vanity, I spent the largest part of the budget. The new 4-light fixture was $90 of the budget, but worth it! It came from Lowe’s as well. They are killing it in the cool lighting department!
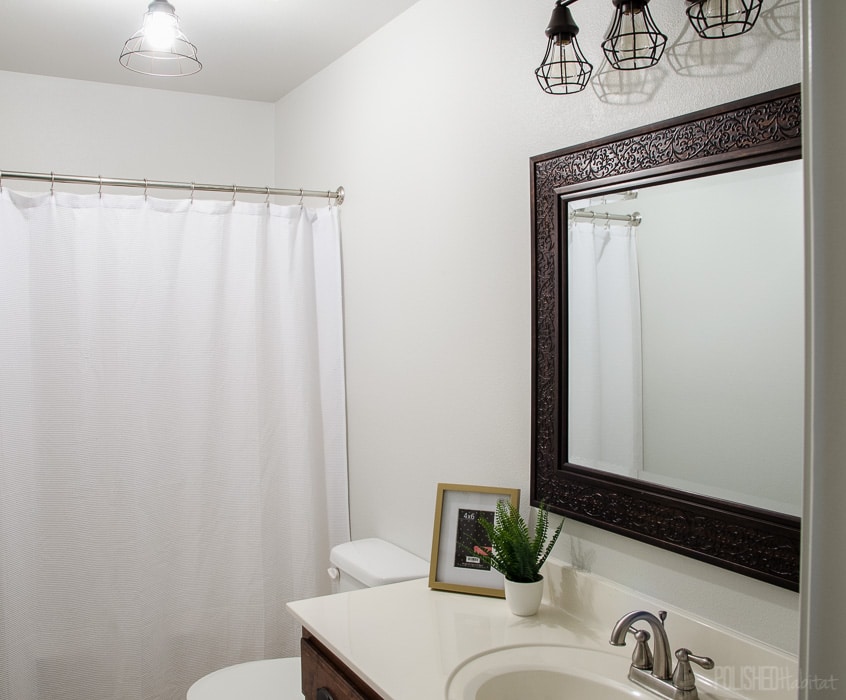
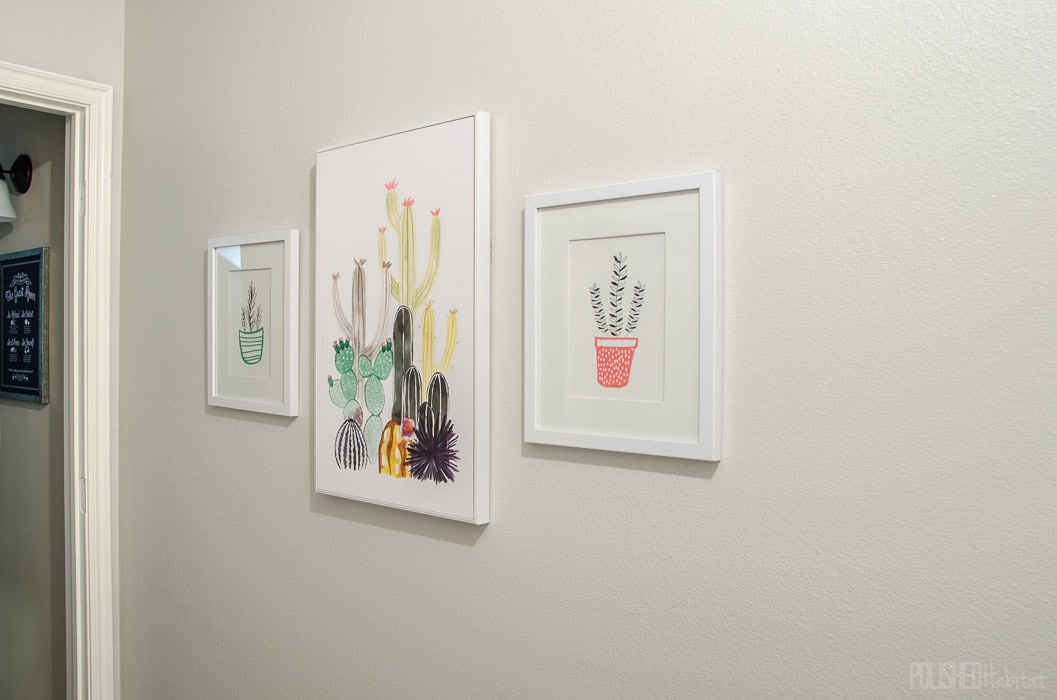
I love the modern plant pictures that I found on sale at Hobby Lobby. The large cactus art was only $15 and the smaller ones were $7 each.
On the vanity, I added a gold frame for $7.50 and cute plant for $6.50. My husband has teased me for not having anything in the frame for these photos, but I promise I added cute art to it for next week’s final photos! I’m already thinking I might have to steal the “Be the Good” art from upstairs to hang up in the master bath. It would be a great reminder every morning.
The vanity is very much in progress in that picture and has a few surprises coming when I add in the organizational items.
I wish I had enough budget to swap out the mirror for something more modern, but when you’re doing a budget makeover, you have to pick your battles. My #1 priority was lighting. I knew I could continue living with the mirror and keep an eye out for a great deal. The existing mirror is pretty, just isn’t the right fit for the updated modern industrial style.
When you’re trying to update a space on a tight budget, start with making a priority list. It’s essential!
I’m excited seeing the progress we’ve made so far, but all the organizing items will really finish pulling the space together. I even found a new solution for the wall above the toilet. It’s SO MUCH BETTER.
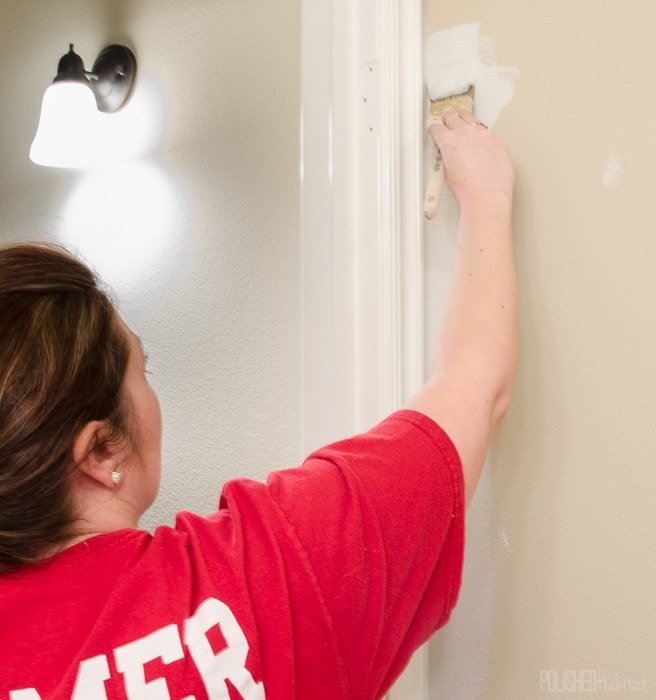
Here’s one last look at where we started and the 1st day progress.
The paint and lighting made such a difference. Check out part 2 next to see the finished space!


Theda says
Looks great! I’m looking forward to part 2, as I need an up the toilet solution for my small bathroom.
Melissa George says
Thank you! I hope what I came up with will work for you too. I just finished editing the photos and I’m really happy that I finally have both TP and towel storage above the toilet!
Sarah Vogel says
Great start!! You could paint the mirror frame a fun color, or a metallic finish. A fun print on the shower curtain with the colors or motif from the wall art? Can’t wait to see what my guest bathroom will look like! 🙂 Someday, hopefully!!!!!
Melissa George says
Yes! It’s all ready for you now! I considered painting the mirror, but it’s the pattern that I’m not crazy about. The more I thought about it, I realized it would be best to just leave it as is and sell it at the next neighborhood garage sale. It will be perfect for someone’s bathroom!
Lindsay says
Are you going to include a link as to where you bought the lights? The vanity light is exactly what I want in my house! Would love to know where you got it from!
Melissa George says
Yes! Sorry about that, I must have gotten distracted when I was typing, I meant to include it! I updated the post to include the link, but here it is: https://www.lowes.com/pd/Kichler-Lighting-Bayley-4-Light-9-02-in-Olde-Bronze-Cage-Vanity-Light/50356138 I found mine in store at Lowe’s, so if you have a location nearby they may have one. There was a special buy sign on it reducing the price to $89.99, so you might check today to tomorrow in case it’s one of the weekly offers.