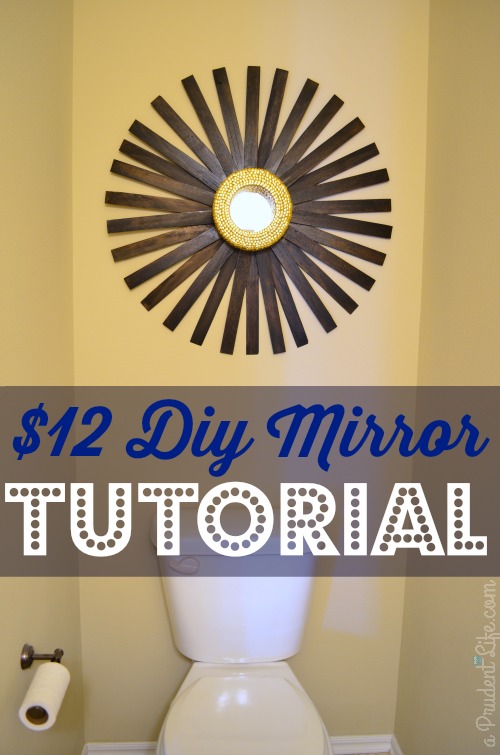
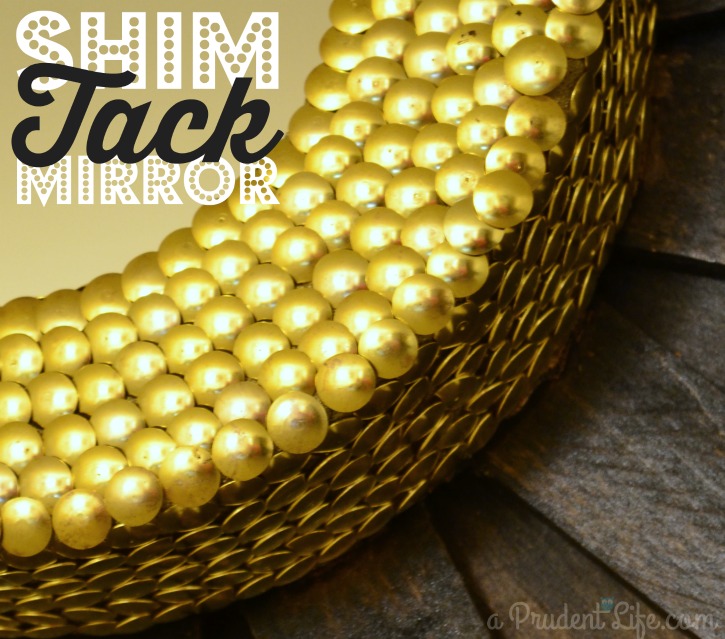
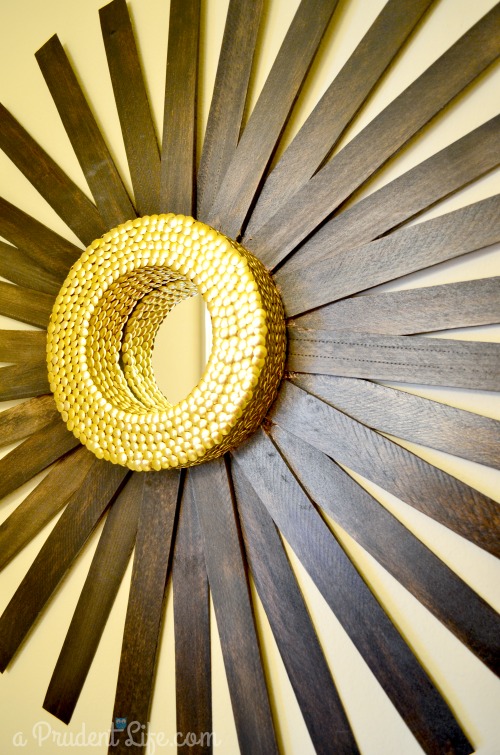
I wasn’t sure I was EVER going to finish this project! It wasn’t really HARD, but I definitely learned some lessons along the way. I’m really glad I stuck it out though, because the end result is an awesome 30″ sunburst mirror that cost TWELVE DOLLARS!
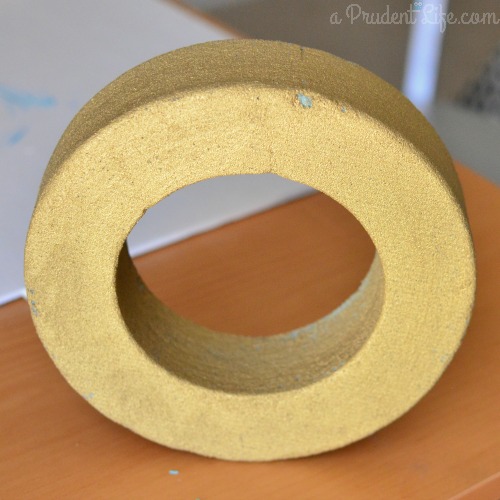
It all started with a floral foam I picked up at the Dollar Tree several months ago. I was staring in my craft storage cabinet one day and had the brilliant idea to cover it in thumbtacks and turn it into a mirror. A quick trip back to Dollar Tree and I had 1500 gold thumbtacks and a cheap makeup mirror.
I painted the foam with some gold craft paint so no green would show through. I didn’t paint the back, but if you try this, you should.
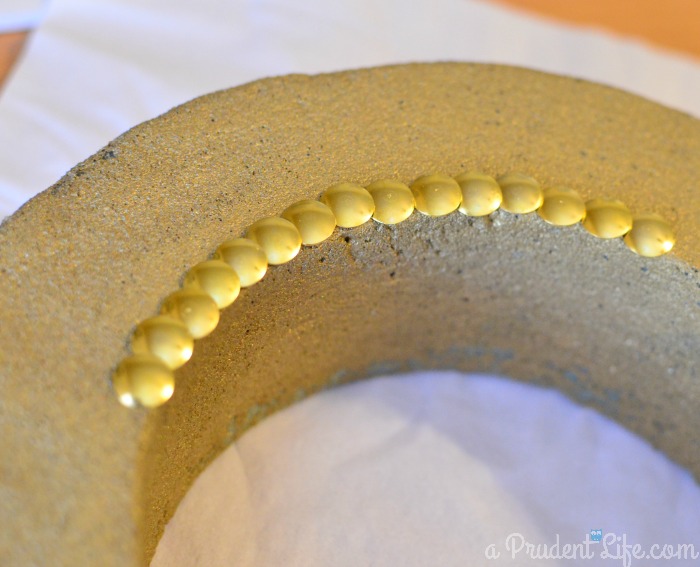
Then I started tacking…
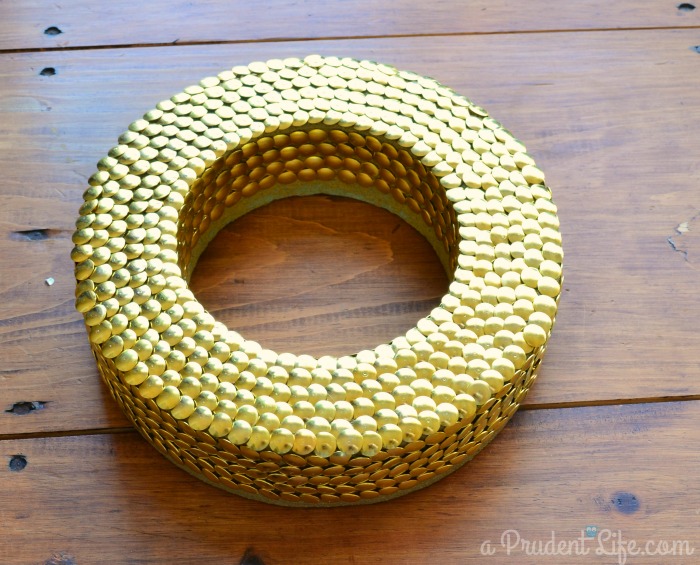
This was pretty easy to do while watching TV. I worked on it over several nights until it looked like the pic below.
About that time, I had another idea. What if I somehow attached shims to make the mirror MUCH larger and more appropriate for one of our big blank walls??? Genius!
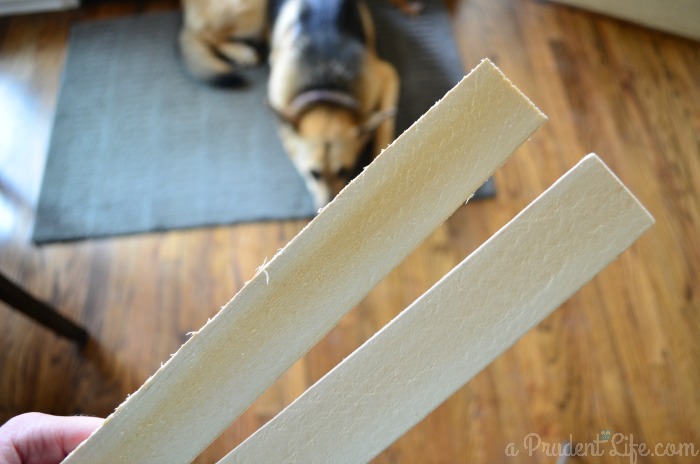
I picked up a large pack of shims for $4. Since shims are made for shimming things, not for art projects, they were rough around the edges. Guess what? That meant I got to sit down in front of the TV again! I took a sanding block and large cardboard box, plopped on the floor, and sanded the shims over the cardboard box to catch {most of} the dust. I’ll just warn you now that sanding while watching TV works better if you are alone. First try was a fail because hubby thought I was being WAY too noisy. 🙂
Here’s a before and after of the sanding step.
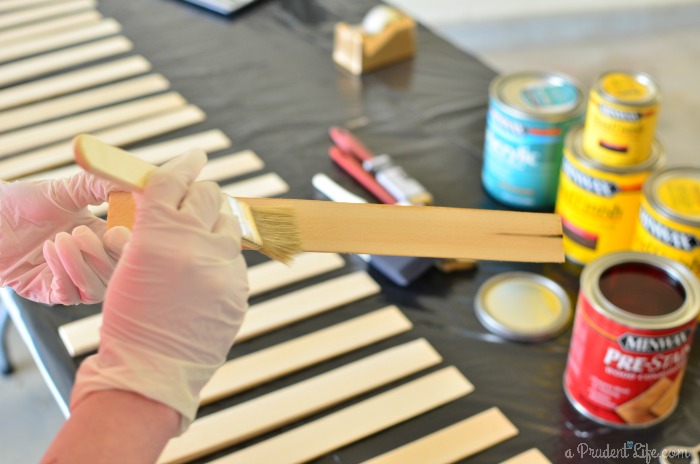
Once everything was sanded, I decided to stain the shims a dark wood tone. I used Minwax Wood Conditioner before staining to help the stain evenly cover the low quality wood .
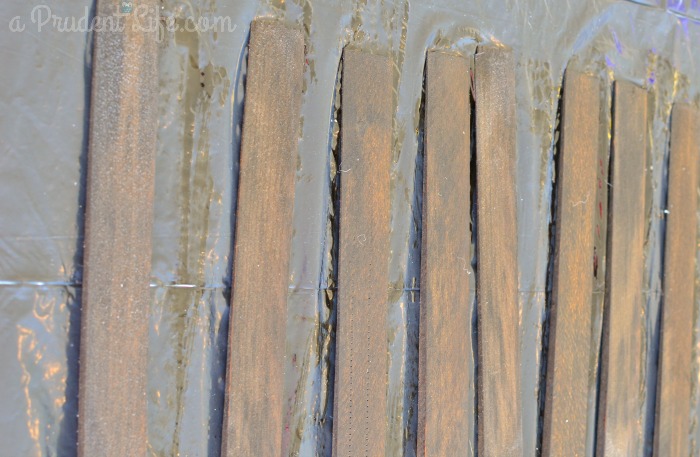
By the time I had the last shim covered with conditioner, I could start back at the beginning with Minwax Jacobean stain. Here’s a shot of the newly stained shims. I used 30 of them.
I let the stain dry overnight, then added a coat of polyurethane. Once the poly was dry, it was time to figure out how all these pieces were going to go together. Yep, probably should have planned that out ahead of time!
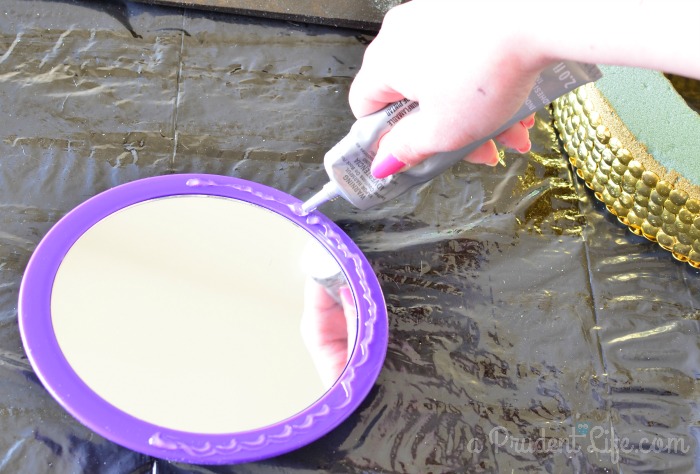
First, I attached the mirror to the floral foam.
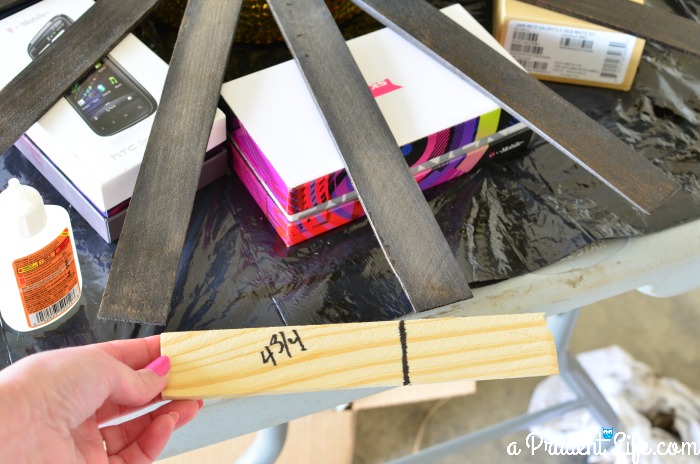
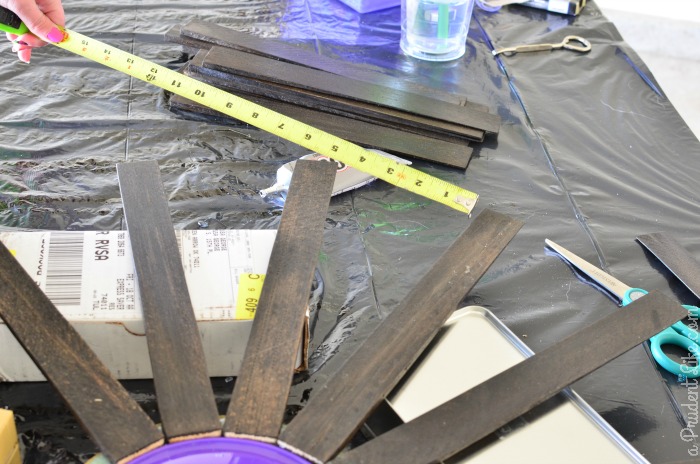
Once I figured out the spacing, I made a little template so I could quickly adjust the shims.
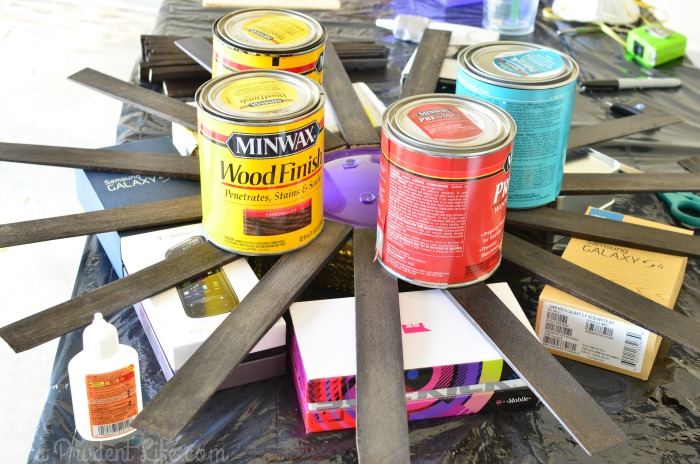
For my new 30 inch mirror, I spent $12 total because almost everything came from Dollar Tree! The price doesn’t include glue or stain since it uses such a tiny amount. If you don’t have stain on hand, the shims could also be painted.
As I mentioned, I learned a couple things along the way:
Lesson learned #1: Everything would have been a lot easier if I had applied some thin glue to each section of foam before I started sticking the thumbtacks in. MOST of my thumbtacks stayed in just fine without being glued, but a few of them didn’t cooperate and kept jumping out of the foam every time I moved it.
Lesson learned #2: Pay attention to your glue! First I used E6000 which has more warning labels than I like, and takes a long time to dry. Second I used Gorilla Glue and totally forgot how much it expands, even though the label clearly tells me. It held REALLY well, but I made a bit of a mess with it 🙂


Stacy says
Hey – where did you get the little round mirror that was the right size?
Stacy
www.anygirlcandoit.com
melissa@polishedhabitat.com says
I found it in the hair/makeup section at the Dollar Tree. It was a lucky find!
Cindy@DIYbeautify says
This is about the coolest project ever! I love reading that another DIYer has the same creative process as I do…working it out as you go 🙂 It turned out beautiful and looks amazing on your wall! Pinned!!
Melissa George says
Yeah! I’m glad I’m not the only one that totally wings projects sometimes. Thanks for the kind words!