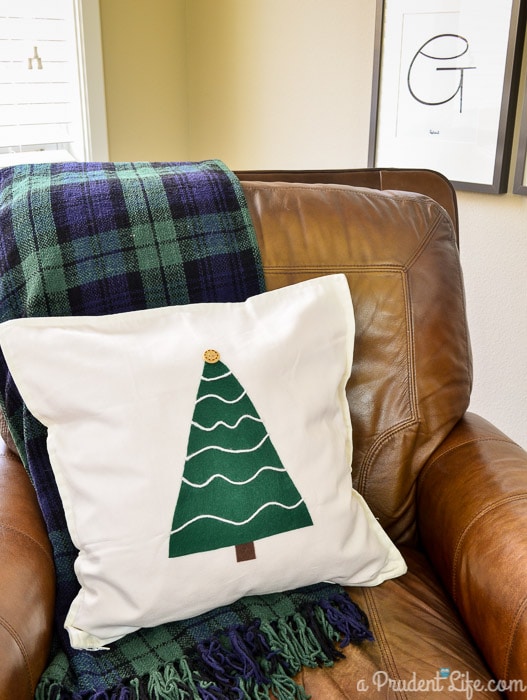
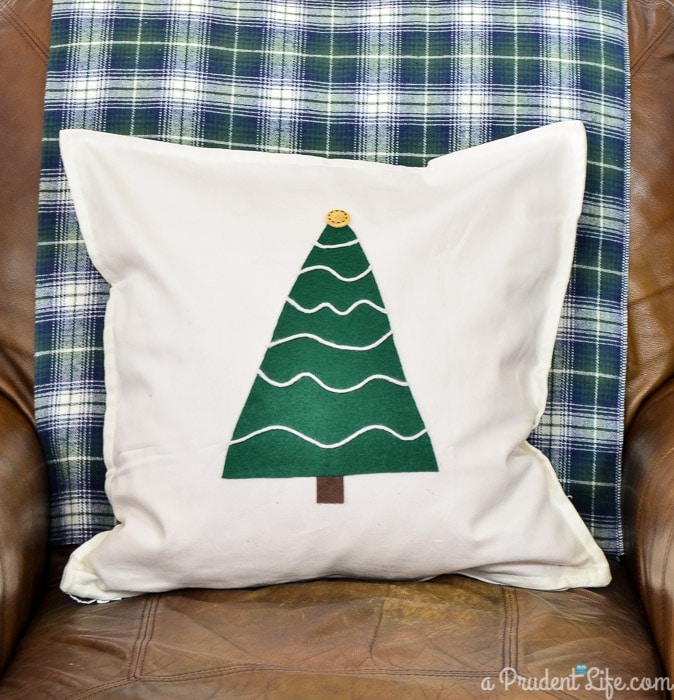
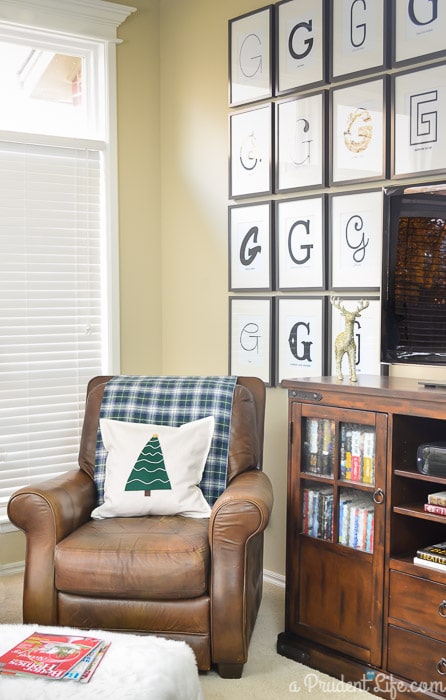
My budget is doing a happy dance over my new rustic Christmas tree pillow. What? Your budget doesn’t dance?
Here’s how my budget works, as described in an odd analogy…. I spend money on glorious things like the pantry. This makes the budget sad. The budget eats lots of ice cream to console itself. But we need the budget to be around for a long time. It needs to be healthy! I must make the budget dance off all those ice cream calories! Cheap projects like this make the budget dance, and all is right in the world again. Totally makes sense, right?
My Christmas decor plan this year is a modern rustic vintage fusion with a healthy dose of plaid, felt, and {faux} fur. Hopefully it works in reality as well as it works in my head! I needed some new throw pillows to help pull my crazy plan together, but have you seen the price of pillows in stores? I’m still upset about the pillow I stalked at Target last year that refused to go on clearance even AFTER Christmas. I knew my new pillows would need to be DIY’d.
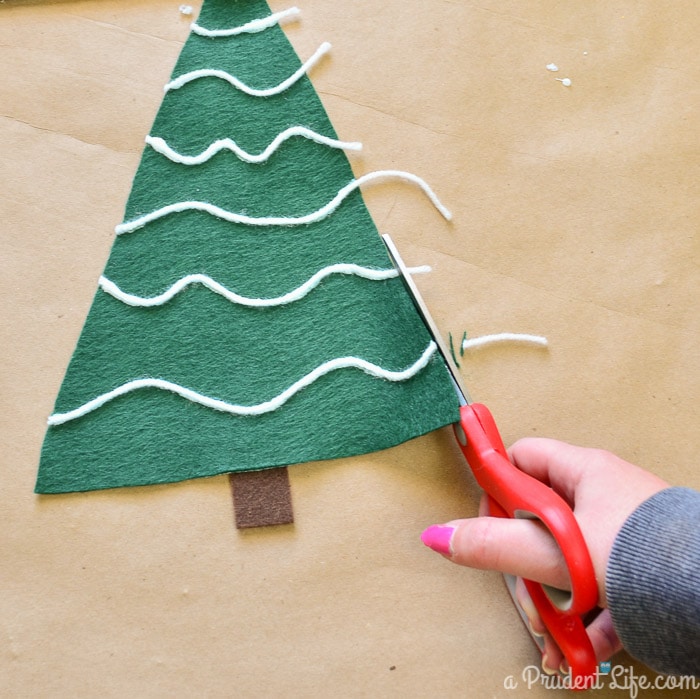
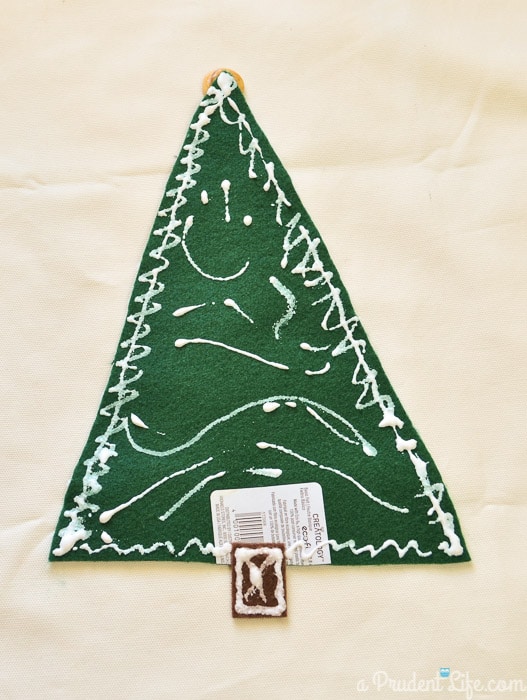
When we were at IKEA picking up all the frames for the gallery wall, I spotted some GURLI plain pillow covers on sale. The full price is $4, which is still a bargain since it gets me out of sewing my own covers. No IKEA near you? Drop cloth pillow covers are also budget friendly. If you want to go that route, Katie from Addicted 2 DIY has a great tutorial here. You’ll also need some scrap white yarn, green felt to make a tree, a tiny rectangle of brown felt for the trunk, and Liquid Stitch or another fabric glue. 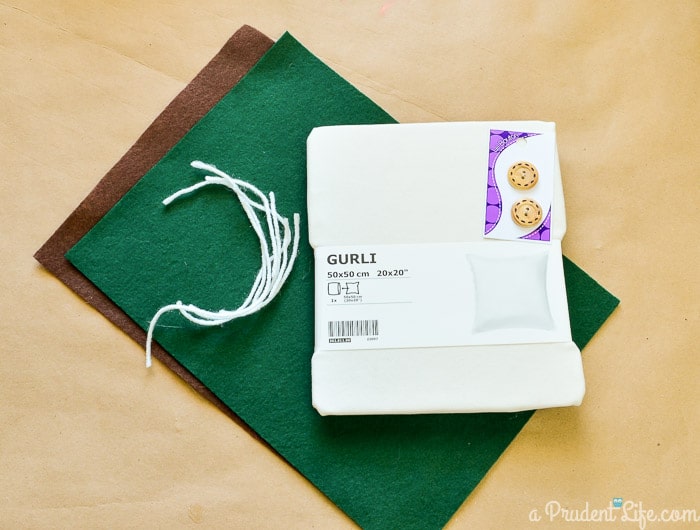
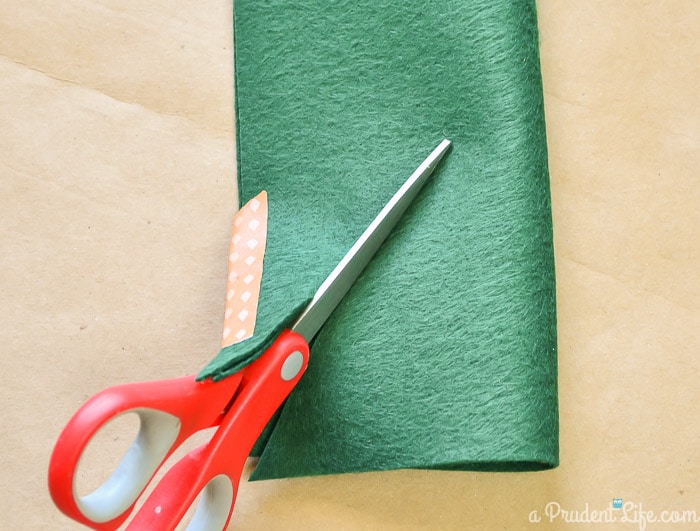
(affiliate link) before attaching it to the pillow. This part could be a fun kid’s project. In addition to the yarn snow and felt stump, I added a wood button to the top of the tree, but honestly I liked the tree better without it. We’ll call it the optional button.
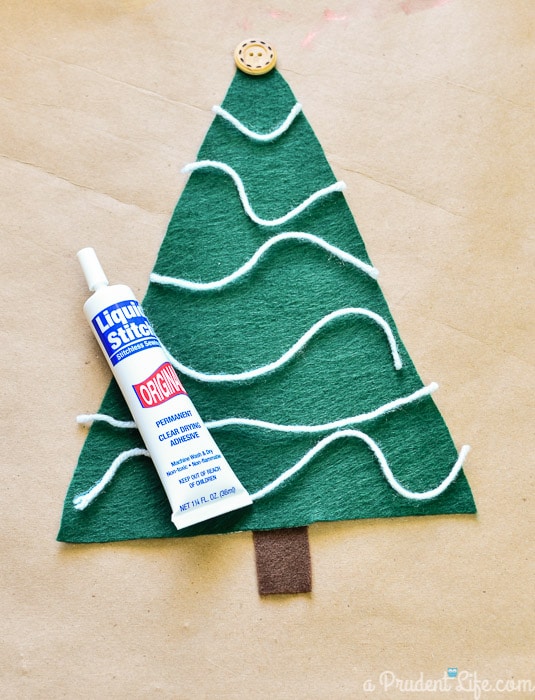
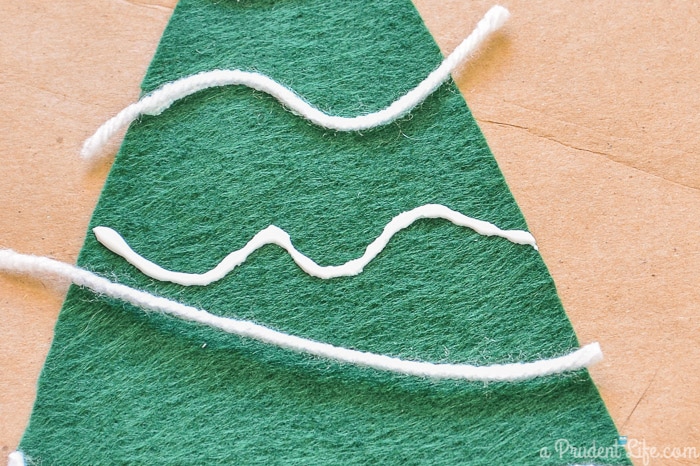
Need more Christmas & Winter inspiration? Follow my board on Pinterest for new ideas daily!
Follow A Prudent Life’s board Christmas & Winter on Pinterest.
Post shared at: The Creative Collection, Link Party Palooza, DIY Sunday Showcase, Get Your DIY On
[metaslider id=3436]


Michelle@TheRibbonRetreat says
Super cute pillow! I love how easy this project is but how incredible it looks! Thanks for sharing! PINNED!
Courtney @ Crafts by Courtney says
Ok I’m totally making one of these pillows!! I can’t even believe how easy it was to do it. BUT I might turn it into a kids project, with a Crafts by Courtney spin. 😉
Rebekah @ Charming Imperfections says
Personally, I like the button and would say keep it if I were you and as far as our decorating style goes…we are going with classic, normal decorations, but that’s because we just moved and I haven’t been able to buy new decorations to fill all the extra space we have this year 🙂 This pillow is super cute and looks so easy to do!
Aniko@PlaceOfMyTaste says
Sooo cute! No sew is always welcome on my list!!
Krista @the happy housie says
How simple and adorable is this?! Love it!