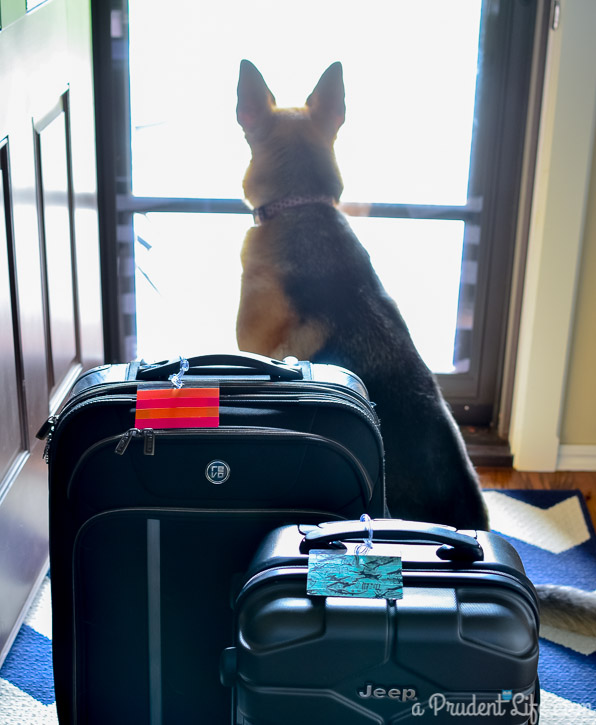
It’s Craft Lightning challenge time again! Last month, we were tasked with creating a great teacher appreciation gift in under 15 minutes. This month, the topic was open. Any craft that could be completed in under 15 minutes was fair game. I’ve been traveling more than usual lately, so I came up with some really easy & cute luggage tags. They only took 5 minutes to make!
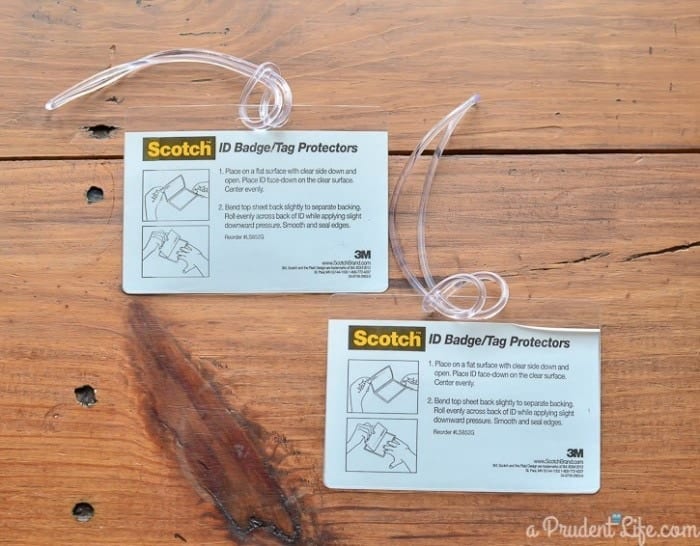
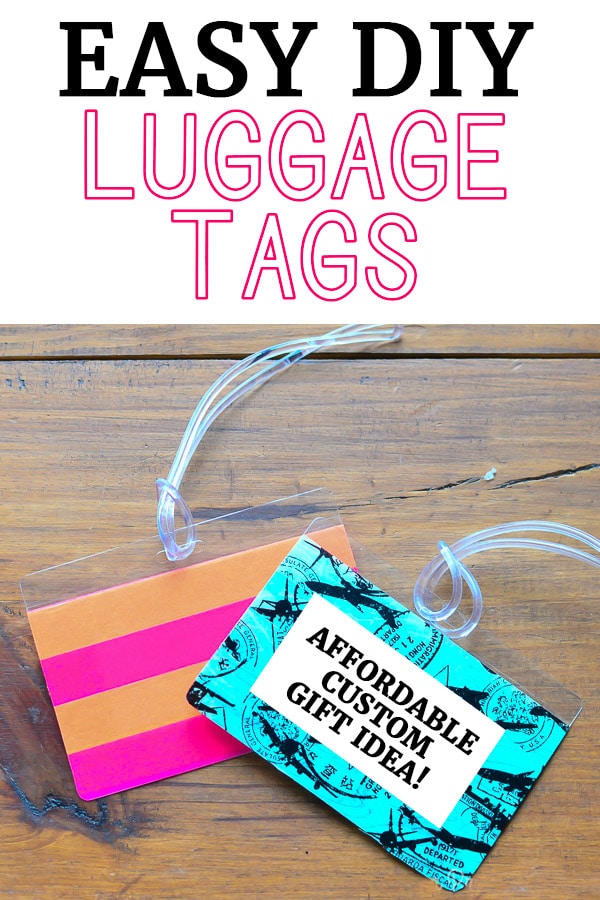
I started with Scotch ID Badges, which come with loops perfect for luggage. You can find them in office supply stores or on Amazon (affiliate link below). Amazon sells a 5 pack for $5, so these luggage tags would be really affordable gifts!
The only other supply I needed was some washi tape from my stash. For my first tag, I picked hot pink & bright orange so my bag would stand out in baggage claim.
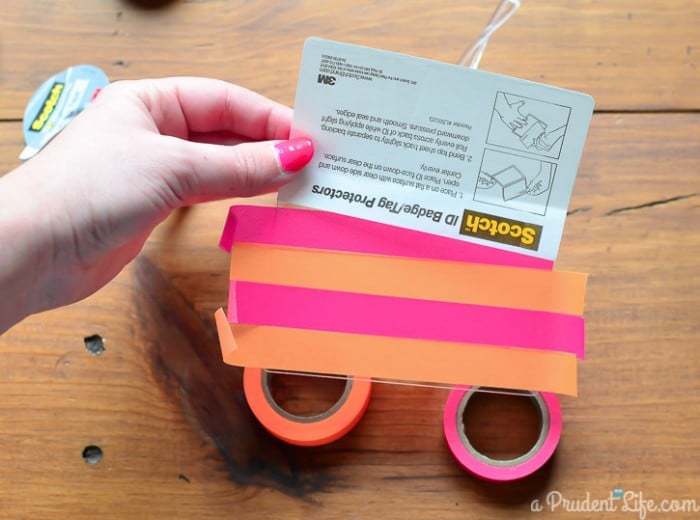
I applied the tape in stripes to the inside of the badge holder. I realized quickly that this works best if you leave the white paper on the sticky side of the badge until you are done taping. I overlapped the tape on both sides of the badge so I could trim them into one neat line.
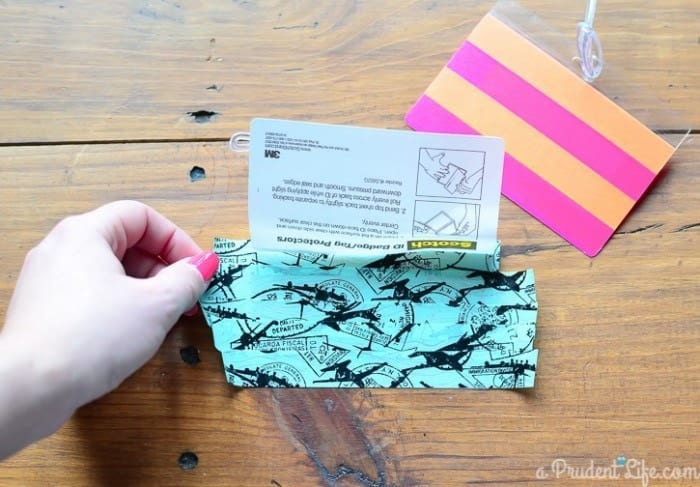
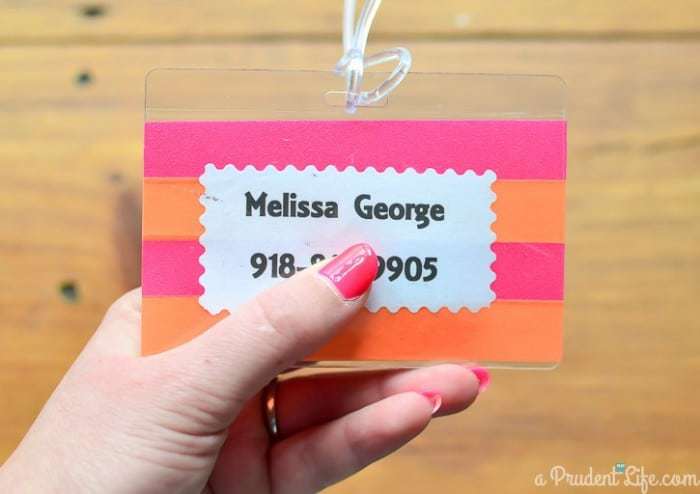
And that is all it takes to make a custom luggage tag! I found some really cute Scotch passport stamp washi tape and used it to make a second tag.
Don’t forget to stop over and visit all the other Craft Lightning Projects!



Stacy says
Hey Melissa – funny that I went in Wal-Mart before work today looking for luggage tags like this – which they didn’t have. Wanted to let you know the affiliate link is broken because I tried to click on it to order.
I want to put my blog business card in them and have hanging from my backpack I use for work and my purse.
Stacy
www.anygirlcandoit.com
Melissa George says
Great idea Stacy! Thank you so much for mentioning the affiliate link – it’s fixed now!
Angie @ CCC says
Great idea! Thanks for joining in!
Katie @ Addicted 2 DIY says
Love them! I’ve got some washi tape that would be perfect for this project!
Grace says
This is such a cute idea! I tried it myself, but my washi tape was brighter on the non-adhesive side, so once the tag was complete, if I flipped it over, the back side looked faded… Was your tape as bright on both sides?? Did I do it wrong?
Melissa George says
Hmm, I just looked at my pink tape and the adhesive side is definitely more faded. I don’t remember doing this, but just testing it out with the tape trying to trouble shoot for you, I noticed that if I double up the tape with two pieces on top of each other, the faded side is more opaque. It’s still lighter than the front side, but looks better. Hope that helps!!!