I’m in the middle of a big quest to get all the storage areas of my home de-cluttered & beautiful. Each space I’ve tackled has remained organized, so I know that the key is having a great system in place.
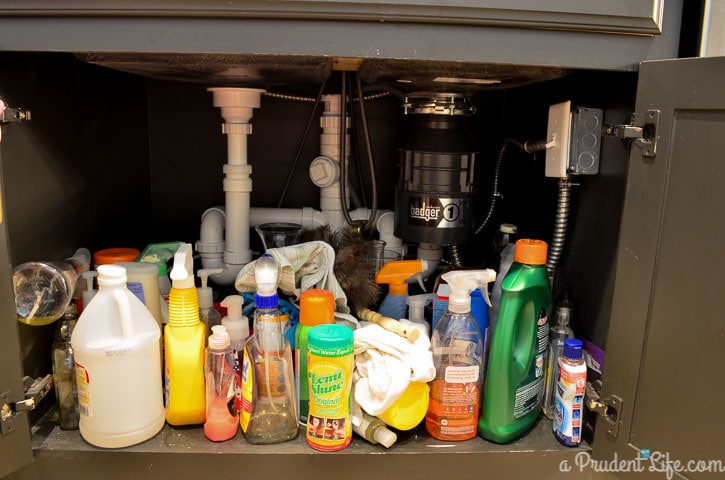
This week it was time to tame the beast that lives under the kitchen sink. Don’t be frightened, here comes the ugly before!
It was a jam packed mess! Sadly, I didn’t stage it to look like that. It just happened over time. Ick!
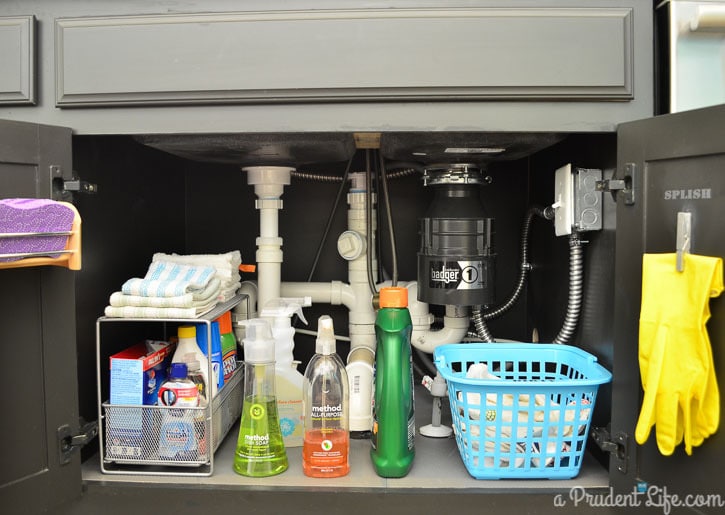
But now it’s beautiful!
While I was organizing, I came up with the 5 Keys to Great Under Sink Organization.
1. Be brutal – What really makes sense under the sink and what doesn’t? For example, tangled among all our plumbing lines, I had a bunch of vases. I never used them because I couldn’t easily see or even reach them. They found a new home in our dining room buffet.
I moved any non-kitchen cleaning supplies to the laundry room.
Our sink is in an island, which means all of our plumbing runs into the floor instead of to the back of the cabinet. And all that plumbing gets in the way of my storage! If you have a sink with traditional plumbing, you may not have to be quite as brutal 🙂
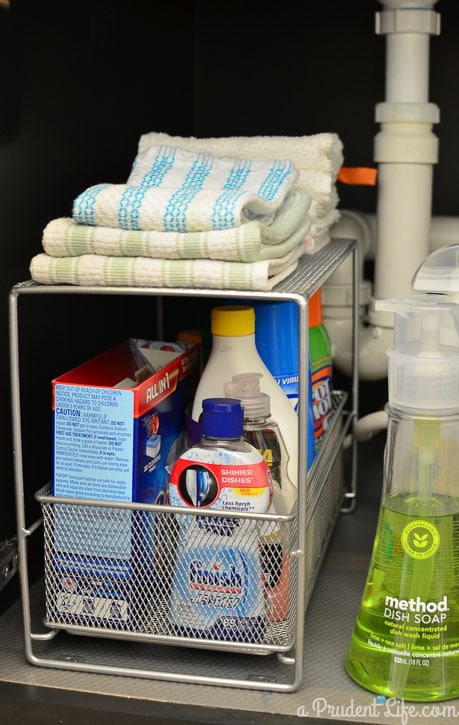
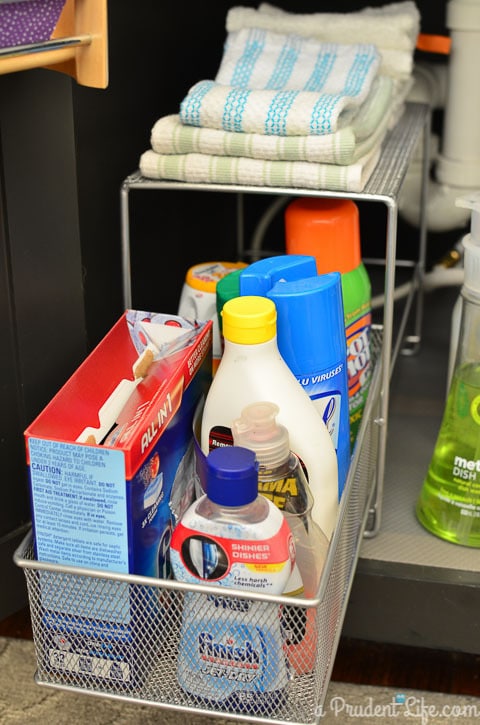
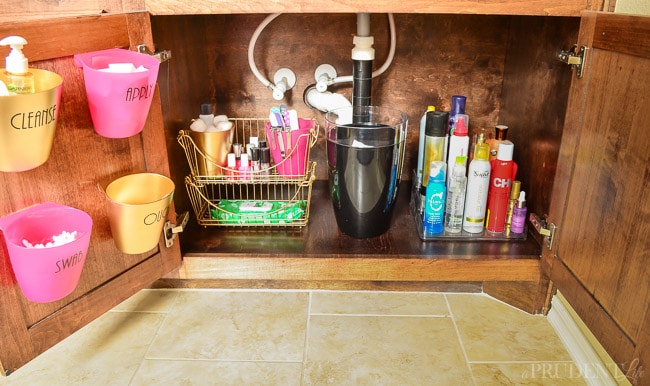
2. Go vertical – I found a metal drawer & shelf unit on clearance (similar here or here). Items that belong in the kitchen, but aren’t used daily were corralled into the basket. Having the shelf on top gave me the perfect place to store cleaning clothes! I love using that previously wasted space.
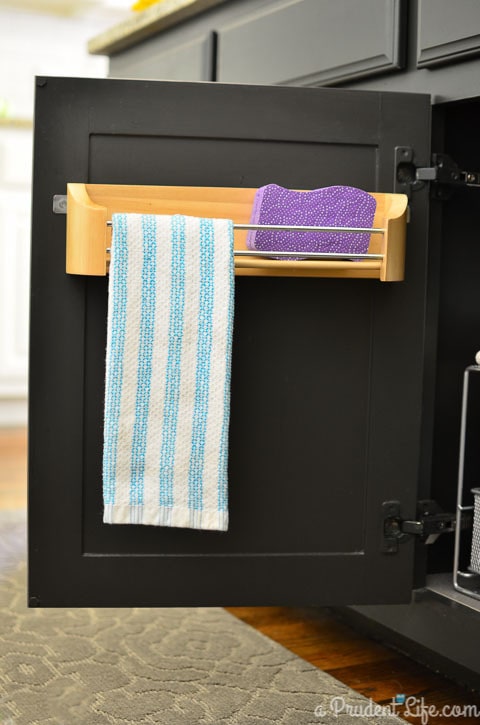
3. Use the doors – The backs of your cabinet doors are an often underutilized gold mine of storage! On the left door, we had installed a small shelf/towel bar right after we moved in. It’s perfect to store new sponges and the drain plugs.
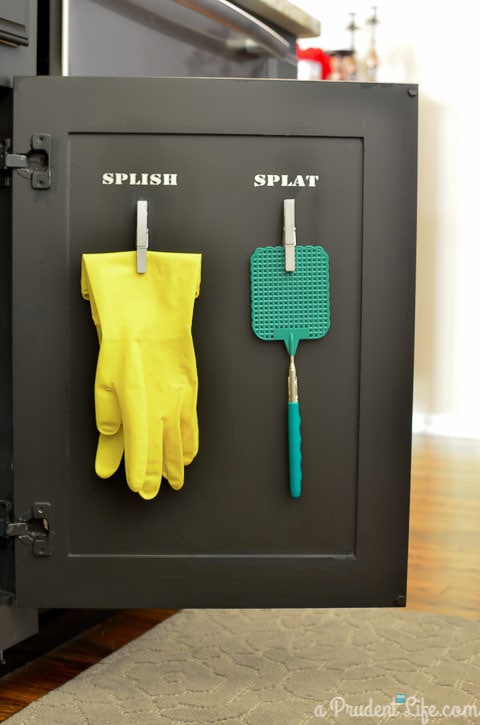
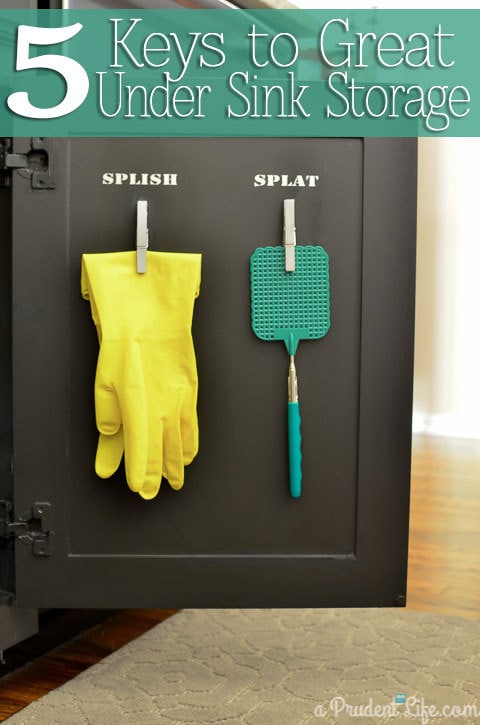
On the right door, I added the cheapest storage solution EVER!!! I painted a couple of clothes pins silver with craft paint, then attached them to the cabinet with super glue gel. I use them to hold dish washing gloves and a flyswatter since we seem to let 10 flies in the house every time Maddie goes in or out this time of year!
To finish of the door, I added some humor with labels.
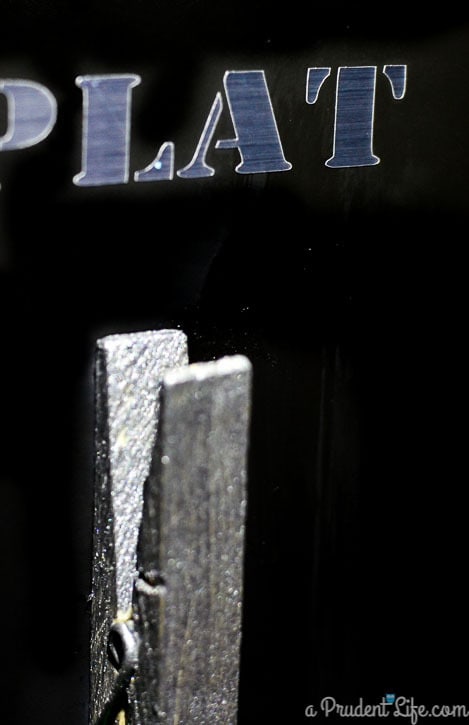
I used scraps of brushed chrome vinyl I had leftover from my Father’s Day sign for the labels. The labels & clothes pins are both shiny up close!
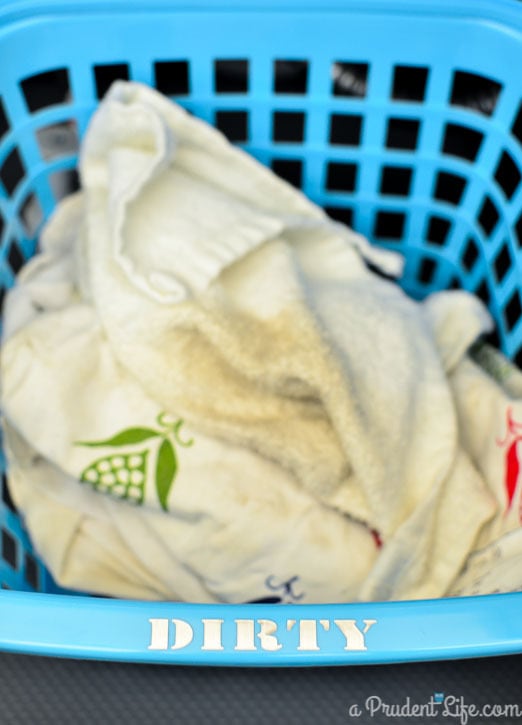
4. Designate a spot for wet/dirty cleaning rags – Our cabinet was such a disaster before that I occasionally couldn’t tell what was clean and what was dirty. I ended up washing cloths that were probably clean. To solve that dilemma, I picked up a plastic basket at Dollar Tree to hold all of our dirty kitchen towels. Of course I had to cut out a little silver label for it too 🙂
5. Line the bottom of the cabinet – In every house we’ve lived in, the under sink cabinet shelf gets abused and dirty. The black paint just amplifies the problem. I had some rubber shelf liner from IKEA left over, so we used it to cover up the abused paint and protect the wood. And practicality aside, it just looks better! To attach it securely, my husband suggested carpet tape. It worked perfectly!
2020 Update: We tested out a new under kitchen sink organizer and it’s working really well since it was designed to work around plumbing. See the update here!
You can also see how we organize the kitchen sink area on top of the island.
The best part of this organizing project is that it was really quick, but has stayed organized over time. So, if your cabinet looks like mine did before, take 15-30 minutes and implement the 5 keys today!
Does your bathroom vanity cabinet also need some love? Check out my new bathroom under sink post!
Wanna see more organizing posts?
[metaslider id=3436]




Katie @ addicted 2 diy says
You are an organizing genius! It’s very comforting to know that all of your previous organizing projects have stayed organized. It gives me hope that mine will to. You know, if I ever organize them;)
Melissa George says
We’ve got plenty of other spaces that aren’t organized as well. It’s been working to just tackle them one at a time though!
Amy says
Thanks for all of the great tips. I really love the ‘splish’ ‘splat’ so cute.
Melissa George says
Thank you Amy!
Selene Galindo says
These are great tips!! I love how nice and tidy your under sink area looks now!!
Melissa George says
Thanks Selene! It is so much more pleasant to open the cabinet door now 🙂
Ursula @Home Made by Carmona says
*drool* SO organized! Not to mention lovely! Ok, the splish and splat are adorable! 😉
Melissa George says
Thanks Ursula! I’ve always got to add something amusing to my organizing projects!
Keep It Simple says
That is a great idea! I need to do the same under my kitchen sink.
margo @ joyfulhomemaking.com says
Thanks for the ideas, my hubby is wanting me to work on organizing our under the sink disaster!
Tess says
Clothespins on the door…duh! So simple and so effective. I might try the same thing using some of the “chip clips” that keep accumulating in my kitchen. Thanks, Melissa!
michelle says
great ideas, I have two small baskets under the sink as well for recycling. Like you I have several vases under the sink, hmm. didn’t think of a small basket for the dirty cleaning rags. I don’t use paper towels and this task was on my to do list for this weekend. Super , thanks for sharing!
jen says
Where did you get the towel bar holder? Did you have to screw it in so as to have the backs of the screws showing on the outside of the cabinet? I would love to have one of those bars! Thanks!
Melissa George says
We got it at Lowe’s! You do have to make sure the cabinet door is thicker than the screws. It was a little scary, but ours worked okay without the screws coming through the front.
Jan says
Hey Melissa, great ideas! Silly question though, I too have that liner from Ikea, but which side goes up, the smooth or bumpy? Duh!
Thanks,
Jan
Bonnie Hill says
I don’t know how old these comments are, but I’ll add one that I’ve used for years. Measure length and width under kitchen and bathroom sinks. Go to a flooring store and buy a small roll of leftover vinyl. You can usually buy one that coordinates with your flooring, decorating colors, etc, Measure and cut to fit under each space. I use a metal yardstick and box cutter for a neat edge. You can clean it easily, and if there is a leak the wood won’t be damaged. When we bought our new house, I asked for and used the leftover vinyl to line under sinks and also the pots and pans cabinet. That’s one that gets banged up. It looked cool to have them coordinate with the flooring. In a new apartment, I also used it in all drawers to that when I left the manager couldn’t get over how nothing in the kitchen looked used!! They are easy to wipe clean and when I moved, I took them with me in the event they fit the next kitchen drawers. HA – they did as many stock cabinets have the same measurements!
Melissa George says
That’s a great tip, Bonnie!
Amy Thompson says
Love the clothespins on the back of the door! I’m going to have to try that 🙂