During my craft room/guest room makeover I was able to save a TON of money by working with frames I already owned instead of buying new. You can see how they are incorporated into the room in reveal part #1 & part #2. Today, I’ve got the close up before & afters! I hope they will inspire you to relook at your old frames before you get rid of them.
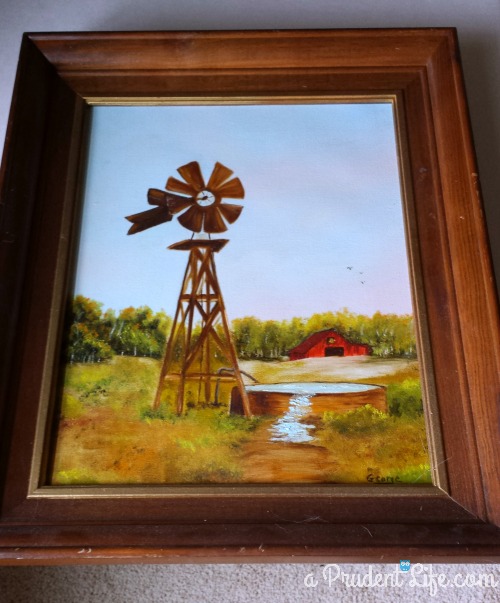
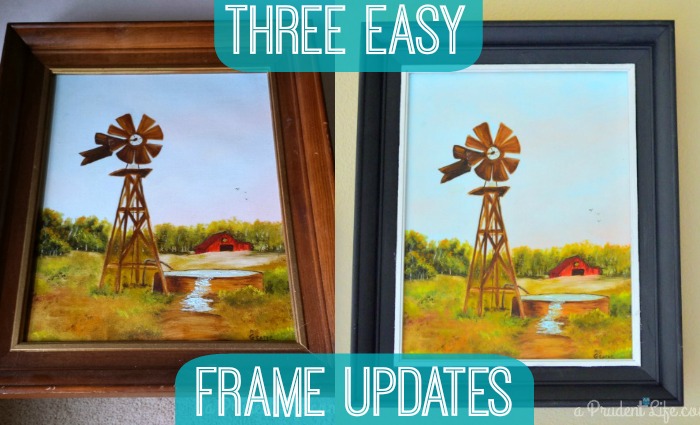
First up was a great quality wood frame holding one of my favorite paintings from Granny, my husband’s sweet grandma. I love Granny & have a thing for windmills, so I really wanted to feature this on my gallery wall. The frame just didn’t match the rest of the room.
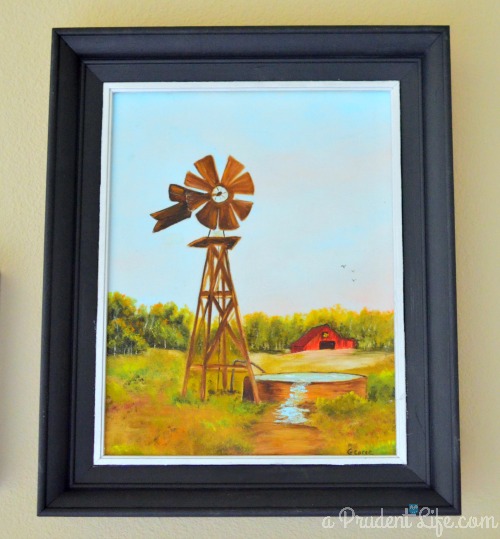
I gave it a good cleaning, then moved onto the makeover. For the inside edge, I used DecoArt Dazzling Metallics Silver* to transform the inlay from gold to silver. For the rest of the frame, I used a basic black acrylic craft paint.
The frame looks so much more modern now – more Melissa, less grandparent 🙂
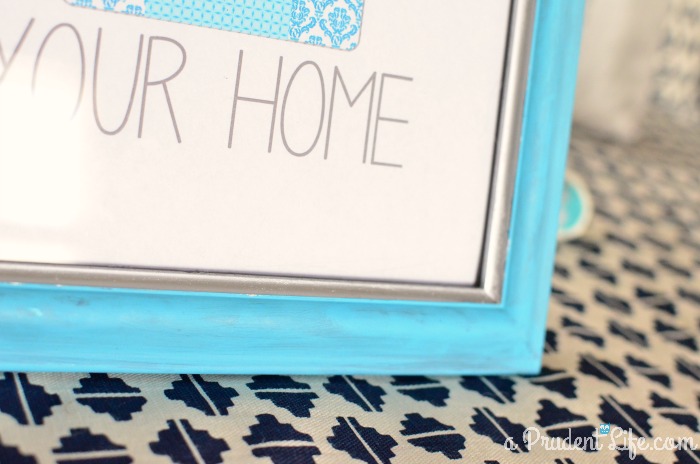
Next up was one of my deal of the century frames. Around Christmas, Michael’s had a ten pack of plastic black frames for $10. They were a great variety of shapes & sizes. I passed on them a few times, but one day they were 40% off! Ten frames of any kind for $6 ($0.60 each) is a CRAZY deal. Although they were not the best quality, I knew I could turn them into something fun.
The print in the frame is from the SohoSonnet Print Shop on Etsy. Isn’t it adorable?
This one received Silver Leaf Rub ‘n Buff* on the interior lip. The frame was originally all one color, but the shape was perfect to create a two-tone frame. On the outside, I blended several colors together and used a dry brush to apply thin layers. Indian Turquoise* was primary color.
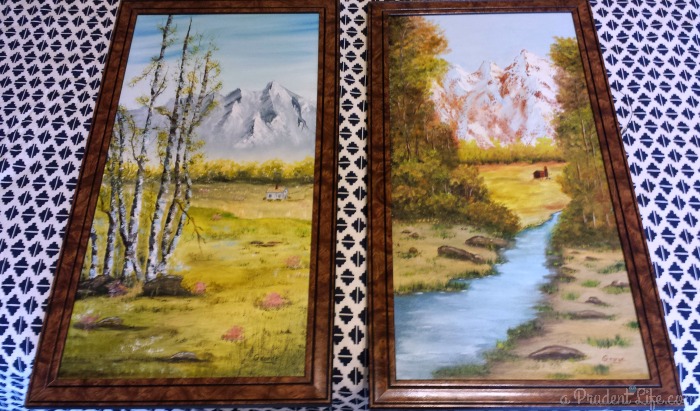
My third frame project was a duo of paintings from Granny. The frames on these were quite different from all the others we received. We had every intention of buying new frames once we found the right spot to hang them. As I was putting the guest area together, I realized they would work perfectly above each night stand.
I needed to pull some of the gray from the craft area over to the guest area, but I didn’t want to do a plain solid gray. I wanted some sparkle! I started with Americana Zinc* & mixed it with the same DecoArt Dazzling Metallics Silver
* that I used in the first frame makeover. The result was fun & shimmery without being gaudy 🙂
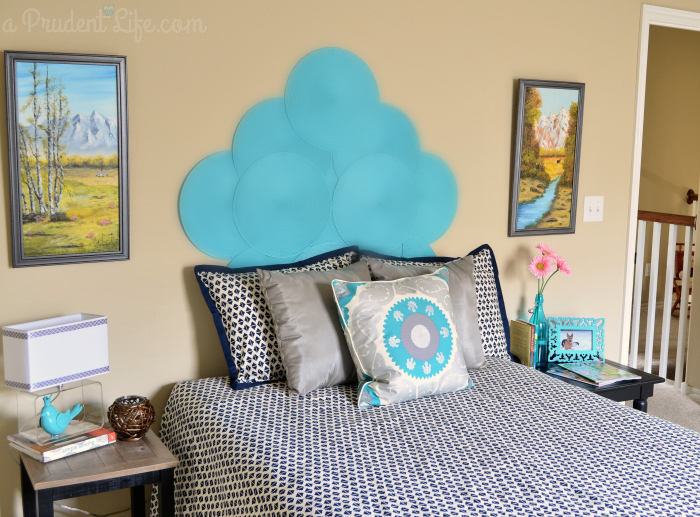
For the best results, just make sure you have a paper plate or towel handy to wipe most of the paint off your brush before painting. When you use a dry brush and thin coats, the paint seems to adhere better. I’m pretty impatient, so I only wait a couple of minutes between coats 🙂 It works out great!
Don’t miss any of the craft room series!
Craft Room PLUS Guest Room – Reveal Part #1
Craft Room Organizational Details – Reveal Part #2
{Create} Art & Refinished Frame – Craft Room Project #1
Placemat Repurposed into No Sew Pillow – Craft Room Project #2
Cork Board Upgrade:Drab to Fab – Craft Room Project #3
Clearance Lamp Customization – Craft Room Project #4
3 Frugal Frame Updates- Craft Room Project #5
$30 End Table Makeover – Craft Room Project #6
*Affiliate Disclosure: Please note that when you click links to other websites and buy items, I may receive a small commission. Using affiliate links to show you the products I use helps me offset the cost of running the blog. The products used in this post were all purchased by me.





Jodie says
They turned out great! I love love the black and silver one, and how you made the on sale frame look expensive by adding the silver two tone effect- great idea!
melissa@polishedhabitat.com says
Thank you! Can’t wait the paint the rest of those cheapy frames!
Rachel says
It’s crazy how much more modern and fresh that windmill painting looks! Lovely!
Allison Rust says
Wow! Small changes, big effect. They look great!
Katie @ addicted 2 diy says
You are so crafty. The frames are definitely less grandma and more you and they look fabulous!
Terri Burfield says
A perfect spot for the two photos above each bedside table. I love how the headboard color brings out the color of the blue sky and blue creek! It’s amazing what a little paint will do! Stopping by from the DIY Sunday Showcase!
melissa@polishedhabitat.com says
Thank you so much for stopping by Terri! That is a great point about the colors in the paintings. I was so glad I could incorporate them not the space!
Kathy says
HI Melissa, my fellow tribe-buddy! Great post! I love all of the makeovers you did with your frames. Its one of my favorite ways to update decor too! Hope you had a great weekend. 😉
Courtney @ Crafts by Courtney says
This whole space looks amazing! I love what you did with all the frames they look amazing! It’s crazy what a little paint can do.
melissa@polishedhabitat.com says
Thank you Courtney. I love how fast paint can transform something!
Amanda Michelle says
So much better than before! Great job; the whole room looks great. 🙂
Sonnet @ SohoSonnet Creative Living says
Love love love the frame update, turned out great! Thanks so much for purchasing my print from Etsy, you are too sweet Melissa 🙂