
Last year, we organized the garage and took care of the major storage issues, but ran out of time when it came to figuring out the very best way to store smaller groups of items. All the painting supplies had been tossed together into a couple of bins, and it was time to come up with a better solution.
Make sure you stay tuned even if you don’t need a brush holder, because there is a giveaway at the end of the post!
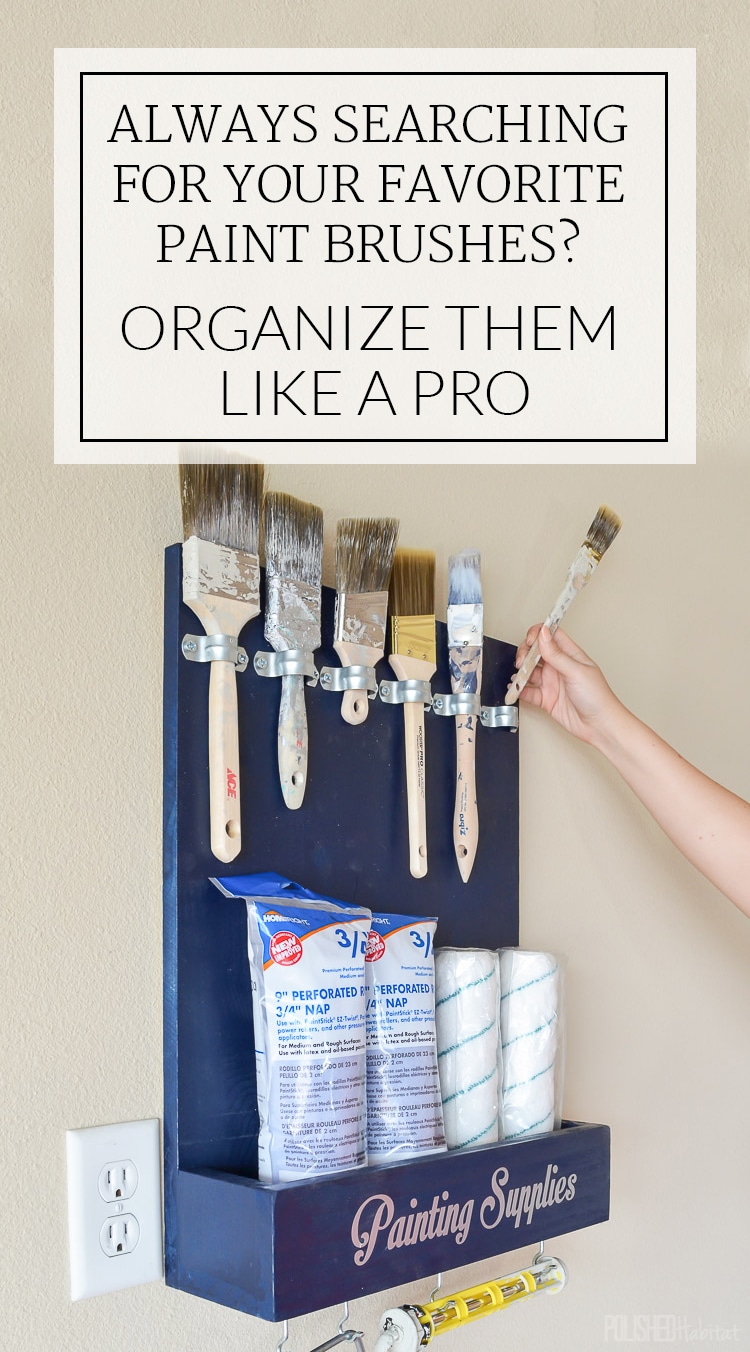
This is a perfect beginner DIY project and didn’t require a ton of materials.
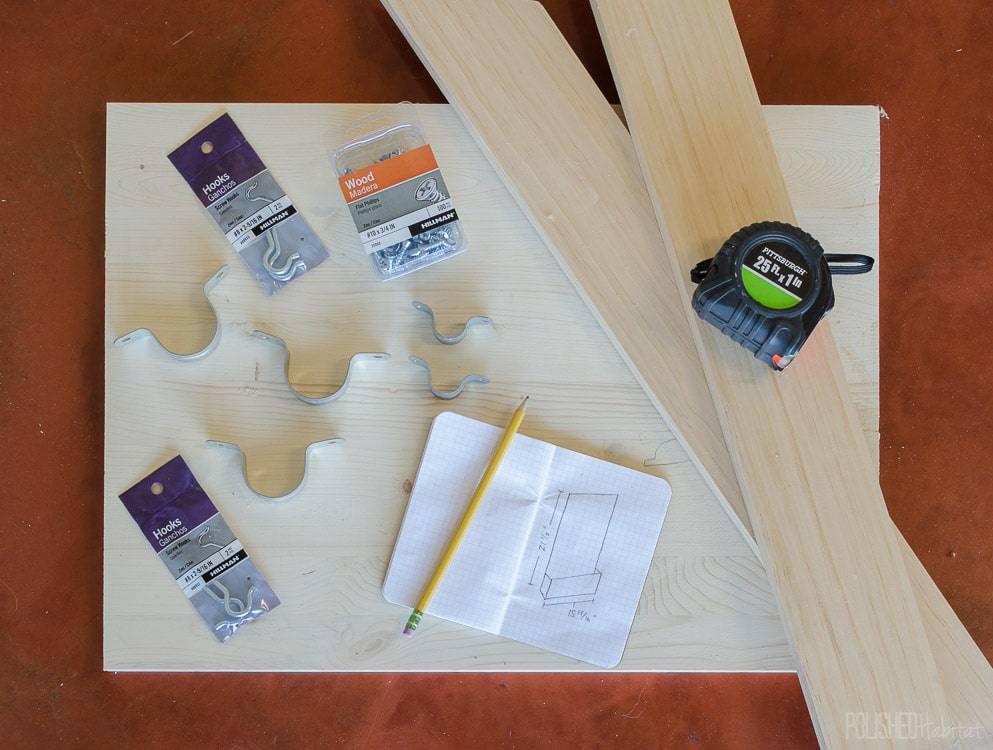
We had a scrap piece of 16″ wide wood left over from the master closet project, along with some extra 1 x 4 boards that were also scraps from the closet. To hold the brushes, we needed plumbing strap tension clips in both 1/2″ and 3/4″ sizes to fit various paint brush handles, screws for the straps, and then some cup hooks to hold the paint roller handles. The U-shaped plumbing straps were really cheap at Lowes and I can’t wait to use them in more organizing projects!
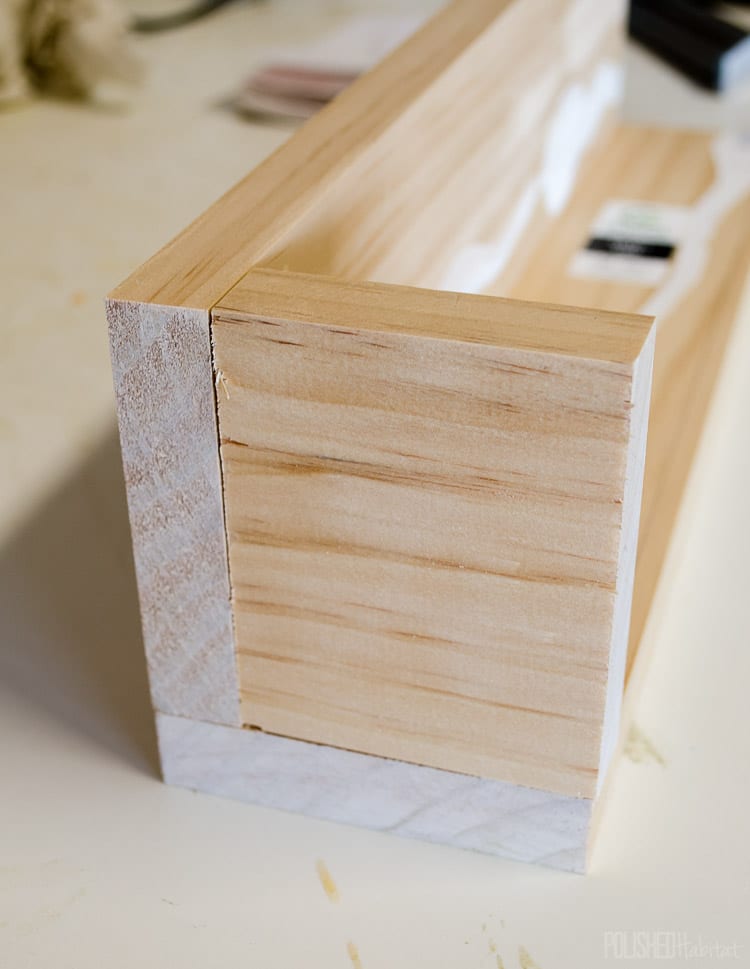
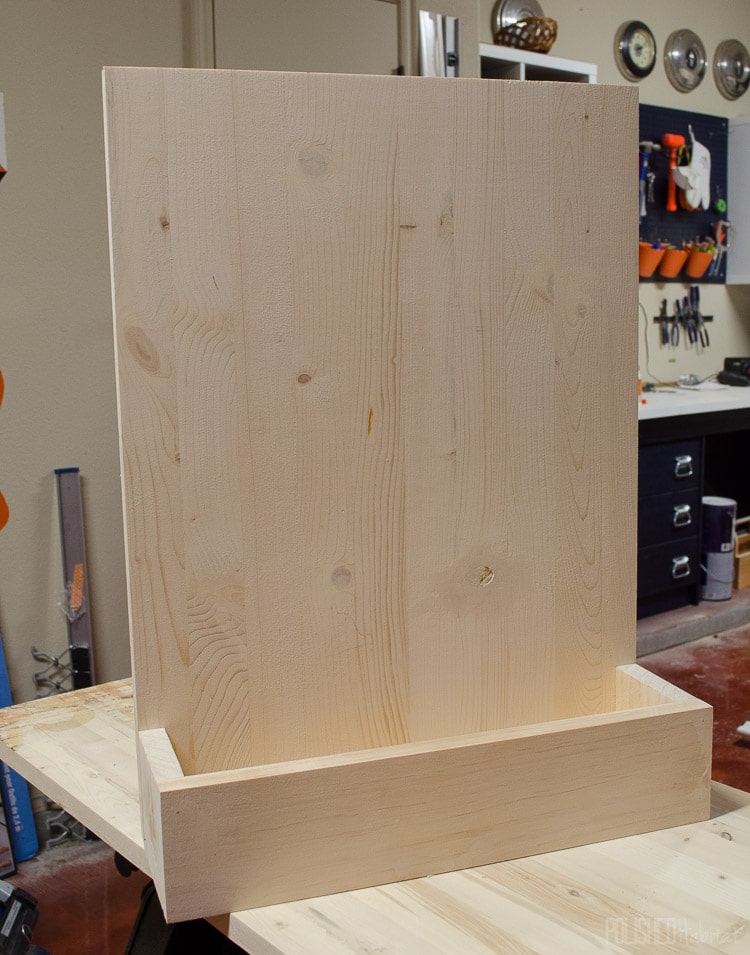
To get started, we built the “pocket” that I’m using to store roller covers. We cut two pieces of the 1 x 4 to the width of the big board, which gave us the bottom and front of the pocket. Then we just needed to measure the space that would become the sides and cut pieces to fit. I’m sure you guys are thrilled I don’t do building projects all the time, because I’m not the best explain-er. Thankfully, I’ve got pictures so you can see what I mean!
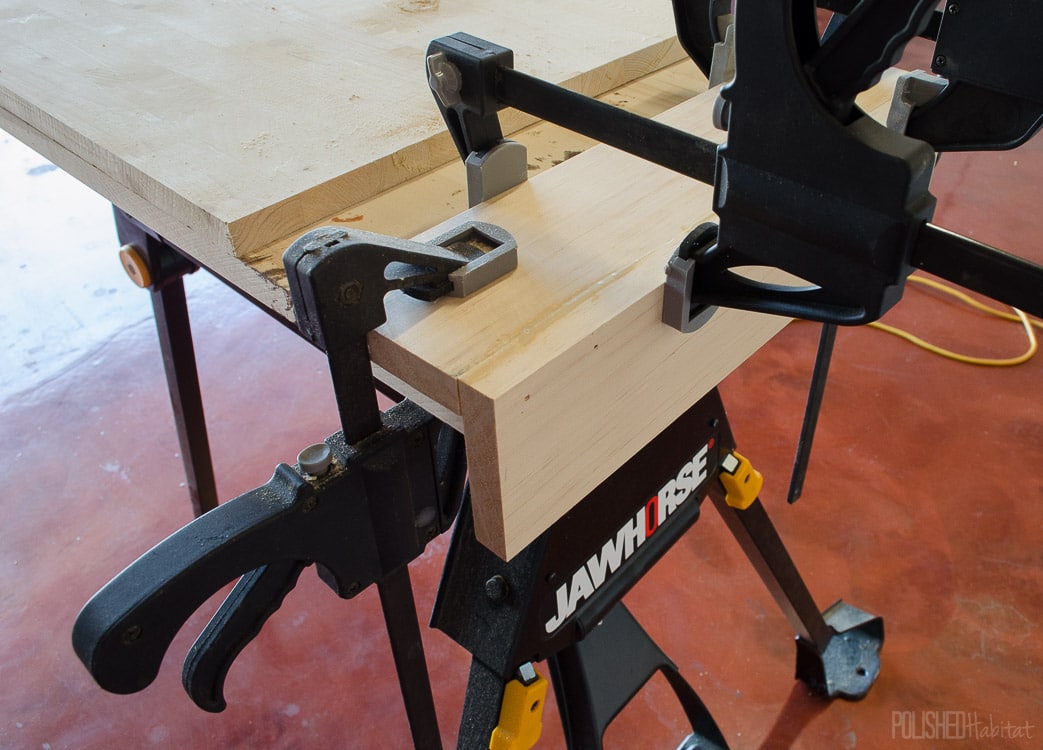
The next step was attaching all the pieces of the pocket together, which was done with wood glue and then a few brad nails to hold everything together while the glue dried. Inexpensive clamps and our Jawhorse made that step much easier.
We used the same process to attach the pocket to the larger board, and before I knew it, I could see that the plan was working. I’m always relieved at this point, because my ideas are often vague and I never know quite how things are going to play out. It’s an adventure around here!
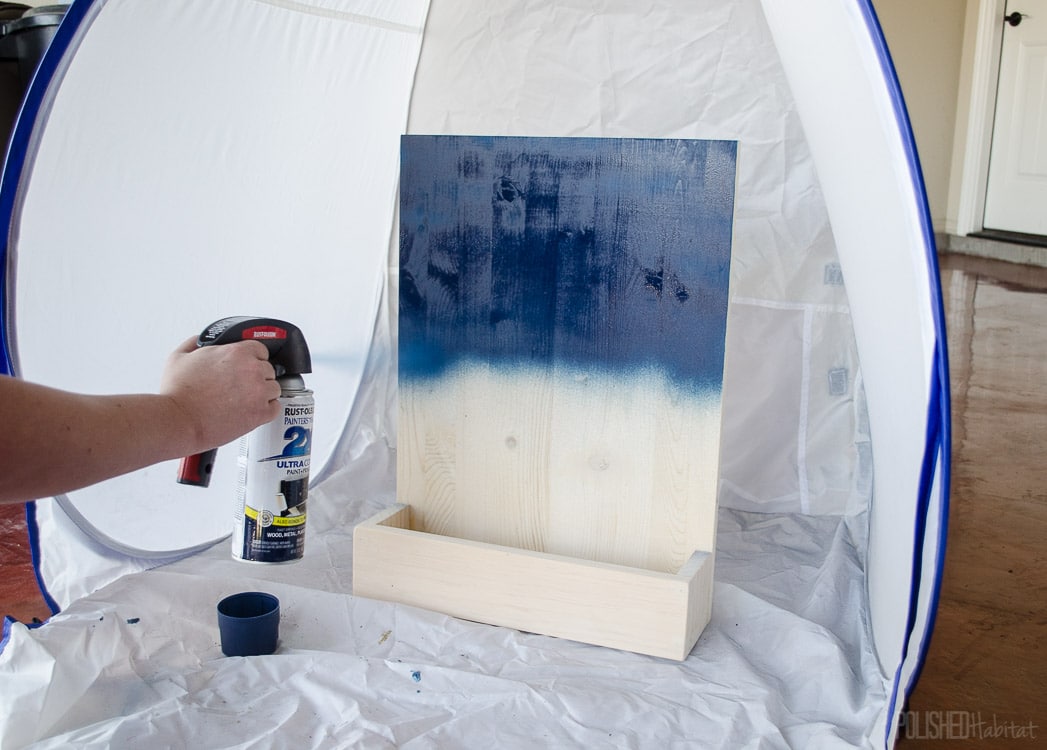
Before attaching at the straps and hooks, I wanted to paint or stain the wood. I reminded myself that this project was going in the garage and not a museum, so I just did a light sanding and decided to use leftover blue spray paint from the workbench project.
Here’s where the giveaway comes in!
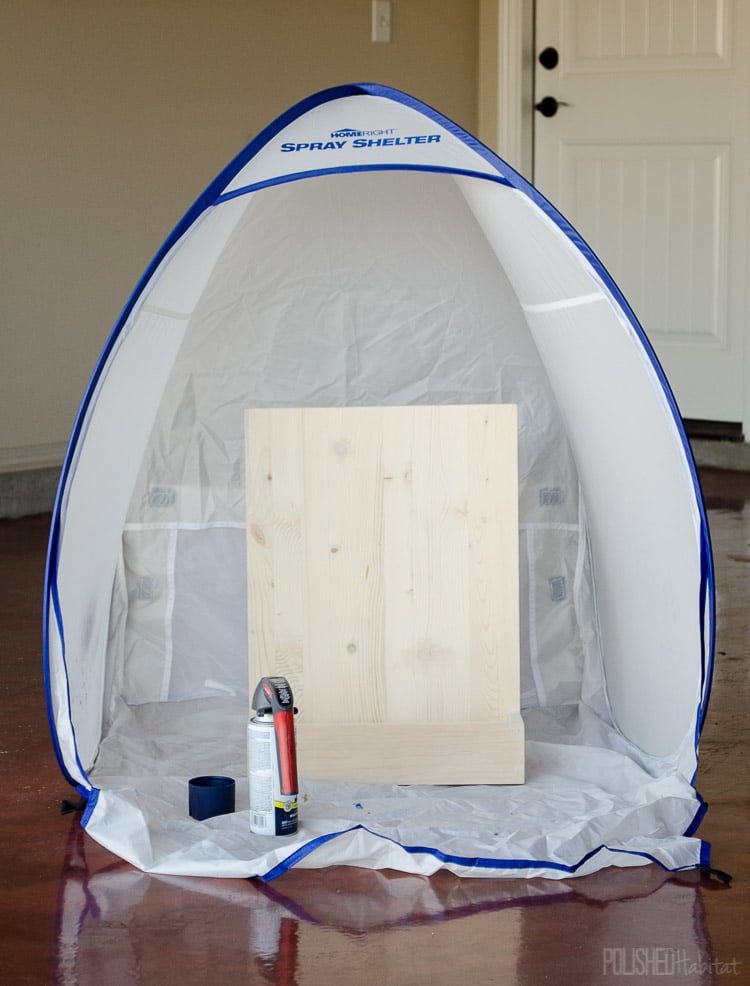
To paint the organizer, I just had to pop open my magic HomeRight Small Spray Shelter. It takes like 5 seconds and then I’ve got a safe place to spray paint in the garage. I told my friends at HomeRight I was using it for this project, and they agreed to sponsor the post and provide a Small Spray Shelter for one of you. Woo Hoo! You’ll enter at the bottom of this tutorial.
The fact that the entire tent, including the floor, is one solid piece is awesome because I don’t worry about any overspray sneaking out the back. I’m also loving that the floor extends out of the front of the tent to catch any drips when spraying. I was worried I wouldn’t be able to fold it up, but it’s 10 times easier than the photography tent I have.
If I had a list of must have items for people interested in DIYing some of their home decor, this would be at the top of it. So many things can be transformed with spray paint, and having somewhere you can spray paint whenever the mood strikes is a game changer!
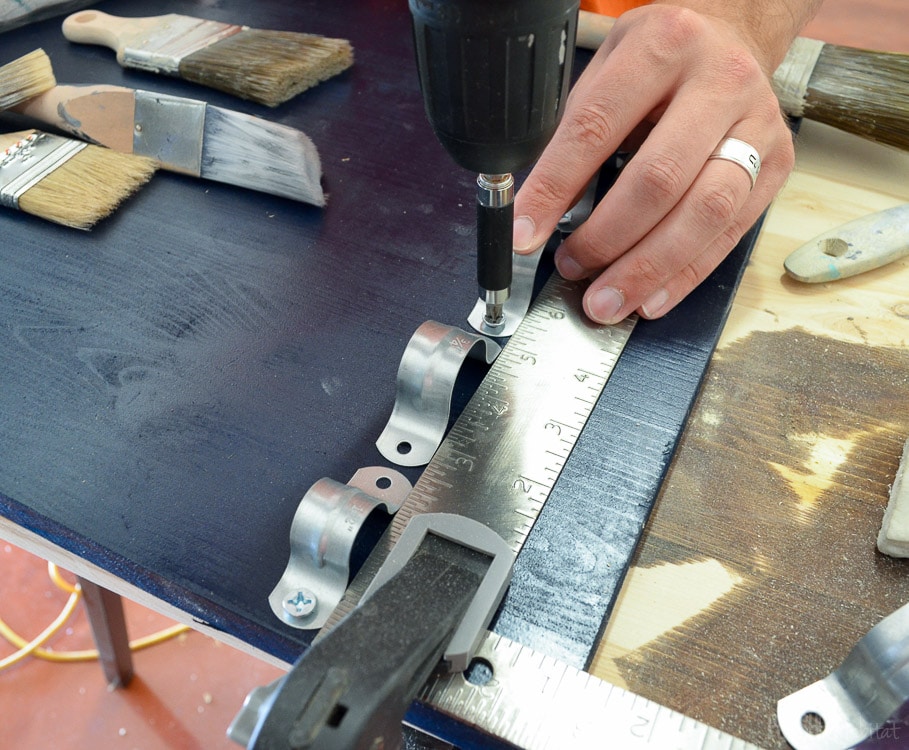
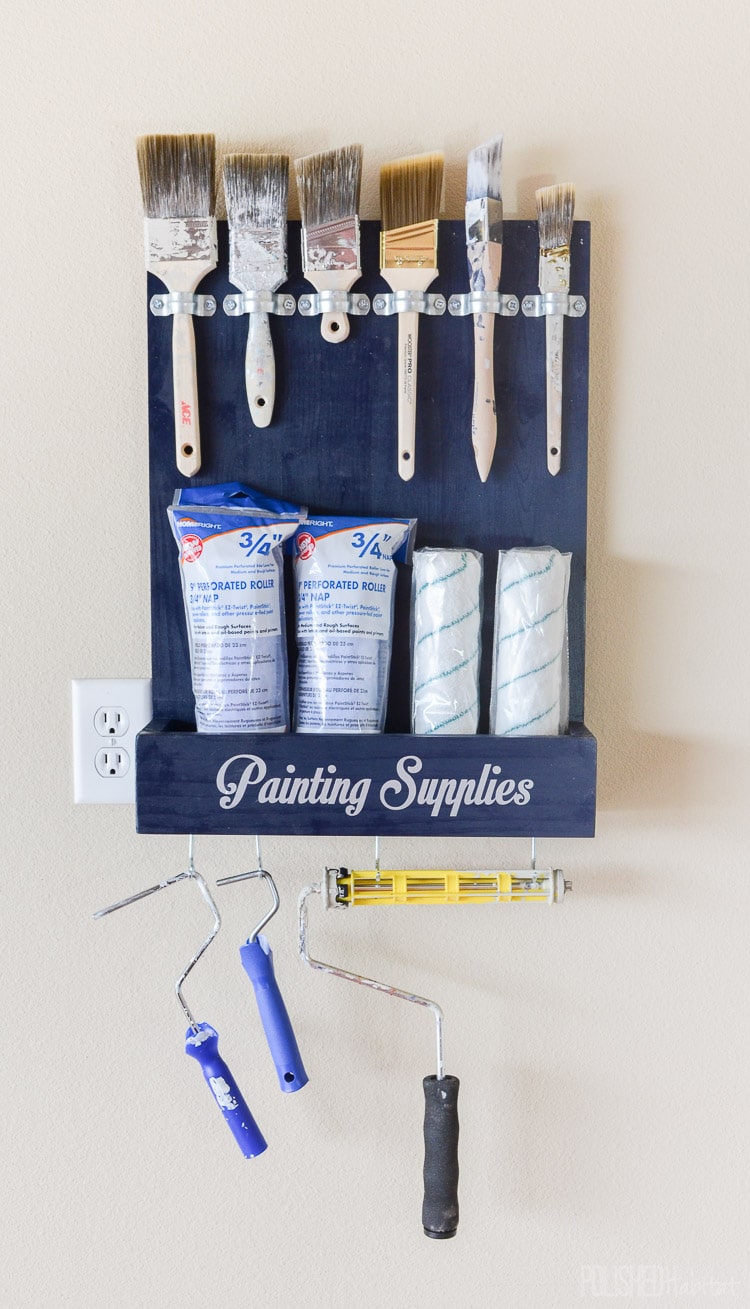
Once the blue paint was dry, we just had to screw in the straps. To make them level without making ourselves crazy, we clamped a straight edge to the board. Then we could flush the straps against it as we screwed them in. I’m all about hacks that mean I don’t have to make exact measurements.
We also added some screw hooks to the bottom of the unit for even more storage. They are perfect for roller handles, and I’ll probably add a paint can opener to one of the hooks as well.
Here’s how it looks all filled up! I couldn’t resist adding a quick vinyl label cut with my Silhouette machine.
The pocket in the front is working perfectly for paint sticks and roller covers. I love that there is room for our PaintStick covers and a couple of traditional covers.
I think I’m most excited that I won’t have to dig around the garage to find my favorite paint brush ever again. And we can stop buying roller covers we don’t need, because we’ll be able to find the ones we already own.
What do you think? Could you use somewhere to store your painting supplies?
Here’s the Small Spray Shelter giveaway entry form!
a Rafflecopter giveaway


Patricia says
I have paint shelves to hold most of my supplies but adapting your brush holder to a single board with plumbing straps would solve my brush problem. Thanks!
Melissa George says
You’re welcome! It would work perfectly on just a piece of 2 X 4 and be so inexpensive!
Candy Walsh says
What an awesome little build! I’m just getting started into the woodworking part of DIY and this would be a great project for me to start with!
Thanks so much and also for the chance to win a paint shelter!!
Melissa George says
Oh, good! It’s a perfect starter project! Good luck with the shelter giveaway, it’s an extremely handy thing to have!
Genie says
I love this idea! I’ve been thinking about doing something like this for my brushes. Just remember to dry your brushes flat, ideally hang them brush down, before storing. Any paint not washed out, chemicals and water can be held in the ferrule and ruin your brush. Thank you for this helpful project!
Melissa George says
That is a great tip, Genie!