I’ve got a fun project today that garnered a serious eye-roll from my husband when he saw it. But then the eye-roll quickly turned into him Googling my St. Patrick’s Day T-Shirt idea to see if it was trademarkable. He was certain it was SUCH a clever idea that we were on our way to swimming in cash like Scrooge McDuck. Sadly, we discovered I’m not the only punny person around. Womp womp womp. No money swimming for us. That’s okay – can you imagine all the papercuts!?!
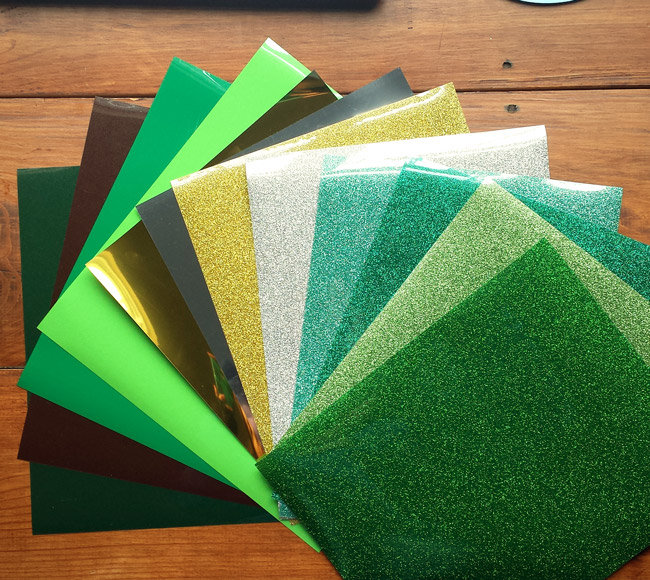
All this punniness started as part of this month’s Expressions Vinyl ambassador challenge. Expressions Vinyl provided funding for the post and an awesome collection of heat transfer vinyl so I could make something fabulous for St. Patrick’s Day.
Isn’t it beautiful?!?!
Check out all the glitter heat transfer colors Expressions offers here.
Plan A was to do some type of home decor project since those are usually my favorite. I was brainstorming away trying to come up with something clever for a tea towel.
My brainstorming led me to “Irish”, and my first thought was “Irish I were an Oscar Meyer wiener”. But that really wasn’t exactly the best idea for home decor…or for anything else.
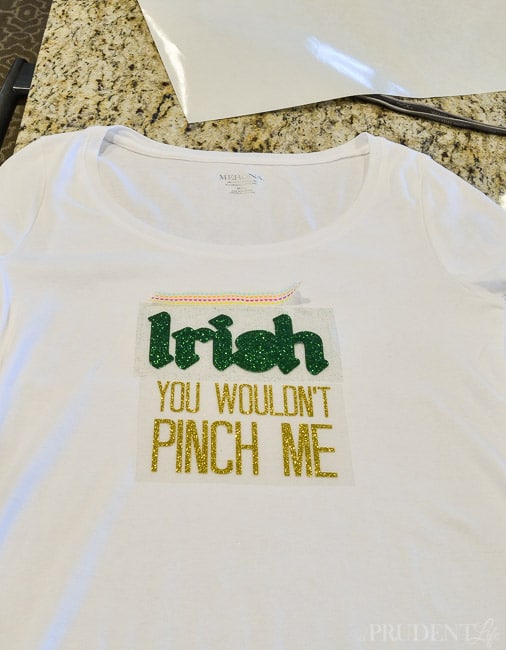
Then I came up with a winner – “Irish You Wouldn’t Pinch Me”. It makes me giggle a little every time I say it. You’ve got to use your Leprechaun voice for the best impact. As much as I wanted to do something super original for the house, the phrase just HAD to go on a shirt. I made a simple design using KingThings Petrock font.
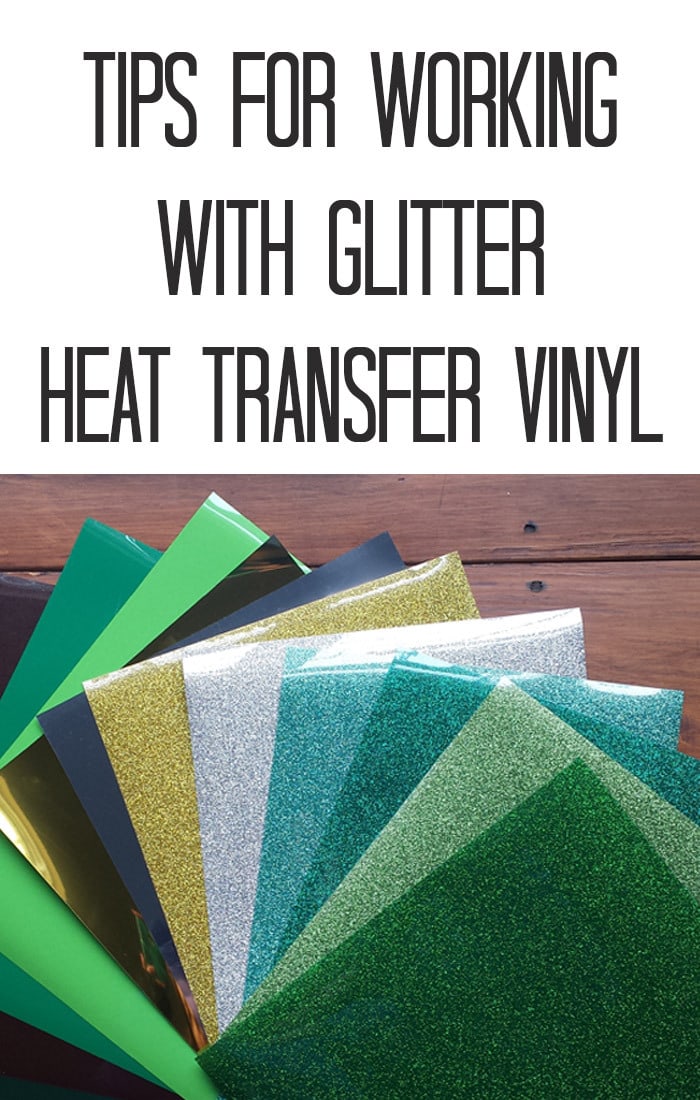
I’m not going to do a step by step heat transfer vinyl tutorial, because you can get that in my superbowl T-shirt post. I DO have some tips for working with Glitter HTV to share.
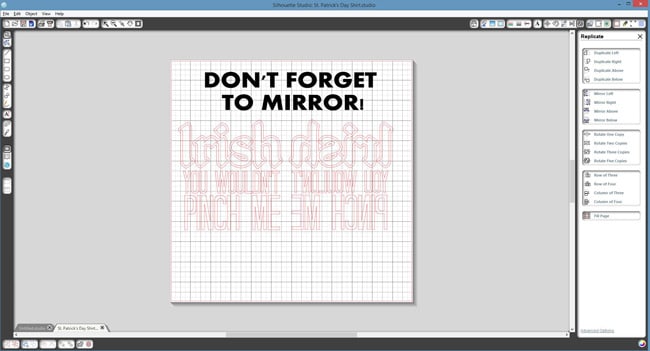
1. MIRROR, MIRROR – Once you have a design, select all the pieces and use the Mirror Right (or Left) option BEFORE cutting. I forget this almost every time! From now on, just associate your glittery HTV with Michael Jackson’s glittery gloves, which takes you to the song Man in the Mirror. See, you’ll never forget again!
2. SHINY SIDE DOWN – Just like you are looking at the back of the design on the screen once it is mirrored, you want to be looking at the back of your HTV when you are feeding it in the machine. The shinier side should be face down on the mat. For glitter HTV, the pretty glitter side goes down.
3. TEST CUT – For glitter HTV, you’ll want to start with the flocked HTV setting, then do a test cut before proceeding. Seriously, every time, do a test cut.
I can’t tell you how many text message conversations I’ve had with a fellow Silhouette user where we have complained about wasting materiel because the setting we ALWAYS use wasn’t quite right for a particular piece of vinyl. Then we get annoyed with ourselves because it could have been avoided if we spent the 10 seconds to do a test cut.
4. SKIP THE IRONING BOARD – I did my first HTV project on the ironing board, and it took a lot of muscle and patience. I figured out I could use a harder surface, like a desk protected with a towel, and it would work better. This time, I laid the T-Shirt on the granite counter top and it worked unbelievably well. I’m convinced the harder the surface, the less time it takes the HTV to adhere. Obviously PLEASE be cautious that you don’t scorch a wooden desk or fragile counter. I think buying a smooth tile from the hardware store just for HTV would work great.
5. PROPER PLACEMENT – If you are making a shirt for yourself, you can use washi tape to get the image placement just right. Put the shirt ON, then figure out where you want the image. Your weeded HTV will actually stick to the shirt for a little test. When you have the placement just right, add a piece of washi tape to mark it before removing the shirt. It’ll be right every time!
Following those tips, I ended up with this gold and green sparkle-fest. If you haven’t used glitter HTV before, it’s even more amazing in person!
My new St. Patrick’s Day shirt even works great under my favorite green cardi – gotta stay warm!
What do you think? Is my new shirt funny, eye-roll inducing, or both?
For more St. Patrick’s Day glittery greatness, check out the creativity from the other Expressions Vinyl ambassadors!
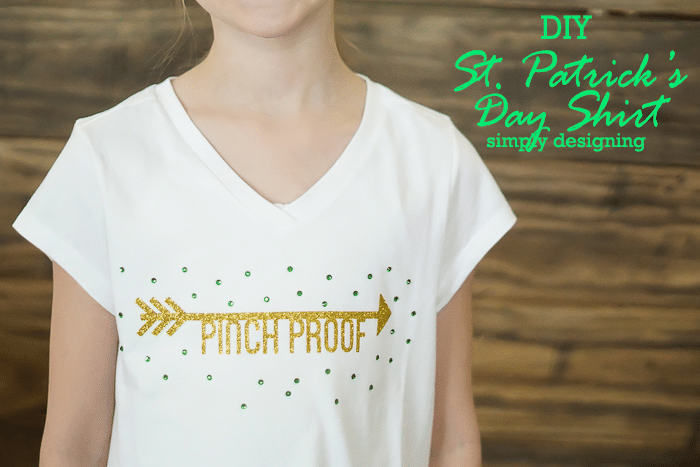
Ashley from Simply Designing combined rhinestones with HTV – brilliant!
McKenzie from Girl Loves Glam made this adorable outfit for her adorable daughter.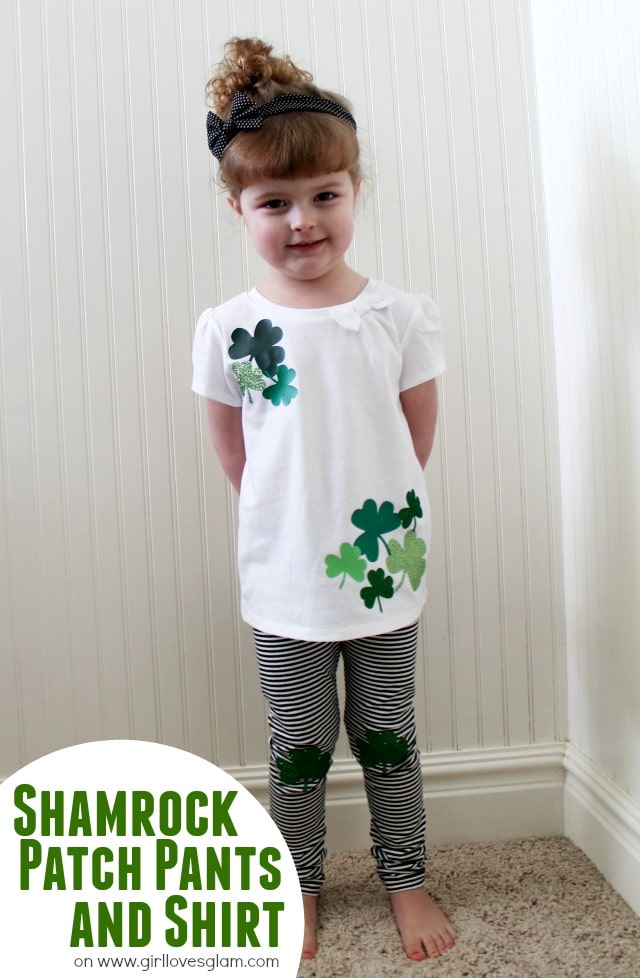




Courtney @ Crafts by Courtney says
This shirt is really cute!! I need to try out this heat transfer vinyl. I would love to make the boys some shirts.
Melissa George says
Oh, you’d LOVE it Courtney! You could make so many adorable things for the boys.
Rita Jannusch McKenzie says
Really cute!!! Possibly one other shirt could say “Irish You Would Pinch Me!”
Kay says
Love this idea! Especially love the glitter look. And how about: “Irish you were Irish, too”?
Melissa George says
That is a great idea Kay!
Kathy says
Hi. First of all, adorable shirts!!
I have a question though. I just got my cricut and am trying to learn more about it. Hopefully this isn’t a dumb question but, why would I put the glitter side down on the sticky part of the mat and print it in mirror? Wouldn’t I receive the same results if I put it glitter side up and print straight? Is there a reason why I should be putting the glitter side down? Thanks for your help.
Melissa George says
Definitely NOT a dumb question! In fact, I’m certain everyone has wondered that when they do their first heat transfer project, including me!!! It’ll make sense the first time you do it, but basically your machine cuts through the back of the material, but not all the way to the very front. This leaves a clear sheet on the front that lets you apply your entire design at once. You iron the whole thing and then peel off the clear part to leave just your design. Make sure you check out silhouetteschool.com and you’ll get TONS of ideas for your Cricut. Some of tutorials will be different since she uses the Silhouette software, but she also posts tons of tips on working with different materials and those would be the same tips for either machine. Good luck with your project!!
Jennifer says
Great tips! What blade & speed setting do you generally start with for glitter HTV? I couldn’t use the suggested settings for smooth vinyl without it cutting through the backing too. I used Blade 1, and Speed 4. Do you think that will work on the glitter?
Jimma Holder says
Did you layer the gold and green? I thought we could not layer glitter vinyl. If you didn’t, how did you cut the gold?
Thanks,
Melissa George says
HI Jimma, I did layer it without any problem. I’m not sure if it was just that particular vinyl that worked for layering, or if I just got lucky! Maybe test yours out on a small piece of scrap fabric?
Keneshia's says
Great post. I just used glitter HTV for the first time this week and made all the mistakes you did (forgot to weld and mirror). I wasted so much vinyl but the shirts came out super cute! I used my hardwood floors to iron on because yeah the ironing board is not your best friend. Glad to know I was doing the right settings on my Cameo. Thank you!
Melissa George says
So glad your shirts turned out well in the end! Sometimes we’ve all got to live through the trial and error. 😉